I wasn’t trying to impress anyone. I’d stopped by my neighbor’s place last Tuesday to return a casserole dish she’d lent me, and the smell of warm chocolate hit me before I even got through the side gate. Honestly, it stopped me cold. There’s a difference between a kitchen that smells good and one that smells like a secret, and this was the latter. I found her standing in front of the stove, spatula in hand, looking at two little ramekins like they’d just caused her a minor inconvenience. “They’re just lava cakes,” she said, shrugging. “For dinner.” She said it like it was nothing. Like she hadn’t just created the kind of dessert that makes you forget your own name. I stood there, fork already in hand, and watched her tip one onto a plate. The center wobbled. The chocolate pooled out slowly, like it had all the time in the world. And I thought—maybe you’ve been there—why don’t I make this more often? It wasn’t a dinner party. It wasn’t a special occasion. It was a Tuesday. And that’s the whole point. This recipe stayed with me because it proved that the best things don’t need a reason. They just need chocolate, a little patience, and someone willing to share.
Why You’ll Love This Recipe
Let me tell you—I’ve tested this recipe about eight times. I’ve used different chocolates, different pans, different oven temperatures. And this version? It’s the one. The one that works every single time, even when you’re rushing or the butter was a little too cold. Here’s why this one is different.
- Quick & Easy: These lava cakes come together in under 30 minutes. Seriously. You can start them after the main course and still have dessert on the table before anyone asks for the check.
- Simple Ingredients: You probably have most of this already. Butter, eggs, sugar, flour, chocolate. No weird extracts, no specialty flours, no hunting down obscure ingredients at three different stores.
- Perfect for Date Night: This is the kind of dessert that says “I put in effort” without actually requiring much effort. It’s impressive, romantic, and just the right size for two people.
- Crowd-Pleaser: I’ve served these to chocolate lovers, casual dessert people, and even someone who claimed they “didn’t really like cake.” Every single person went back for seconds.
- Unbelievably Delicious: The contrast between the firm, fudgy exterior and the warm, liquid center is next-level comfort food. It’s the kind of thing that makes you close your eyes after the first bite.
What makes this recipe different from the rest? It’s the timing. Most recipes tell you to bake them and hope for the best. This one gives you visual cues—how the edges should look, what the top should feel like—so you don’t end up with a fully baked cake or a puddle of raw batter. It’s tested, it’s reliable, and it’s yours.
What Ingredients You Will Need
This recipe uses simple, pantry-friendly ingredients to deliver that rich, molten center without any fuss. Each ingredient has a specific job, and understanding that job helps you nail it every time.
- Unsalted butter (4 tablespoons, 56g): Adds richness and helps the cake set properly. I recommend using a good-quality European butter like Plugrà or Kerrygold for a deeper flavor. The fat content matters here—it keeps the cake tender without making it greasy.
- Semi-sweet or dark chocolate (4 oz, 113g): This is the star. Use a bar, not chips. Chips have stabilizers that can affect the melt. I prefer a 60-70% cacao chocolate for the best balance of sweetness and bitterness. Ghirardelli or Lindt bars work beautifully.
- Large eggs (2, room temperature): Room temperature eggs incorporate more air into the batter, giving you a lighter texture. Cold eggs can seize the chocolate mixture. If you forgot to set them out, place them in warm water for 5 minutes.
- Granulated sugar (1/4 cup, 50g): Adds sweetness and helps create that slightly crisp exterior. Don’t reduce the sugar—it’s not just for sweetness, it affects the structure.
- All-purpose flour (2 tablespoons, 16g): Just a tiny bit. Enough to give the cake structure without making it dense. For a gluten-free version, use an equal amount of almond flour or a gluten-free all-purpose blend.
- Vanilla extract (1/2 teaspoon): Enhances the chocolate flavor. Use pure vanilla extract if you have it—it makes a noticeable difference.
- Pinch of salt (about 1/8 teaspoon): Balances the sweetness and intensifies the chocolate. Don’t skip it. Even if you’re using salted butter, add a tiny pinch.
- Optional: Butter and cocoa powder for greasing the ramekins: This ensures the cakes release cleanly. Do not use cooking spray—it can leave a residue that sticks.
For the best results, use fresh ingredients. Old chocolate can bloom (develop white streaks) and old eggs won’t whip up as well. Trust me on this—I once used chocolate that had been sitting in the pantry for six months, and the cakes just didn’t rise the same way.
Equipment Needed
You don’t need much for this recipe, and that’s part of the beauty. But having the right tools makes the process smoother.
- Two 6-ounce (180ml) ramekins: These are the standard size for individual lava cakes. If you don’t have ramekins, you can use a muffin tin, but the timing will change slightly. I bought my ramekins at a thrift store for $3—they don’t need to be fancy.
- Medium mixing bowl (for the chocolate and butter): Use a heatproof bowl if you’re melting over a double boiler. A glass bowl works fine.
- Small mixing bowl (for the eggs and sugar): A simple stainless steel or ceramic bowl works.
- Whisk: A hand whisk is fine. You don’t need a stand mixer for this recipe. The key is whisking the eggs and sugar until they’re pale and thick—about 2-3 minutes of vigorous whisking.
- Rubber spatula: For folding the flour into the batter. A spatula helps you scrape every last bit of batter into the ramekins.
- Baking sheet: Place the ramekins on a baking sheet before baking. This catches any overflow and makes it easier to move them in and out of the oven.
- Small saucepan or microwave-safe bowl: For melting the chocolate and butter. I prefer the double boiler method (saucepan with simmering water, bowl on top), but the microwave works in a pinch—just use 30-second intervals and stir between each.
- Fine-mesh sieve (optional): For sifting the flour and cocoa powder if you’re dusting the ramekins. Not essential, but it helps avoid lumps.
If you’re on a budget, skip the stand mixer and the fancy pans. A whisk, a bowl, and some ramekins are all you really need. And honestly? A clean pair of hands works for folding.
Preparation Method
This is where the magic happens. Follow these steps carefully, and you’ll get that perfect molten center every time.
- Preheat your oven to 425°F (220°C). Place a baking sheet in the oven while it heats. A hot pan helps the cakes start cooking immediately, giving you a better rise.
- Prepare the ramekins. Butter the inside of each ramekin generously, then dust with cocoa powder (or flour if you don’t have cocoa). Tap out the excess. This creates a non-stick surface and adds a slight chocolate flavor to the exterior. Set them aside.
- Melt the chocolate and butter. In a medium heatproof bowl, combine the chopped chocolate and butter. Place the bowl over a saucepan of simmering water (make sure the bowl doesn’t touch the water). Stir occasionally until completely smooth. Remove from heat and let it cool slightly—about 2 minutes. If using a microwave, heat in 30-second bursts, stirring between each, until melted.
- Whisk the eggs and sugar. In a separate bowl, whisk the eggs and granulated sugar together until pale, thick, and doubled in volume. This takes about 2-3 minutes with a hand whisk, or 1-2 minutes with an electric mixer. You’re looking for a ribbon stage—when you lift the whisk, the batter should fall back in a thick ribbon that holds its shape for a second. This step is crucial for the cake’s structure.
- Combine the mixtures. Pour the melted chocolate mixture into the egg mixture. Fold gently with a spatula until just combined. Don’t overmix—you want to keep as much air in the batter as possible.
- Add the flour and salt. Sift the flour and salt over the batter. Fold again until no streaks of flour remain. The batter should be thick, glossy, and smell intensely of chocolate.
- Divide the batter. Pour the batter evenly into the prepared ramekins. Each should be about 3/4 full. Smooth the tops with the back of a spoon.
- Bake. Place the ramekins on the hot baking sheet in the oven. Bake for exactly 12-14 minutes. The edges should look firm and set, but the center should still jiggle slightly when you gently shake the ramekin. If the top springs back when touched, you’ve overbaked it.
- Rest for 1 minute. Remove from the oven and let the ramekins sit on a wire rack for exactly 1 minute. This allows the cake to pull away from the sides slightly, making it easier to unmold.
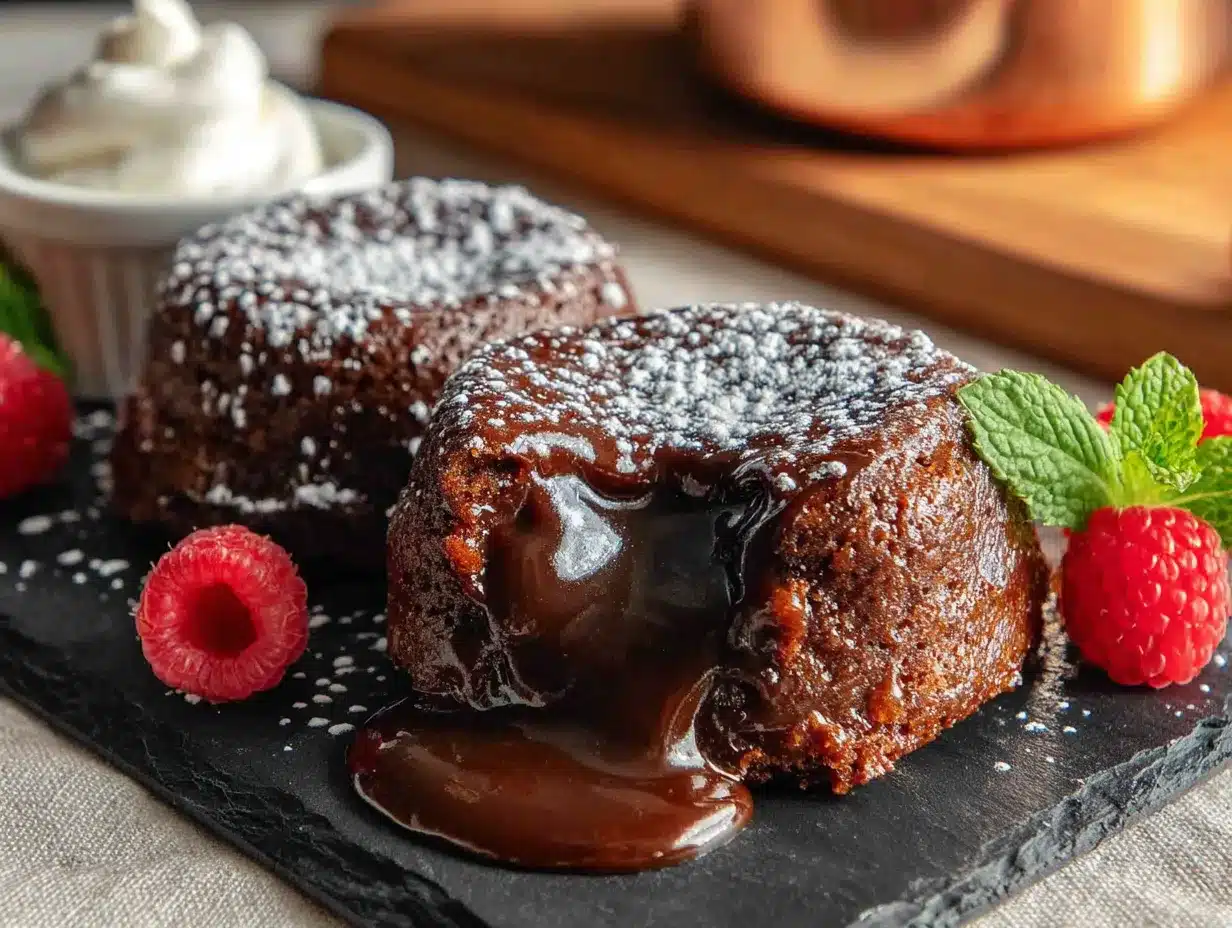
- Unmold and serve. Run a thin knife around the edge of each ramekin. Place a plate upside down on top of the ramekin, then carefully flip it over. Lift the ramekin off. The cake should release cleanly, with the molten center pooling slightly on the plate. Serve immediately.
A note on timing: If you’re serving these for a dinner party, you can prepare the batter up to 2 hours ahead. Fill the ramekins, cover them with plastic wrap, and refrigerate. When you’re ready to bake, add 1-2 minutes to the baking time. This is a lifesaver when you’re juggling multiple courses.
Cooking Tips & Techniques
I’ve made every mistake you can imagine with these cakes. I’ve overbaked them (sad, fully-cooked chocolate muffins). I’ve underbaked them (a puddle of raw batter on the plate). I’ve forgotten to butter the ramekins (stuck cake, tears). But here’s what I’ve learned.
- Use a timer, not your eyes. The difference between molten and overbaked is about 90 seconds. Set a timer for 12 minutes, then check. If the center still jiggles, give it one more minute. Resist the urge to open the oven door repeatedly—it lets out heat and messes with the baking time.
- Room temperature eggs are non-negotiable. Cold eggs will cause the melted chocolate to seize, creating a grainy batter. If you forgot to take them out, place them in a bowl of warm water for 5 minutes before using.
- Don’t skip the salt. I know it sounds weird in a dessert, but salt enhances the chocolate flavor and balances the sweetness. Use a fine sea salt or kosher salt for even distribution.
- Quality chocolate matters. I once used a cheap chocolate bar, and the cakes had a waxy texture. Spend the extra dollar on a good-quality bar. Your taste buds will thank you.
- The “jiggle test” is your friend. When you shake the ramekin gently, the center should wobble like Jell-O. If it’s completely still, it’s overbaked. If it sloshes, it needs more time.
- Multitask wisely. While the cakes are baking, whip up some cream or scoop some ice cream. The cakes need to be served within 5 minutes of coming out of the oven—they don’t wait for anyone.
Variations & Adaptations
This recipe is wonderfully adaptable. Here are a few ways to make it your own.
- Peanut Butter Lava Cakes: After filling the ramekins with batter, drop a teaspoon of peanut butter into the center of each. Push it down slightly so it’s fully encased. The peanut butter melts into the chocolate center, creating a Reese’s-inspired lava cake. I tried this last month and it was dangerously good.
- Vegan Version: Substitute the butter with coconut oil or vegan butter, the eggs with 2 tablespoons of flaxseed meal mixed with 6 tablespoons of water (let it sit for 5 minutes to thicken), and use a high-quality dark chocolate that’s dairy-free. The texture is slightly denser but still delicious.
- Gluten-Free Version: Replace the all-purpose flour with an equal amount of almond flour or a gluten-free all-purpose blend. The almond flour version has a slightly nutty flavor that pairs beautifully with the chocolate.
- Flavor Variations: Add 1/2 teaspoon of espresso powder to the dry ingredients for a mocha twist. Or fold in 1 tablespoon of orange zest for a chocolate-orange combination. A pinch of cayenne pepper adds a subtle heat that surprises and delights.
- Different Chocolate: Use white chocolate for a completely different experience. The baking time stays the same, but the flavor is sweeter and creamier. Just make sure to use a good-quality white chocolate that doesn’t contain vegetable oils.
Serving & Storage Suggestions
These lava cakes are best served warm, straight from the oven. But here’s how to make them shine.
Serving temperature and presentation: Serve immediately after unmolding. The contrast between the warm cake and a cold accompaniment is what makes this dessert special. Dust the plate with a little powdered sugar or cocoa powder for a professional touch. A few fresh raspberries or a sprig of mint add color and freshness.
Complementary dishes and beverages: A scoop of vanilla ice cream is the classic pairing—the cold creaminess balances the warm, rich chocolate. For a grown-up version, pour a little heavy cream over the top and add a sprinkle of flaky sea salt. A strong cup of coffee or a glass of cold milk works beautifully. If you’re serving wine, a late-harvest Riesling or a tawny port is a lovely match.
Storage instructions: These cakes don’t store well after baking—the molten center sets as it cools. However, you can store the unbaked batter in the ramekins, covered with plastic wrap, in the refrigerator for up to 2 days. Bake directly from the fridge, adding 1-2 minutes to the baking time. You can also freeze the unbaked ramekins for up to 1 month. Thaw overnight in the refrigerator before baking.
Reheating methods: If you have leftover baked cakes (unlikely, but possible), reheat them in a 350°F (175°C) oven for 5-7 minutes. The center won’t be as molten, but it’ll still be warm and fudgy. The microwave works in a pinch—30 seconds on medium power—but the texture won’t be the same.
How flavors develop over time: The batter actually improves after a few hours in the fridge. The flavors meld together, and the chocolate becomes more intense. I’ve found that cakes made from refrigerated batter have a slightly deeper, more complex flavor than those baked immediately.
Nutritional Information & Benefits
Let’s be honest—this is a dessert, not a health food. But knowing what’s in it helps you enjoy it mindfully.
Estimated nutritional values per serving (1 cake): Calories: 420, Fat: 28g, Saturated Fat: 16g, Carbohydrates: 38g, Sugar: 28g, Protein: 8g, Fiber: 3g. These values are approximate and depend on the specific ingredients you use.
Health benefits of key ingredients: Dark chocolate is rich in antioxidants, particularly flavonoids, which can support heart health. It also contains iron, magnesium, and zinc. Eggs provide high-quality protein and essential vitamins like B12 and D. Butter, while high in saturated fat, contains fat-soluble vitamins A, E, and K2.
Dietary considerations: This recipe is vegetarian. It contains gluten, dairy, and eggs. For a gluten-free version, use almond flour. For a dairy-free version, substitute the butter with coconut oil and use dairy-free chocolate. The recipe is not suitable for vegans in its current form, but the vegan variation above works well.
Potential allergens: This recipe contains eggs, dairy (butter), and gluten (flour). It may contain traces of soy or nuts depending on the chocolate you use. Always check labels if you’re serving someone with allergies.
Personal wellness perspective: I believe in enjoying dessert without guilt. These cakes are rich and indulgent, but they’re also made from real, whole ingredients. A small portion—one per person—is plenty satisfying. Pair it with fresh fruit or a side of berries to add some fiber and vitamins to the plate.
Conclusion
These molten chocolate lava cakes are proof that you don’t need a special occasion to make something extraordinary. They’re simple enough for a Tuesday night, impressive enough for a date, and forgiving enough for beginners. The key is in the timing—that perfect moment when the edges are set but the center still wobbles. That’s the sweet spot.
I’ve made these cakes for birthdays, anniversaries, and random weeknights when I just needed something chocolate. And every single time, they’ve delivered. They’re the kind of dessert that makes people lean in, fork first, and say “how did you do that?”
Now it’s your turn. Try this recipe, and don’t be afraid to make it your own. Add a pinch of cinnamon, a splash of bourbon, or a dollop of peanut butter. Experiment. Mess up. Try again. That’s how you learn.
I’d love to hear how yours turn out. Drop a comment below and let me know—did you add any twists? Did you serve them with ice cream or cream? Did you eat both cakes yourself? No judgment here. Happy baking!
Frequently Asked Questions
Can I make these lava cakes ahead of time?
Yes! You can prepare the batter, fill the ramekins, and refrigerate them for up to 2 days before baking. Cover them with plastic wrap to prevent a skin from forming. When you’re ready to bake, add 1-2 minutes to the baking time. This is a great way to prep for a dinner party without last-minute stress.
Why did my lava cakes turn out fully cooked?
You likely overbaked them. The key is to bake just until the edges are set but the center still jiggles. Oven temperatures vary, so start checking at 12 minutes. If the top springs back when touched, they’re overbaked. Next time, reduce the baking time by 1-2 minutes.
Can I use chocolate chips instead of a chocolate bar?
You can, but I don’t recommend it. Chocolate chips contain stabilizers that prevent them from melting as smoothly, which can affect the texture of the cakes. A chocolate bar melts more evenly and gives you a better result. If you only have chips, use a high-quality brand like Ghirardelli or Guittard.
How do I get the cakes out of the ramekins without breaking them?
Make sure you’ve buttered and dusted the ramekins thoroughly. After baking, let them rest for exactly 1 minute—this allows the cake to pull away from the sides slightly. Run a thin knife around the edge, place a plate on top, and flip confidently. If the cake sticks, it’s usually because the ramekin wasn’t greased well enough.
Can I double this recipe for more people?
Absolutely. The recipe scales up easily. For 4 cakes, double all the ingredients and use 4 ramekins. The baking time stays the same—just make sure not to overcrowd the baking sheet. If you’re baking more than 4 at a time, rotate the pan halfway through for even baking.
Pin This Recipe!
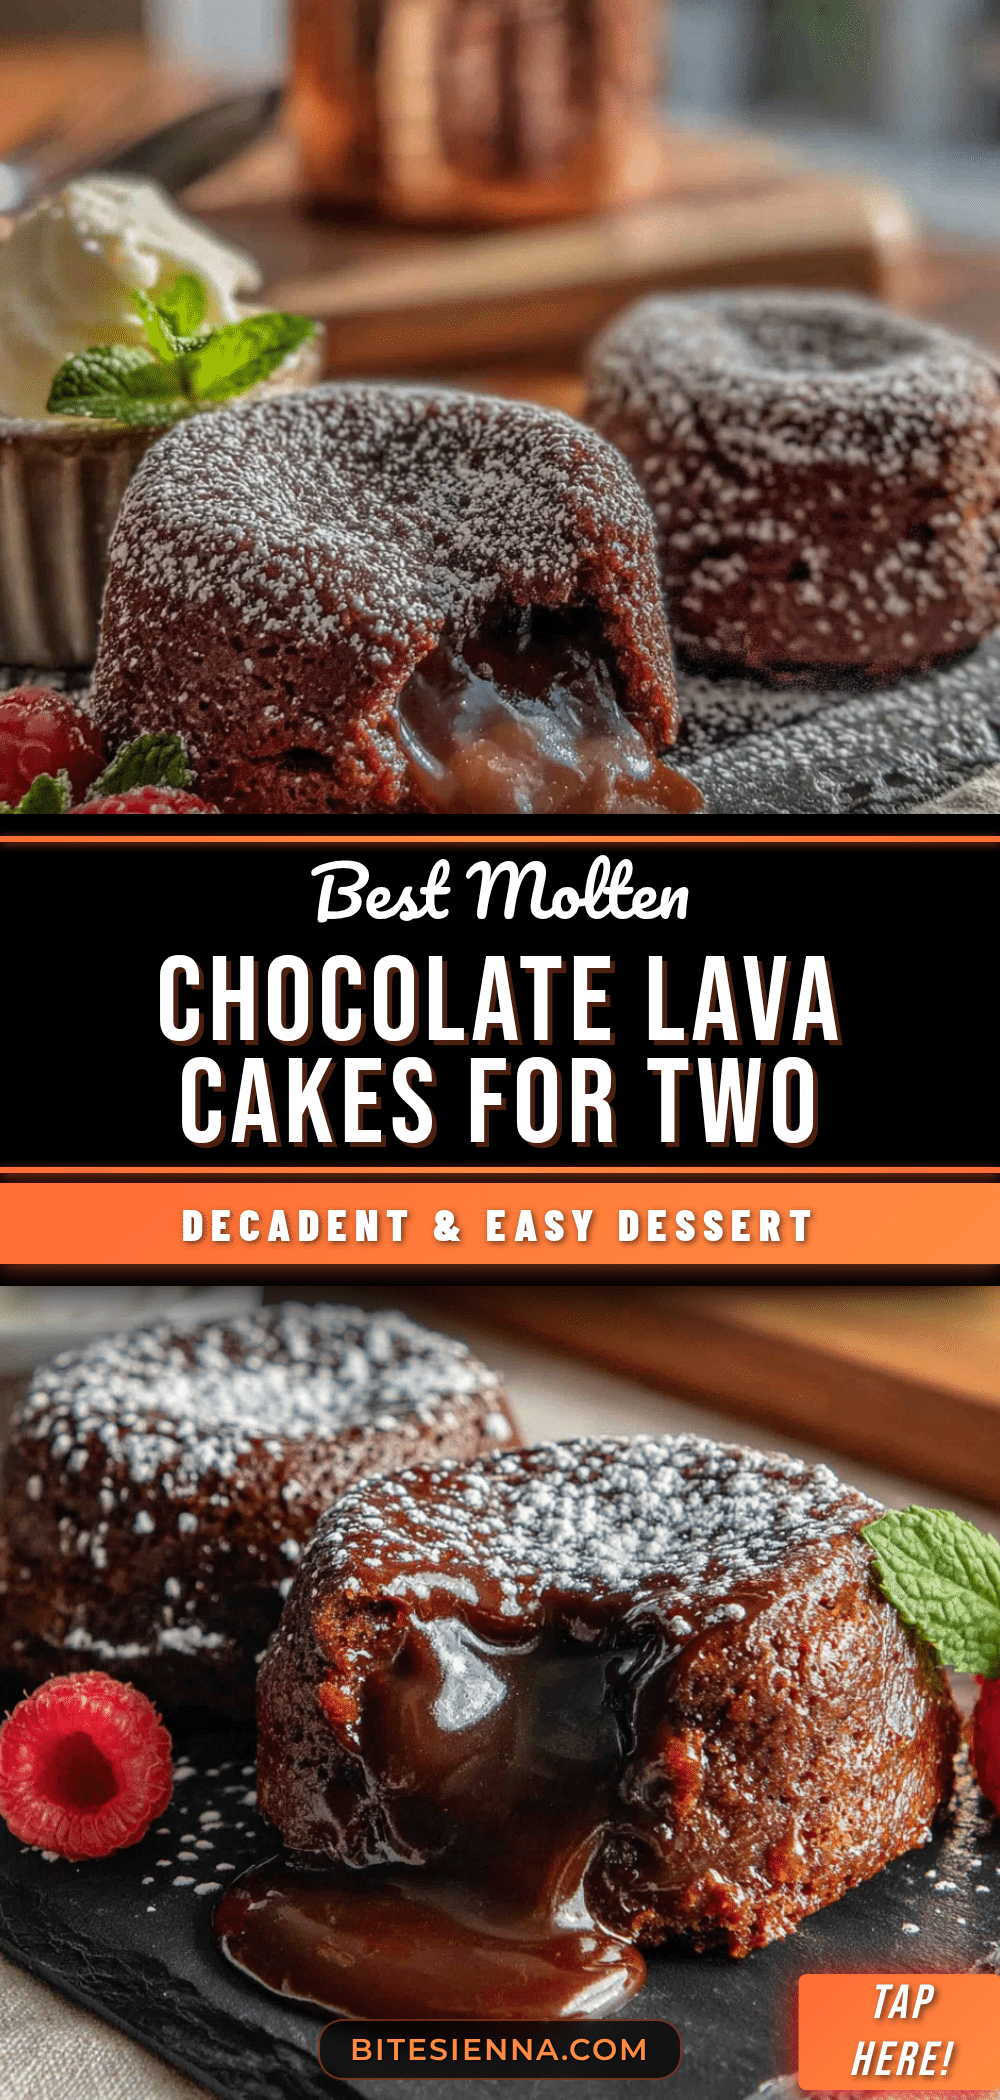
Best Molten Chocolate Lava Cakes for Two – Easy Homemade Recipe
These molten chocolate lava cakes are proof that you don’t need a special occasion to make something extraordinary. They’re simple enough for a Tuesday night, impressive enough for a date, and forgiving enough for beginners.
- Prep Time: 15 minutes
- Cook Time: 14 minutes
- Total Time: 29 minutes
- Yield: 2 servings 1x
- Category: Dessert
- Cuisine: American
Ingredients
- 4 tablespoons (56g) unsalted butter
- 4 oz (113g) semi-sweet or dark chocolate (60-70% cacao), chopped
- 2 large eggs, room temperature
- 1/4 cup (50g) granulated sugar
- 2 tablespoons (16g) all-purpose flour
- 1/2 teaspoon vanilla extract
- 1/8 teaspoon salt
- Butter and cocoa powder for greasing ramekins (optional)
Instructions
- Preheat your oven to 425°F (220°C). Place a baking sheet in the oven while it heats.
- Butter the inside of each ramekin generously, then dust with cocoa powder (or flour). Tap out the excess. Set aside.
- In a medium heatproof bowl, combine the chopped chocolate and butter. Place over a saucepan of simmering water (bowl should not touch water). Stir until smooth. Remove from heat and let cool slightly, about 2 minutes.
- In a separate bowl, whisk the eggs and granulated sugar together until pale, thick, and doubled in volume (about 2-3 minutes with a hand whisk). The batter should fall back in a thick ribbon that holds its shape for a second.
- Pour the melted chocolate mixture into the egg mixture. Fold gently with a spatula until just combined.
- Sift the flour and salt over the batter. Fold again until no streaks of flour remain.
- Divide the batter evenly into the prepared ramekins (about 3/4 full). Smooth the tops with the back of a spoon.
- Place the ramekins on the hot baking sheet in the oven. Bake for exactly 12-14 minutes. The edges should look firm and set, but the center should still jiggle slightly when shaken.
- Remove from the oven and let the ramekins sit on a wire rack for exactly 1 minute.
- Run a thin knife around the edge of each ramekin. Place a plate upside down on top, then carefully flip it over. Lift the ramekin off. Serve immediately.
Notes
For best results, use room temperature eggs and high-quality chocolate. The batter can be prepared up to 2 hours ahead and refrigerated; add 1-2 minutes to baking time. The ‘jiggle test’ is key: the center should wobble like Jell-O when shaken.
Nutrition
- Serving Size: 1 cake
- Calories: 420
- Sugar: 28
- Sodium: 150
- Fat: 28
- Saturated Fat: 16
- Carbohydrates: 38
- Fiber: 3
- Protein: 8
Keywords: molten chocolate lava cake, lava cake for two, easy lava cake, chocolate dessert, date night dessert