The cookie jar was empty by mid-afternoon. Not a crumb left behind. Third batch this week—and somehow, the requests for the recipe kept coming in. “Can you share that cookie?” a colleague asked between meetings, eyes lighting up with a mix of hope and sweet memory. Honestly, I was a bit surprised myself. I wasn’t aiming for anything fancy, just something to fill the lunchboxes that wouldn’t turn into sad, crumbly messes by noon. These thick chewy chocolate chip lunchbox cookies seemed to hit the spot in a way I didn’t fully expect.
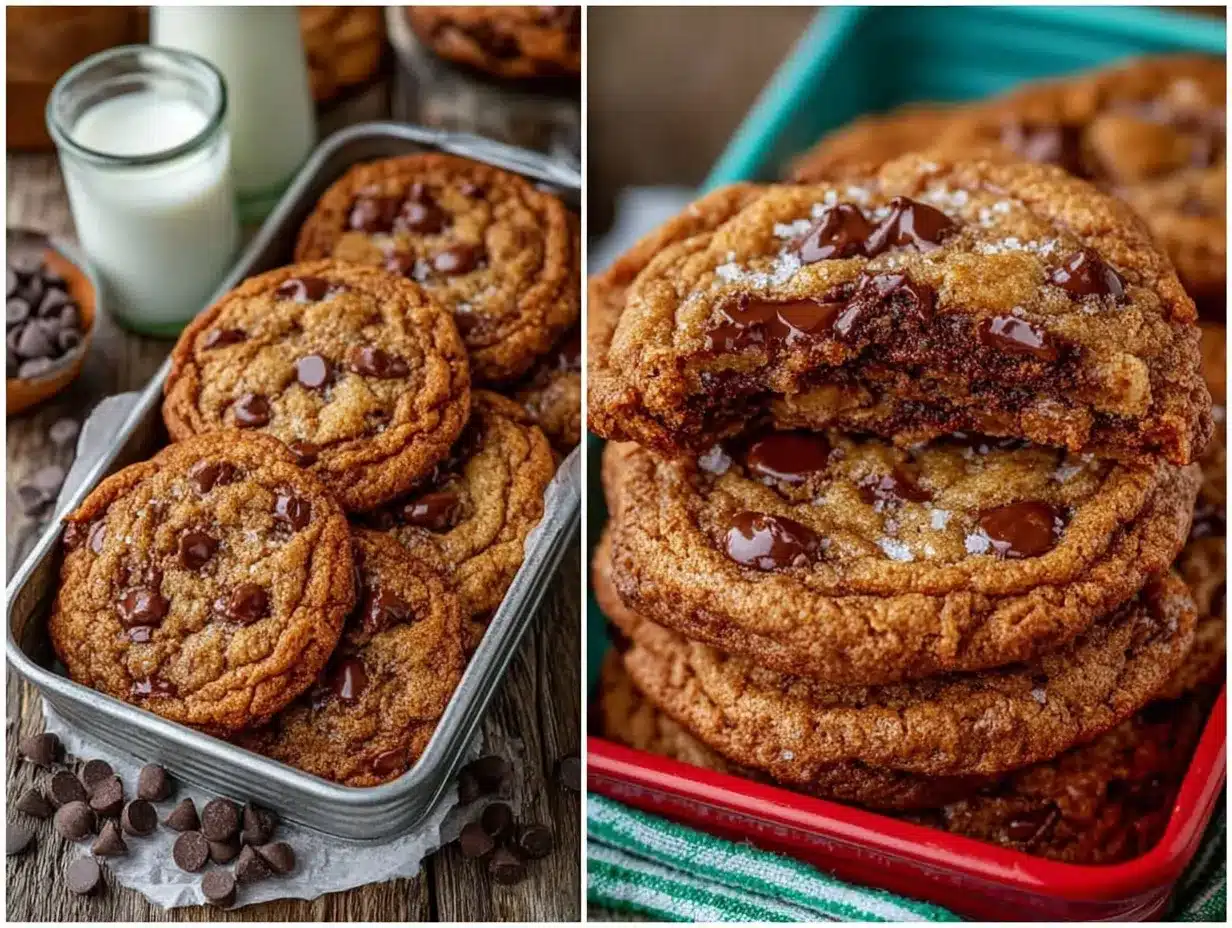
It all began on one of those rushed mornings where I wanted to pack a quick snack that felt homemade but wouldn’t fall apart before lunchtime. I remember mixing the dough almost absentmindedly, testing the first batch, and finding it both thick and satisfyingly chewy. The texture—like a tender hug in cookie form—was the real winner, and the chocolate chips? Generous pockets of melty goodness that somehow stayed luscious even after hours in a lunchbox.
The smell that filled the kitchen as they baked was just the right mix of nostalgic and new, a scent that somehow made everyone pause and reach for a second one. It wasn’t just about the cookies themselves but the tiny moments of joy they created throughout the day. Packing these cookies felt less like a chore and more like a small gift to whoever got them.
Looking back, it’s clear why this recipe stuck around. It’s not overcomplicated, the ingredients are simple, and the results speak for themselves. There’s a quiet satisfaction in knowing that these thick chewy chocolate chip lunchbox cookies brighten a day one bite at a time. I guess, in the end, that’s why I keep making them—and sharing them, even if I’m a little surprised by just how often they’re requested.
Why You’ll Love This Thick Chewy Chocolate Chip Lunchbox Cookies Recipe
Having tested and tweaked this recipe through countless snack times, I can say it really holds its own for several reasons. Here’s what stands out:
- Quick & Easy: Ready in about 30 minutes including baking, these cookies are perfect for busy mornings or last-minute lunchbox packing.
- Simple Ingredients: No exotic items here—just pantry staples you likely already have on hand.
- Perfect for Lunchboxes: They hold shape well and stay soft and chewy, even hours later, making them ideal for school or work snacks.
- Crowd-Pleaser: Kids, coworkers, and even the toughest cookie critics have given these rave reviews.
- Unbelievably Delicious: The balance of thick, chewy texture with melty chocolate chips is just right—comfort food in cookie form.
What really sets this apart is the method I use to keep them thick without turning dense, which took a few rounds to perfect. I’ve found that chilling the dough briefly before baking and using a mix of brown and white sugar gives them that signature chew and depth of flavor. Plus, I like to throw in a touch of vanilla and flaky sea salt on top for a little surprising pop.
These cookies aren’t just any chocolate chip cookie—they’re the kind you want to pack for lunch, sneak as a midnight treat, or share when you’re looking for something reliably delicious. They’re a quiet little pleasure that never fails to impress without any fuss. And honestly, that’s rare in the cookie world.
What Ingredients You Will Need
This recipe uses simple, wholesome ingredients to deliver bold flavor and satisfying texture without the fuss. Most are pantry staples, and you can easily swap a few if needed.
- All-purpose flour (2 ¼ cups / 280g) – for the right structure, I recommend King Arthur for consistent results
- Baking soda (1 teaspoon) – helps with rise and lightness
- Salt (½ teaspoon) – balances the sweetness
- Unsalted butter (¾ cup / 170g), softened – lends richness and chewy texture
- Brown sugar (¾ cup / 150g), packed – adds moisture and depth of flavor
- Granulated sugar (¼ cup / 50g) – gives a slight crisp edge to the cookie exterior
- Large eggs (2), room temperature – binds everything together
- Pure vanilla extract (2 teaspoons) – for warm, sweet aroma
- Chocolate chips (2 cups / 340g) – I prefer semi-sweet, but feel free to use dark or milk chocolate
- Flaky sea salt (optional, for sprinkling) – adds a subtle savory contrast
Substitution tip: For a gluten-free option, swap the all-purpose flour with a 1:1 gluten-free flour blend. If you want a dairy-free version, try coconut oil or vegan butter instead of butter and use dairy-free chocolate chips.
Equipment Needed
- Mixing bowls – A large bowl for dry ingredients and a medium one for creaming butter and sugars.
- Electric mixer or stand mixer – While you can mix by hand, a mixer saves time and improves texture.
- Measuring cups and spoons – Accurate measurement is key for consistency.
- Baking sheets – I use a heavy-duty non-stick pan; parchment paper or a silicone mat helps prevent sticking.
- Cooling rack – Essential for letting cookies cool evenly without getting soggy on the bottom.
- Spoon or cookie scoop – A medium cookie scoop helps portion uniform cookies for even baking.
If you don’t have a stand mixer, a handheld mixer works just fine. For budget-friendly options, silicone baking mats can be reused and save on parchment paper costs. I’ve tried baking these cookies on both metal and glass pans—the metal pans brown the edges a bit better, giving a nice contrast to the chewy center.
Preparation Method
- Preheat your oven to 350°F (175°C) and line two baking sheets with parchment paper or silicone mats. This ensures even baking and easy cleanup.
- Mix the dry ingredients: In a large bowl, whisk together 2 ¼ cups (280g) all-purpose flour, 1 teaspoon baking soda, and ½ teaspoon salt. Set aside.
- Cream the butter and sugars: In a separate bowl, beat ¾ cup (170g) softened unsalted butter with ¾ cup (150g) packed brown sugar and ¼ cup (50g) granulated sugar until light and fluffy—about 3-4 minutes. This step is key to that chewy texture.
- Add eggs and vanilla: Beat in 2 large eggs, one at a time, making sure each is fully incorporated, then stir in 2 teaspoons pure vanilla extract.
- Combine wet and dry: Gradually add the dry ingredient mixture to the wet ingredients, stirring until just combined. Avoid overmixing—this can make the cookies tough.
- Fold in chocolate chips: Gently stir in 2 cups (340g) semi-sweet chocolate chips until evenly distributed.
- Chill the dough: Cover the dough and refrigerate for at least 30 minutes. This step helps the cookies hold their thick shape and intensifies flavor.
- Form the cookies: Using a medium cookie scoop or spoon, drop dough balls about 2 tablespoons each onto the prepared baking sheets, spacing them 2 inches apart.
- Sprinkle with flaky sea salt (optional): Just a pinch on top of each dough ball adds a wonderful contrast to the sweetness.
- Bake: Place baking sheets in the preheated oven and bake for 12-14 minutes, or until edges are golden but centers still look slightly underbaked. This is the secret to chewy perfection.
- Cool: Allow cookies to cool on the baking sheet for 5 minutes before transferring to a cooling rack to finish cooling. This prevents breakage and helps them set.
If you notice your cookies spreading too much, make sure your butter isn’t too soft, and try chilling the dough longer next time. The dough should feel firm but scoopable.
Cooking Tips & Techniques for Perfect Thick Chewy Chocolate Chip Cookies
Getting that perfect thick and chewy texture can feel tricky, but a few tricks have made all the difference:
- Butter temperature matters: Using softened (not melted) butter gives structure. Melted butter creates flatter, crisper cookies.
- Chilling the dough: This step can’t be skipped. It prevents spreading and helps flavors meld.
- Don’t overmix the dough: Once you add flour, mix until just combined. Overworking develops gluten and toughens cookies.
- Use a cookie scoop: For consistent size and even baking, a scoop is a game changer.
- Watch baking time: Pull cookies out when edges are set but centers still look soft. They’ll finish cooking on the sheet.
- Flaky sea salt on top: This little addition takes the flavor from good to memorable. I learned this from a bakery visit years ago and never looked back.
Honestly, I once tried baking these at 375°F to speed things up—big mistake. The cookies spread too much and lost that thick chewiness. Patience (and a lower temperature) really pays off here.
Variations & Adaptations
While these thick chewy chocolate chip lunchbox cookies are fantastic as is, there’s room to make them your own:
- Nutty twist: Add 1 cup chopped walnuts or pecans for crunch and depth.
- Oatmeal version: Swap ½ cup flour for old-fashioned oats for a heartier, slightly chewy bite.
- Healthier adaptation: Use coconut oil instead of butter and swap half the sugar for maple syrup. Don’t expect the exact same chew but still delicious.
- Chocolate variety: Mix dark chocolate chunks with white chocolate chips for contrast.
- Seasonal flavors: Stir in 1 teaspoon cinnamon or a pinch of cayenne for a subtle warmth that pairs well with the chocolate.
I tried the oatmeal and walnut combo when packing snacks for a hiking day. The extra texture really helped keep things interesting—and the cookies held up well in my backpack all day.
Serving & Storage Suggestions
These cookies taste best at room temperature but are just as good slightly warmed. Here’s how I handle them:
- Serving: Pack as is in lunchboxes or serve with a cold glass of milk or a coffee. They balance savory dishes well too, like a simple lemon herb chicken dinner.
- Storage: Store cookies in an airtight container at room temperature for up to 5 days. For longer storage, freeze in a single layer on a baking sheet, then transfer to a freezer bag for up to 3 months.
- Reheating: Warm frozen cookies in the microwave for 10-15 seconds or in a low oven (300°F / 150°C) for 5 minutes to bring back that fresh-baked feel.
- Flavor development: The cookies actually taste better after a day as the flavors meld together. So if you can wait, that’s a bonus!
Nutritional Information & Benefits
One of these thick chewy chocolate chip lunchbox cookies contains roughly 180-200 calories, depending on the size. They offer a comforting dose of energy with a balanced mix of fats, sugars, and carbohydrates.
The use of brown sugar contributes a bit of molasses flavor and moisture, while the eggs provide protein. Chocolate chips bring antioxidants, and the addition of a pinch of sea salt helps balance sweetness and may aid digestion.
This recipe is naturally free of nuts unless you add them, making it school-friendly. You can easily make it gluten-free by swapping flour blends. While these cookies aren’t health food, they’re a thoughtfully made treat that can fit into a balanced lifestyle with some moderation.
Conclusion
These thick chewy chocolate chip lunchbox cookies have quietly become a staple for quick snacks and lunchbox surprises. Their simple ingredients and straightforward technique mean you can whip them up with confidence—even if you’re juggling a busy schedule.
Their thick, chewy texture and rich chocolate pockets make them stand out from ordinary cookies. I love that they’re easy to customize, so you can make them your own whether you want to add nuts, oats, or a pinch of spice.
Give this recipe a try and see how it fits into your snack rotation. I’d love to hear how you make them your own, so feel free to leave a comment and share your tweaks or favorite pairings. There’s something quietly satisfying about baking a batch that disappears before you know it—and these cookies definitely do that.
Frequently Asked Questions
How do I keep my cookies thick and chewy instead of flat and crispy?
Chilling the dough before baking and using softened butter (not melted) helps maintain thickness. Also, watch your baking time closely—remove cookies when edges are set but centers still look soft.
Can I make these cookies ahead of time?
Yes! The dough can be refrigerated for up to 3 days before baking. You can also freeze baked cookies and reheat them as needed.
What’s the best way to store these cookies?
Store at room temperature in an airtight container for up to 5 days or freeze for longer storage. Avoid stacking while still warm to prevent sticking.
Can I substitute the chocolate chips with something else?
Absolutely! Chopped chocolate bars, dried fruit, or even peanut butter chips work well depending on your preference.
Are these cookies suitable for school lunches?
Yes, the recipe is nut-free (unless you add nuts) and uses common allergens, so check your school’s policy. They hold up well in lunchboxes without crumbling.
Pin This Recipe!
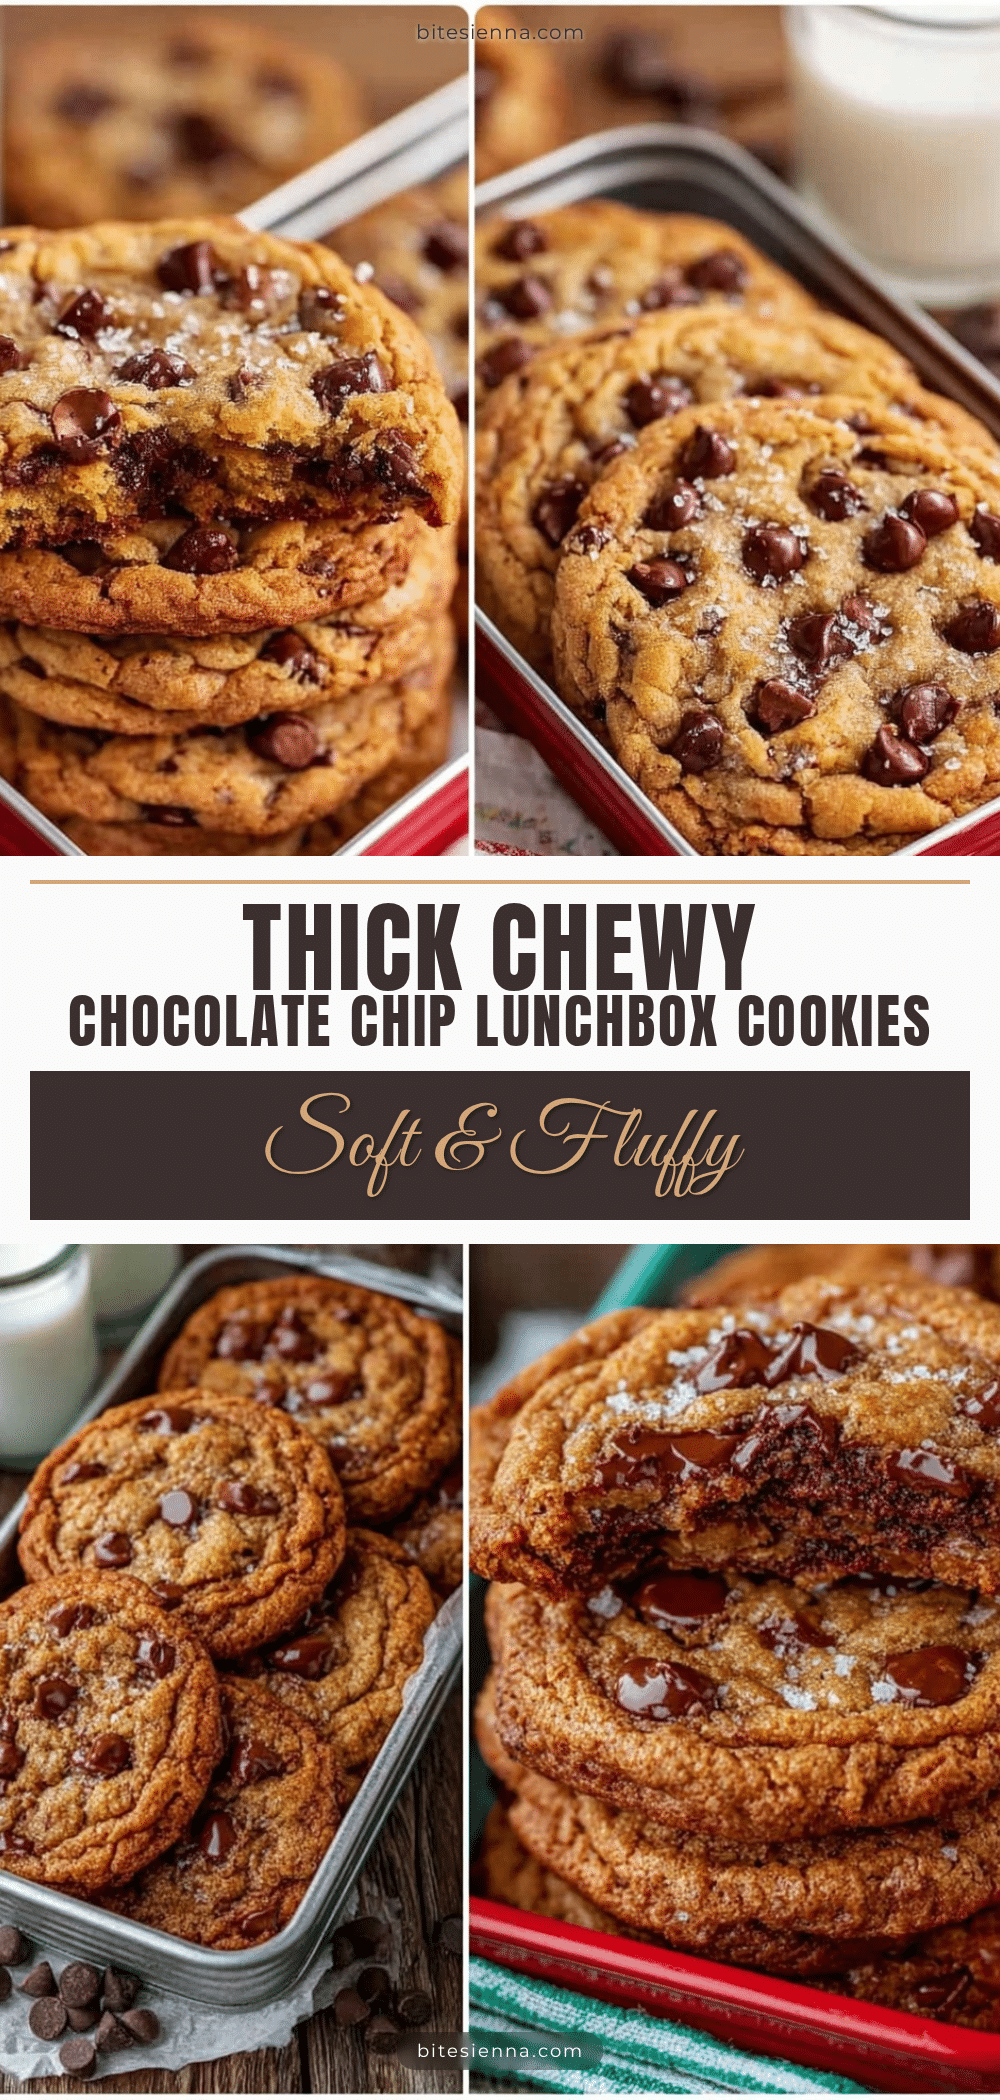
Thick Chewy Chocolate Chip Lunchbox Cookies

These thick chewy chocolate chip lunchbox cookies are perfect for snacks that hold their shape and stay soft and chewy even hours later. Made with simple pantry staples, they deliver a nostalgic, melty chocolate experience ideal for school or work.
- Prep Time: 15 minutes
- Cook Time: 14 minutes
- Total Time: 45 minutes
- Yield: 24 cookies 1x
- Category: Snack
- Cuisine: American
Ingredients
- 2 ¼ cups (280g) all-purpose flour
- 1 teaspoon baking soda
- ½ teaspoon salt
- ¾ cup (170g) unsalted butter, softened
- ¾ cup (150g) packed brown sugar
- ¼ cup (50g) granulated sugar
- 2 large eggs, room temperature
- 2 teaspoons pure vanilla extract
- 2 cups (340g) semi-sweet chocolate chips
- Flaky sea salt (optional, for sprinkling)
Instructions
- Preheat your oven to 350°F (175°C) and line two baking sheets with parchment paper or silicone mats.
- In a large bowl, whisk together the all-purpose flour, baking soda, and salt. Set aside.
- In a separate bowl, beat the softened unsalted butter with the brown sugar and granulated sugar until light and fluffy, about 3-4 minutes.
- Beat in the eggs one at a time, ensuring each is fully incorporated, then stir in the vanilla extract.
- Gradually add the dry ingredient mixture to the wet ingredients, stirring until just combined. Avoid overmixing.
- Fold in the semi-sweet chocolate chips until evenly distributed.
- Cover the dough and refrigerate for at least 30 minutes.
- Using a medium cookie scoop or spoon, drop dough balls about 2 tablespoons each onto the prepared baking sheets, spacing them 2 inches apart.
- Sprinkle each dough ball with flaky sea salt if using.
- Bake for 12-14 minutes, or until edges are golden but centers still look slightly underbaked.
- Allow cookies to cool on the baking sheet for 5 minutes before transferring to a cooling rack to finish cooling.
Notes
Use softened (not melted) butter for best texture. Chilling the dough is essential to keep cookies thick and chewy. Avoid overmixing the dough to prevent toughness. Pull cookies out when edges are set but centers still look soft for perfect chewiness. Flaky sea salt on top adds a delightful contrast. Dough can be refrigerated up to 3 days before baking. Store baked cookies in an airtight container at room temperature for up to 5 days or freeze for up to 3 months.
Nutrition
- Serving Size: 1 cookie
- Calories: 190
- Sugar: 18
- Sodium: 120
- Fat: 9
- Saturated Fat: 5
- Carbohydrates: 27
- Fiber: 1
- Protein: 2
Keywords: chocolate chip cookies, chewy cookies, lunchbox snacks, easy cookies, homemade cookies, thick cookies, snack recipes