Introduction
I burned the garlic in my first batch of spicy garlic dill refrigerator pickles three times before I understood one simple thing: temperature matters. Not the cucumbers, not the brine, but the garlic. That punch of charred bitterness stuck around longer than I wanted, and honestly, it almost made me give up on making pickles at home. I never thought I’d be the kind of person who actually prefers homemade pickles to store-bought, but after a lot of trial, error, and tasting way too many slightly off batches, I found a way to get the balance just right. The spice hits you first, then the tangy dill cuts through, and the garlic – when done right – comes in smooth and fragrant, not harsh or overbearing.
What surprised me the most was how quickly these refrigerator pickles come together. Unlike traditional canning, no pressure cooker or waiting weeks in the cupboard is needed. You mix up a simple brine, toss in fresh cucumbers, garlic, and dill, and within a day or two, you have pickles that taste like they’ve been slow-cooked for ages. It’s the kind of recipe that stuck with me because it’s straightforward but packs a punch — perfect for when you want something tangy, spicy, and homemade without a massive time commitment.
Honestly, making these pickles became my go-to when I wanted an easy, flavorful snack or a crunchy side that could jazz up anything from sandwiches to grilled salmon. After all the burnt garlic mishaps, I realized this recipe was worth every bit of kitchen chaos and then some. It’s the kind of recipe that feels like a secret weapon in your fridge, ready to bring a little zing to your day. And that’s why I’m sharing it with you now.
Why You’ll Love This Recipe
From my many rounds of experimenting, this recipe for flavorful spicy garlic dill refrigerator pickles stands out for a few reasons:
- Quick & Easy: You can whip this up in less than 20 minutes and have pickles ready to enjoy in just 24 to 48 hours—no canning skills or special equipment required.
- Simple Ingredients: Most of the ingredients are staples like cucumbers, garlic, and dill, so you probably have everything on hand already.
- Perfect for Snacking & Entertaining: Whether you’re prepping for a casual get-together or just want a crunchy side for dinner, these pickles fit the bill.
- Crowd-Pleaser: The spicy kick balanced with fresh dill and garlic flavor always gets compliments, even from those who claim they don’t like pickles.
- Unique Flavor Twist: The way the garlic is handled here (briefly bruised, never burned) ensures it’s aromatic without overpowering, and the addition of red pepper flakes gives it a lively heat that feels special.
This isn’t just your average dill pickle recipe. The brine’s perfect balance of vinegar, salt, and sugar highlights the cucumbers’ natural crunch, while the spicy garlic infusion takes it to a whole new level. I like to think of these as the pickles that make you pause and savor that first bite—the ones that turn ordinary sandwiches into something memorable.
And hey, if you’re a fan of pairing bold flavors with fresh, vibrant dishes, you might find that these pickles go great alongside a perfect seared salmon with garlic butter sauce or even a simple sandwich to punch it up.
What Ingredients You Will Need
This recipe uses straightforward ingredients that come together to create a bold, spicy, and tangy pickle brine. Most are pantry staples, and the fresh produce is easy to find at any grocery store or farmers market.
- Fresh Cucumbers: About 4 to 5 medium pickling cucumbers (roughly 1.5 pounds / 700 grams), sliced into rounds or spears depending on your preference. I prefer small, firm cucumbers for that classic crisp bite.
- Garlic Cloves: 4 to 6 large cloves, peeled and lightly crushed to release flavor without burning during brining.
- Fresh Dill: 3 to 4 sprigs or roughly 2 tablespoons of chopped fresh dill weed. If you don’t have fresh, 1 teaspoon of dried dill can work but fresh is best for that vibrant flavor.
- White Vinegar: 1 cup (240 ml) of 5% acidity vinegar for the perfect tang. Apple cider vinegar can be substituted but will add a fruitier note.
- Water: 1 cup (240 ml) to balance the vinegar and dilute the acidity for a milder bite.
- Pickling Salt or Kosher Salt: 1 tablespoon, no iodine to keep the brine clear and crisp.
- Granulated Sugar: 1 tablespoon to cut the sharpness and add slight sweetness.
- Red Pepper Flakes: 1 to 2 teaspoons, depending on your heat tolerance. Start with less if you’re unsure—you can always add more later.
- Black Peppercorns: 1 teaspoon whole peppercorns for a subtle peppery depth.
- Optional: A bay leaf or two for extra aroma, or a pinch of mustard seeds for a little extra complexity.
For best results, I recommend using a trusted brand of pickling salt like Diamond Crystal and fresh cucumbers picked the same day you plan to make the pickles. If you’re making this recipe in summer, swapping in fresh garden cucumbers will add an unbeatable crunch and freshness.
And if you want to keep this recipe vegan or dairy-free, it’s naturally so, but just double-check your vinegar and spices to avoid any surprises.
Equipment Needed
- Quart-sized Glass Jar or Mason Jar: For storing and fermenting the pickles in the fridge. Wide-mouth jars make packing cucumbers easier.
- Large Mixing Bowl: To combine cucumbers and spices before transferring to jars.
- Small Saucepan: To heat the brine ingredients just enough to dissolve salt and sugar.
- Measuring Cups and Spoons: For precise brine ratios.
- Sharp Knife and Cutting Board: For slicing cucumbers evenly.
- Optional: A pickle weight or small clean jar to keep cucumbers submerged if needed.
If you don’t have a mason jar, any clean, airtight glass container will work. Plastic containers can absorb flavors and odors, so glass is preferred. I’ve tried smaller jars for individual servings, which is handy when you don’t want to open a big batch all at once.
Preparation Method
- Prepare the Cucumbers: Wash and dry your cucumbers thoroughly. Slice them into your preferred shape—spears or ¼-inch thick rounds both work well. Place the sliced cucumbers in a large mixing bowl.
- Crush the Garlic: Peel the garlic cloves and gently crush them with the flat side of a knife. This helps release their flavor without turning bitter during brining.
- Make the Brine: In a small saucepan, combine 1 cup (240 ml) white vinegar, 1 cup (240 ml) water, 1 tablespoon pickling salt, and 1 tablespoon granulated sugar. Warm gently over medium heat, stirring until the salt and sugar fully dissolve—this usually takes about 3 to 5 minutes. Remove from heat and let cool slightly.
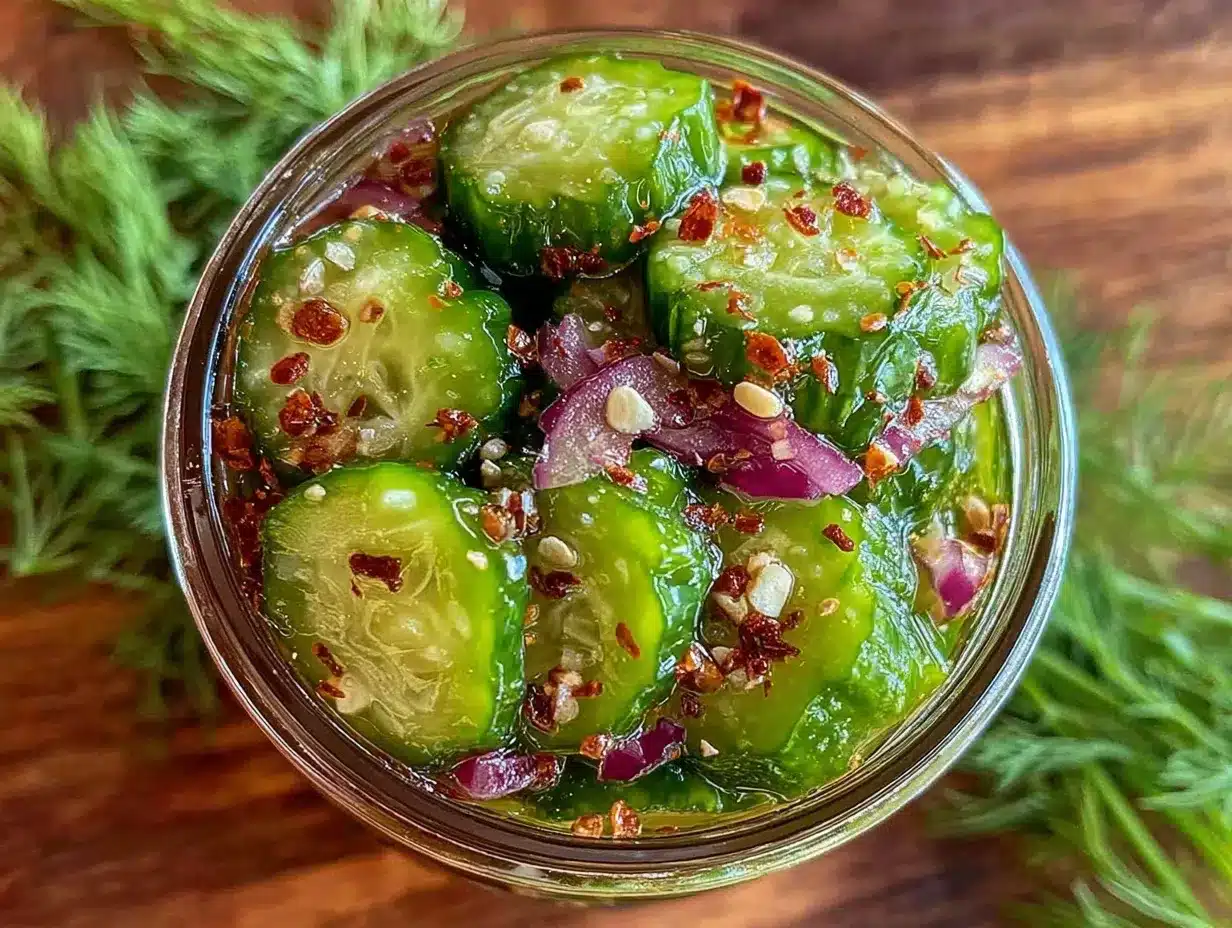
- Pack the Jar: Into your clean quart jar, layer the cucumbers, fresh dill sprigs, crushed garlic, red pepper flakes, and whole peppercorns. If you’re using bay leaves or mustard seeds, add them now.
- Pour the Brine: Pour the warm (not hot) brine over the cucumbers until fully submerged. Leave about ½-inch (1.3 cm) headspace at the top of the jar.
- Seal and Refrigerate: Close the jar tightly with its lid and place it in the refrigerator. Let the pickles sit for at least 24 hours before tasting. They’ll develop more flavor after 2 to 3 days.
- Check & Enjoy: Before serving, check that the cucumbers are fully submerged in the brine. Use a clean utensil to press them down if necessary. The pickles will keep well refrigerated for up to 3 weeks.
Pro tip: Avoid heating the brine too much or adding boiling hot liquid directly on the fresh garlic and dill, or you’ll risk losing that fresh punch. Also, resist opening the jar too frequently during the first day or two to keep the flavors developing evenly.
Cooking Tips & Techniques
One of the trickiest parts of making spicy garlic dill refrigerator pickles is getting the garlic flavor just right. Burnt or overcooked garlic can ruin the whole batch, so here’s what I learned the hard way:
- Use Fresh, Firm Cucumbers: Soft or overripe cucumbers tend to turn mushy quickly. Pickling cucumbers are best because they hold their crunch.
- Don’t Boil the Brine: Gently warming to dissolve salt and sugar is enough. Pouring hot brine over cucumbers can make them limp.
- Crush, Don’t Chop Garlic: Crushing garlic cloves lightly releases flavor without making it overpowering or bitter.
- Keep Cucumbers Submerged: If they float, use a clean weight or smaller jar to press them down—exposure to air can cause spoilage.
- Adjust Spiciness Carefully: Start with less red pepper flakes and add more after tasting. You can always sprinkle extra on when serving.
- Let Pickles Rest: Patience is key. The flavor deepens in the fridge. I usually wait 48 hours before opening.
Honestly, I once tried tossing in raw garlic cloves without crushing and ended up with pickles that tasted like a punch in the throat. Lesson learned: garlic prep matters.
Variations & Adaptations
This recipe is flexible enough to suit your taste and dietary needs. Here are some ways I’ve tweaked it over time:
- Low-Sodium Option: Reduce the salt to ½ tablespoon and add a splash of lemon juice for brightness.
- Herb Variations: Swap fresh dill for fresh tarragon or add fresh thyme for a different herbal note.
- Different Heat Sources: Replace red pepper flakes with sliced jalapeños or a dash of hot sauce for varying spice levels.
- Quick Pickle Version: Use thinner cucumber slices and let them sit at room temperature for 1 to 2 hours before refrigerating for a faster pickle.
- Allergen-Friendly: This recipe is naturally gluten-free and vegan; just double-check vinegar sources if allergies are a concern.
My personal favorite variation involves adding a teaspoon of smoked paprika to the brine—it adds a subtle smoky undertone that pairs surprisingly well with the garlic and dill. For a fresh summer twist, I’ve also tossed in a few slices of fresh cucumber and mint to create a crunchy, refreshing pickle that goes great with a cucumber mint sparkler.
Serving & Storage Suggestions
These spicy garlic dill refrigerator pickles are best served chilled, straight from the fridge. They’re a perfect crunchy snack or an easy topping for burgers, sandwiches, or even tacos. I often serve them alongside grilled dishes like chicken or salmon to add a zesty contrast—speaking of salmon, I find they complement the garlic butter salmon beautifully.
Store your pickles in the refrigerator tightly sealed. They’ll keep fresh and flavorful for up to three weeks, sometimes longer if you don’t open the jar often. If you notice any cloudiness or off odors, discard to be safe.
Reheating isn’t necessary here—these pickles are meant to be enjoyed cold or at room temperature. Over time, the flavors meld and the heat deepens, so they taste better after a few days. Remember to keep cucumbers submerged in brine to preserve texture.
Nutritional Information & Benefits
These flavorful spicy garlic dill refrigerator pickles are low in calories and fat, making them a guilt-free snack option. One serving (about 3 spears) typically contains:
- 15-20 calories
- Less than 1 gram of fat
- 1-2 grams of carbohydrates
- Minimal protein
- Good source of antioxidants from garlic and dill
Garlic is known for its natural anti-inflammatory properties and potential immune support, while dill offers digestive benefits. Plus, pickles can satisfy cravings for salty or crunchy snacks without much sugar or fat. Just watch the sodium content if you’re on a restricted diet.
Conclusion
This recipe for flavorful spicy garlic dill refrigerator pickles is one that I keep coming back to because it’s simple, satisfying, and honestly, a little addictive. You don’t need fancy ingredients or hours in the kitchen to make something that tastes like it belongs in a deli. I love how easy it is to customize and how it brightens up so many meals.
If you try it, don’t hesitate to tweak the spice level or herbs to fit your mood. Cooking is personal, after all. And I’d love to hear how your batch turns out or what creative twists you add—sharing those stories is what keeps recipes like this alive and fresh in the kitchen.
So go on, make a jar (or two), and keep a crunchy, tangy bite ready for whenever you need that perfect little punch of flavor.
FAQs About Flavorful Spicy Garlic Dill Refrigerator Pickles
How long do refrigerator pickles take to develop flavor?
They usually start tasting good after 24 hours, but the flavor deepens after 2 to 3 days in the fridge.
Can I use regular cucumbers instead of pickling cucumbers?
Yes, but pickling cucumbers stay crisper longer. Regular cucumbers may get soft faster.
How spicy are these pickles?
The heat depends on the amount of red pepper flakes you add. Start with less and adjust to your taste.
Do I need to sterilize the jar like traditional pickles?
Nope! Since these are refrigerator pickles, simply use a clean jar and keep them refrigerated.
Can I reuse the brine once the pickles are gone?
It’s best to make a fresh batch of brine each time to maintain flavor and food safety.
Pin This Recipe!
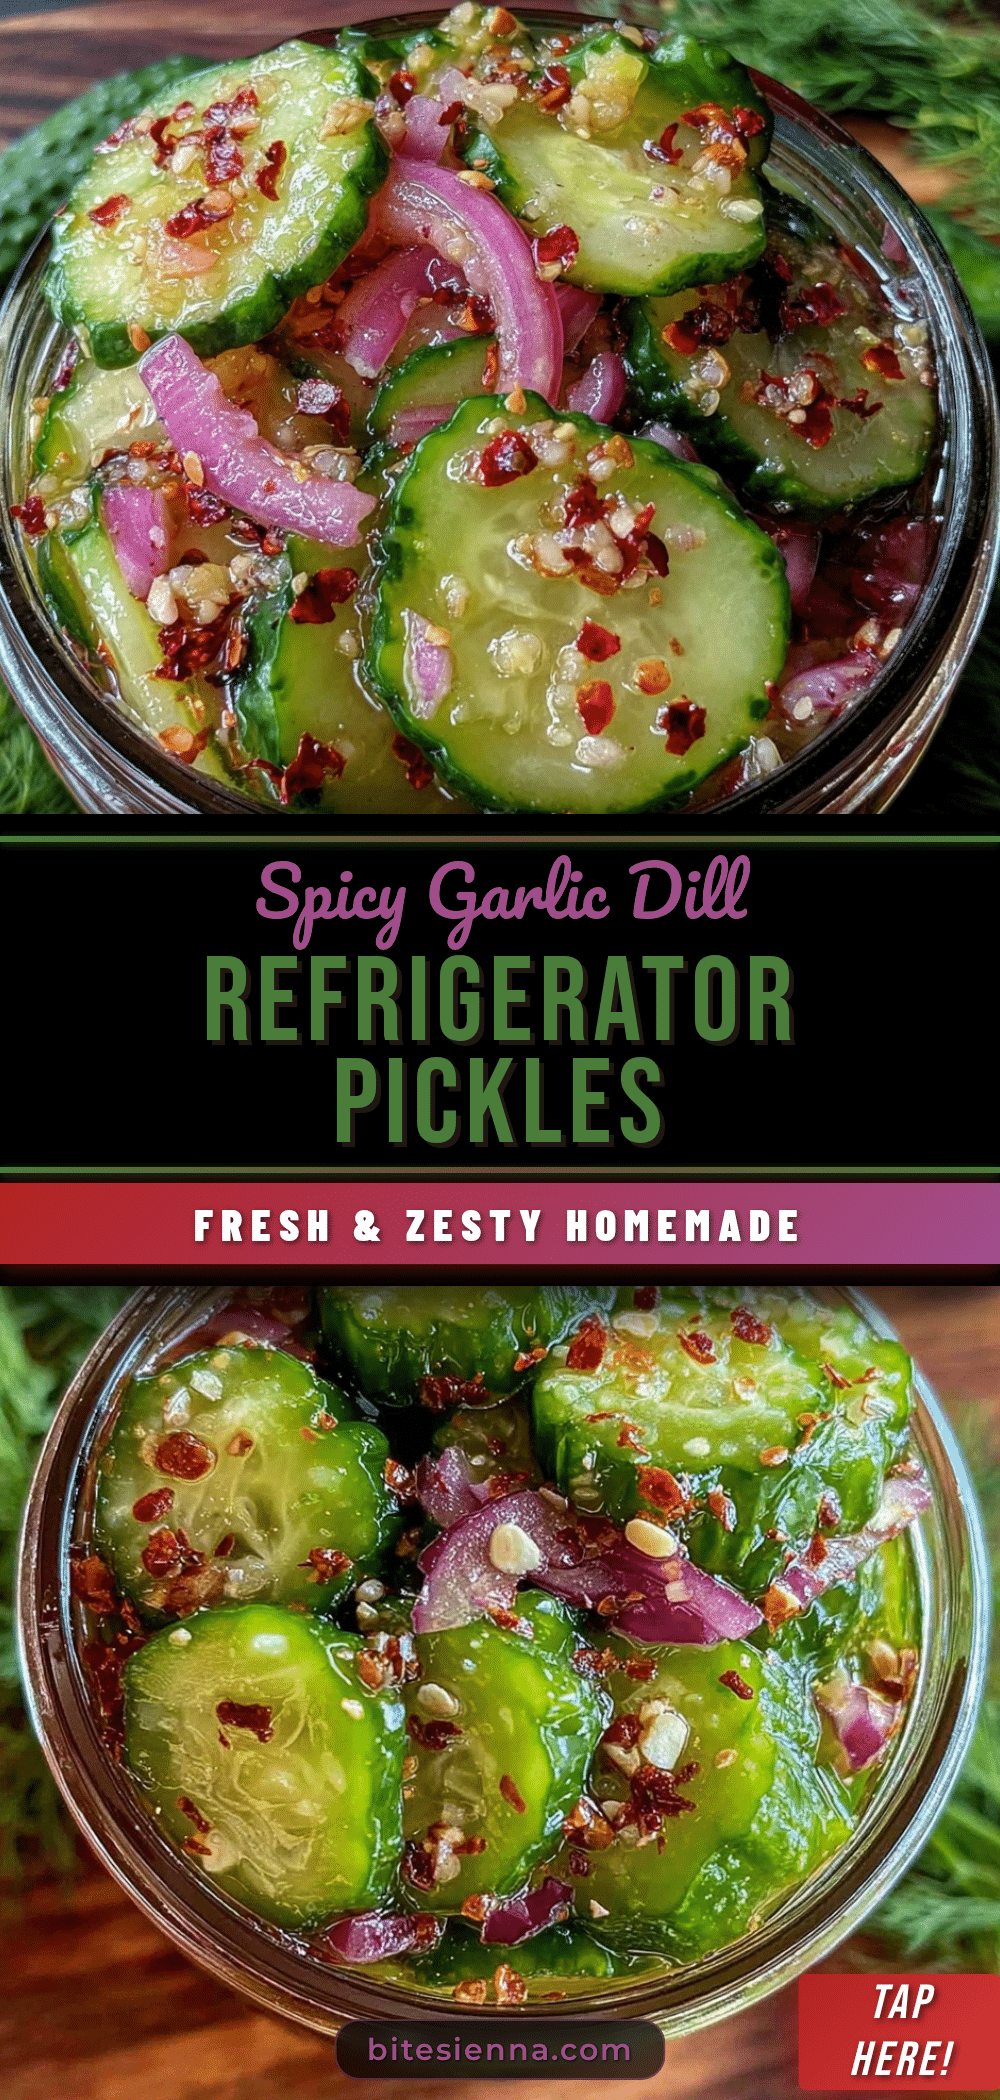
Flavorful Spicy Garlic Dill Refrigerator Pickles Easy Homemade Recipe
Quick and easy spicy garlic dill refrigerator pickles with a perfect balance of heat, tang, and fresh garlic flavor. Ready to enjoy in 24 to 48 hours without canning.
- Prep Time: 15 minutes
- Cook Time: 5 minutes
- Total Time: 24 to 48 hours (including resting time)
- Yield: About 1 quart jar (4 servings) 1x
- Category: Condiment / Snack / Side Dish
- Cuisine: American
Ingredients
- 4 to 5 medium pickling cucumbers (about 1.5 pounds / 700 grams), sliced into rounds or spears
- 4 to 6 large garlic cloves, peeled and lightly crushed
- 3 to 4 sprigs fresh dill or 2 tablespoons chopped fresh dill weed (or 1 teaspoon dried dill)
- 1 cup (240 ml) white vinegar (5% acidity)
- 1 cup (240 ml) water
- 1 tablespoon pickling salt or kosher salt (no iodine)
- 1 tablespoon granulated sugar
- 1 to 2 teaspoons red pepper flakes
- 1 teaspoon whole black peppercorns
- Optional: 1-2 bay leaves
- Optional: pinch of mustard seeds
Instructions
- Wash and dry cucumbers thoroughly. Slice into spears or 1/4-inch thick rounds and place in a large mixing bowl.
- Peel garlic cloves and gently crush with the flat side of a knife to release flavor without bitterness.
- In a small saucepan, combine white vinegar, water, pickling salt, and granulated sugar. Warm over medium heat, stirring until salt and sugar dissolve (3-5 minutes). Remove from heat and let cool slightly.
- Layer cucumbers, fresh dill sprigs, crushed garlic, red pepper flakes, and whole peppercorns in a clean quart-sized glass jar. Add bay leaves or mustard seeds if using.
- Pour the warm (not hot) brine over the cucumbers until fully submerged, leaving about 1/2 inch headspace at the top.
- Seal the jar tightly and refrigerate. Let pickles sit for at least 24 hours before tasting; flavor improves after 2 to 3 days.
- Before serving, ensure cucumbers are submerged in brine. Use a clean utensil to press them down if needed. Pickles keep refrigerated for up to 3 weeks.
Notes
Do not boil the brine; warm it just enough to dissolve salt and sugar. Crush garlic lightly instead of chopping to avoid bitterness. Keep cucumbers fully submerged in brine to prevent spoilage. Adjust red pepper flakes to taste. Let pickles rest for at least 24 hours, preferably 48 hours, for best flavor. Store refrigerated and consume within 3 weeks.
Nutrition
- Serving Size: About 3 pickle spear
- Calories: 1520
- Fat: 1
- Carbohydrates: 12
Keywords: spicy garlic dill pickles, refrigerator pickles, easy homemade pickles, quick pickles, dill pickles, spicy pickles, garlic pickles