“Why can’t you just skip chilling the dough and bake it right away?” my friend asked one chaotic Friday evening. I started to explain why that wouldn’t work — then stopped. Honestly, I was curious enough to let it slide this time.
So, we tossed the sugar cookie dough straight onto the baking sheet and popped it in the oven without the usual wait. The result? Perfectly soft-batch pencil sugar cookies that held their shape just right, with a tender crumb I never expected. It was a revelation — the kind of mistake that turns into a signature move.
I mean, normally I’m all about strict timing and chilling, but there was something about the immediacy here that brought out a fresher, more buttery flavor. Plus, icing them with royal icing right after baking gave these cookies a polished, bakery-style finish that felt totally achievable at home. Maybe you’ve been there too — trying to rush a recipe and ending up with something surprisingly better.
This recipe stuck with me because it makes soft-batch sugar cookies approachable and fun, no intimidating wait times or fancy equipment necessary. I keep making them for everything from last-minute celebrations to quiet afternoons with tea, and honestly, I can’t recommend them enough.
Why You’ll Love This Recipe
After testing countless sugar cookie recipes and royal icing techniques, I can say this one stands out for a few reasons that make it a go-to in my kitchen:
- Quick & Easy: Ready in under an hour from start to finish, perfect for those evenings when you crave baking but don’t want to be stuck all day.
- Simple Ingredients: Uses pantry staples — no obscure extracts or specialty sugars needed.
- Perfect for Celebrations: Whether decorating for a birthday or just a cozy weekend treat, these cookies feel festive and special.
- Crowd-Pleaser: Soft, melt-in-your-mouth texture with just the right amount of sweetness — loved by kids and adults alike.
- Unbelievably Delicious: The pencil shape is not only fun but practical, giving each cookie a tender center and slightly crisp edges.
What makes this recipe different is the balance between soft-batch dough and that perfectly smooth royal icing. The icing recipe is foolproof, drying with a delicate matte finish that stays crack-free. Plus, the pencil shape lets you get creative with colors and patterns — a fun twist on classic sugar cookies.
This isn’t just a cookie recipe — it’s a little celebration in every bite, the kind that makes you pause and savor that perfect blend of buttery cookie and sweet icing. Honestly, once you master these, you might find yourself reaching for them every holiday season or just because you want to brighten the day.
What Ingredients You Will Need
This recipe uses simple, wholesome ingredients to deliver a soft, tender cookie base and a smooth royal icing finish without fuss. Most are pantry staples, and there’s flexibility for substitutions if needed.
- For the Soft-Batch Pencil Sugar Cookies:
- All-purpose flour – 2 ¾ cups (345 g), spooned and leveled for accurate measurement
- Baking powder – 1 teaspoon (adds gentle rise)
- Salt – ½ teaspoon (balances sweetness)
- Unsalted butter – 1 cup (227 g), softened (I recommend using a quality brand like Kerrygold for creaminess)
- Granulated sugar – 1 ¼ cups (250 g)
- Large egg – 1, room temperature
- Pure vanilla extract – 1 ½ teaspoons (use a good-quality extract for best flavor)
- Milk – 2 tablespoons (30 ml), any variety (adds tenderness)
- For the Royal Icing:
- Powdered sugar – 3 cups (360 g), sifted
- Egg whites – 2 large (or 4 tablespoons of meringue powder mixed with 6 tablespoons water if preferred)
- Lemon juice – 1 teaspoon (adds brightness and helps set the icing)
- Food coloring – gel or paste type (optional, for decorating)
If you want a gluten-free option, swap the all-purpose flour with a 1:1 gluten-free baking blend. For a dairy-free version, replace butter with vegan margarine and use dairy-free milk alternatives. I’ve found that using powdered sugar sifted well is key to avoid grainy icing.
Equipment Needed
To make these soft-batch pencil sugar cookies with royal icing, you’ll want a handful of kitchen tools that keep things simple but effective:
- Mixing bowls – A large bowl for dough and a separate one for icing.
- Electric mixer or stand mixer – Creaming the butter and sugar is much easier and yields better texture.
- Measuring cups and spoons – Accurate measurements help keep the dough consistent.
- Baking sheets – I use heavy-duty, rimmed cookie sheets to prevent spreading.
- Parchment paper or silicone baking mats – For easy release and cleanup.
- Rolling pin – Optional, but helpful to gently shape the dough rolls before slicing.
- Sharp knife or bench scraper – To cut the dough into pencil-shaped slices.
- Piping bags and fine round tips – For applying the royal icing smoothly, though a zip-top bag with a snipped corner works in a pinch.
If you don’t have a stand mixer, a hand mixer works too — just be patient when creaming butter and sugar. I keep a small offset spatula handy for smoothing icing edges. And honestly, parchment paper is a game-changer for baking these cookies evenly without sticking.
Preparation Method
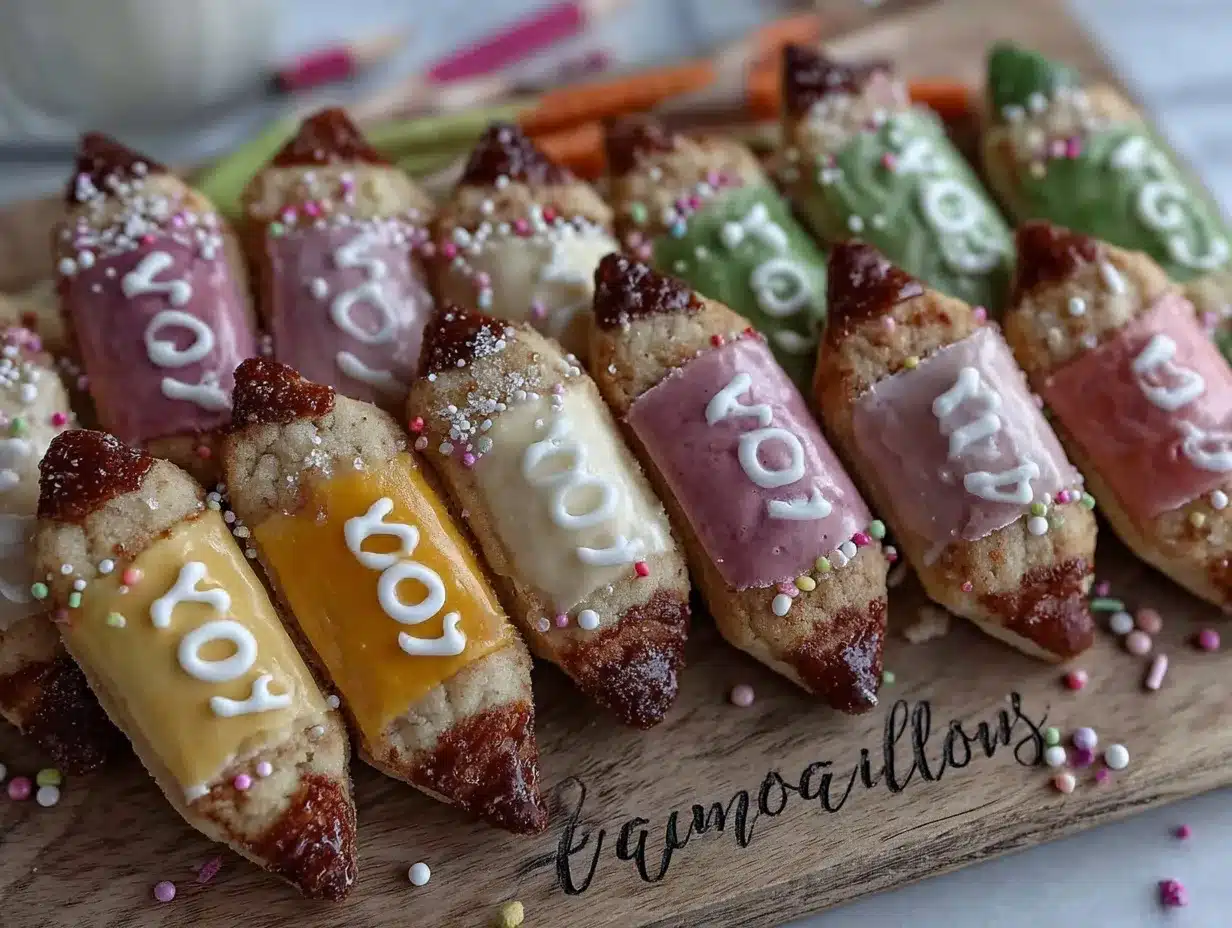
- Preheat your oven to 350°F (175°C) and line two baking sheets with parchment paper or silicone mats. This step sets you up for even baking and easy cleanup. (5 minutes)
- In a medium bowl, whisk together the flour, baking powder, and salt. This dry mix ensures the leavening and seasoning are evenly distributed. Set aside. (3 minutes)
- In a large bowl, cream the softened butter and granulated sugar using an electric mixer on medium speed until light and fluffy — about 3-4 minutes. This step is crucial; don’t rush it. You want the sugar to dissolve into the butter for a tender crumb. (5 minutes)
- Add the egg, vanilla extract, and milk to the butter mixture and beat until just combined. Don’t overmix here; stop as soon as it’s incorporated. (2 minutes)
- Gradually add the dry ingredients to the wet ingredients in batches, mixing on low speed until combined. The dough will be soft but manageable. If it feels too sticky, chill for 10-15 minutes; otherwise, proceed. (5 minutes)
- Shape the dough into a log roughly 12 inches (30 cm) long and 2 inches (5 cm) in diameter. Wrap it tightly in plastic wrap and refrigerate for at least 30 minutes to firm up. This helps maintain the pencil shape when sliced. (30 minutes)
- Remove the chilled dough and unwrap it. Using a sharp knife, slice into ½-inch (1.3 cm) thick rounds. Gently shape each slice with your fingers to form a slight taper at the ends, mimicking a pencil tip. Place them about 1 inch (2.5 cm) apart on the prepared baking sheets. (10 minutes)
- Bake for 10-12 minutes or until the edges are just starting to turn golden but the centers remain soft. The baking time is crucial – overbaking will dry them out. (12 minutes)
- Cool the cookies completely on wire racks before decorating. Any warmth left can cause royal icing to run. (30 minutes)
- Prepare the royal icing: In a clean bowl, beat egg whites until frothy. Gradually add sifted powdered sugar and lemon juice, beating until stiff peaks form and the icing is smooth. Divide and tint with food coloring if desired.
- Transfer the icing to piping bags fitted with small round tips. Pipe outlines first, then flood the centers. Allow the icing to dry at room temperature for several hours or overnight for best results.
Pro tip: If your icing is too thick, add a few drops of water; too thin, add more powdered sugar. I learned the hard way that patience here makes all the difference.
Cooking Tips & Techniques
Getting the perfect soft-batch pencil sugar cookies with royal icing is all about these key tips I’ve picked up through many baking sessions:
- Don’t skip chilling the dough: It firms up the butter, preventing the cookies from spreading too much and losing their pencil shape.
- Use room temperature ingredients: Butter and eggs at room temp combine better, yielding a smoother dough.
- Measure flour properly: Spoon and level your flour instead of scooping directly from the bag to avoid dense cookies.
- Watch your baking time closely: Cookies can go from soft to overbaked quickly. Pull them out when edges just start to golden.
- For royal icing, consistency matters: Thicker icing is best for outlines; thinner for flooding. I keep a scrap bowl handy to test flow before decorating.
- Practice piping on parchment before icing cookies: This builds confidence and keeps your designs neat.
- Don’t rush drying royal icing: It needs time to set fully to avoid smudging or cracking later.
One time, I accidentally added too much lemon juice to the icing — it was runny but still tasted great. I just let it dry longer, and the finish was surprisingly smooth. Mistakes can teach you a lot!
Variations & Adaptations
If you want to switch things up or cater to different dietary needs, here are some tasty variations I’ve tried and loved:
- Flavor Twist: Add ½ teaspoon almond extract alongside vanilla for a nutty aroma that pairs beautifully with royal icing.
- Seasonal Colors: Change icing colors to match holidays or seasons — pastel pinks for spring, deep reds and greens for Christmas.
- Gluten-Free Version: Use a 1:1 gluten-free flour blend. The texture is slightly different but still wonderfully soft.
- Dairy-Free Option: Swap butter for vegan butter and milk for almond or oat milk. I’ve done this with great success for friends with allergies.
- Piping Alternatives: If you want to skip royal icing, try a simple glaze made from powdered sugar and milk, though it won’t harden as firmly.
I once added a sprinkle of finely chopped pistachios on top of wet royal icing for a crunchy surprise — totally worth trying if you like texture contrast!
Serving & Storage Suggestions
These soft-batch pencil sugar cookies are best served at room temperature, allowing the buttery flavor and delicate icing to shine. I like arranging them on a pretty platter with a cup of chamomile tea or a cold glass of milk — simple, comforting, and always satisfying.
To store, place cookies in an airtight container layered with parchment paper between each to keep the icing intact. They’ll stay fresh for up to 5 days at room temperature or up to 2 weeks refrigerated.
For longer storage, freeze the undecorated cookies in a single layer on a baking sheet, then transfer them to a freezer-safe bag. Thaw completely before icing.
Reheat slightly in a warm oven (about 250°F / 120°C for 5 minutes) if you want that fresh-baked softness back — but avoid heating decorated cookies as it can melt the icing.
Interestingly, the flavor deepens after a day or two, making leftovers even more tempting. Honestly, sometimes I purposely bake them ahead just to enjoy that mellow sweetness.
Nutritional Information & Benefits
Each soft-batch pencil sugar cookie (without icing) contains roughly 120-140 calories, with 5-7 grams of fat and 18-20 grams of carbohydrates. The royal icing adds sweetness but minimal fat.
The recipe uses real butter and eggs, providing some protein and healthy fats compared to processed alternatives. Vanilla extract and lemon juice bring natural flavor without added sugars.
For those watching gluten intake, swapping to gluten-free flour makes this option accessible. The recipe is naturally nut-free unless you add toppings.
While these cookies are an indulgence, the homemade ingredients and controlled portions make them a treat you can feel good about sharing at family gatherings or celebrations.
Personally, I appreciate that this recipe avoids artificial colors or preservatives, which matters to me and many readers focused on cleaner eating.
Conclusion
This soft-batch pencil sugar cookies recipe with royal icing is worth every minute of your time. It’s approachable, forgiving, and yields stunning results that taste as good as they look. Whether you’re new to cookie decorating or a seasoned pro, I encourage you to make this recipe your own — add your favorite colors, tweak the flavors, or experiment with shapes.
I love this recipe because it captures the joy of baking — the little surprises, the creative outlet, and that unbeatable feeling of sharing something homemade with people you care about. If you try it, I’d love to hear how your batch turns out or what fun adaptations you’ve made!
Happy baking, and may your kitchen be filled with the warmth and sweetness of these soft sugar cookies.
FAQs
How do I keep my sugar cookies soft?
Use the exact measurements, don’t overbake, and store cookies in an airtight container. Adding a bit of milk to the dough also helps maintain softness.
Can I make royal icing without egg whites?
Yes, you can use meringue powder mixed with water as a safe and easy substitute that still dries hard.
Why did my royal icing crack?
Cracking usually happens if the icing dries too quickly or is too thick. Try adjusting the consistency or drying in a slightly more humid environment.
Can I prepare the dough ahead of time?
Absolutely! Dough can be wrapped and refrigerated for up to 3 days or frozen for longer storage before slicing and baking.
What’s the best way to color royal icing?
Gel or paste food coloring works best as it won’t thin the icing. Add color gradually until you reach your desired shade.
Pin This Recipe!
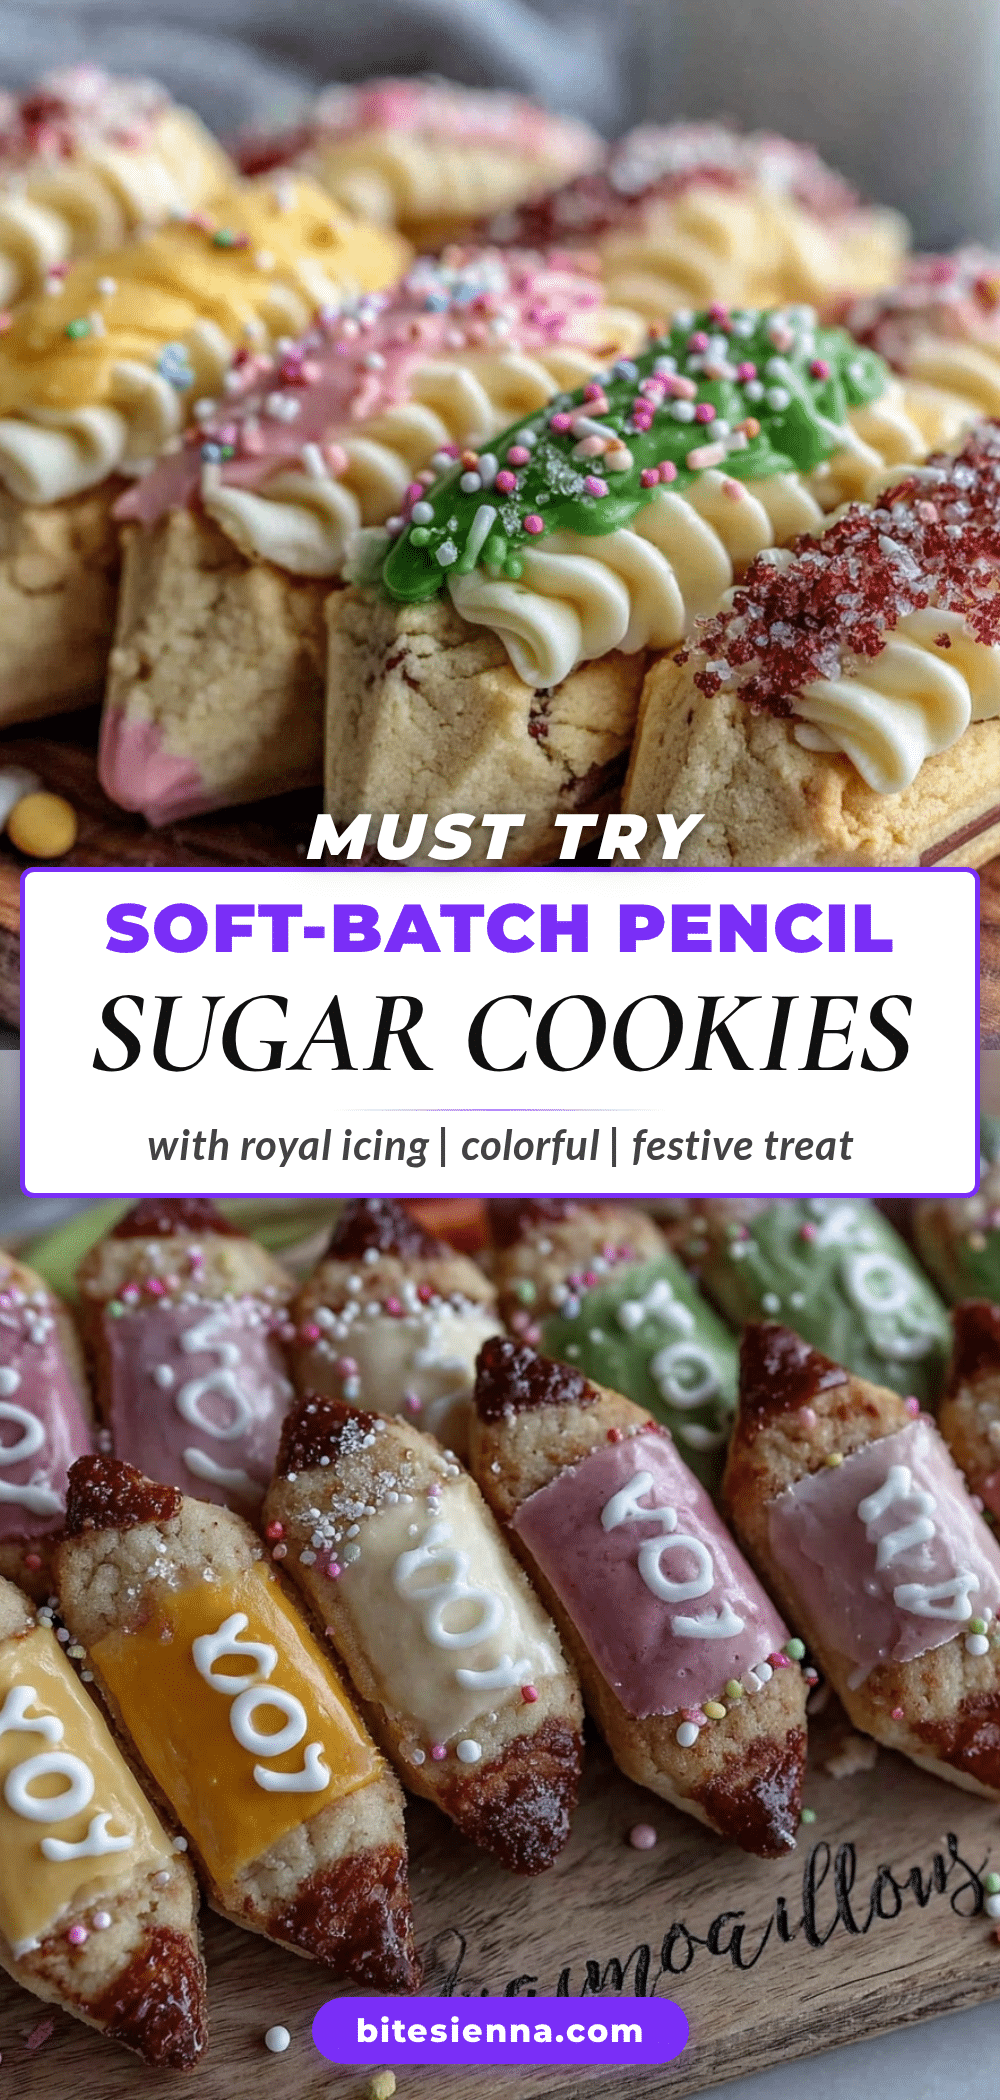
Soft-Batch Pencil Sugar Cookies Recipe with Royal Icing

A quick and easy recipe for soft-batch pencil-shaped sugar cookies topped with smooth royal icing, perfect for celebrations and everyday treats.
- Prep Time: 15 minutes
- Cook Time: 12 minutes
- Total Time: 1 hour 15 minutes
- Yield: 24 cookies 1x
- Category: Dessert
- Cuisine: American
Ingredients
- 2 ¾ cups all-purpose flour (345 g), spooned and leveled
- 1 teaspoon baking powder
- ½ teaspoon salt
- 1 cup unsalted butter (227 g), softened
- 1 ¼ cups granulated sugar (250 g)
- 1 large egg, room temperature
- 1 ½ teaspoons pure vanilla extract
- 2 tablespoons milk (30 ml), any variety
- 3 cups powdered sugar (360 g), sifted
- 2 large egg whites (or 4 tablespoons meringue powder mixed with 6 tablespoons water)
- 1 teaspoon lemon juice
- Food coloring (gel or paste, optional)
Instructions
- Preheat your oven to 350°F (175°C) and line two baking sheets with parchment paper or silicone mats.
- In a medium bowl, whisk together the flour, baking powder, and salt. Set aside.
- In a large bowl, cream the softened butter and granulated sugar using an electric mixer on medium speed until light and fluffy, about 3-4 minutes.
- Add the egg, vanilla extract, and milk to the butter mixture and beat until just combined.
- Gradually add the dry ingredients to the wet ingredients in batches, mixing on low speed until combined. If dough is too sticky, chill for 10-15 minutes.
- Shape the dough into a log roughly 12 inches long and 2 inches in diameter. Wrap tightly in plastic wrap and refrigerate for at least 30 minutes.
- Remove chilled dough and unwrap. Slice into ½-inch thick rounds. Shape each slice to taper ends like a pencil tip. Place 1 inch apart on baking sheets.
- Bake for 10-12 minutes or until edges start to turn golden but centers remain soft.
- Cool cookies completely on wire racks before decorating.
- Prepare royal icing: Beat egg whites until frothy. Gradually add sifted powdered sugar and lemon juice, beating until stiff peaks form and icing is smooth. Tint with food coloring if desired.
- Transfer icing to piping bags fitted with small round tips. Pipe outlines first, then flood centers. Allow icing to dry at room temperature for several hours or overnight.
Notes
Do not skip chilling the dough to maintain the pencil shape and prevent spreading. Use room temperature ingredients for better dough texture. Measure flour by spooning and leveling to avoid dense cookies. Watch baking time closely to keep cookies soft. Adjust royal icing consistency by adding water or powdered sugar as needed. Allow royal icing to dry fully to avoid cracking or smudging.
Nutrition
- Serving Size: 1 cookie
- Calories: 130
- Sugar: 12
- Sodium: 90
- Fat: 6
- Saturated Fat: 4
- Carbohydrates: 19
- Protein: 2
Keywords: soft sugar cookies, pencil sugar cookies, royal icing, easy sugar cookies, holiday cookies, cookie decorating


