My neighbor, Steve, wasn’t trying to impress anyone. I’d stopped by to borrow his extension cord—mine had mysteriously vanished into the garage abyss—and the smell of garlic and cheddar hit me before I even got through the screen door. He was standing at his kitchen counter, hands covered in what looked like cream cheese and chopped pecans, shaping this massive orange mound into an oval. “Game’s on in an hour,” he said, like it was nothing special. Like he wasn’t creating the most glorious, savory, football-shaped masterpiece I’d ever seen.
I mean, honestly, I stood there holding that extension cord, completely frozen. The cheese ball was studded with bacon bits and what looked like jalapeños, and he was just patting it into shape with this casual confidence that made me a little envious. “You want the recipe?” he asked, catching me staring. I probably nodded a little too fast. He wiped his hands on his jeans—a total dad move—and scribbled it on the back of an old pizza box. That scrap of paper is still tucked in my recipe box, a little greasy, but priceless.
Maybe you’ve been there, watching someone make something extraordinary look effortless. That’s exactly what this game day loaded football-shaped cheese ball is. It’s the kind of appetizer that disappears before halftime, and the person who made it just shrugs like it was nothing. But let me tell you, there’s magic in that creamy, crunchy, cheesy bite. I’ve made this for every Super Bowl party since, and it never fails to get that same wide-eyed reaction I had in Steve’s kitchen. This recipe stayed with me because it proves you don’t need fancy techniques to steal the show—you just need the right combination of flavors and a little bit of shaping love.
Why You’ll Love This Recipe
Let’s be real for a second. I’ve tested this game day loaded football-shaped cheese ball at least a dozen times, tweaking the ratios, swapping ingredients, and even accidentally dropping one on the floor (it was still edible, just a little lopsided). After all that trial and error, I can confidently say this version is the one. It’s not just another cheese ball recipe—it’s the one that makes people ask for the recipe before the first commercial break.
- Quick & Easy: You can throw this together in under 20 minutes. No baking, no complicated steps. Just mix, shape, and chill. Perfect for those last-minute game day cravings when you realize the party starts in an hour.
- Simple Ingredients: Everything on the list is probably already in your fridge or pantry. Cream cheese, cheddar, bacon, pecans—these are the heroes of your kitchen, not some obscure ingredient you’ll never use again.
- Perfect for Game Day: Whether it’s the Super Bowl, a college rivalry game, or just a random Sunday with friends, this cheese ball screams “football season.” The shape alone gets people talking.
- Crowd-Pleaser: I’ve served this to kids, picky eaters, and even my uncle who “doesn’t do appetizers.” Every single person went back for seconds. It’s impossible to resist.
- Unbelievably Delicious: The texture is what gets me every time. Creamy on the inside, crunchy on the outside, with bursts of smoky bacon and a little kick from the jalapeños. It’s comfort food in the shape of your favorite sport.
What makes this recipe different from the rest? It’s the balance. I’ve tried cheese balls that were too salty, too dry, or just plain boring. This one has a secret trick—a tiny splash of Worcestershire sauce that adds this deep, savory umami you can’t quite place but absolutely crave. Plus, the football shape isn’t just for show; it helps the coating stick evenly and makes slicing into it feel like a celebration. Honestly, this isn’t just good—it’s the kind of appetizer that makes you close your eyes after the first bite and forget the game is even on.
What Ingredients You Will Need
This recipe uses simple, wholesome ingredients to deliver bold flavor and satisfying texture without the fuss. Most of these are pantry staples or easy to find at any grocery store. I’ve tested a few brand variations, so I’ll share what works best.
- Cream cheese: 16 ounces (two 8-ounce blocks), softened to room temperature. I prefer Philadelphia brand for its smooth, consistent texture. Don’t use low-fat—it won’t hold the football shape as well.
- Sharp cheddar cheese: 1 ½ cups, shredded. Buy a block and shred it yourself—pre-shredded cheese has anti-caking agents that affect the creaminess. Cabot or Tillamook are my go-tos.
- Cooked bacon: 8 strips, crumbled into small pieces. Thick-cut bacon adds more smoky flavor. You can use turkey bacon or plant-based bacon if needed, but the texture will be slightly different.
- Green onions: 4-5 stalks, thinly sliced. Use both white and green parts for a mild oniony bite. If you’re in a pinch, chives work too.
- Pickled jalapeños: ¼ cup, finely chopped. Drain them well to avoid making the cheese ball too wet. For less heat, use mild pickled jalapeños or omit entirely.
- Worcestershire sauce: 1 teaspoon. This is the secret ingredient that adds depth. Lea & Perrins is my trusted brand. Leave it out if you’re vegetarian, but it really makes a difference.
- Garlic powder: ½ teaspoon. Not fresh garlic—it can make the cheese ball watery over time. Garlic powder gives a consistent, mellow flavor.
- Onion powder: ½ teaspoon. Adds a subtle sweetness that balances the sharp cheddar.
- Salt and black pepper: ¼ teaspoon each. Go easy on the salt since the bacon and cheese are already salty.
- Pecans: 1 cup, finely chopped. Toast them lightly in a dry skillet for 3-4 minutes to bring out their nutty flavor. You can substitute walnuts or even crushed pretzels for a different crunch.
- For the football stripes (optional but fun): 2 tablespoons of pecans mixed with 1 tablespoon of poppy seeds for contrast, or use thin strips of red bell pepper for laces. I’ve also used chive stems cut into thin strips—they look surprisingly realistic.
One quick note on ingredient selection: when picking your cream cheese, make sure it’s truly softened. Cold cream cheese will leave lumps in your mixture, and nobody wants a lumpy cheese ball. Let it sit on the counter for at least 30 minutes before you start. Trust me on this—I learned the hard way when I was rushing one Sunday and ended up with a chunky mess that refused to hold its shape.
Equipment Needed
You don’t need a ton of fancy tools for this game day loaded football-shaped cheese ball, which is part of its charm. Here’s what you’ll want on hand:
- Large mixing bowl: Any medium-to-large bowl works. I use my grandmother’s old ceramic one because it feels right, but a stainless steel one does the job.
- Electric hand mixer or stand mixer: You can mix by hand with a sturdy spatula, but a mixer makes the cream cheese super smooth and fluffy. I’ve done both—the mixer saves about 5 minutes of elbow grease.
- Rubber spatula: For scraping down the sides of the bowl and getting every last bit of cheesy goodness. A silicone one is best because it doesn’t scratch your bowl.
- Plastic wrap: Essential for shaping and chilling. The cling wrap helps the cheese ball hold its form without sticking to your hands.
- Parchment paper: Optional, but I like to use it under the cheese ball while shaping to prevent sticking to the counter.
- Baking sheet or large plate: For chilling the cheese ball in the fridge. Make sure it’s flat so the ball doesn’t roll around.
- Sharp knife: For slicing the green onions and chopping the pecans evenly. A dull knife will just smash the nuts.
- Small skillet: If you’re toasting your pecans, a small non-stick skillet works perfectly. No oil needed—just dry toast them over medium heat.
If you don’t have an electric mixer, don’t worry. I’ve made this cheese ball with just a fork and a lot of determination. It takes a little longer, but the result is the same. And if you’re missing a baking sheet, a dinner plate covered in plastic wrap works fine. Budget-friendly options are always okay here.
Preparation Method
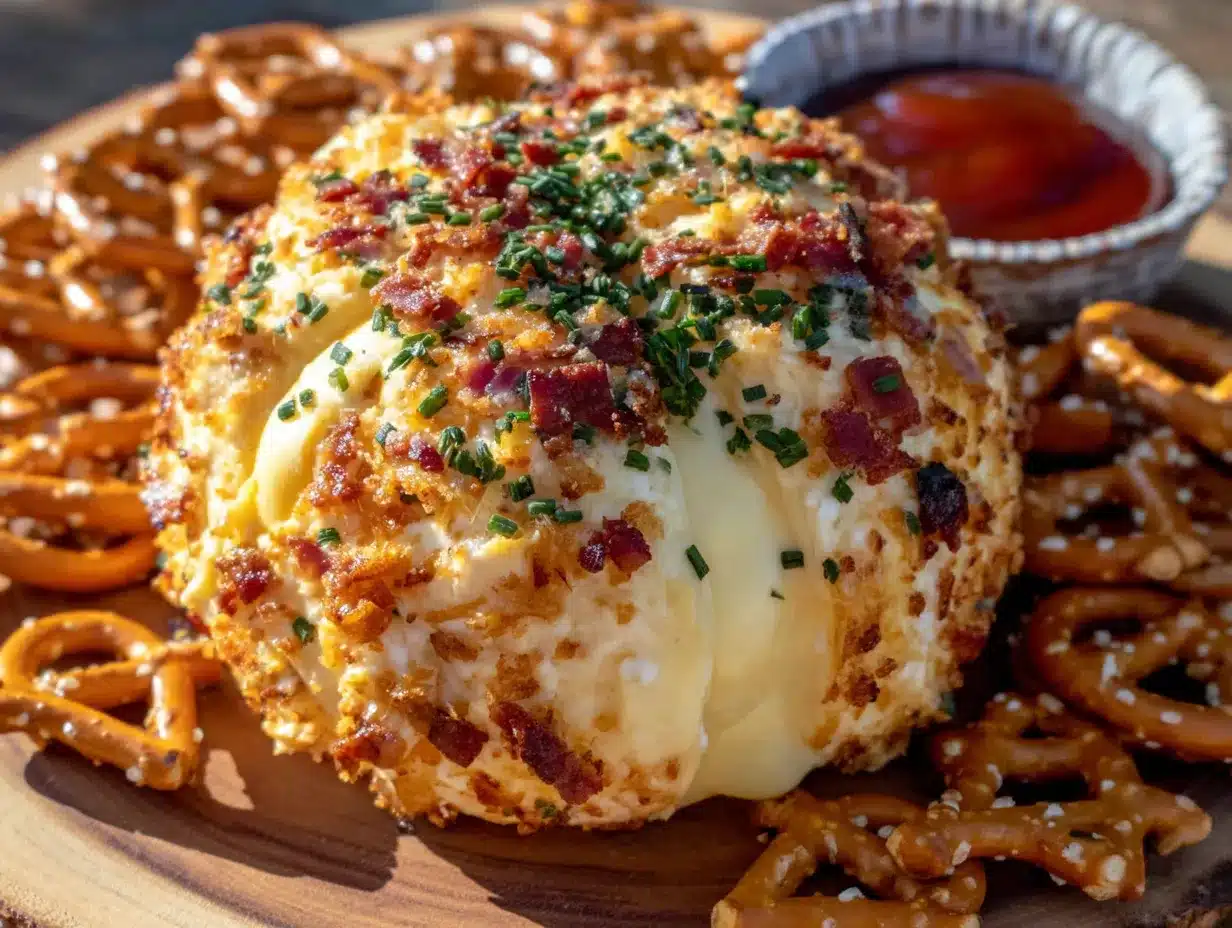
- Soften the cream cheese: Take your two blocks of cream cheese out of the fridge at least 30 minutes before you start. If you’re in a hurry (and let’s face it, game day prep is always a rush), you can microwave them on low power for 10-15 seconds. Just be careful—you want them soft, not melted. I once zapped mine too long and ended up with a puddle of cream cheese that wouldn’t shape properly.
- Mix the base: In your large mixing bowl, add the softened cream cheese, shredded sharp cheddar, crumbled bacon, sliced green onions, chopped pickled jalapeños, Worcestershire sauce, garlic powder, onion powder, salt, and black pepper. Use your electric mixer on medium speed to combine everything until it’s smooth and evenly mixed. Scrape down the sides of the bowl with your spatula halfway through. The mixture should be thick, creamy, and slightly chunky from the bacon and jalapeños.
- Chill the mixture: Cover the bowl with plastic wrap and pop it in the fridge for 30 minutes. This step is non-negotiable—it makes the mixture firm enough to shape into a football. I’ve skipped this before, and the cheese ball ended up more like a cheese puddle. Trust me, the wait is worth it.
- Shape the football: Lay a large piece of plastic wrap on your counter. Scoop the chilled cheese mixture onto the center of the wrap. Use your hands (lightly dampened with water to prevent sticking) to shape it into a rough oval, about 8 inches long and 5 inches wide. Then, taper the ends slightly to make it look like a football. Don’t stress about perfection—it’s handmade, so a little asymmetry looks charming. Wrap the plastic tightly around the shaped cheese ball and twist the ends to secure.
- Chill again: Place the wrapped cheese ball on a baking sheet or plate and refrigerate for at least 2 hours, or overnight if you’re prepping ahead. This firms it up completely so the coating will stick. I usually make it the night before game day—it’s one less thing to worry about when the party starts.
- Toast the pecans: While the cheese ball chills, spread your chopped pecans in a dry skillet over medium heat. Toast them for 3-4 minutes, stirring frequently, until they smell nutty and are lightly golden. Watch them closely—they burn fast. I’ve lost a batch to distraction before, and burnt pecans taste bitter and sad.
- Coat the cheese ball: Once the cheese ball is fully chilled and firm, unwrap it and place it on a sheet of parchment paper. Pour the toasted pecans onto a plate. Gently press the pecans into the cheese ball, covering all sides. Use your hands to pat them in gently so they stick. Don’t roll it like a doughnut—you’ll lose the shape. Instead, use a cupping motion with your hands to press the nuts into the surface.
- Add the football laces: For the classic football look, create laces on top. You can use thin strips of red bell pepper, chive stems, or even a few pecan halves arranged in a line. I’ve also used poppy seeds mixed with a little extra chopped pecan for a striped effect. It’s optional, but it really sells the theme.
- Final chill: Place the coated cheese ball back in the fridge for another 20-30 minutes to set the coating. This helps the pecans stay put when you’re serving.
- Serve: Transfer the cheese ball to a serving platter. Surround it with crackers, pretzels, celery sticks, or sliced baguette. I like to add a small bowl of extra pecans on the side for people who want more crunch.
Cooking Tips & Techniques
Over the years, I’ve made this game day loaded football-shaped cheese ball enough times to learn a few hard-earned lessons. Here are the tips that’ll save you from my mistakes.
Don’t overmix the cheese. I know it’s tempting to keep beating the mixture until it’s perfectly smooth, but overmixing can make the cream cheese too soft and airy. You want it combined, not whipped. Stop as soon as everything is evenly distributed. The texture should be dense and creamy, not fluffy.
Use damp hands for shaping. This was a game-changer for me. Lightly wet your hands with cold water before handling the cheese mixture. It stops the cheese from sticking to your skin and makes shaping the football much easier. Just don’t use too much water—you don’t want to water down the flavor.
Chill between steps. I cannot stress this enough. The cheese ball needs to be firm before you shape it, and even firmer before you coat it. If you skip the intermediate chilling, the pecans will just slide off or sink into the cheese. Patience is the secret ingredient here.
Toast your nuts. Raw pecans are fine, but toasted pecans are a revelation. That 3-minute skillet toast brings out an earthy, buttery flavor that complements the sharp cheddar beautifully. Plus, the warmth helps the nuts stick a little better. Just let them cool completely before coating.
Make it ahead. This cheese ball actually tastes better after a day in the fridge. The flavors meld together, and the texture firms up perfectly. I always make mine the night before game day. It’s one less thing to stress about when guests are arriving.
Common mistake alert: Don’t use pre-shredded cheese. I know it’s convenient, but those anti-caking powders prevent the cheese from melting smoothly into the cream cheese. Your cheese ball will end up grainy instead of creamy. Grate your own block—it takes 2 extra minutes and makes a world of difference.
Variations & Adaptations
One of the best things about this game day loaded football-shaped cheese ball is how customizable it is. I’ve tried several variations over the years, and they’ve all been hits.
Spicy Southwest Version: Swap the pickled jalapeños for fresh minced jalapeños (seeds removed for less heat) and add ¼ cup of canned corn, drained. Use pepper jack cheese instead of cheddar for an extra kick. The corn adds a sweet pop that balances the spice. I made this for a Cinco de Mayo party, and it disappeared faster than the guacamole.
Everything Bagel Version: Replace the pecans with everything bagel seasoning (about 3 tablespoons). Mix 2 tablespoons of the seasoning into the cheese mixture and use the remaining tablespoon for coating. Add ¼ cup of finely chopped red onion for extra bite. This version is incredible with plain bagel chips or cucumber slices. My husband requests this one for every gathering.
Sweet & Savory Version: Trade the pecans for crushed honey-roasted peanuts and add 2 tablespoons of dried cranberries, finely chopped, to the cheese mixture. The sweetness of the cranberries and honey-roasted peanuts plays beautifully against the sharp cheddar and smoky bacon. It’s unexpected but absolutely addictive. I served this at a holiday party, and someone asked me if it was dessert—it’s that good.
Dairy-Free Adaptation: Use dairy-free cream cheese (Kite Hill or Miyoko’s work well) and a plant-based cheddar shred. The texture will be slightly softer, so chill it for an extra 30 minutes before shaping. Omit the Worcestershire sauce or use a vegan version. The flavor is still fantastic, and nobody at my last party guessed it was dairy-free.
Keto-Friendly Version: This recipe is already low in carbs, but to make it even keto-friendlier, skip the pecans and use crushed pork rinds for the coating. The pork rinds add a salty crunch that’s completely keto-approved. I’ve also added 2 tablespoons of chopped fresh dill to the cheese mixture for a herby twist.
Serving & Storage Suggestions
This game day loaded football-shaped cheese ball is best served chilled, right out of the fridge. Let it sit at room temperature for about 10-15 minutes before serving to soften slightly—it makes spreading on crackers much easier. Any longer, and it might get too soft and lose its shape.
What to serve with it: I love pairing this cheese ball with a variety of dippers. Buttery crackers, crunchy pretzel sticks, crisp celery and carrot sticks, sliced baguette, and even apple slices all work beautifully. The sweet-tart apples are especially good against the smoky, cheesy flavor. For a full game day spread, serve it alongside a bowl of salsa, some guacamole, and maybe a plate of buffalo wings. It’s the appetizer that ties everything together.
Storage: Leftovers (if there are any!) can be wrapped tightly in plastic wrap and stored in the refrigerator for up to 5 days. The flavor actually gets better after a day or two as the ingredients meld. Just keep it well-wrapped to prevent it from absorbing other fridge odors. I’ve stored it in an airtight container too, but the plastic wrap method keeps the shape better.
Freezing: Yes, you can freeze this cheese ball! Wrap it in two layers of plastic wrap and then a layer of aluminum foil. Freeze for up to 2 months. When you’re ready to serve, thaw it in the fridge overnight. The texture will be slightly softer, but the flavor remains excellent. I’ve done this for several parties, and nobody noticed a difference. Just add the pecan coating after thawing, not before—the nuts can get soggy in the freezer.
Reheating tip: You don’t really “reheat” a cheese ball, but if you want to serve it warm, you can microwave it for 10-15 seconds on low power. It won’t hold the football shape, but it becomes a warm, melty dip that’s perfect for spreading. I’ve done this when I wanted a different texture, and it’s surprisingly good.
Flavor development: The flavors in this cheese ball deepen and mellow over time. The garlic and onion powders become less sharp, the bacon flavor permeates the cream cheese, and the jalapeños mellow out. It’s at its peak after 24 hours in the fridge. So if you have the time, make it a day ahead—you’ll be rewarded with a more complex, harmonious taste.
Nutritional Information & Benefits
While this game day loaded football-shaped cheese ball is definitely a treat, it does have some surprising nutritional perks. Here’s a rough estimate per serving (based on 12 servings):
- Calories: Approximately 280-320 per serving
- Protein: 10-12 grams (thanks to the cheese and bacon)
- Fat: 24-28 grams (mostly from healthy nuts and dairy)
- Carbohydrates: 5-7 grams (low-carb friendly!)
- Fiber: 1-2 grams from the pecans
- Sodium: 450-500 mg (moderate, but watch your cracker intake)
Health benefits of key ingredients: Pecans are packed with healthy monounsaturated fats, which are great for heart health. They also contain antioxidants and magnesium. Cream cheese provides calcium and vitamin A, while the jalapeños add a small dose of vitamin C and capsaicin, which can boost metabolism. The bacon… well, it’s bacon. But in moderation, it adds protein and that irresistible smoky flavor that makes this recipe so satisfying.
Dietary considerations: This recipe is naturally low-carb and gluten-free (just check your Worcestershire sauce label for gluten). It’s also suitable for a keto diet as-is. For a vegetarian version, omit the bacon and Worcestershire sauce, and add ¼ cup of sun-dried tomatoes or chopped olives for a similar umami punch. Always check ingredient labels if you’re cooking for someone with allergies—some brands of cream cheese may contain additives.
My personal wellness perspective: Look, I’m not going to pretend this is health food. It’s a game day appetizer, meant to be enjoyed with friends and a cold drink. But I love that it uses real, whole ingredients—no processed cheese products, no artificial flavors. It’s indulgent, but it’s honest. And honestly, sharing a homemade cheese ball with people you care about is good for the soul, even if it’s not exactly a salad.
Conclusion
This game day loaded football-shaped cheese ball has become my go-to for every football party, and I hope it becomes yours too. It’s proof that you don’t need complicated techniques or fancy ingredients to make something truly memorable. Just good cheese, a little bacon, and a whole lot of love shaped into a football. Honestly, every time I make it, I think of Steve standing in his kitchen, not trying to impress anyone, and creating something that would become a tradition in my house. That’s the magic of cooking, isn’t it? A simple recipe, passed along, and suddenly it’s part of your story.
I’d love to hear how your cheese ball turns out! Did you add your own twist? Did it disappear before halftime? Drop a comment below and share your version—I’m always looking for new ideas. And if you loved this recipe, don’t forget to pin it for later or share it with your game day crew. Here’s to good food, good friends, and a winning appetizer!
Happy cooking, and may your cheese ball always hold its shape!
Frequently Asked Questions
Can I make this cheese ball without a mixer?
Absolutely! A sturdy spatula or even a fork works fine. Just make sure your cream cheese is really soft so you can mix it smoothly. It might take a little more elbow grease, but the result is the same.
How far in advance can I make this?
You can make this cheese ball up to 3 days ahead. Just keep it wrapped tightly in plastic wrap in the fridge. Add the pecan coating on the day you serve it for the best crunch. The flavors actually get better after a day or two.
Can I use a different nut for the coating?
Yes! Walnuts, almonds, or even crushed pretzels work great. Toasting the nuts first really brings out their flavor, no matter which type you choose. For a nut-free version, use crushed pork rinds or everything bagel seasoning.
My cheese ball came out too soft. What went wrong?
Most likely, the cream cheese wasn’t chilled enough before shaping, or you added too many wet ingredients (like undrained jalapeños). Next time, make sure your pickled jalapeños are well-drained and pat them dry with a paper towel. Also, don’t skip the chilling steps—they’re crucial for the right texture.
Is this recipe gluten-free?
Yes, as written, this recipe is gluten-free. Just double-check your Worcestershire sauce label, as some brands contain gluten. Also, make sure your bacon is gluten-free (most are, but it’s always good to verify). Serve with gluten-free crackers or veggie sticks to keep the whole dish gluten-free.
Pin This Recipe!
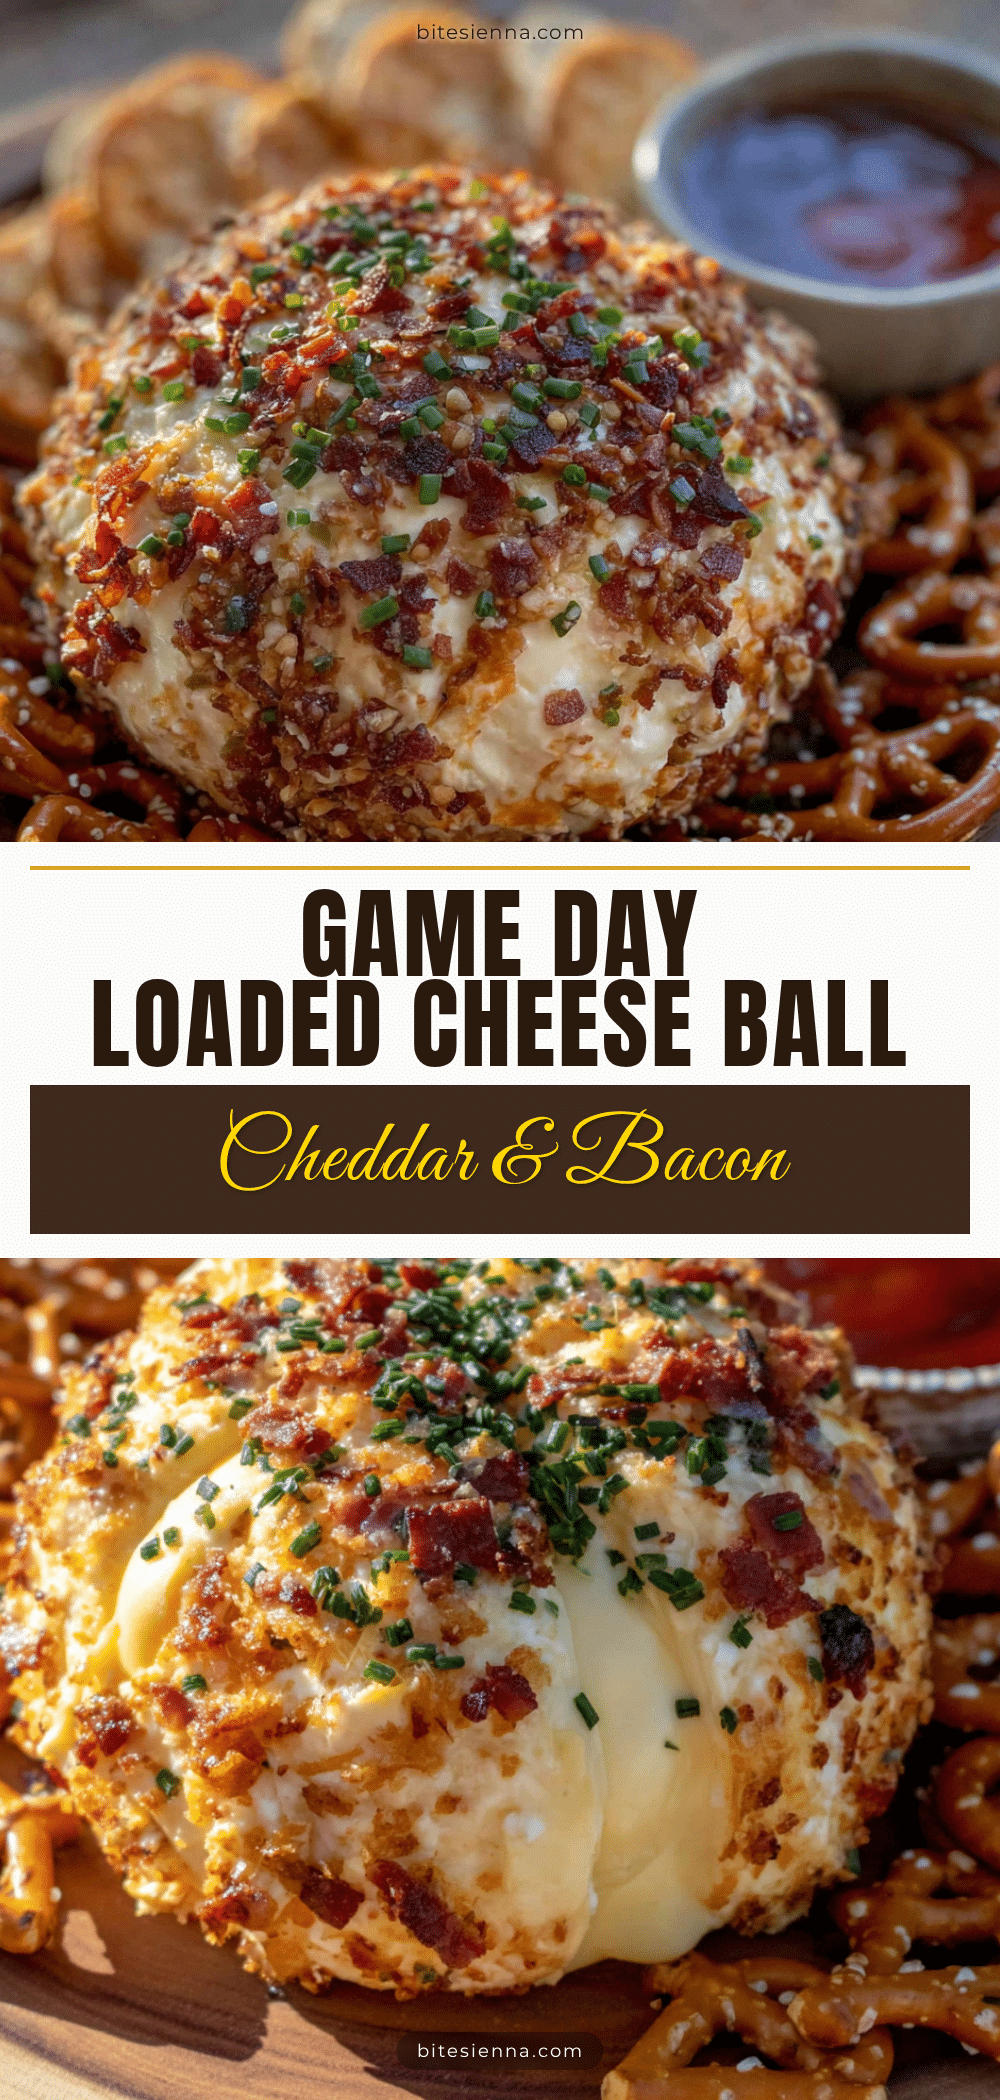
Best Easy Game Day Football Cheese Ball Recipe

This game day loaded football-shaped cheese ball is a creamy, crunchy, and savory appetizer that disappears before halftime. Made with cream cheese, sharp cheddar, bacon, and jalapeños, it’s the perfect crowd-pleaser for any football party.
- Prep Time: 20 minutes
- Cook Time: 0 minutes
- Total Time: 3 hours 20 minutes (includes chilling)
- Yield: 12 servings 1x
- Category: Appetizer
- Cuisine: American
Ingredients
- 16 ounces cream cheese (two 8-ounce blocks), softened
- 1 ½ cups sharp cheddar cheese, shredded
- 8 strips cooked bacon, crumbled
- 4–5 green onions, thinly sliced
- ¼ cup pickled jalapeños, finely chopped and drained
- 1 teaspoon Worcestershire sauce
- ½ teaspoon garlic powder
- ½ teaspoon onion powder
- ¼ teaspoon salt
- ¼ teaspoon black pepper
- 1 cup pecans, finely chopped and toasted
- For the football stripes (optional): 2 tablespoons pecans mixed with 1 tablespoon poppy seeds, or thin strips of red bell pepper or chive stems
Instructions
- Soften the cream cheese: Take the cream cheese out of the fridge at least 30 minutes before starting. If in a hurry, microwave on low power for 10-15 seconds until soft but not melted.
- Mix the base: In a large mixing bowl, combine softened cream cheese, shredded cheddar, crumbled bacon, sliced green onions, chopped pickled jalapeños, Worcestershire sauce, garlic powder, onion powder, salt, and black pepper. Use an electric mixer on medium speed until smooth and evenly mixed. Scrape down the sides of the bowl halfway through.
- Chill the mixture: Cover the bowl with plastic wrap and refrigerate for 30 minutes to firm up the mixture.
- Shape the football: Lay a large piece of plastic wrap on the counter. Scoop the chilled cheese mixture onto the center. Using lightly dampened hands, shape it into a rough oval about 8 inches long and 5 inches wide, tapering the ends to resemble a football. Wrap the plastic tightly around the shaped cheese ball and twist the ends to secure.
- Chill again: Place the wrapped cheese ball on a baking sheet or plate and refrigerate for at least 2 hours, or overnight.
- Toast the pecans: While the cheese ball chills, spread chopped pecans in a dry skillet over medium heat. Toast for 3-4 minutes, stirring frequently, until fragrant and lightly golden. Let cool completely.
- Coat the cheese ball: Once the cheese ball is fully chilled and firm, unwrap it and place on parchment paper. Pour toasted pecans onto a plate. Gently press the pecans into the cheese ball, covering all sides using a cupping motion with your hands.
- Add the football laces: For the classic football look, create laces on top using thin strips of red bell pepper, chive stems, or pecan halves arranged in a line. Alternatively, use poppy seeds mixed with extra chopped pecans for a striped effect.
- Final chill: Place the coated cheese ball back in the fridge for 20-30 minutes to set the coating.
- Serve: Transfer to a serving platter and surround with crackers, pretzels, celery sticks, or sliced baguette.
Notes
Make ahead: This cheese ball tastes better after a day in the fridge. For best results, prepare the night before game day. Use damp hands for shaping to prevent sticking. Do not skip the chilling steps—they are crucial for the right texture. Toast pecans for enhanced flavor. Avoid pre-shredded cheese as it contains anti-caking agents that affect creaminess.
Nutrition
- Serving Size: 1 serving (based on
- Calories: 300
- Sugar: 2
- Sodium: 475
- Fat: 26
- Saturated Fat: 12
- Carbohydrates: 6
- Fiber: 1
- Protein: 11
Keywords: cheese ball, football cheese ball, game day appetizer, loaded cheese ball, football shaped cheese ball, easy cheese ball recipe


