Lisa wasn’t trying to impress anyone. I’d stopped by her place to drop off a slow cooker I’d borrowed, and the smell of cumin and sizzling beef hit me before I even got through the door. It was a random Sunday afternoon in late October, and she had the game on low volume while her kids were sprawled on the living room floor coloring. She barely looked up when I walked in.
“Oh hey, grab a plate,” she said, pointing a spatula toward the stove. “I’m just throwing stuff together.”
Throwing stuff together. That’s what she called it.
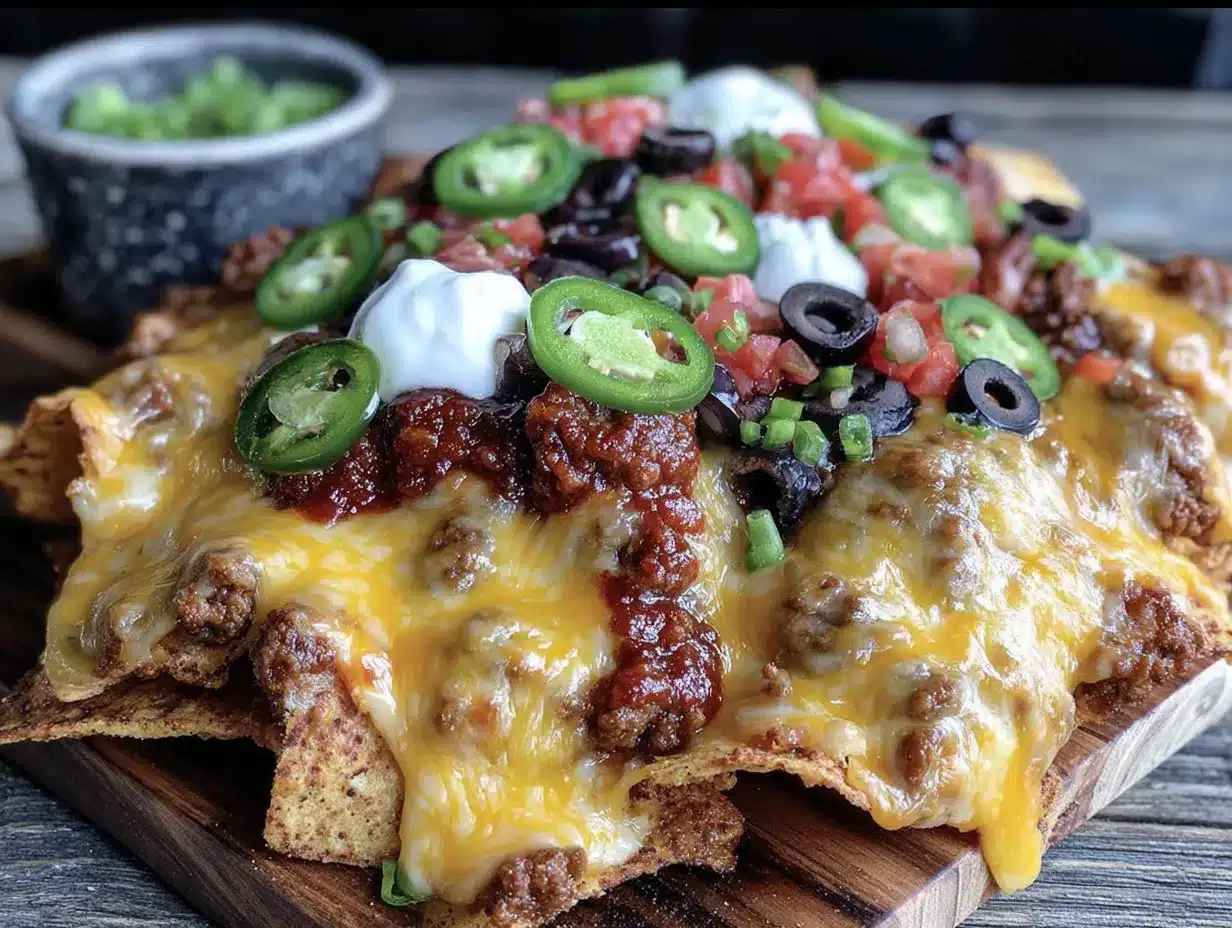
What she had was a baking sheet piled high with crispy tortilla chips, a pot of seasoned ground beef, a jar of cheese sauce that she’d doctored up with green chiles and a splash of milk, and little bowls of chopped tomatoes, black olives, and jalapeños scattered across the counter like she was hosting a tiny fiesta for one. She wasn’t following a recipe. She wasn’t stressing over presentation. She was just… making nachos. And honestly, I stood there in her kitchen doorway feeling like I’d walked into something sacred.
I grabbed a chip that had fallen onto the edge of the pan, loaded with a bit of everything, and took a bite. You know that feeling when something is so simple but so perfect that you almost get mad about it? That was this moment. I asked her what she put in the meat. She shrugged and said, “cumin, garlic powder, salt, little bit of chili powder.” I asked about the cheese sauce. “Canned, but add the green chiles.” She made it sound like nothing. But it was everything.
I stood there eating three more chips while she went back to watching the game, and I realized right then that this was the kind of recipe you don’t find in a cookbook. You find it in a friend’s kitchen on a lazy Sunday when nobody’s trying to be fancy. I’ve made this nacho bar at least a dozen times since that day, and every time, I think about Lisa barely looking up from her couch while she changed my whole understanding of what game day food could be.
Maybe you’ve been there—standing in someone else’s kitchen, watching them make something incredible without even realizing it. That’s this recipe. It’s the ultimate loaded nacho bar for game day, but honestly, it works for any day you want food that feels like a hug and a high-five at the same time.
Why You’ll Love This Recipe
I’ve tested this nacho bar at game day gatherings, casual family dinners, and even a birthday party where the adults ate more than the kids. Here’s why it keeps winning people over:
- Quick & Easy: This whole setup comes together in about 30 minutes. You can prep the toppings while the meat simmers, and everything else is just assembly. Perfect for when guests show up early or you forgot to plan ahead.
- Simple Ingredients: No fancy grocery trips needed. Ground beef, canned beans, tortilla chips, cheese, and a few fresh toppings are all you need. You likely have most of these in your kitchen right now.
- Perfect for Game Day: This is the ultimate crowd-pleaser for watching football, basketball, or whatever sport is on. Everyone can build their own plate, which means less work for you and more happy guests.
- Crowd-Pleaser: Kids love the customizable toppings, adults love the hearty flavors, and everyone loves the crunchy-meets-melty texture. I’ve never seen leftovers when I serve this.
- Unbelievably Delicious: The combination of seasoned beef, creamy cheese sauce, fresh salsa, and crunchy chips is next-level comfort food. It’s the kind of dish that makes people go back for seconds before they’ve finished their first plate.
What makes this recipe different from the rest is the balance. I spent a good amount of time tweaking the meat seasoning until it had just the right kick without being overwhelming. The cheese sauce stays smooth because I add a little milk and green chiles, which cuts the richness. And the assembly method—layering chips, then meat, then cheese, then broiling briefly—means every chip gets some goodness, not just the top ones. This isn’t just another nacho recipe. It’s the one I bring to every gathering because it works every single time.
This recipe isn’t just good—it’s the kind that makes you close your eyes after the first bite. It’s comfort food reimagined: faster, easier, but with the same soul-soothing satisfaction. Perfect for impressing guests without stress, or turning a simple game day into something memorable.
What Ingredients You Will Need
This recipe uses simple, wholesome ingredients to deliver bold flavor and satisfying texture without the fuss. Most of these are pantry staples or easy to find at any grocery store.
For the Seasoned Beef
- 1 pound ground beef (80/20 works best for flavor; drain excess fat)
- 1 tablespoon olive oil
- 1 small yellow onion, diced
- 3 cloves garlic, minced
- 1 tablespoon chili powder
- 1 teaspoon ground cumin
- 1 teaspoon smoked paprika
- 1/2 teaspoon garlic powder
- 1/2 teaspoon onion powder
- 1/2 teaspoon salt
- 1/4 teaspoon black pepper
- 1/4 cup beef broth (or water, if needed)
For the Cheese Sauce
- 2 tablespoons unsalted butter
- 2 tablespoons all-purpose flour
- 1 1/2 cups whole milk (warm, for smoother sauce)
- 2 cups shredded sharp cheddar cheese (freshly shredded melts better than pre-shredded)
- 1 (4-ounce) can diced green chiles, drained (adds mild heat and tang)
- 1/4 teaspoon salt
- Pinch of cayenne pepper (optional, for extra heat)
For the Nacho Base & Toppings
- 1 (13-ounce) bag restaurant-style tortilla chips (sturdy chips hold up better)
- 1 (15-ounce) can black beans, drained and rinsed
- 1 cup canned corn kernels, drained
- 1 cup fresh pico de gallo or salsa
- 1/2 cup sour cream
- 1/2 cup guacamole (store-bought or homemade)
- 1/2 cup pickled jalapeños, sliced
- 1/2 cup black olives, sliced
- 1/4 cup fresh cilantro, chopped
- 2 green onions, sliced
- 1 lime, cut into wedges
I recommend using Pace or Herdez salsa for consistent flavor, and Tillamook or Cracker Barrel cheddar for the cheese sauce—they melt beautifully. If you want to save time, you can use a high-quality jarred cheese sauce like Rico’s, but homemade is worth the extra 10 minutes. For a gluten-free option, use cornstarch instead of flour in the cheese sauce (1 tablespoon cornstarch mixed with 2 tablespoons cold milk).
Equipment Needed
- Large skillet or frying pan (12-inch works best for even browning)
- Medium saucepan (for cheese sauce)
- Whisk (for smooth cheese sauce)
- Baking sheet (half-sheet size, 18×13 inches, with rim to catch drips)
- Cutting board and sharp knife
- Measuring cups and spoons
- Wooden spoon or spatula
- Small bowls (for serving toppings)
- Cheese grater (if shredding your own cheese)
If you don’t have a baking sheet, you can use a large oven-safe skillet or even a disposable aluminum pan for easy cleanup. I’ve used my Lodge cast iron skillet before, and it works great for individual servings. For the cheese sauce, a non-stick saucepan makes cleanup much easier. Budget-friendly tip: a basic Oxo Good Grips whisk and a Farberware saucepan will last you years.
Preparation Method
- Preheat your oven to 400°F. This gives it time to come to temperature while you prep everything else. Position a rack in the upper third of the oven for better browning.
- Start the seasoned beef. Heat the olive oil in a large skillet over medium-high heat. Add the diced onion and cook for 3-4 minutes until it’s translucent and starting to brown at the edges. Add the minced garlic and cook for 30 seconds until fragrant. Add the ground beef, breaking it up with a wooden spoon. Cook for 6-8 minutes until no longer pink. Drain excess fat if needed (I leave about 1 tablespoon for flavor).
- Season the beef. Reduce heat to medium. Add the chili powder, cumin, smoked paprika, garlic powder, onion powder, salt, and pepper. Stir well to coat the meat. Cook for 1 minute to toast the spices. Pour in the beef broth and let it simmer for 2-3 minutes until mostly absorbed. The meat should be moist but not soupy. Taste and adjust seasoning—I usually add another pinch of salt here.
- Make the cheese sauce. While the beef simmers, melt the butter in a medium saucepan over medium heat. Whisk in the flour and cook for 1 minute, stirring constantly. This gets rid of the raw flour taste. Slowly pour in the warm milk while whisking continuously. Cook for 3-4 minutes until the mixture thickens enough to coat the back of a spoon.
- Finish the cheese sauce. Remove the saucepan from heat. Add the shredded cheddar cheese in handfuls, whisking until melted and smooth after each addition. Stir in the drained green chiles, salt, and cayenne if using. Keep warm over very low heat, stirring occasionally. If it gets too thick, add a splash of warm milk.
- Prep the toppings. While the meat and cheese cook, drain and rinse the black beans. Drain the corn. Slice the jalapeños and olives if not pre-sliced. Chop the cilantro and slice the green onions. Arrange everything in small bowls for easy assembly.
- Assemble the nachos. Spread a single layer of tortilla chips on the baking sheet. Don’t pile them too high—you want most chips to get some topping. Spoon the seasoned beef evenly over the chips. Sprinkle the black beans and corn over the meat. Drizzle about half the cheese sauce over everything.
- Bake the nachos. Place the baking sheet in the preheated oven on the upper rack. Bake for 8-10 minutes until the chips are slightly toasted at the edges and the cheese is bubbly. Watch closely near the end to prevent burning. The chips should be warm and slightly crisp, not soggy.
- Add fresh toppings. Remove from the oven. Immediately drizzle the remaining cheese sauce over the hot nachos. Add dollops of sour cream and guacamole. Sprinkle with pico de gallo or salsa, pickled jalapeños, black olives, cilantro, and green onions.
- Serve immediately. Squeeze fresh lime juice over the top just before serving. Place the baking sheet in the center of the table with extra toppings on the side so everyone can customize their plate. Serve with extra napkins—this gets messy in the best way.
Cooking Tips & Techniques
After making this recipe more times than I can count, here are the things I’ve learned the hard way so you don’t have to.
Don’t skip draining the beef fat. I learned this the messy way. Too much fat makes the chips soggy and the cheese sauce greasy. Drain all but about a tablespoon. If you’re using lean ground beef (93/7), add an extra tablespoon of olive oil to keep the meat from drying out.
Shred your own cheese. Pre-shredded cheese has anti-caking agents that prevent smooth melting. I know it’s convenient, but for the cheese sauce, freshly shredded cheddar makes a huge difference. It takes 2 extra minutes and gives you a silky, creamy sauce instead of a grainy one.
Layer strategically. The biggest mistake people make is piling chips too high. You want a single layer with a few overlapping edges. This ensures every chip gets some heat and topping. If you need more nachos, make a second batch instead of overcrowding the pan.
Warm the milk for the cheese sauce. Cold milk added to the roux creates lumps. I microwave mine for 45 seconds before adding it. This one step saves you from whisking frustration and gives you a smoother sauce.
Toast the spices. That 1-minute step after adding the spices to the beef isn’t optional. Toasting releases the essential oils in cumin and chili powder, making the flavor deeper and more complex. You’ll smell the difference immediately.
Watch the bake time. Every oven is different. Start checking at 7 minutes. You want the chips to be warm and the cheese bubbly, not brown and burnt. If your oven runs hot, reduce the temperature to 375°F.
Multitask smartly. While the beef simmers, start the cheese sauce. While the cheese sauce thickens, prep the toppings. This recipe flows well if you keep moving. I’ve had it on the table in 28 minutes when I’m efficient.
Variations & Adaptations
One of the best things about a nacho bar is how flexible it is. Here are some ways I’ve adapted this recipe for different crowds and cravings.
Vegetarian Version: Swap the ground beef for 1 (15-ounce) can of black beans and 1 cup of roasted sweet potatoes. Mash half the beans and leave the rest whole for texture. Season the same way with chili powder and cumin. I’ve served this to meat-eaters who didn’t miss the beef at all.
Spicy Lover’s Version: Add 1 diced jalapeño to the beef while cooking. Use pepper jack cheese instead of cheddar in the sauce. Top with extra pickled jalapeños and a drizzle of hot sauce like Cholula or Valentina. I once added a chopped habanero to the beef—way too spicy for most people, so stick with jalapeño unless you know your crowd.
Loaded Breakfast Nachos: This is my secret Sunday morning move. Skip the beef and use crumbled breakfast sausage or chorizo. Add scrambled eggs and shredded hash browns. Use the same cheese sauce but add a pinch of cayenne. Top with salsa verde and avocado. It’s ridiculous and wonderful.
Healthier Twist: Use baked tortilla chips, lean ground turkey (93/7), and reduced-fat cheese. Swap sour cream for Greek yogurt. Load up on fresh veggies like diced bell peppers, tomatoes, and shredded lettuce. The flavor is still there, but you feel less guilty about going back for seconds.
Individual Nacho Plates: For parties where people want their own portion, assemble nachos on small oven-safe plates or cast iron skillets. Divide the ingredients evenly and bake for 5-6 minutes instead of 8-10. This is great for picky eaters who want to control their toppings.
Serving & Storage Suggestions
Serving Temperature: Serve these nachos immediately after baking while the chips are still warm and crisp. The cheese sauce should be hot and flowing. Cold toppings like sour cream and guacamole provide a nice temperature contrast.
Presentation: I serve the whole baking sheet at the table with a trivet underneath. It’s casual and encourages people to grab what they want. Arrange the small bowls of toppings around the sheet so everyone can customize. Provide small plates and plenty of napkins—this is hands-on eating.
Complementary Dishes: This nacho bar pairs beautifully with a simple Mexican street corn salad on the side for freshness. A pitcher of homemade agua fresca or cold beer rounds out the meal. For dessert, something light like mango sorbet works well after all that richness.
Storage Instructions: Nachos are best eaten fresh, but if you have leftovers, store the components separately. Place the baked chips and beef in an airtight container in the refrigerator for up to 2 days. Store the cheese sauce separately in a jar. Fresh toppings like guacamole and sour cream won’t keep well, so only prepare what you’ll eat.
Reheating Methods: To reheat, spread the chips and beef on a baking sheet and warm in a 350°F oven for 5-7 minutes. Reheat the cheese sauce in a small saucepan over low heat, adding a splash of milk to restore the consistency. Never microwave the assembled nachos—the chips turn into sad, chewy messes.
Flavor Development: The seasoned beef actually tastes better the next day after the spices have melded overnight. If you’re planning ahead, make the beef a day in advance and reheat it before assembling. The cheese sauce is best made fresh, though.
Nutritional Information & Benefits
This recipe is indulgent, but it also has some surprising nutritional upsides. Here’s a rough estimate per serving (about 1/6 of the recipe):
- Calories: 520
- Protein: 24g
- Carbohydrates: 38g
- Fat: 30g
- Fiber: 6g
- Sugar: 6g
- Sodium: 890mg
Health Benefits: Black beans add fiber and plant-based protein, which helps with satiety and digestion. The tomatoes in pico de gallo provide lycopene, an antioxidant linked to heart health. Avocado in guacamole offers healthy monounsaturated fats that support brain function. Cumin and chili powder have anti-inflammatory properties.
Dietary Considerations: This recipe can be made gluten-free by using cornstarch instead of flour in the cheese sauce. For a lower-carb version, serve the toppings over a bed of lettuce or cauliflower chips instead of tortilla chips. The recipe contains dairy from the cheese and sour cream, but you can use dairy-free alternatives.
Potential Allergens: This recipe contains dairy (cheese, butter, milk, sour cream) and gluten (flour in cheese sauce). It may also contain corn (tortilla chips). Check labels if serving guests with allergies.
I personally love that this recipe feels indulgent but isn’t completely devoid of nutrition. You get protein, fiber, and healthy fats alongside the cheese and chips. It’s about balance, right?
Conclusion
This ultimate loaded nacho bar for game day is the recipe I keep coming back to because it delivers every single time. It’s the kind of dish that makes people gather around the table, grab a plate, and actually talk to each other between bites. There’s something about building your own nacho plate that brings out the kid in everyone.
I love that this recipe started in Lisa’s kitchen on a random Sunday, born from a “throwing stuff together” attitude that turned into something worth sharing. It reminds me that the best recipes don’t come from perfection—they come from real moments with real people.
I encourage you to make this your own. Swap in your favorite toppings, adjust the spice level, or try the vegetarian version. The beauty of a nacho bar is that it adapts to whoever’s eating it. Don’t be afraid to experiment—some of my best variations came from mistakes.
If you make this recipe, I’d love to hear about it. Leave a comment below telling me your favorite topping combination or any creative twists you tried. Share a photo of your nacho bar setup on Pinterest and tag me—I love seeing how different kitchens interpret the same dish.
Now go preheat that oven. Game day (or any day) is calling, and these nachos aren’t going to make themselves. Trust me, your friends will thank you.
Frequently Asked Questions
Can I make this nacho bar ahead of time?
You can prep the seasoned beef and cheese sauce up to 2 days in advance. Store them separately in the refrigerator. When you’re ready to serve, reheat the beef in a skillet and the cheese sauce in a saucepan with a splash of milk. Assemble and bake just before serving for the best texture.
What if I don’t have a baking sheet large enough?
Use a large oven-safe skillet or a 9×13 baking dish. You may need to make two smaller batches instead of one large sheet. Alternatively, assemble individual portions on small oven-safe plates and bake for 5-6 minutes.
Can I use pre-shredded cheese for the sauce?
You can, but the sauce won’t be as smooth. Pre-shredded cheese contains anti-caking agents that prevent it from melting evenly. If you’re in a pinch, add an extra tablespoon of butter and whisk vigorously. For the best results, shred your own cheddar.
How do I keep the chips from getting soggy?
Use sturdy restaurant-style tortilla chips instead of thin ones. Don’t overload the chips with wet toppings before baking. Add fresh toppings like salsa, sour cream, and guacamole after baking, not before. And don’t bake longer than 10 minutes—the chips should be warm, not cooked.
What are the best toppings for a nacho bar?
The classic lineup is seasoned beef, cheese sauce, black beans, corn, pico de gallo, sour cream, guacamole, pickled jalapeños, black olives, cilantro, and green onions. But feel free to add shredded lettuce, diced tomatoes, sliced radishes, or even crumbled queso fresco. The more options, the happier the crowd.
Pin This Recipe!
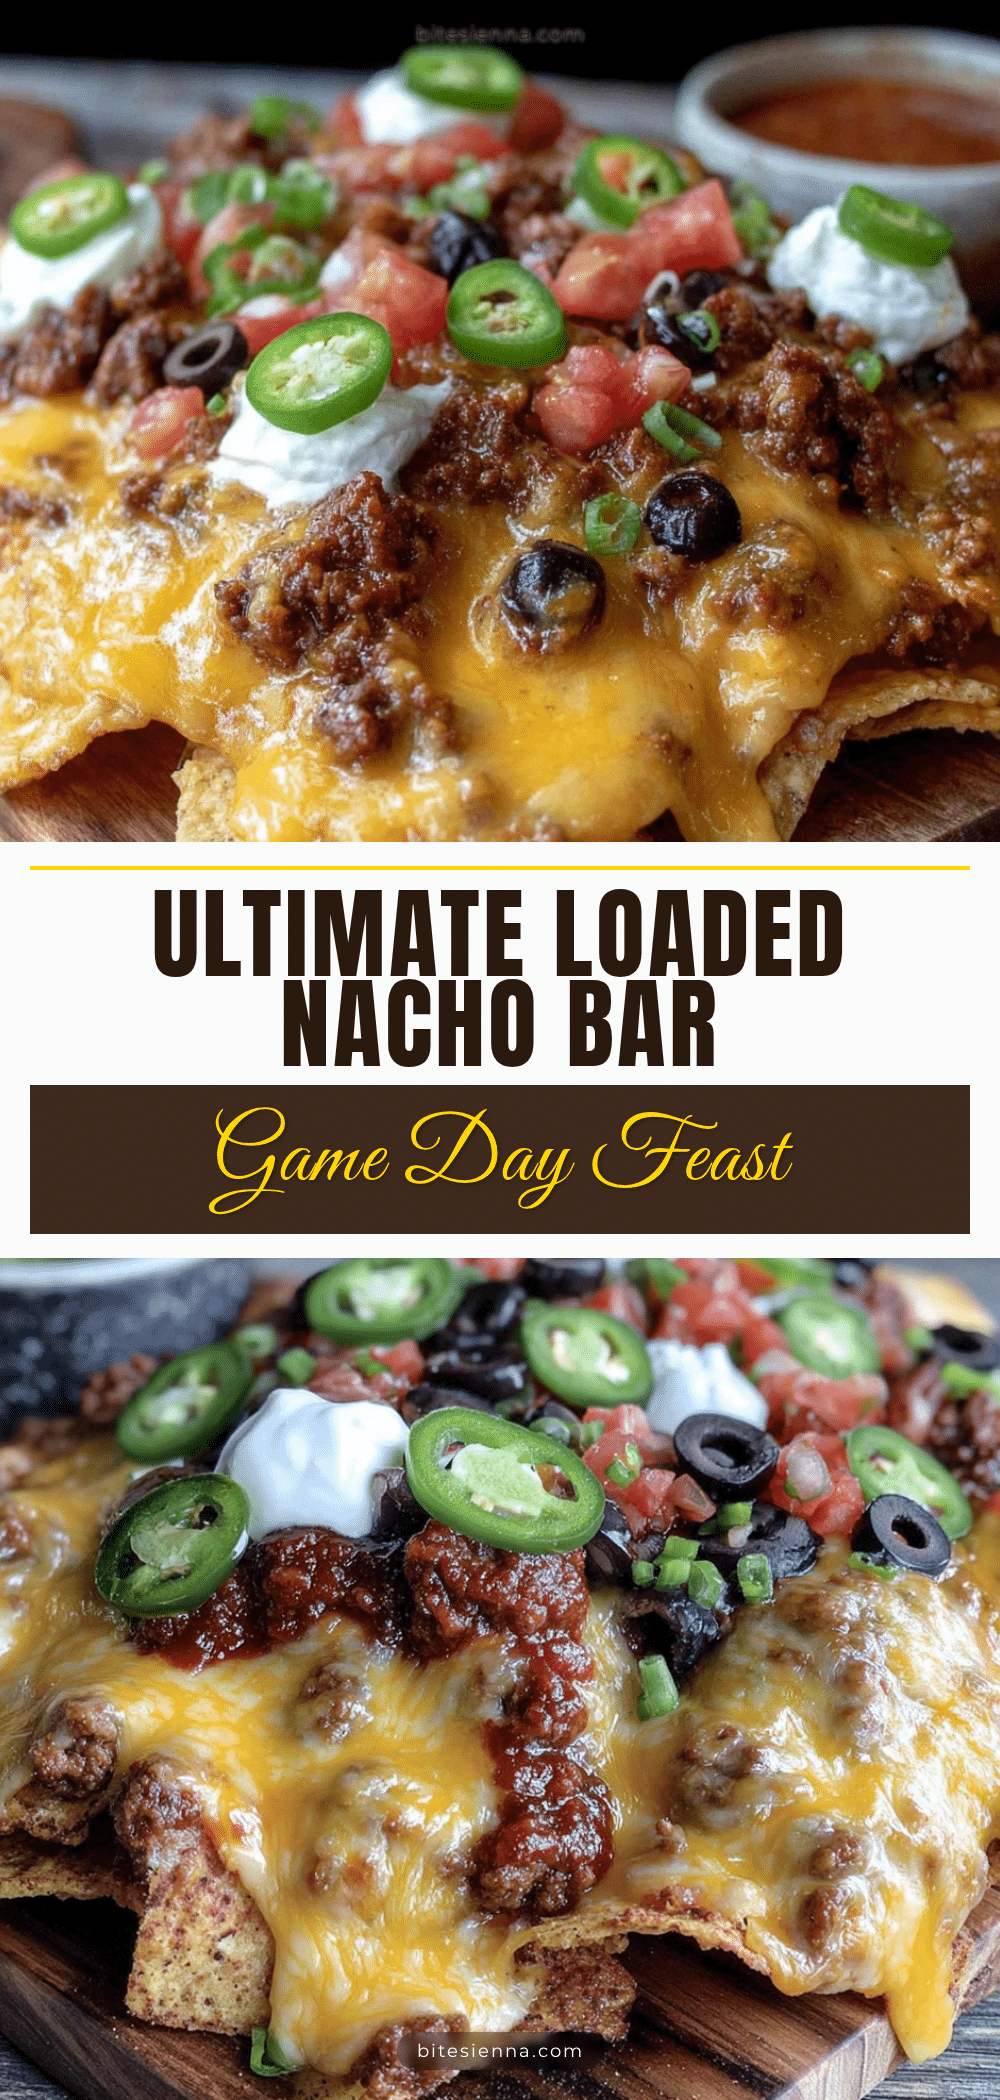
Ultimate Loaded Nacho Bar for Game Day – Easy Recipe
This ultimate loaded nacho bar features seasoned beef, creamy homemade cheese sauce, and a variety of fresh toppings, all baked on a single sheet pan for an easy, crowd-pleasing game day meal. It’s quick to assemble, customizable, and guaranteed to disappear.
- Prep Time: 15 minutes
- Cook Time: 20 minutes
- Total Time: 35 minutes
- Yield: 6 servings 1x
- Category: Main Course
- Cuisine: Mexican
Ingredients
- 1 pound ground beef (80/20 works best)
- 1 tablespoon olive oil
- 1 small yellow onion, diced
- 3 cloves garlic, minced
- 1 tablespoon chili powder
- 1 teaspoon ground cumin
- 1 teaspoon smoked paprika
- 1/2 teaspoon garlic powder
- 1/2 teaspoon onion powder
- 1/2 teaspoon salt
- 1/4 teaspoon black pepper
- 1/4 cup beef broth (or water)
- 2 tablespoons unsalted butter
- 2 tablespoons all-purpose flour
- 1 1/2 cups whole milk, warm
- 2 cups shredded sharp cheddar cheese (freshly shredded)
- 1 (4-ounce) can diced green chiles, drained
- 1/4 teaspoon salt
- Pinch of cayenne pepper (optional)
- 1 (13-ounce) bag restaurant-style tortilla chips
- 1 (15-ounce) can black beans, drained and rinsed
- 1 cup canned corn kernels, drained
- 1 cup fresh pico de gallo or salsa
- 1/2 cup sour cream
- 1/2 cup guacamole
- 1/2 cup pickled jalapeños, sliced
- 1/2 cup black olives, sliced
- 1/4 cup fresh cilantro, chopped
- 2 green onions, sliced
- 1 lime, cut into wedges
Instructions
- Preheat your oven to 400°F. Position a rack in the upper third of the oven.
- Heat olive oil in a large skillet over medium-high heat. Add diced onion and cook for 3-4 minutes until translucent. Add minced garlic and cook for 30 seconds until fragrant.
- Add ground beef, breaking it up with a wooden spoon. Cook for 6-8 minutes until no longer pink. Drain excess fat, leaving about 1 tablespoon.
- Reduce heat to medium. Add chili powder, cumin, smoked paprika, garlic powder, onion powder, salt, and pepper. Stir well and cook for 1 minute to toast spices. Pour in beef broth and simmer for 2-3 minutes until mostly absorbed. Taste and adjust seasoning.
- While beef simmers, melt butter in a medium saucepan over medium heat. Whisk in flour and cook for 1 minute, stirring constantly. Slowly pour in warm milk while whisking continuously. Cook for 3-4 minutes until thickened.
- Remove saucepan from heat. Add shredded cheddar cheese in handfuls, whisking until melted and smooth after each addition. Stir in drained green chiles, salt, and cayenne if using. Keep warm over very low heat.
- Drain and rinse black beans. Drain corn. Slice jalapeños and olives if needed. Chop cilantro and slice green onions. Arrange all toppings in small bowls.
- Spread a single layer of tortilla chips on a baking sheet. Spoon seasoned beef evenly over chips. Sprinkle black beans and corn over meat. Drizzle about half the cheese sauce over everything.
- Bake on the upper rack for 8-10 minutes until chips are slightly toasted and cheese is bubbly. Watch closely to prevent burning.
- Remove from oven. Immediately drizzle remaining cheese sauce over hot nachos. Add dollops of sour cream and guacamole. Sprinkle with pico de gallo, pickled jalapeños, black olives, cilantro, and green onions. Squeeze fresh lime juice over the top just before serving. Serve immediately with extra toppings on the side.
Notes
For a gluten-free version, use 1 tablespoon cornstarch mixed with 2 tablespoons cold milk instead of flour in the cheese sauce. Shred your own cheese for a smoother sauce. Don’t overload chips with wet toppings before baking to prevent sogginess. The seasoned beef can be made up to 2 days ahead.
Nutrition
- Serving Size: 1/6 of recipe
- Calories: 520
- Sugar: 6
- Sodium: 890
- Fat: 30
- Saturated Fat: 12
- Carbohydrates: 38
- Fiber: 6
- Protein: 24
Keywords: nachos, game day, loaded nachos, beef nachos, cheese sauce, party food, easy appetizer


