There used to be a tiny bakery on the Lower East Side, tucked between a tailor shop and a dusty bookstore, that made a honey apple cake I still dream about. When they closed their doors three years ago—just a handwritten sign in the window saying “Thanks for the memories”—I actually stood there for a minute, feeling like I’d lost a friend.
After eleven tries—some so dry they crumbled into sad little piles, others so wet they practically swam on the plate—I finally got it. Honestly, let me tell you, there were some real disasters along the way. I mean, one version came out looking more like a science experiment than a holiday dessert.
This cake has that perfect balance of sweet honey and tart apples, with a crumb that’s tender but sturdy enough to hold up to a generous drizzle of extra honey on top. The secret? A little trick I picked up from watching the baker through that dusty window—she always tossed the apple chunks in a bit of flour before folding them into the batter. It keeps them suspended throughout the cake instead of sinking into a sad, soggy bottom.
Maybe you’ve been there, chasing a flavor memory from a place that no longer exists. That’s exactly why this recipe matters. It’s not just a cake—it’s a way to bring back a moment, a season, a feeling. And honestly, it tastes even better the next day, which makes it perfect for Rosh Hashanah when you’re already juggling a million things.
Why You’ll Love This Recipe
This honey apple cake isn’t just another holiday recipe—it’s the one that’ll have everyone asking for the recipe before the meal is over. I’ve tested this version on my picky neighbor, my cousin who “doesn’t really like cake,” and a table full of hungry relatives, and it disappeared every single time.
- Quick & Easy: Comes together in about 20 minutes of active prep time, then the oven does the rest. Perfect for busy holiday mornings when you’re already making brisket and kugel.
- Simple Ingredients: You likely already have flour, eggs, honey, and apples in your kitchen right now. No fancy grocery store trips required.
- Perfect for Rosh Hashanah: The honey symbolizes a sweet new year, and the apples represent abundance. It’s tradition made delicious.
- Crowd-Pleaser: Kids love the sweetness, adults appreciate the sophisticated flavor, and everyone goes back for seconds.
- Unbelievably Delicious: The texture is what gets me every time—moist but not dense, tender but not fragile, with little pockets of soft apple in every bite.
What makes this recipe different from all the others? It’s the method. Most honey apple cakes come out dry or too dense because the honey weighs everything down. I figured out that using a combination of oil and melted butter, plus letting the batter rest for ten minutes before baking, gives you that bakery-quality crumb. It’s not just another version—it’s the best version I’ve ever made.
What Ingredients You Will Need
This recipe uses simple, honest ingredients to create something truly special. Most of these are pantry staples, which makes this cake incredibly accessible even during the busy holiday season.
For the Cake Batter
- All-purpose flour, 2 ½ cups (315g) – Spoon and level for accuracy; don’t scoop directly from the bag or you’ll end up with a dry cake
- Granulated sugar, ½ cup (100g) – Adds just enough sweetness without overpowering the honey
- Honey, ¾ cup (255g) – Use a good-quality honey here; I prefer a mild wildflower or clover honey for balanced flavor (strong buckwheat honey can be overpowering)
- Vegetable oil, ½ cup (120ml) – Keeps the cake moist for days; canola or grapeseed work beautifully
- Unsalted butter, 4 tablespoons (57g), melted and cooled slightly – Adds richness and that buttery flavor you can’t get from oil alone
- Large eggs, 3, at room temperature – Room temperature eggs emulsify better, giving you a smoother batter
- Strong brewed coffee, ½ cup (120ml), cooled – Don’t skip this! The coffee doesn’t make it taste like coffee—it deepens the honey flavor and makes the cake incredibly tender
- Baking powder, 2 teaspoons – Fresh baking powder is crucial; test it by dropping a bit in hot water—if it fizzes, it’s good
- Baking soda, ½ teaspoon – Helps with browning and tenderness
- Salt, ½ teaspoon – Balances the sweetness
- Ground cinnamon, 1 teaspoon – Warm spice that pairs perfectly with apples and honey
- Ground ginger, ½ teaspoon – Adds a subtle warmth without being obvious
- Vanilla extract, 1 teaspoon – Use pure vanilla if you can; it makes a difference
For the Apples
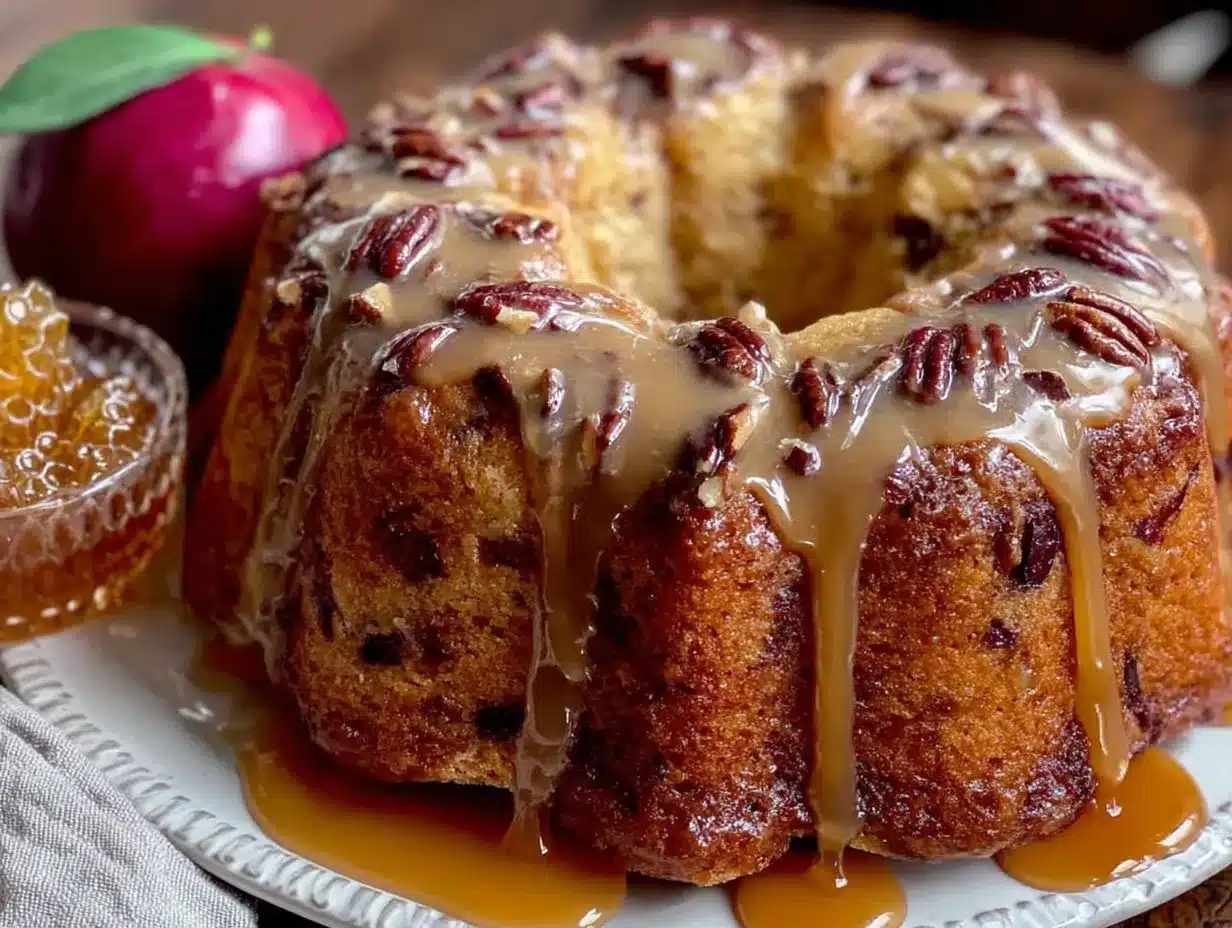
- Apples, 3 medium (about 450g) – I recommend Honeycrisp or Fuji for sweetness and structure; Granny Smith works if you prefer a tarter contrast
- All-purpose flour, 1 tablespoon – For tossing with the apples to prevent sinking
- Lemon juice, 1 teaspoon – Prevents the apples from browning and brightens the flavor
For the Topping (Optional but Highly Recommended)
- Sliced almonds, ¼ cup (30g) – Adds a lovely crunch on top
- Turbinado sugar, 1 tablespoon – For a sparkly, crunchy top
I’ve made this cake with different honey varieties and honestly, the honey you choose really does change the final flavor. A local honey from a farmer’s market will give you a more complex, floral note that’s absolutely gorgeous for the holiday.
Equipment Needed
You don’t need a professional bakery setup for this cake, which is part of why I love it so much. Here’s what you’ll need:
- 9-inch round cake pan or 9×5-inch loaf pan – A round pan gives you that classic cake presentation; a loaf pan works beautifully too and slices more neatly
- Parchment paper – Line the bottom of your pan for easy release; trust me on this one
- Large mixing bowls (2) – One for dry ingredients, one for wet
- Whisk – For combining dry ingredients evenly
- Rubber spatula – For folding in the apples gently without overmixing
- Measuring cups and spoons – Accurate measurements matter in baking
- Cooling rack – Essential for even cooling and preventing a soggy bottom
- Box grater or sharp knife – For preparing the apples
If you don’t have a round cake pan, an 8×8 square pan works perfectly—just reduce the baking time by about 5 minutes and start checking early. I actually prefer the square pan sometimes because the corners get those extra-crispy edges that are absolutely addictive.
Preparation Method
Let me walk you through this step by step. I’ve made this cake so many times that I’ve got the rhythm down, and I’ll share every little trick I’ve learned along the way.
- Preheat and prep. Preheat your oven to 350°F (175°C). Grease your chosen pan generously with butter or non-stick spray, then line the bottom with a circle of parchment paper. This extra step guarantees your cake will release cleanly—I learned this the hard way after a particularly heartbreaking stuck cake incident.
- Prepare the apples. Peel, core, and chop your apples into roughly ½-inch cubes. You want them small enough to distribute evenly but large enough to get those lovely soft pockets of fruit. Toss them in a small bowl with 1 tablespoon of flour and 1 teaspoon of lemon juice until they’re evenly coated. Set them aside while you make the batter.
- Mix the dry ingredients. In a large bowl, whisk together 2 ½ cups all-purpose flour, 2 teaspoons baking powder, ½ teaspoon baking soda, ½ teaspoon salt, 1 teaspoon cinnamon, and ½ teaspoon ground ginger. Whisking aerates the flour and distributes the leaveners evenly—no sifting required.
- Combine the wet ingredients. In a separate large bowl, whisk together ½ cup vegetable oil, 4 tablespoons melted butter, ½ cup granulated sugar, and ¾ cup honey. Whisk until smooth and well combined. Add 3 room-temperature eggs one at a time, whisking well after each addition. Stir in 1 teaspoon vanilla extract.
- Add the coffee. Pour in ½ cup of cooled, strong brewed coffee and whisk until the mixture is uniform. The batter will look a bit thin at this point—don’t panic, that’s exactly right.
- Combine wet and dry. Pour the wet ingredients into the dry ingredients and fold gently with a rubber spatula until just combined. A few streaks of flour are okay—overmixing will make the cake tough. The batter should be thick but pourable, like a very thick pancake batter.
- Fold in the apples. Add the floured apple chunks to the batter and fold them in gently with a few swift strokes. Make sure they’re evenly distributed but don’t overwork the batter.
- Rest the batter. Here’s my secret—let the batter rest for 10 minutes at room temperature before baking. This allows the flour to fully hydrate and the leaveners to activate, giving you a more tender, even crumb. Use this time to wash a few dishes or set out your topping.
- Pour and top. Pour the batter into your prepared pan and spread it evenly. If using, sprinkle the sliced almonds and turbinado sugar evenly over the top.
- Bake. Bake for 45-55 minutes, or until a toothpick inserted into the center comes out clean or with just a few moist crumbs. The top should be deep golden brown and the edges should pull away slightly from the pan. Start checking at 40 minutes—every oven runs differently.
- Cool. Let the cake cool in the pan on a wire rack for 15 minutes. Then run a knife around the edges, invert onto the rack, remove the parchment, and flip it right-side up to cool completely. Patience here is hard, I know, but slicing too early will make it crumble.
Cooking Tips & Techniques
After all those failed attempts, I’ve gathered some hard-won wisdom that’ll save you from the same disasters. Here’s what I wish someone had told me from the start:
Room temperature ingredients matter more than you think. Cold eggs and cold coffee will seize the butter and give you a dense, lumpy batter. Take everything out of the fridge 30 minutes before you start. If you’re in a hurry, place the eggs in a bowl of warm water for 5 minutes.
Don’t skip the coffee. I know it sounds weird, but the coffee doesn’t make the cake taste like coffee. It actually enhances the honey flavor and makes the crumb incredibly tender. Use decaf if you’re concerned about caffeine—the flavor is the same.
Check your baking powder. I once made this cake with expired baking powder and it came out flat as a pancake. Literally. Test your baking powder by dropping a teaspoon into hot water—if it bubbles vigorously, it’s good. If not, buy fresh.
Let it cool completely before glazing. If you want to add a honey glaze (which I highly recommend), wait until the cake is completely cool. A warm cake will absorb the glaze and become soggy. Mix 2 tablespoons of honey with 1 tablespoon of warm water and drizzle it over the cooled cake for a beautiful, shiny finish.
Bake it the day before. This cake actually improves overnight. The flavors meld together and the texture becomes even more moist and tender. Bake it a day ahead, wrap it tightly in plastic wrap once completely cool, and store it at room temperature. It’s a lifesaver for holiday entertaining.
Variations & Adaptations
One of the things I love about this recipe is how flexible it is. Here are some variations I’ve tried and loved:
- Gluten-Free Version: Substitute the all-purpose flour with a 1:1 gluten-free baking blend that contains xanthan gum. I’ve had great results with King Arthur’s Measure for Measure flour. The texture will be slightly more delicate, so handle it gently.
- Dairy-Free Adaptation: Replace the melted butter with an equal amount of coconut oil or additional vegetable oil. The cake will still be moist and delicious—I actually made this version for a friend with dairy allergies and she couldn’t tell the difference.
- Spice It Up: Add ¼ teaspoon of ground cardamom or nutmeg along with the cinnamon for a more complex spice profile. Cardamom pairs beautifully with honey and gives the cake an almost floral note.
- Apple Variations: Try using a mix of apple varieties—half sweet (Honeycrisp, Fuji) and half tart (Granny Smith) gives you the best of both worlds. In the fall, I love using locally grown McIntosh apples for their soft, almost saucy texture when baked.
- Nut-Free Option: Simply omit the sliced almonds on top. The cake is still wonderful without them. You could also substitute pumpkin seeds for a nut-free crunch.
Serving & Storage Suggestions
This cake is incredibly versatile when it comes to serving. For Rosh Hashanah, I love serving it slightly warm with a dollop of lightly sweetened whipped cream or a scoop of vanilla ice cream. The contrast between the warm, spiced cake and the cold, creamy topping is absolutely heavenly.
For a more traditional presentation, dust the top with powdered sugar just before serving and arrange a few thin apple slices or fresh figs around the platter. It makes a stunning centerpiece on any holiday table.
Storage: Store the cake tightly wrapped in plastic wrap at room temperature for up to 3 days. Do not refrigerate—the cold will dry it out and make the texture dense. If you’ve added a glaze, store it in an airtight container to prevent the glaze from getting sticky.
Freezing: This cake freezes beautifully. Wrap the completely cooled cake (unglazed) tightly in plastic wrap, then in a layer of aluminum foil. Freeze for up to 3 months. To thaw, remove the foil and let it come to room temperature on the counter while still wrapped in plastic. This prevents condensation from making the cake soggy.
Reheating: For that just-baked experience, warm individual slices in a 300°F oven for 5-7 minutes, or microwave for about 15 seconds. The aroma alone is worth the effort.
One thing I’ve noticed—the flavors actually develop and deepen over the first 24 hours. The honey becomes more pronounced, the apple flavor melds into the cake, and the spices mellow into a warm, comforting background note. It’s honestly better on day two.
Nutritional Information & Benefits
While this is definitely a treat, there are some redeeming qualities to this cake that make it worth every bite. Here’s the approximate nutritional breakdown per slice (based on 12 servings):
- Calories: 320
- Fat: 14g
- Carbohydrates: 47g
- Protein: 5g
- Fiber: 2g
- Sugar: 28g
Honey, the star of this recipe, contains antioxidants and has natural antibacterial properties. It’s also a better option than refined sugar for those watching their glycemic index, though moderation is still key. Apples provide fiber, vitamin C, and various antioxidants, particularly in the skin—so if you don’t mind a slightly more rustic texture, feel free to leave the peels on.
This recipe is naturally nut-free if you skip the almond topping, and can easily be made dairy-free or gluten-free with the substitutions mentioned above. It does contain eggs, wheat, and dairy (if using butter), so keep those allergens in mind when serving guests.
Conclusion
This honey apple cake is more than just a dessert—it’s a way to bring the sweetness of the new year to your table in the most delicious way possible. After all those failed attempts and that sad, closed bakery, I can honestly say this version is worth every single try.
I love that this recipe is forgiving enough for a beginner baker but impressive enough for a holiday table. It’s the kind of cake that makes people close their eyes after the first bite, and that’s exactly what I was chasing all along.
I’d love to hear how yours turns out! Did you try any of the variations? Did your family fight over the last slice? Drop a comment below and let me know—I read every single one, and your stories honestly make my day.
Here’s to a sweet, beautiful new year, filled with good food and even better company. L’Shanah Tovah!
Frequently Asked Questions
Can I use a different type of apple for this cake?
Absolutely! While I recommend Honeycrisp or Fuji for their sweetness and ability to hold their shape, you can use any apple you have on hand. Granny Smith adds a lovely tart contrast, while Gala or Braeburn work beautifully. Just avoid very soft apples like Red Delicious, which can turn mushy during baking.
Why did my honey apple cake sink in the middle?
This is usually caused by opening the oven door too early or underbaking. Resist the urge to check the cake until at least 35 minutes have passed. Also, make sure your baking powder and baking soda are fresh—expired leaveners won’t give your cake the lift it needs. Finally, don’t overmix the batter, which can deflate the air bubbles.
Can I make this cake ahead of time?
Yes, and I actually recommend it! This cake tastes even better the next day. Bake it a day ahead, let it cool completely, wrap it tightly in plastic wrap, and store it at room temperature. Unwrap and serve at room temperature, or warm individual slices before serving.
How do I know when the cake is done baking?
The best test is the toothpick test—insert a toothpick or thin knife into the center of the cake. If it comes out clean or with just a few moist crumbs, it’s done. The edges should also be pulling away from the sides of the pan, and the top should be a deep golden brown. If the top is browning too quickly, tent it loosely with foil for the last 10-15 minutes of baking.
Can I freeze this honey apple cake?
Yes, it freezes beautifully! Wrap the completely cooled cake (unglazed) tightly in plastic wrap, then in a layer of aluminum foil. Freeze for up to 3 months. To thaw, remove the foil and let it come to room temperature while still wrapped in plastic to prevent condensation. Add any glaze or toppings after thawing.
Pin This Recipe!
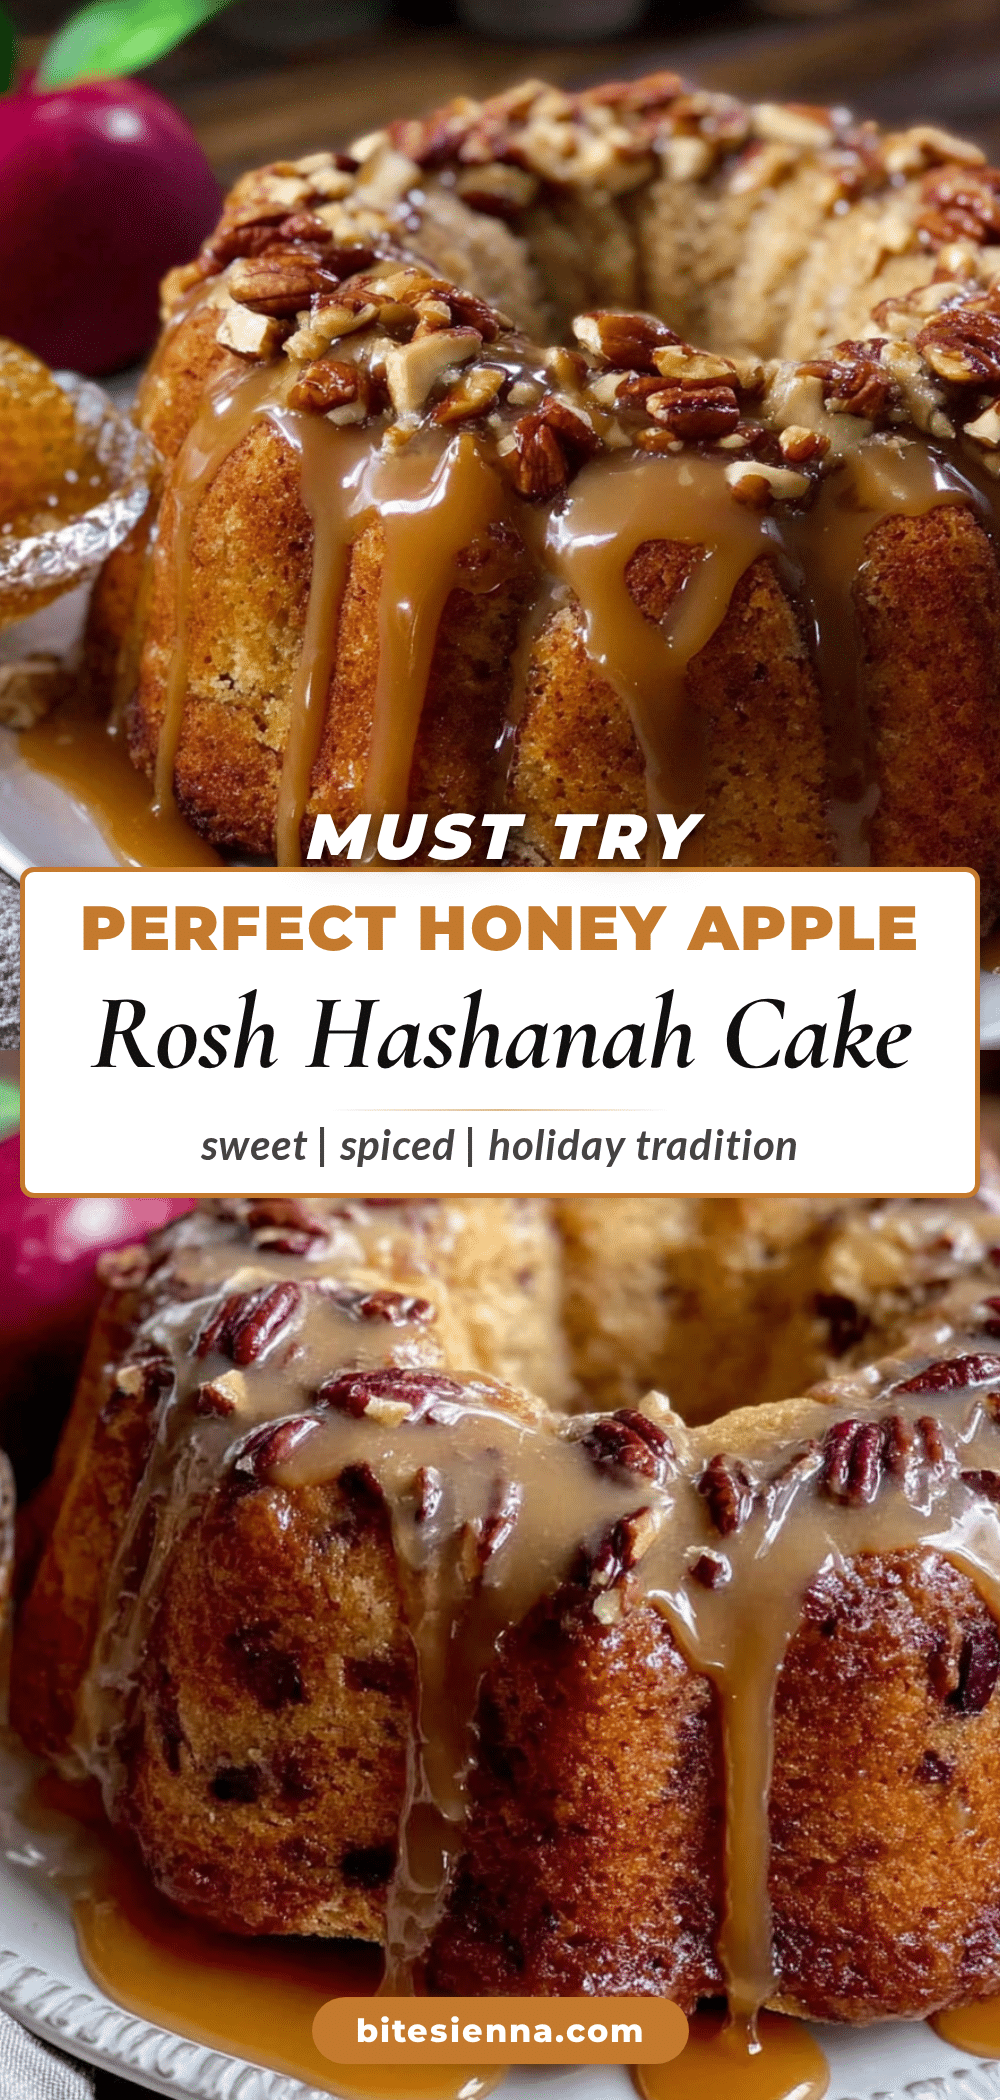
Perfect Honey Apple Cake: Easy Rosh Hashanah Dessert
This honey apple cake has the perfect balance of sweet honey and tart apples, with a tender crumb that stays moist for days. It’s a Rosh Hashanah tradition made delicious, and it tastes even better the next day.
- Prep Time: 20 minutes
- Cook Time: 50 minutes
- Total Time: 1 hour 10 minutes
- Yield: 12 servings 1x
- Category: Dessert
- Cuisine: Jewish
Ingredients
- 2 ½ cups (315g) all-purpose flour
- ½ cup (100g) granulated sugar
- ¾ cup (255g) honey
- ½ cup (120ml) vegetable oil
- 4 tablespoons (57g) unsalted butter, melted and cooled slightly
- 3 large eggs, at room temperature
- ½ cup (120ml) strong brewed coffee, cooled
- 2 teaspoons baking powder
- ½ teaspoon baking soda
- ½ teaspoon salt
- 1 teaspoon ground cinnamon
- ½ teaspoon ground ginger
- 1 teaspoon vanilla extract
- 3 medium apples (about 450g), peeled, cored, and chopped into ½-inch cubes
- 1 tablespoon all-purpose flour (for tossing apples)
- 1 teaspoon lemon juice
- ¼ cup (30g) sliced almonds (optional, for topping)
- 1 tablespoon turbinado sugar (optional, for topping)
Instructions
- Preheat oven to 350°F (175°C). Grease a 9-inch round cake pan or 9×5-inch loaf pan and line the bottom with parchment paper.
- Peel, core, and chop apples into ½-inch cubes. Toss with 1 tablespoon flour and 1 teaspoon lemon juice in a small bowl. Set aside.
- In a large bowl, whisk together 2 ½ cups flour, 2 teaspoons baking powder, ½ teaspoon baking soda, ½ teaspoon salt, 1 teaspoon cinnamon, and ½ teaspoon ground ginger.
- In a separate large bowl, whisk together ½ cup vegetable oil, 4 tablespoons melted butter, ½ cup granulated sugar, and ¾ cup honey until smooth. Add 3 room-temperature eggs one at a time, whisking well after each. Stir in 1 teaspoon vanilla extract.
- Pour in ½ cup cooled coffee and whisk until uniform.
- Pour wet ingredients into dry ingredients and fold gently with a rubber spatula until just combined (a few streaks of flour are okay).
- Fold in the floured apple chunks gently.
- Let the batter rest for 10 minutes at room temperature.
- Pour batter into prepared pan and spread evenly. Sprinkle sliced almonds and turbinado sugar on top if using.
- Bake for 45-55 minutes, or until a toothpick inserted into the center comes out clean or with a few moist crumbs. Start checking at 40 minutes.
- Cool in the pan on a wire rack for 15 minutes. Run a knife around the edges, invert onto the rack, remove parchment, and flip right-side up to cool completely.
Notes
Room temperature ingredients are crucial. Don’t skip the coffee—it enhances the honey flavor without tasting like coffee. Let the cake cool completely before adding a honey glaze (2 tablespoons honey mixed with 1 tablespoon warm water). This cake tastes even better the next day. Store tightly wrapped at room temperature for up to 3 days; do not refrigerate. Freezes well for up to 3 months (unglazed).
Nutrition
- Serving Size: 1 slice
- Calories: 320
- Sugar: 28
- Sodium: 220
- Fat: 14
- Saturated Fat: 4
- Carbohydrates: 47
- Fiber: 2
- Protein: 5
Keywords: honey apple cake, Rosh Hashanah dessert, apple cake, honey cake, Jewish holiday dessert, easy apple cake


