It was 10:47 PM on a random Tuesday in late September, and I had a wild craving for something that tasted like fall but felt like a childhood birthday party. I didn’t have the energy for a full-blown pumpkin pie or even a batch of cupcakes, but I had a box of chocolate pudding mix, some crushed Oreos, and a bag of gummy worms that my kid had abandoned in the pantry. Honestly, the idea just arrived—like a little lightbulb flickering on in my tired brain. I grabbed a handful of clear plastic cups and started layering, feeling a bit like a mad scientist in pajamas.
I mean, let me tell you, there’s something about late-night kitchen experiments. You’re not trying to impress anyone. You’re just following a weird, specific impulse. This one turned into what I now call Pumpkin Patch Dirt Cups, and they were so ridiculously fun and easy that I made them again the next day for a proper taste test. Maybe you’ve been there—standing in your kitchen at an unreasonable hour, wondering if chocolate and pumpkin can actually be friends. Spoiler: they absolutely can.
These little cups became my go-to for Halloween parties, fall potlucks, and even just a Tuesday night treat. They look like a tiny pumpkin patch scene, complete with chocolate “dirt” and gummy worms wiggling their way out. It’s the kind of recipe that makes people smile before they even take a bite. And the best part? You don’t need to turn on the oven. Not a single degree. So if you’re looking for a dessert that’s equal parts adorable and delicious, you’ve come to the right place.
Why You’ll Love This Recipe
Let me be real with you—I’ve tested this recipe about six times to get the balance just right. I wanted the pumpkin flavor to come through without overpowering the chocolate, and I wanted the texture to be creamy but still sturdy enough to hold those gummy worms upright. After a few trials (and a few messy failures), I landed on a version that checks every box. Here’s why you’ll love it too:
- Quick & Easy: These come together in about 15 minutes of active time. No baking, no complicated steps. Just mix, layer, and chill.
- Simple Ingredients: You probably already have most of these in your pantry. Oreos, pudding mix, cream cheese, pumpkin puree—nothing fancy required.
- Perfect for Halloween: These are a guaranteed hit at Halloween parties, school events, or even just a spooky movie night at home.
- Crowd-Pleaser: Kids absolutely lose their minds over the gummy worms, and adults love the nostalgic flavor combo. I’ve seen grown-ups sneak seconds.
- Unbelievably Delicious: The pumpkin spice mingles with the creamy pudding and the crunchy Oreo “dirt” in a way that’s honestly next-level. It’s comfort food in a cup.
What makes this recipe different from all the other dirt cup recipes out there? It’s the pumpkin. Most dirt cups are just chocolate and Oreos, but adding pumpkin puree and a touch of pumpkin pie spice gives it a warm, autumnal twist that feels special. It’s not just another version—it’s your new favorite fall dessert.
What Ingredients You Will Need
This recipe uses simple, wholesome ingredients to deliver that perfect pumpkin-chocolate combo. Most of these are pantry staples, especially during fall. Let me walk you through each one so you know exactly what to look for.
- 1 box (3.4 oz) instant vanilla pudding mix – This is the base of your creamy pumpkin layer. I prefer the Jell-O brand for consistent results, but any instant vanilla pudding mix works. Don’t use cook-and-serve—it won’t set properly.
- 1 cup cold milk – Whole milk gives the creamiest texture, but 2% works fine too. For a dairy-free option, use unsweetened oat milk or almond milk. Just know it might be slightly less thick.
- 1/2 cup pumpkin puree – Make sure you’re using 100% pure pumpkin puree, not pumpkin pie filling. The pie filling has added sugar and spices that will throw off the balance. I like Libby’s brand.
- 1/4 cup powdered sugar – This adds a touch of sweetness and helps stabilize the pudding mixture. You can skip it if you prefer a less sweet dessert.
- 1/2 teaspoon pumpkin pie spice – You can buy it pre-mixed or make your own with cinnamon, nutmeg, ginger, and cloves. I usually make my own because I like a little extra cinnamon.
- 1/4 teaspoon vanilla extract – Pure vanilla extract is best, but imitation works in a pinch. It rounds out the flavors nicely.
- 1 cup crushed Oreo cookies – About 10-12 Oreos, crushed into fine crumbs. This is your “dirt.” I recommend removing the cream filling for a darker, more realistic dirt look, but leaving it in is fine too—it just makes the crumbs a little lighter.
- 8-10 gummy worms – Any brand works. I like the sour ones for an extra kick, but classic gummy worms are great too. You’ll need about 2 per cup.
- Optional: 4-6 small pumpkin candies or candy corn – These are for decoration on top. Totally optional, but they make the cups look extra cute.
- Optional: 2 tablespoons cream cheese, softened – If you want a thicker, creamier pudding layer, add this. It gives the texture a little more body and a slight tang that pairs beautifully with pumpkin.
Equipment Needed
You don’t need any fancy gadgets for this recipe, which is part of why I love it. Here’s what you’ll need:
- 8-10 small clear plastic cups or glass jars – I use 7-ounce clear plastic cups from the party supply store. You can also use small mason jars or even dessert glasses. Clear cups let you see the layers, which is half the fun.
- Mixing bowls – One medium bowl for the pudding and one small bowl for the Oreo crumbs.
- Whisk or electric mixer – A whisk works fine, but an electric mixer makes the pudding come together faster and smoother. I’ve done it both ways.
- Rolling pin or food processor – For crushing the Oreos. A rolling pin and a zip-top bag is my go-to method because it’s oddly satisfying. A food processor is faster if you have one.
- Spatula – For scraping down the sides of the bowl and layering the pudding.
- Spoon or piping bag – A spoon works perfectly for layering, but a piping bag makes it neater. I usually just spoon it in and tap the cup to settle the layers.
Preparation Method
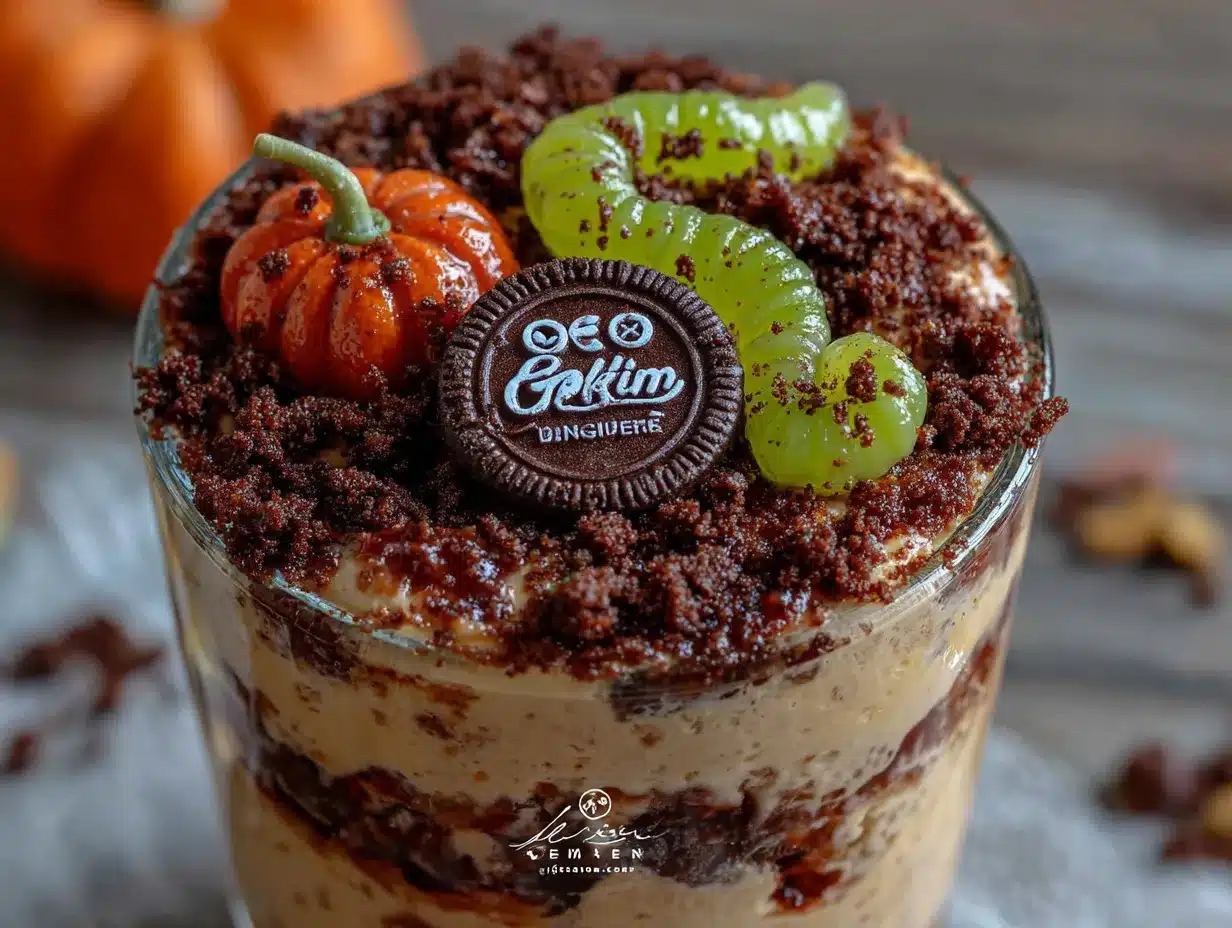
Alright, let’s get to the fun part. Here’s how to make these adorable pumpkin patch dirt cups step by step.
- Make the pudding base: In a medium mixing bowl, whisk together the instant vanilla pudding mix and 1 cup cold milk. Whisk for about 2 minutes until it starts to thicken. If you’re using the cream cheese option, beat the softened cream cheese first in a separate bowl until smooth, then add the pudding mix and milk. Set the pudding aside for 5 minutes to set up slightly.
- Add the pumpkin: Once the pudding has thickened a bit, stir in the pumpkin puree, powdered sugar, pumpkin pie spice, and vanilla extract. Mix until everything is well combined and the color is a uniform pale orange. Taste it here—this is your chance to adjust the spice level. I usually add a pinch more cinnamon because I’m obsessed.
- Crush the Oreos: Place the Oreos in a zip-top bag and seal it. Use a rolling pin to crush them into fine crumbs. You want them to look like dirt—some larger pieces are okay, but mostly fine crumbs. If you’re using a food processor, pulse until you get the right texture. Set aside.
- Layer the cups: Grab your clear cups or jars. Start with a layer of Oreo crumbs at the bottom—about 1-2 tablespoons per cup. This is your “soil” base. Then spoon or pipe a layer of the pumpkin pudding on top, filling the cup about halfway. Add another thin layer of Oreo crumbs, then more pudding until the cup is about three-quarters full.
- Top with dirt: Finish with a generous layer of Oreo crumbs on top. This is the surface of your pumpkin patch. Make sure it covers the pudding completely so no orange peeks through.
- Add the gummy worms: Gently push 2 gummy worms into each cup so they look like they’re crawling out of the dirt. You can leave part of them sticking out for a fun effect. If you’re using pumpkin candies, place a couple on top of the dirt.
- Chill before serving: Place the cups in the refrigerator for at least 30 minutes before serving. This allows the pudding to set completely and the flavors to meld together. I’ve found they taste even better after an hour or two.
Cooking Tips & Techniques
I’ve made these cups more times than I care to admit, and I’ve picked up a few tricks along the way. Let me share them so your first batch turns out perfect.
Don’t skip the chilling time. I know it’s tempting to dig in right away, but the pudding needs time to firm up. If you serve them too soon, the layers will run together and you’ll lose that beautiful dirt cup effect. Trust me on this—I learned the hard way when I served them at a party and ended up with orange soup.
Crush the Oreos to the right consistency. If the crumbs are too large, they won’t look like dirt. If they’re too fine, they’ll turn into a paste. Aim for a texture similar to coarse sand. I like to leave a few slightly bigger pieces for visual interest.
Use a piping bag for clean layers. If you want those Instagram-worthy layers, spoon the pudding into a piping bag or a zip-top bag with the corner snipped off. It gives you more control and keeps the sides of the cup clean. But honestly, a spoon works just fine for everyday life.
Make it ahead of time. These cups are actually better when made a few hours in advance. The Oreo crumbs soften slightly and absorb some of the pudding’s moisture, creating a texture that’s almost like a dirt cake. Just don’t add the gummy worms until right before serving, or they’ll get soggy and lose their chewiness.
Variations & Adaptations
One of the best things about this recipe is how easy it is to customize. Here are a few variations I’ve tried and loved.
- Gluten-Free Version: Use gluten-free chocolate sandwich cookies (like Glutino or Kinnikinnick) and make sure your pudding mix is gluten-free. Most instant pudding mixes are, but always check the label.
- Dairy-Free Version: Swap the milk for unsweetened oat milk or coconut milk, and use a dairy-free cream cheese alternative. The texture will be slightly less thick, but it still works beautifully.
- Extra Pumpkin Flavor: If you’re a pumpkin fanatic like me, add an extra tablespoon of pumpkin puree and a pinch more pumpkin pie spice. You can also stir in a tablespoon of pumpkin butter for an even deeper flavor.
- Chocolate Pumpkin Version: Use chocolate pudding mix instead of vanilla for a double-chocolate experience. The pumpkin flavor will be more subtle, but it’s a fun twist for chocolate lovers.
- No-Bake Pumpkin Cheesecake Version: Add 4 ounces of softened cream cheese to the pudding mixture and beat until smooth. This gives it a rich, cheesecake-like texture that’s absolutely decadent.
Serving & Storage Suggestions
These dirt cups are best served cold, straight from the fridge. I like to pull them out about 10 minutes before serving to take the chill off slightly, but that’s just personal preference. The gummy worms are most fun when they’re still a little firm and chewy.
For presentation, arrange the cups on a platter or a large wooden board. Sprinkle a few extra Oreo crumbs around the base of the cups and scatter some candy corn or pumpkin candies on the board for a festive look. If you’re serving them at a Halloween party, add some fake spider webs or plastic spiders for a spooky touch.
Storage: Cover the cups with plastic wrap or lids and store them in the refrigerator for up to 3 days. The Oreo crumbs will soften over time, but the flavor actually improves after a day. Do not freeze these—the pudding will become watery and grainy when thawed.
Reheating: These are meant to be served cold, so no reheating needed. If the pudding seems too thick after chilling, let the cups sit at room temperature for 15 minutes before serving.
Nutritional Information & Benefits
Let’s be honest—these are a treat, not a health food. But I do love that they include real pumpkin, which is packed with vitamin A and fiber. Here’s an approximate breakdown per serving (based on 8 servings):
- Calories: 220
- Fat: 9g
- Carbohydrates: 34g
- Fiber: 2g
- Sugar: 22g
- Protein: 3g
- Vitamin A: 45% of the Daily Value
If you’re watching your sugar intake, you can use sugar-free pudding mix and reduce the powdered sugar. The pumpkin puree adds natural sweetness and nutrients, so you’re getting a little something good along with the indulgence. As always, check for potential allergens—these contain dairy and wheat (from the Oreos).
Conclusion
Honestly, these Easy Pumpkin Patch Dirt Cups with Gummy Worms are one of those recipes that just makes me happy. They’re fun to make, even more fun to serve, and they disappear faster than almost any dessert I’ve ever brought to a party. Whether you’re making them for a Halloween bash, a fall-themed classroom treat, or just because you want a little whimsy on a Tuesday night, they deliver every single time.
I’d love to hear how yours turn out. Did you add any fun decorations? Did your kids go crazy for the gummy worms? Drop a comment below and let me know. And if you tweak the recipe to make it your own, share that too—I’m always looking for new ideas. Until next time, happy layering!
Frequently Asked Questions
Can I make these dirt cups ahead of time?
Yes, absolutely. You can make them up to 24 hours in advance. Just wait to add the gummy worms until right before serving so they stay chewy.
Can I use homemade pudding instead of instant mix?
You can, but it will change the texture. Homemade pudding is thinner and may not set as firmly. If you go that route, add an extra tablespoon of cornstarch to the recipe to help it thicken.
How do I get clean layers in the cups?
Use a piping bag or a zip-top bag with the corner snipped off to add the pudding. This gives you more control and keeps the sides of the cup clean. You can also tap the cup gently on the counter after each layer to settle everything evenly.
Can I use a different type of cookie for the dirt?
Absolutely. Chocolate wafer cookies, graham crackers, or even chocolate teddy grahams work great. Just crush them into fine crumbs. Each will give a slightly different flavor and texture.
How long do these last in the fridge?
They’ll keep for up to 3 days in the refrigerator. The Oreo crumbs will soften over time, but the flavor gets even better. Just keep them covered so they don’t absorb any fridge odors.
Pin This Recipe!
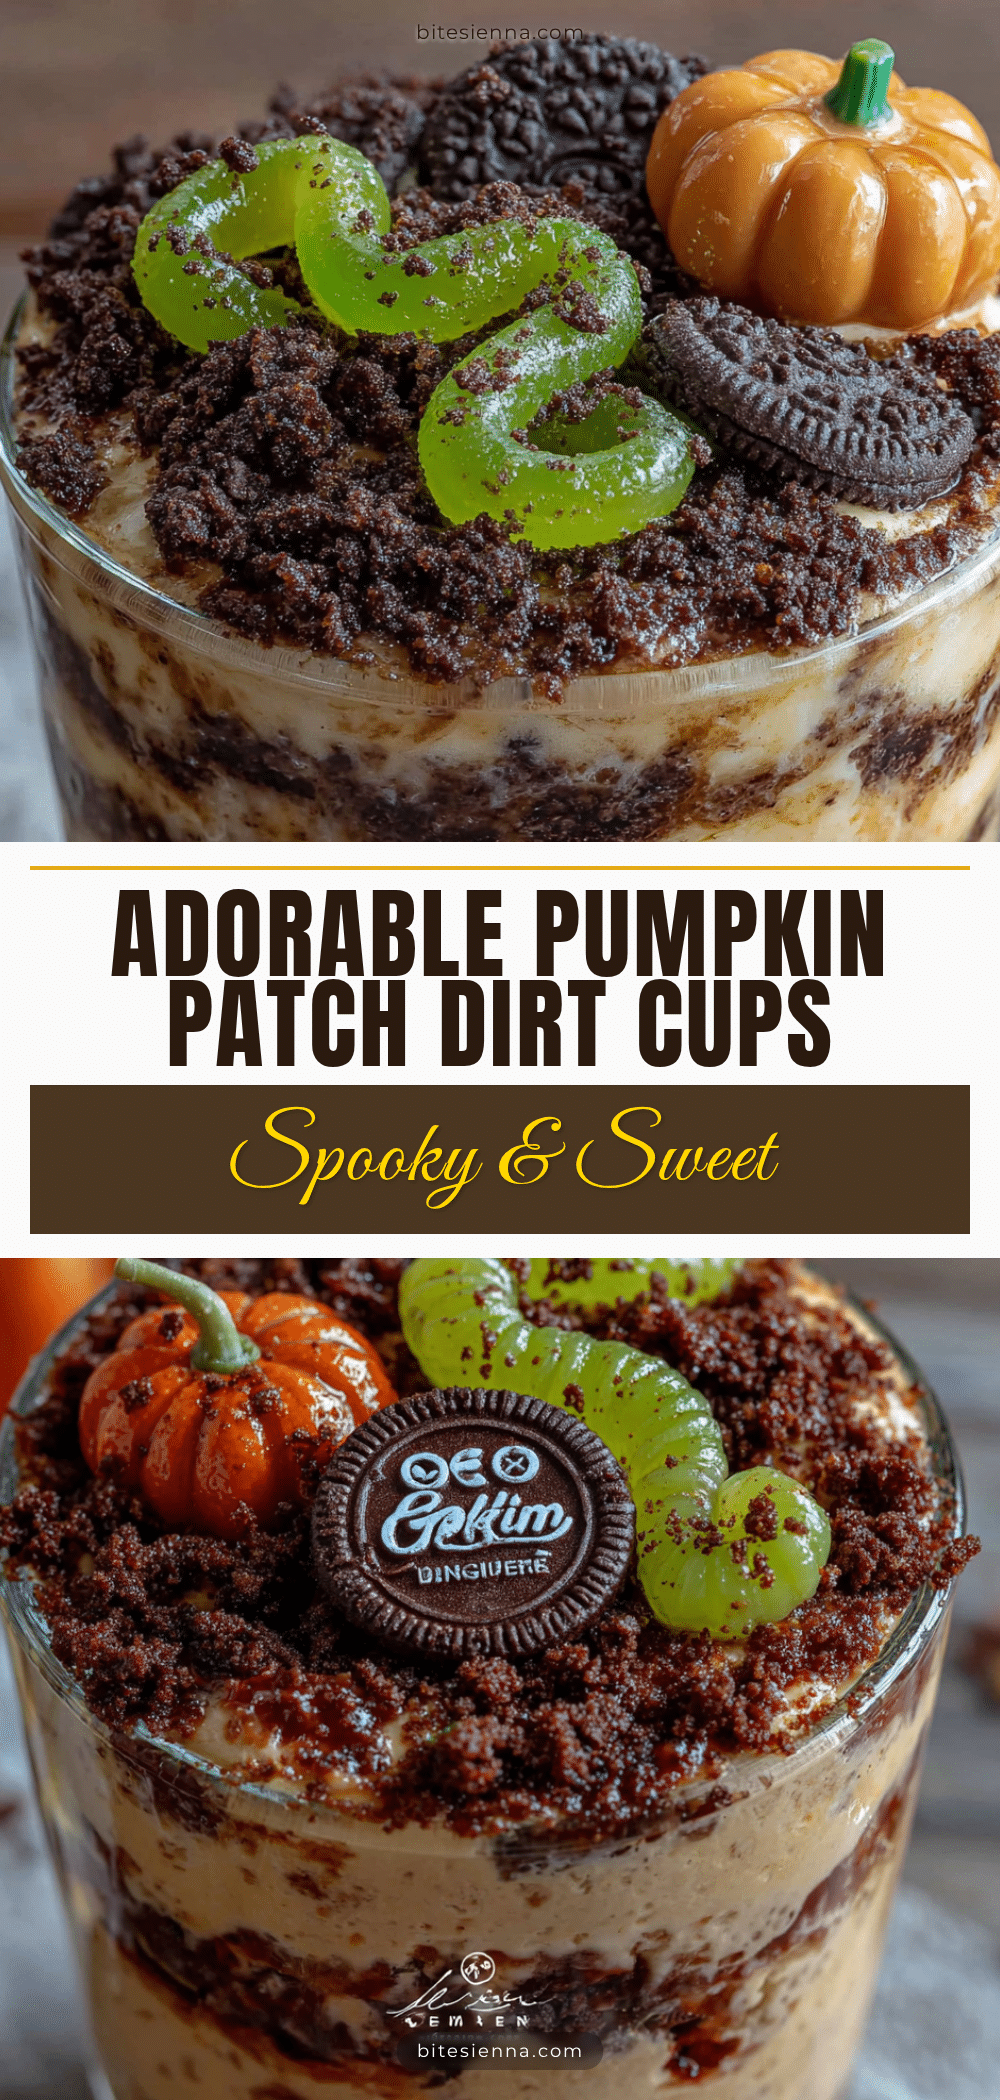
Easy Pumpkin Patch Dirt Cups with Gummy Worms
These no-bake dirt cups feature a creamy pumpkin pudding layer, crushed Oreo ‘dirt,’ and gummy worms crawling out, making them a fun and delicious fall dessert perfect for Halloween parties or a cozy night in.
- Prep Time: 15 minutes
- Cook Time: 0 minutes
- Total Time: 45 minutes (includes chilling)
- Yield: 8 servings 1x
- Category: Dessert
- Cuisine: American
Ingredients
- 1 box (3.4 oz) instant vanilla pudding mix
- 1 cup cold milk
- 1/2 cup pumpkin puree
- 1/4 cup powdered sugar
- 1/2 teaspoon pumpkin pie spice
- 1/4 teaspoon vanilla extract
- 1 cup crushed Oreo cookies (about 10–12 Oreos)
- 8–10 gummy worms
- Optional: 4-6 small pumpkin candies or candy corn
- Optional: 2 tablespoons cream cheese, softened
Instructions
- In a medium mixing bowl, whisk together the instant vanilla pudding mix and 1 cup cold milk for about 2 minutes until it starts to thicken. If using cream cheese, beat it first until smooth, then add pudding mix and milk. Set aside for 5 minutes.
- Stir in the pumpkin puree, powdered sugar, pumpkin pie spice, and vanilla extract until well combined and uniform in color.
- Place Oreos in a zip-top bag and crush with a rolling pin into fine crumbs (or use a food processor). Set aside.
- Layer the cups: Start with 1-2 tablespoons of Oreo crumbs at the bottom. Spoon or pipe a layer of pumpkin pudding on top, filling halfway. Add another thin layer of Oreo crumbs, then more pudding until three-quarters full.
- Top with a generous layer of Oreo crumbs to cover the pudding completely.
- Gently push 2 gummy worms into each cup so they appear to crawl out. Optionally, place pumpkin candies on top.
- Refrigerate for at least 30 minutes before serving to allow the pudding to set.
Notes
Chilling is essential for the layers to set. For clean layers, use a piping bag. Add gummy worms just before serving to keep them chewy. Can be made up to 24 hours in advance.
Nutrition
- Serving Size: 1 cup
- Calories: 220
- Sugar: 22
- Sodium: 280
- Fat: 9
- Saturated Fat: 4
- Carbohydrates: 34
- Fiber: 2
- Protein: 3
Keywords: pumpkin patch dirt cups, Halloween dessert, no-bake pumpkin dessert, gummy worms, Oreo dirt cups, fall treat


