There used to be a tiny bakery on the corner of Maple and 3rd in my old neighborhood that made the most incredible banana bread. When they closed abruptly two summers ago—a “For Lease” sign appeared overnight—I honestly felt a little lost. That bakery was my Sunday morning ritual, and their banana bread was the reason. The top was perfectly cracked, the edges were caramelized, and every slice had this insane walnut crunch. After 12 tries—some were dry, one was practically a brick, and another somehow tasted like flour—I finally got it.
The secret wasn’t some fancy technique. It was simplicity, honestly. That bakery used a one-bowl method, and I remember watching the baker through the window one morning. She just tossed everything into a single bowl, stirred it with a wooden spoon, and popped it in the oven. No mixer, no fuss, no drama. I mean, who knew the best banana bread of your life could come together in ten minutes of active work?
Maybe you’ve been there—chasing a flavor from a place that no longer exists. It’s a weird kind of grief, right? But here’s the thing: this recipe isn’t just a copy. It’s better. The walnuts get toasted just enough before folding in, and the banana-to-butter ratio took me weeks to nail. Let me tell you, the moment I pulled this loaf out of the oven and saw that golden-brown crack across the top, I knew the search was over. This is the one I keep making, and I think it’s about to become your favorite too.
Why You’ll Love This Recipe
This classic banana bread with walnuts isn’t just another recipe floating around the internet. It’s the one that makes you close your eyes after the first bite. I’ve tested this version more times than I care to admit, and every single person who tries it asks for the recipe. Here’s why it stands out:
- One Bowl Wonder: No mixer, no separate bowls for wet and dry ingredients. Just one bowl and a wooden spoon. The cleanup is practically non-existent.
- Perfect Texture Every Time: The inside is incredibly moist and tender, while the outside develops that signature crackly crust. The walnuts add the perfect crunch without getting soggy.
- Pantry-Friendly Ingredients: You probably have everything you need right now. Overripe bananas are the star, and everything else is a kitchen staple.
- Forgiving Recipe: This is the kind of recipe that works even when you’re distracted. I’ve made it while talking on the phone and while helping with homework. It still turns out perfect.
- Freezes Beautifully: Make two loaves—one for now and one for later. It freezes like a dream and tastes just as good thawed.
- Crowd-Pleaser: I’ve brought this to brunches, potlucks, and holiday gatherings. It disappears every single time, and people always ask for the recipe.
What makes this different from every other banana bread recipe? It’s the technique of toasting the walnuts first and the precise ratio of bananas to butter that took me forever to figure out. The walnuts get folded in at just the right moment so they stay crunchy rather than turning soft. And the mashed bananas? They need to be spotted brown—not just yellow, not completely black—for that deep, almost caramel-like sweetness.
This isn’t just good banana bread. It’s the kind that makes you feel like you’ve accomplished something before 9 AM. It’s comfort food that fills your kitchen with the best smell imaginable and makes everyone in your house wander in asking, “Is it ready yet?”
What Ingredients You Will Need
This recipe uses simple, wholesome ingredients that work together to create that perfect balance of sweetness, moisture, and crunch. Most of these are probably already in your kitchen, which makes this the perfect last-minute baking project.
For the Banana Bread Batter
- 3 large ripe bananas, mashed (about 1 ½ cups or 340g) — The riper the better. You want them spotty brown for maximum sweetness. I’ve learned that bananas that look past their prime actually make the best bread.
- ⅓ cup (75g) unsalted butter, melted — Let it cool slightly before mixing. I use salted butter in a pinch and just reduce the added salt by half.
- ¾ cup (150g) granulated sugar — Regular white sugar works perfectly here. I’ve tried brown sugar too, and it adds a deeper flavor if you want to experiment.
- 1 large egg, room temperature — Room temperature egg mixes more evenly into the batter. If you forgot to take it out, place it in a bowl of warm water for 5 minutes.
- 1 teaspoon vanilla extract — Pure vanilla makes a difference, but imitation works fine too. I use Nielsen-Massey because it’s what I always have on hand.
- 1 ½ cups (190g) all-purpose flour — Spoon and level your flour for accuracy. Scooping directly from the bag packs in too much and makes the bread dry.
- 1 teaspoon baking soda — Make sure it’s fresh. Old baking soda won’t give you that beautiful rise.
- ¼ teaspoon salt — Just enough to balance the sweetness and enhance the banana flavor.
- ½ teaspoon ground cinnamon — Optional but highly recommended. It complements the banana perfectly without overpowering it.
For the Walnut Addition
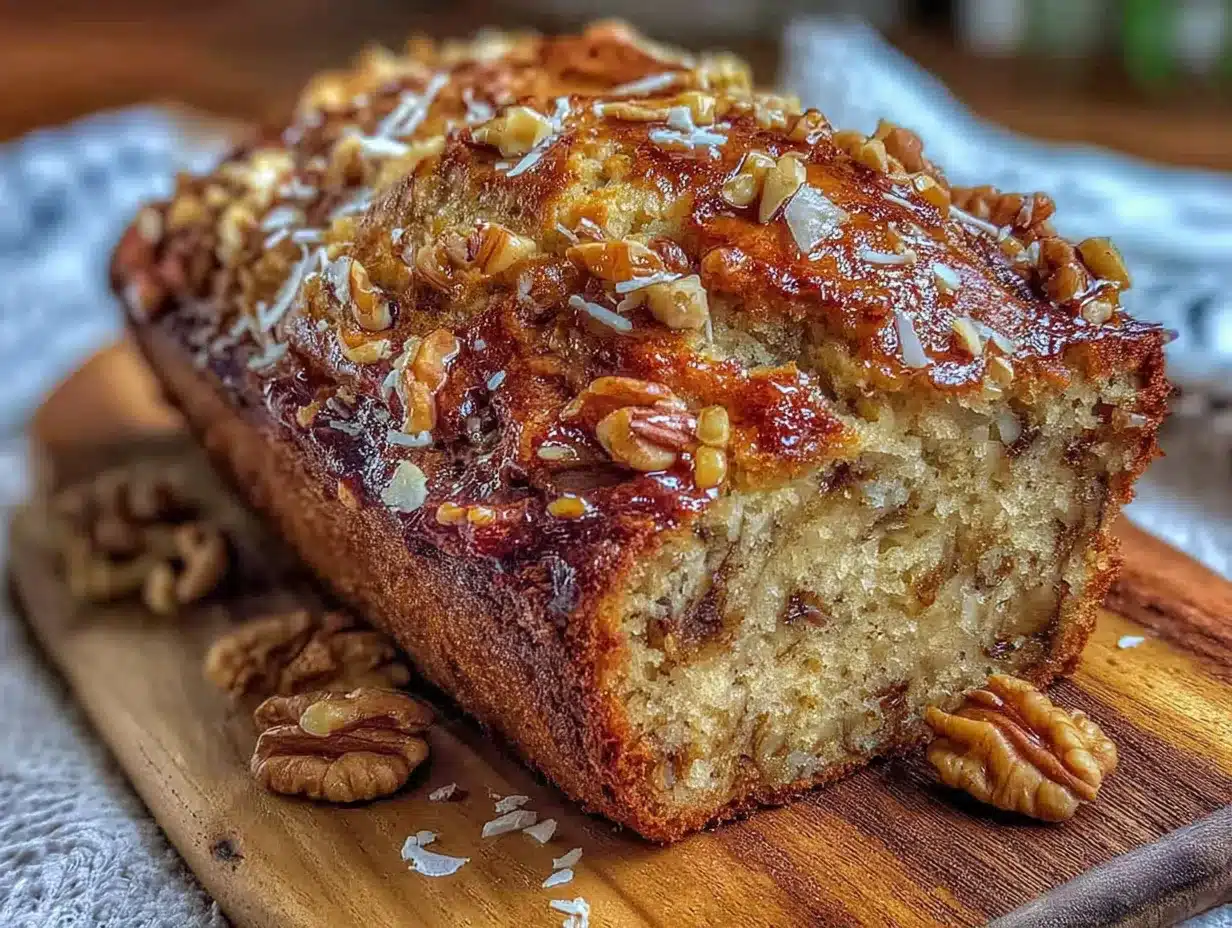
- ¾ cup (90g) walnuts, roughly chopped — Toast them first in a dry pan for 3-4 minutes until fragrant. This step is non-negotiable if you want crunchy walnuts in every bite. I’ve used pecans in a pinch, and they’re lovely too.
Ingredient Selection Tips: Look for bananas that are heavily spotted but not completely black. If your bananas aren’t ripe enough, you can place them on a baking sheet in a 300°F oven for 15-20 minutes until the skins darken. It’s not quite the same, but it works in a hurry. For the walnuts, I prefer buying raw walnuts and toasting them myself—pre-toasted ones can sometimes taste stale.
Substitution Guidance: Need a dairy-free option? Swap the butter with coconut oil or a good vegan butter. For a gluten-free version, use a 1:1 gluten-free flour blend. I’ve tested this with King Arthur’s Measure for Measure flour, and it worked beautifully. You can also swap the walnuts for chocolate chips, dried cranberries, or leave them out entirely for a plain banana bread.
Equipment Needed
One of the best things about this recipe is how little equipment it requires. You don’t need a stand mixer, food processor, or any fancy gadgets. Here’s what you’ll actually use:
- One large mixing bowl — Any bowl will work, but a wide one makes mixing easier. I use my grandmother’s old ceramic bowl, but a stainless steel one works just fine.
- 9×5-inch loaf pan — The standard size for banana bread. If you use a smaller pan, your bread will take longer to bake and might dome too much. I’ve made this in an 8×4 pan too, just adjust the baking time by about 10 minutes.
- Wooden spoon or rubber spatula — A wooden spoon is traditional and works perfectly. A silicone spatula is great for scraping every last bit of batter into the pan.
- Parchment paper — Not strictly necessary, but it makes removing the bread from the pan so much easier. I leave an overhang on two sides for handles.
- Cooling rack — Essential for even cooling. If you don’t have one, you can use the oven rack turned upside down, but a proper cooling rack is better.
- Measuring cups and spoons — For accuracy. I use metal measuring cups for dry ingredients and a glass one for liquids.
- Small skillet — For toasting the walnuts. A dry pan over medium heat works perfectly.
Budget-Friendly Options: Don’t have parchment paper? Grease the pan well with butter and dust it with flour. No cooling rack? Let the bread cool in the pan for 10 minutes, then carefully transfer it to a cutting board. I’ve done this countless times when traveling, and it works perfectly.
Preparation Method
Let’s get to the fun part. This recipe comes together in about 10 minutes of active work, and then your oven does the rest. I promise you can’t mess this up.
- Preheat your oven to 350°F (175°C). Position the rack in the center of the oven. While it’s heating, toast your walnuts in a small dry skillet over medium heat for 3-4 minutes, shaking the pan occasionally. You’ll know they’re done when they smell nutty and look slightly darker. Set them aside to cool.
- Prepare your loaf pan. Line a 9×5-inch loaf pan with parchment paper, leaving an overhang on the long sides. If you don’t have parchment, grease the pan thoroughly with butter and dust it with a tablespoon of flour, tapping out the excess.
- Mash the bananas in your mixing bowl. Use a fork or potato masher. You want them mostly smooth with a few small lumps for texture. It should measure about 1 ½ cups. I’ve learned that over-mashing doesn’t matter here, so don’t stress about it.
- Add the melted butter to the bananas and stir until combined. The butter should be warm but not hot—you don’t want to cook the egg in the next step. Stir in the sugar, egg, and vanilla extract. Mix until everything is well combined and looks like a thick, glossy batter.
- Sprinkle the flour, baking soda, salt, and cinnamon over the wet ingredients. Use a spoon to gently stir until just combined. Here’s the important part: stop mixing as soon as you don’t see any more streaks of flour. Over-mixing makes the bread tough and dense. A few small lumps are totally fine.
- Fold in the toasted walnuts using a rubber spatula. Gently fold them in with about 5-6 strokes. Don’t overmix—you want the walnuts distributed evenly, not crushed into the batter.
- Pour the batter into the prepared loaf pan and spread it evenly. Tap the pan on the counter a couple of times to release any air bubbles. If you want a fancy look, sprinkle a few extra chopped walnuts on top before baking.
- Bake for 55-65 minutes at 350°F (175°C). The bread is done when a toothpick inserted into the center comes out clean or with just a few moist crumbs. The top should be golden brown and cracked. If the top is browning too quickly after 40 minutes, tent it loosely with aluminum foil.
- Let the bread cool in the pan on a wire rack for 10 minutes. Then use the parchment paper handles to lift it out and transfer it to the rack to cool completely. I know it’s tempting to slice into it warm, but it will fall apart if you do. Wait at least 30 minutes.
Sensory Cues: Your kitchen should smell like banana and toasted walnuts by the time the bread goes in the oven. During baking, you’ll hear a slight crackling sound as the top crust forms. The finished bread should feel firm but spring back slightly when you press the center. The crack down the middle is a good sign—it means the bread rose properly.
Cooking Tips & Techniques
After making this recipe more times than I can count, I’ve picked up a few tricks that make a real difference. Here are the things I wish someone had told me when I started:
Don’t skip toasting the walnuts. I made this mistake exactly once. Raw walnuts in banana bread turn soft and almost mealy. Toasting them first brings out their natural oils and keeps them crunchy even after baking. Trust me on this one.
Use a kitchen scale for accuracy. I know it seems fussy, but measuring flour by weight is the most reliable way to get consistent results. One cup of flour should weigh 125-130 grams. If you scoop directly from the bag, you could be adding 150 grams or more, which makes dry bread.
The toothpick test can lie. Sometimes a toothpick comes out clean but the center is still underbaked. I’ve learned to also check the internal temperature—it should read 200-205°F (93-96°C) when done. An instant-read thermometer is a game-changer for baked goods.
Let your bananas get really ripe. The brown spots aren’t just cosmetic—they indicate the starches have converted to sugar, which means sweeter, more flavorful bread. If your bananas aren’t there yet, place them in a paper bag with an apple overnight. The ethylene gas from the apple speeds up ripening.
Room temperature ingredients matter. Cold egg and cold butter don’t mix as smoothly into the batter, which can lead to uneven texture. I’ve forgotten to take my egg out of the fridge and ended up with small bits of unmixed butter in the finished bread. It still tasted good, but the texture wasn’t as nice.
One of my biggest failures? I once forgot the sugar entirely. The bread came out of the oven looking perfect, but it tasted like cardboard with walnuts. I still ate two slices because I didn’t want to waste it, but it was a sad experience. Double-check your ingredients before you start mixing.
Variations & Adaptations
This banana bread is incredibly versatile. I’ve experimented with all sorts of variations, and here are my favorites:
Chocolate Chip Banana Bread
Swap the walnuts for ¾ cup of semi-sweet chocolate chips. The chocolate melts into little pockets of goodness throughout the bread. I’ve also used dark chocolate chips for a less sweet version. This is my kids’ absolute favorite variation, and honestly, I might like it better than the original.
Vegan Banana Bread
Replace the butter with ⅓ cup of coconut oil (melted) and use a flax egg (1 tablespoon ground flaxseed mixed with 3 tablespoons water, let sit for 5 minutes). The texture is slightly different—a bit more dense—but it’s still incredibly moist and delicious. I’ve brought this to vegan potlucks and nobody guessed it was plant-based.
Spiced Banana Bread
Add ½ teaspoon of nutmeg, ¼ teaspoon of ground ginger, and a pinch of cloves along with the cinnamon. This gives the bread a warm, holiday-like flavor that’s perfect for fall and winter. I made this version for Thanksgiving one year, and it disappeared before the pumpkin pie.
Gluten-Free Banana Bread
Use a 1:1 gluten-free flour blend. I’ve tested this with King Arthur’s Measure for Measure and Bob’s Red Mill 1:1 Baking Flour. Both work well, but the bread might be slightly more crumbly. Let it cool completely before slicing for best results.
Nut-Free Option
If you’re avoiding nuts, swap the walnuts for an equal amount of pepitas (pumpkin seeds) or sunflower seeds. They add a similar crunch without the allergen concern. I’ve also used dried cranberries or raisins for a different texture entirely.
Serving & Storage Suggestions
This banana bread is delicious in so many ways. Here’s how I like to serve it and how to keep it fresh:
Serving Ideas: Slice it thick and serve it warm with a pat of butter that melts into the cracks. Toast a slice and drizzle it with honey or maple syrup for breakfast. Or go all out and spread it with cream cheese frosting for a dessert-worthy treat. I’ve also sliced it thin, toasted it, and used it in a bread pudding that was absolutely ridiculous.
What to Serve With It: A hot cup of coffee or tea is the classic pairing. For brunch, serve it alongside scrambled eggs and fresh fruit. For dessert, a scoop of vanilla ice cream on top of a warm slice is next-level good. I’ve also served it with a dollop of whipped cream and a sprinkle of cinnamon for a simple but impressive dessert.
Storing at Room Temperature: Wrap the cooled bread tightly in plastic wrap or aluminum foil and store it at room temperature for up to 4 days. I actually think it tastes better on day two—the flavors have more time to meld together. Keep it away from direct sunlight and heat sources.
Refrigerator Storage: If you need it to last longer, wrap it well and refrigerate for up to a week. The texture will be slightly denser when cold, but it perks right back up after a quick toast. I’ve found that refrigerated banana bread actually slices more cleanly.
Freezer Instructions: This bread freezes beautifully. Wrap the cooled loaf tightly in plastic wrap, then again in aluminum foil, and freeze for up to 3 months. You can also slice it first and freeze individual slices wrapped in plastic wrap. To thaw, leave it at room temperature for a few hours or pop a frozen slice in the toaster. I always make a double batch and freeze one loaf for emergencies.
Reheating Tips: For that fresh-from-the-oven experience, warm individual slices in a 300°F oven for 5-7 minutes or pop them in the toaster. Microwave works in a pinch but can make the bread rubbery. I prefer the toaster method—it crisps up the edges while keeping the inside soft.
Nutritional Information & Benefits
This banana bread is a treat, but it also has some redeeming qualities. Here’s a rough breakdown per slice (based on 10 slices):
| Nutrient | Amount Per Slice |
|---|---|
| Calories | 285 |
| Total Fat | 14g |
| Saturated Fat | 5g |
| Cholesterol | 35mg |
| Sodium | 210mg |
| Total Carbohydrates | 38g |
| Dietary Fiber | 2g |
| Sugars | 20g |
| Protein | 4g |
Health Benefits: Bananas are packed with potassium, which supports heart health and muscle function. They also contain vitamin B6 and vitamin C. Walnuts are rich in omega-3 fatty acids, which are great for brain health. The cinnamon adds antioxidants and may help regulate blood sugar. I like to tell myself that the banana and walnuts make this a health food—at least a little bit.
Dietary Considerations: This recipe contains gluten, dairy, eggs, and tree nuts (walnuts). For gluten-free, dairy-free, or nut-free options, check the variations section above. It’s also relatively low in added sugar compared to many dessert recipes, thanks to the natural sweetness of ripe bananas.
FAQs
Can I use frozen bananas for banana bread?
Absolutely. Thaw them completely and drain off any excess liquid before mashing. Frozen bananas actually break down more easily and can make the bread even more moist. I keep a bag of overripe bananas in my freezer just for baking emergencies.
Why did my banana bread sink in the middle?
This usually happens for one of three reasons: the bread was underbaked, the oven temperature was too low, or there was too much leavening. Make sure your oven is fully preheated and use the toothpick test to check doneness. Also, resist the urge to open the oven door during the first 40 minutes of baking.
Can I make this recipe into muffins?
Yes! Divide the batter evenly among a 12-cup muffin tin lined with paper liners. Bake at 350°F (175°C) for 18-22 minutes, or until a toothpick comes out clean. Muffins are great for portion control and freeze beautifully too.
How do I know when my bananas are ripe enough?
Look for bananas with lots of brown spots on the peel. They should feel soft when you squeeze them gently. If they’re still mostly yellow, they won’t be sweet enough. If they’re completely black, they’re still fine to use—just a bit more intense in flavor.
Can I add other mix-ins besides walnuts?
Definitely. Chocolate chips, dried cranberries, raisins, chopped pecans, shredded coconut, or even fresh blueberries all work well. Keep the total amount of mix-ins to about ¾ cup to avoid overwhelming the batter. I’ve made a version with chocolate chips and dried cherries that was incredible.
Conclusion
This classic banana bread with walnuts is the recipe I keep coming back to, and I think it’ll become your go-to too. It’s simple enough for a Tuesday morning but special enough for a weekend brunch. The one-bowl method means less cleanup, and the toasted walnuts add that perfect crunch you can’t get from any store-bought loaf.
I’d love to hear how yours turns out. Did you add chocolate chips? Swap the walnuts for pecans? Forget the sugar like I did once? Drop a comment below and let me know. And if you share a photo on Pinterest, tag me—I love seeing your creations. This recipe is meant to be shared, customized, and made your own. So go ahead, grab those spotty bananas, and get baking. Your kitchen is about to smell amazing.
Pin This Recipe!
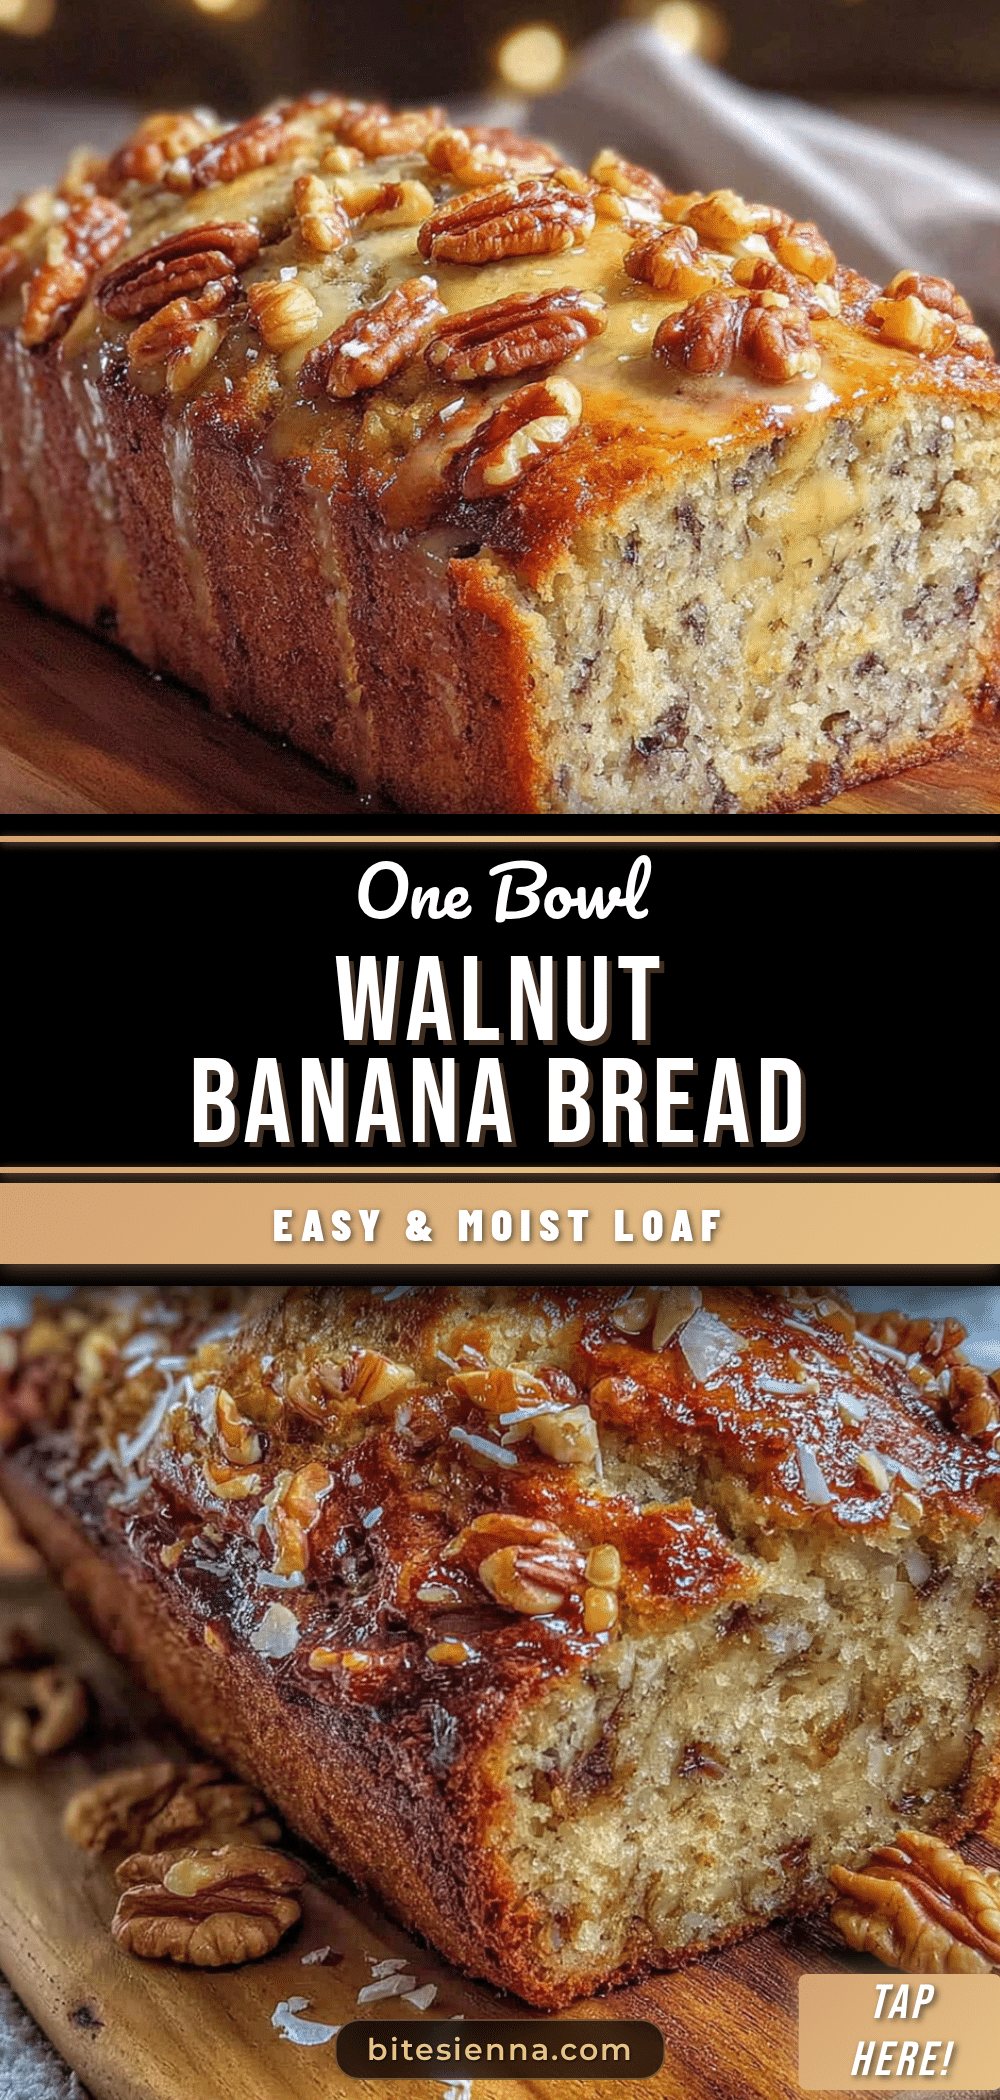
Classic Banana Bread with Walnuts – Easy One Bowl Recipe
This classic banana bread with walnuts is incredibly moist and tender with a perfectly crackly crust. Made in one bowl with toasted walnuts for crunch, it’s the ultimate comfort food that fills your kitchen with the best smell imaginable.
- Prep Time: 10 minutes
- Cook Time: 55-65 minutes
- Total Time: 1 hour 15 minutes
- Yield: 10 servings 1x
- Category: Dessert
- Cuisine: American
Ingredients
- 3 large ripe bananas, mashed (about 1 ½ cups or 340g)
- ⅓ cup (75g) unsalted butter, melted
- ¾ cup (150g) granulated sugar
- 1 large egg, room temperature
- 1 teaspoon vanilla extract
- 1 ½ cups (190g) all-purpose flour
- 1 teaspoon baking soda
- ¼ teaspoon salt
- ½ teaspoon ground cinnamon (optional)
- ¾ cup (90g) walnuts, roughly chopped
Instructions
- Preheat your oven to 350°F (175°C). Position the rack in the center of the oven. Toast walnuts in a small dry skillet over medium heat for 3-4 minutes, shaking occasionally, until fragrant and slightly darker. Set aside to cool.
- Line a 9×5-inch loaf pan with parchment paper, leaving an overhang on the long sides. Alternatively, grease the pan thoroughly with butter and dust with flour.
- In a large mixing bowl, mash the bananas with a fork or potato masher until mostly smooth with a few small lumps. It should measure about 1 ½ cups.
- Add the melted butter to the bananas and stir until combined. Stir in the sugar, egg, and vanilla extract until well combined and the batter looks thick and glossy.
- Sprinkle the flour, baking soda, salt, and cinnamon over the wet ingredients. Gently stir until just combined—stop as soon as no streaks of flour remain. Do not overmix.
- Fold in the toasted walnuts with a rubber spatula using about 5-6 strokes, just until evenly distributed.
- Pour the batter into the prepared loaf pan and spread evenly. Tap the pan on the counter a couple of times to release air bubbles. Optionally, sprinkle extra chopped walnuts on top.
- Bake for 55-65 minutes at 350°F (175°C) until a toothpick inserted into the center comes out clean or with a few moist crumbs. The top should be golden brown and cracked. If browning too quickly after 40 minutes, tent loosely with aluminum foil.
- Let the bread cool in the pan on a wire rack for 10 minutes. Use the parchment paper handles to lift it out and transfer to the rack to cool completely. Wait at least 30 minutes before slicing.
Notes
Don’t skip toasting the walnuts—it keeps them crunchy. Use a kitchen scale for accurate flour measurement (1 cup = 125-130g). Check internal temperature (200-205°F) for doneness. Let bananas get heavily spotted for maximum sweetness. Room temperature ingredients mix more evenly. The bread tastes even better on day two.
Nutrition
- Serving Size: 1 slice
- Calories: 285
- Sugar: 20
- Sodium: 210
- Fat: 14
- Saturated Fat: 5
- Carbohydrates: 38
- Fiber: 2
- Protein: 4
Keywords: banana bread, walnut banana bread, one bowl banana bread, easy banana bread, classic banana bread, moist banana bread


