My neighbor, a retired marathon runner named Carol, watched me fumbling with a sticky medjool date pit one afternoon in her driveway. I was trying to extract it without turning the fruit into a mangled mess, and I was failing. She didn’t say anything for a long moment, just leaned against her garden fence, wiping dirt from her hands onto her worn-out jeans. Then, she just walked over, plucked the date from my hand, and with one swift, practiced twist of her wrist, the pit was out, and the date was perfectly intact. “You’re overthinking it,” she said, handing it back. “Just like you’re overthinking your post-run snack.”
That was the moment the idea for these Wholesome Peanut Butter Protein Balls was born. Carol didn’t hand me a recipe card; she just described what she threw into her blender after a long run. “Peanut butter, some oats, a handful of this and that,” she said, waving her hand vaguely. “You know, whatever makes you feel good.” I went home, inspired but with only a vague idea, and spent the next week making a colossal mess of my kitchen. I had peanut butter on the ceiling fan once—honestly, I’m still not sure how that happened. But after one particularly goopy failure that I had to scrape off the counter with a spatula, I finally figured out the perfect balance. These are not Carol’s exact balls, but they are the version that stuck, the one I’ve made every Sunday for the last two years.
These no-bake protein balls are my little secret weapon. They are the thing I grab when I need a quick energy boost before a workout, or when that 3 PM slump hits and I’m staring into the pantry like it holds the answers to the universe. Maybe you’ve been there, standing in front of an open fridge, hoping a snack will magically appear. Well, this is that snack. They are simple, honest, and they make you feel like you’ve actually got your life together, even if you just wore your shirt inside out all morning.
Why You’ll Love This Recipe
Let’s be real—finding a snack that is both healthy and actually tastes good is like finding a parking spot right in front of the grocery store. It feels like a minor miracle. These Wholesome Peanut Butter Protein Balls are that miracle. I’ve tested this recipe more times than I care to admit, tweaking the ratios until they hit that perfect sweet-salty-soft spot. It’s a recipe that has survived toddler taste tests, post-gym hunger pangs, and late-night cravings, and it has come out victorious every single time.
- Quick & Easy: This is a no-bake recipe that comes together in under 15 minutes. Seriously, from “I need a snack” to “I’m eating a snack” is about the length of a single song on your playlist. Perfect for those “hangry” moments when you need something fast.
- Simple Ingredients: You probably have most of these ingredients in your pantry right now. No weird protein powders that taste like chalk, no obscure superfoods you have to order online. Just real, whole foods that your body recognizes.
- Perfect for Meal Prep: Make a batch on Sunday, and you have a grab-and-go breakfast, a pre-workout fuel, or a healthy dessert for the entire week. They store beautifully in the fridge, so you always have a good option ready.
- Crowd-Pleaser: I have brought these to potlucks and playdates, and they always disappear. Even my friend who swears she hates “healthy food” asked for the recipe. They are kid-approved and adult-approved.
- Unbelievably Delicious: The texture is what gets me. It’s soft, chewy, and just a little bit crumbly, with the rich taste of peanut butter in every single bite. It’s comfort food that just happens to be good for you.
What makes this recipe different from all the other protein ball recipes out there? It’s the texture. I was tired of rock-hard balls or, conversely, balls that turned into a sticky puddle at room temperature. This version uses a specific ratio of oats to peanut butter that creates a dough that is firm enough to roll but stays perfectly soft in the fridge. It’s not just another version—it is the version I keep coming back to. It’s the kind of snack that makes you close your eyes after the first bite, not because it’s fancy, but because it just feels right.
What Ingredients You Will Need
This recipe uses simple, wholesome ingredients to deliver bold flavor and satisfying texture without the fuss. Each ingredient plays a specific role, from binding the mixture together to adding that perfect pop of sweetness. Here is what you will need to gather:
- 1 cup (240g) Creamy Peanut Butter: This is the star of the show. I recommend using a natural peanut butter that is just peanuts and salt (like the kind you have to stir). The natural oils help keep the balls moist. If you use a processed, sugary peanut butter like Skippy or Jif, the balls will be much sweeter and a bit firmer. I personally love using the Kirkland brand from Costco for the best texture.
- 1 ½ cups (135g) Old-Fashioned Rolled Oats: Do not use instant oats here. Instant oats turn into a mushy paste, while rolled oats give the balls that perfect, satisfying chew. They also provide a good source of fiber to keep you full. If you need this to be gluten-free, make sure to grab a bag of certified gluten-free rolled oats.
- ⅓ cup (80ml) Pure Maple Syrup: This is my go-to liquid sweetener. It adds a warm, caramel-like flavor that pairs beautifully with the peanut butter. You can substitute honey or agave nectar if you prefer, but it will change the flavor slightly. Honey will make them a bit sweeter and firmer.
- ¼ cup (30g) Vanilla or Unflavored Protein Powder: This is optional but highly recommended if you want a true protein boost. I use a simple whey protein powder, but a plant-based pea protein works great too. If you skip this, just add another ¼ cup of oats to maintain the right texture.
- ⅓ cup (50g) Mini Chocolate Chips: Because everything is better with chocolate. Mini chips distribute more evenly than regular-sized chips, so you get a little bit of chocolate in every single bite. Use dark chocolate chips for a less sweet, more antioxidant-rich option, or milk chocolate if you have a sweet tooth.
- 2 tablespoons (15g) Ground Flaxseed Meal: This is my secret ingredient for texture and nutrition. It acts as a binder, helping the balls hold their shape, and it adds a subtle nutty flavor along with a dose of omega-3 fatty acids. You can find this in the baking aisle or the health food section of most grocery stores.
- ½ teaspoon Vanilla Extract: A little vanilla extract rounds out the flavors and makes the whole thing taste more “baked,” even though you aren’t turning on the oven. It adds a layer of warmth that you can’t get from the other ingredients alone.
- Pinch of Sea Salt: If your peanut butter is unsalted, a pinch of flaky sea salt on top is a game-changer. It enhances the sweetness and makes the peanut butter flavor pop. Trust me on this one.
Equipment Needed
One of the best things about this no-bake recipe is that you don’t need any fancy kitchen gadgets. If you have a bowl and a spoon, you are pretty much set. But a few specific tools will make the process much smoother:
- Large Mixing Bowl: You need a big enough bowl to mix everything without flinging oats across the counter. I use my favorite ceramic bowl because it has high sides, which helps contain the mess.
- Rubber Spatula or Wooden Spoon: A stiff rubber spatula is ideal for folding the mixture together. It gets into the corners of the bowl and helps you press the ingredients into a cohesive dough.
- Measuring Cups and Spoons: Accuracy matters here. Use dry measuring cups for the oats and chocolate chips, and a liquid measuring cup for the maple syrup to get the ratios right.
- Small Cookie Scoop (Optional but Great): This is my favorite tool for making uniform balls. A #60 cookie scoop (about 1 tablespoon) creates perfectly sized, round balls every time. If you don’t have one, just use a regular spoon.
- Parchment Paper or Silicone Mat: Line a baking sheet or large plate with parchment paper. This gives you a non-stick surface to place the rolled balls on while they set in the fridge.
- Refrigerator: This is the only appliance you need! The balls need at least 30 minutes to firm up in the fridge before you can eat them without them falling apart.
If you don’t have a cookie scoop, don’t worry. Just lightly wet your hands with a little water before rolling the balls. The moisture prevents the sticky dough from clinging to your palms, making the process much less frustrating.
Preparation Method
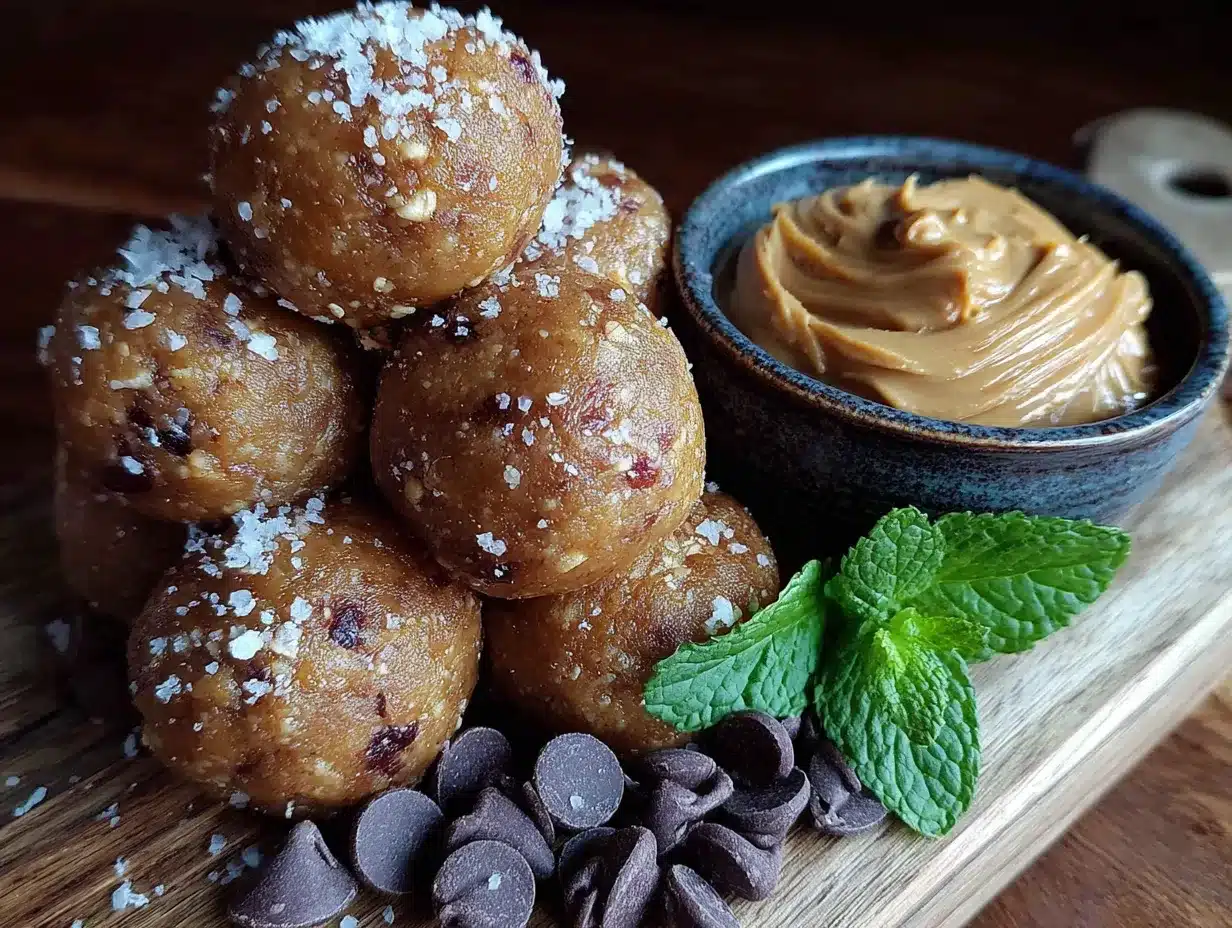
Making these Wholesome Peanut Butter Protein Balls is almost too easy. It is a single-bowl, no-bake situation that comes together in minutes. Follow these steps, and you will have a batch of perfect little energy bites ready to chill.
- Combine the Wet Ingredients (2 minutes): In your large mixing bowl, add the 1 cup of creamy peanut butter and the ⅓ cup of pure maple syrup. If you are using the vanilla extract and the pinch of salt, add those now too. Use your rubber spatula to stir them together until the mixture is smooth and completely combined. It should look glossy and smell amazing. If your peanut butter is very stiff or cold, you can microwave it for about 15 seconds to loosen it up before adding the maple syrup.
- Add the Dry Ingredients (3 minutes): Pour the 1 ½ cups of rolled oats, the ¼ cup of protein powder (if using), and the 2 tablespoons of ground flaxseed meal into the bowl with the peanut butter mixture. Stir everything together with your spatula. This part takes a little elbow grease. Don’t be afraid to really fold the mixture over itself, pressing down on the ingredients to make sure everything is evenly distributed. The dough should start to look like a thick, cohesive cookie dough. If it looks too dry and crumbly, add a teaspoon of water or a tiny splash more maple syrup. If it looks too wet and sticky, add another tablespoon of oats.
- Fold in the Chocolate Chips (1 minute): Once the base dough is well-mixed, gently fold in the ⅓ cup of mini chocolate chips. Make sure they are evenly distributed throughout the dough. If you add them too early, they might get crushed or melted by the friction of mixing. You want whole, intact chocolate chips in every bite.
- Chill the Dough (10-15 minutes): This is a crucial step that many people skip. Cover the bowl with plastic wrap or a clean kitchen towel and pop it into the refrigerator for 10 to 15 minutes. This allows the oats to absorb some of the moisture from the peanut butter and maple syrup, which makes the dough much easier to handle. If you try to roll the balls immediately, the dough will be too sticky, and you will end up with a sticky mess on your hands.
- Roll the Balls (5-7 minutes): Line your baking sheet or plate with parchment paper. Take the chilled dough out of the fridge. Using your cookie scoop or a spoon, scoop out portions of the dough. Roll each portion between your palms to form a smooth ball. If the dough starts to stick to your hands again, just rinse your hands with cold water and dry them slightly before continuing. Place each finished ball onto the prepared baking sheet. You should get about 18 to 20 balls, depending on how big you make them.
- Final Chill (30 minutes minimum): Place the baking sheet with the rolled balls into the refrigerator. Let them chill for at least 30 minutes. This final set is what gives them the perfect texture—firm on the outside, soft and chewy on the inside. If you try to eat one right away, it will be a bit soft and may crumble. Patience is a virtue here.
A Note on Texture: When you are rolling the balls, they should feel slightly tacky but not wet. They should hold their shape easily when you roll them. If they are falling apart, your mixture is too dry. Add a touch more peanut butter or maple syrup. If they are too sticky to roll, you might have used a very oily peanut butter. Just add a few more oats to balance it out.
Cooking Tips & Techniques
I have made these Wholesome Peanut Butter Protein Balls more times than I can count, and I have made every mistake in the book. Here are the lessons I learned the hard way, so you don’t have to:
The Peanut Butter Temperature Trap: The single biggest mistake you can make is using cold peanut butter straight from the fridge. It is impossible to mix evenly and will leave you with a lumpy, uneven dough. Always let your peanut butter come to room temperature before you start, or give it a quick 15-second zap in the microwave. It makes the mixing process about ten times easier.
The “Too Dry” Fix: I once made a batch that was so dry it looked like gravel. I had used a very dry, natural peanut butter and old oats. The fix is simple: add a little bit of liquid. A teaspoon of water, a splash of milk (dairy or non-dairy), or another drizzle of maple syrup will bring the dough back to life. Add it one teaspoon at a time and mix well until the dough comes together.
The “Too Wet” Fix: On the flip side, I’ve also made a batch that was basically peanut butter soup. This happens when you use a very oily peanut butter or measure your maple syrup with a heavy hand. The solution is to add more dry ingredients. Throw in a tablespoon of oats or a tablespoon of flaxseed meal at a time until the dough firms up.
Chill for Success: I cannot stress this enough: do not skip the chilling steps. The first chill is for the dough, making it rollable. The second chill is for the finished balls, giving them their final structure. I once tried to rush this process and ended up with flat, sad little pucks instead of nice round balls. The fridge is your best friend here.
Multitasking Strategy: While the dough is chilling in the fridge for its first 15-minute rest, use that time to clean up your dishes. It’s a small thing, but it makes the whole process feel so much calmer. By the time you are rolling the balls, your kitchen is already clean!
Variations & Adaptations
This recipe is a fantastic base for creativity. Once you master the basic formula, the possibilities are endless. Here are a few of my favorite variations that I have tested and loved:
- Chocolate Peanut Butter Dream: Swap the ¼ cup of vanilla protein powder for chocolate protein powder. The chocolate and peanut butter combination is a classic for a reason. You can also add a tablespoon of unsweetened cocoa powder to the base for an even richer chocolate flavor.
- Crunchy Nut Butter Balls: Instead of creamy peanut butter, use crunchy peanut butter for added texture. You can also fold in ¼ cup of chopped peanuts or almonds along with the chocolate chips. This adds a fantastic, satisfying crunch.
- Trail Mix Bites: Replace the mini chocolate chips with a mix of dried fruit and seeds. Dried cranberries, chopped dried apricots, pumpkin seeds, and sunflower seeds are all excellent choices. This variation is perfect for a hiking snack or a healthy lunchbox treat.
- Vegan & Gluten-Free Adaptation: This recipe is already easily adaptable. To make it vegan, use a plant-based protein powder and ensure your chocolate chips are dairy-free. To make it gluten-free, use certified gluten-free rolled oats. Everything else is naturally free from animal products and gluten.
- Spiced Chai Balls: For a cozy fall twist, add 1 teaspoon of pumpkin pie spice or chai spice blend to the dry ingredients. The warm spices complement the peanut butter and maple syrup beautifully. This is my favorite variation for the colder months.
Serving & Storage Suggestions
These Wholesome Peanut Butter Protein Balls are incredibly versatile when it comes to serving. They are perfect straight from the fridge, but here are a few more ideas to enjoy them:
Serving: Serve them cold or at room temperature. For a pre-workout snack, I like to grab one straight from the fridge about 30 minutes before I head out the door. For a dessert, I let one sit on the counter for a few minutes to soften slightly before eating. They are fantastic alongside a cup of coffee or a glass of cold milk.
Storage: Store the balls in an airtight container in the refrigerator. They will stay fresh and delicious for up to two weeks. I like to layer them between sheets of parchment paper so they don’t stick together. For longer storage, you can freeze them.
Freezing Instructions: Place the finished, chilled balls on a baking sheet lined with parchment paper and freeze them for 1-2 hours, or until they are solid. Once frozen, transfer them to a freezer-safe bag or container. They will keep in the freezer for up to 3 months. You can eat them straight from the freezer (they are like little frozen cookie dough bites), or let them thaw in the fridge for a few hours before eating.
Flavor Development: The flavors in these balls actually get better after a day or two in the fridge. The oats soften further, and the maple syrup and peanut butter flavors meld together beautifully. So, don’t be disappointed if they taste even better on day two than they did on day one!
Nutritional Information & Benefits
These Wholesome Peanut Butter Protein Balls are a powerhouse of nutrition wrapped in a delicious, bite-sized package. Here is a rough estimate of the nutritional value per ball (based on 20 balls):
- Calories: Approximately 135-150 calories
- Protein: 6-8 grams (depending on your protein powder)
- Healthy Fats: 8-10 grams (from the peanut butter)
- Fiber: 2-3 grams (from the oats and flaxseed)
- Carbohydrates: 14-16 grams
Health Benefits: The peanut butter provides a good dose of healthy monounsaturated fats and protein, which helps keep you full and satisfied. The rolled oats are a fantastic source of complex carbohydrates and soluble fiber, which supports stable blood sugar levels and digestive health. The ground flaxseed meal is rich in omega-3 fatty acids, which are great for heart health and reducing inflammation.
Dietary Considerations: This recipe is naturally vegetarian and can easily be made vegan and gluten-free with simple substitutions (as noted in the variations section). It is also free from refined sugars if you use a pure maple syrup. The main potential allergen is peanuts, so be mindful if you are serving these to someone with a nut allergy. You could try substituting sunflower seed butter (like SunButter) for a nut-free version, though the flavor and texture will be different.
Conclusion
These Wholesome Peanut Butter Protein Balls are more than just a snack; they are a small act of self-care. They are the thing you make for your future self on a busy Monday morning, the thing you pack in your bag before a long hike, and the thing you reach for when you need a moment of quiet, delicious satisfaction. They are proof that eating well doesn’t have to be complicated or tasteless.
I really hope you give these a try. Don’t be afraid to make them your own—add a little extra cinnamon, swap the chocolate for dried cherries, or use almond butter instead of peanut butter. The recipe is a starting point, not a rulebook. The best version is the one that makes you happy.
I would love to hear how they turn out for you! Leave a comment below and let me know what variations you tried, or share a photo of your batch on social media and tag me. Your feedback and creativity are what make this community so special. Happy rolling!
Frequently Asked Questions
Can I use quick oats instead of rolled oats?
I don’t recommend it. Quick oats are cut finer and processed more, which means they absorb liquid much faster and can turn your protein balls into a mushy, paste-like texture. Rolled oats provide the perfect chewy texture and structural integrity. Stick with rolled oats for the best results.
My mixture is too dry and won’t stick together. What did I do wrong?
This usually happens if your peanut butter is very thick and dry, or if you accidentally added too many oats. The fix is easy: add a little more liquid. Try adding a teaspoon of maple syrup, a splash of milk (any kind), or even just a teaspoon of water. Mix it in well, and the dough should come together. Add liquid one teaspoon at a time until you reach the right consistency.
How long do these protein balls last in the fridge?
When stored in an airtight container in the refrigerator, these balls will stay fresh and delicious for up to two weeks. I find they actually taste best after a day or two, as the flavors have time to meld together. Just make sure your container is sealed well so they don’t dry out or absorb any other odors from the fridge.
Can I make these without protein powder?
Absolutely! The protein powder is optional. If you choose to leave it out, you will need to replace it with another dry ingredient to maintain the right texture. I recommend adding an additional ¼ cup of rolled oats. This will keep the balls from becoming too wet and sticky. They will still be delicious and provide a good energy boost from the oats and peanut butter.
Can I freeze these protein balls for later?
Yes, they freeze beautifully! First, chill the balls on a baking sheet in the freezer for about an hour until they are solid. Then, transfer them to a freezer-safe bag or container. They will keep in the freezer for up to 3 months. You can eat them straight from the freezer for a cold, cookie-dough-like treat, or let them thaw in the fridge for a few hours before eating.
Pin This Recipe!
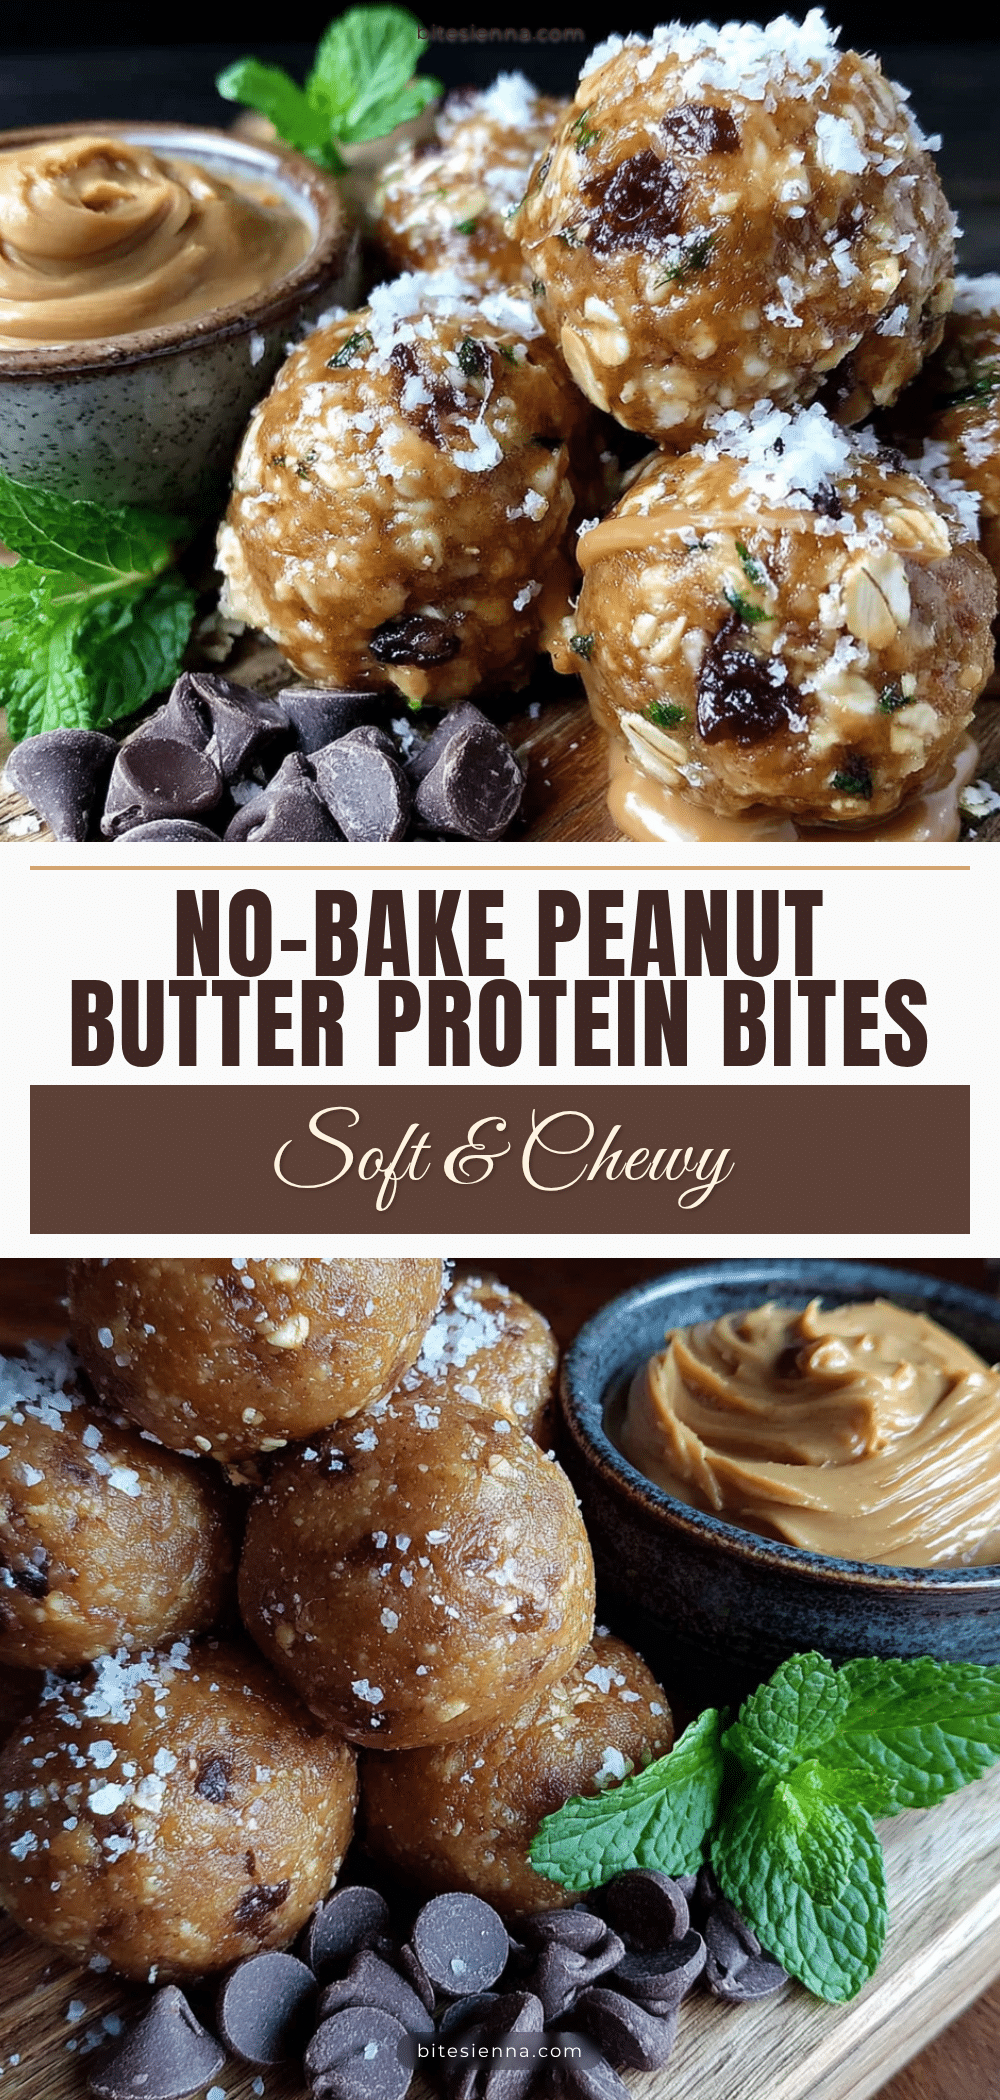
Wholesome Peanut Butter Protein Balls: Easy No-Bake Recipe

These no-bake protein balls are a quick and easy snack made with simple, wholesome ingredients like peanut butter, oats, and maple syrup. Perfect for a pre-workout boost or a healthy dessert, they are kid-approved and adult-approved.
- Prep Time: 15 minutes
- Cook Time: 0 minutes
- Total Time: 45 minutes (includes chilling)
- Yield: 18-20 balls 1x
- Category: Snack
- Cuisine: American
Ingredients
- 1 cup (240g) creamy peanut butter
- 1 ½ cups (135g) old-fashioned rolled oats
- ⅓ cup (80ml) pure maple syrup
- ¼ cup (30g) vanilla or unflavored protein powder (optional)
- ⅓ cup (50g) mini chocolate chips
- 2 tablespoons (15g) ground flaxseed meal
- ½ teaspoon vanilla extract
- Pinch of sea salt
Instructions
- Combine the Wet Ingredients: In a large mixing bowl, add the creamy peanut butter, pure maple syrup, vanilla extract, and a pinch of sea salt. Stir together with a rubber spatula until smooth and completely combined.
- Add the Dry Ingredients: Pour the rolled oats, protein powder (if using), and ground flaxseed meal into the bowl. Stir everything together until a thick, cohesive cookie dough forms. If too dry, add a teaspoon of water or more maple syrup; if too wet, add another tablespoon of oats.
- Fold in the Chocolate Chips: Gently fold in the mini chocolate chips until evenly distributed throughout the dough.
- Chill the Dough: Cover the bowl and refrigerate for 10-15 minutes to allow the oats to absorb moisture, making the dough easier to handle.
- Roll the Balls: Line a baking sheet with parchment paper. Using a cookie scoop or spoon, scoop portions of the chilled dough and roll between your palms to form smooth balls. Place on the prepared baking sheet. You should get about 18-20 balls.
- Final Chill: Refrigerate the rolled balls for at least 30 minutes to firm up. Serve cold or at room temperature.
Notes
For best texture, use natural peanut butter (just peanuts and salt) and old-fashioned rolled oats. Chill the dough before rolling to prevent stickiness. If the dough is too dry, add a teaspoon of liquid; if too wet, add more oats. Store in an airtight container in the fridge for up to 2 weeks or freeze for up to 3 months.
Nutrition
- Serving Size: 1 ball
- Calories: 135150
- Sugar: 810
- Sodium: 50100
- Fat: 810
- Saturated Fat: 23
- Carbohydrates: 1416
- Fiber: 23
- Protein: 68
Keywords: peanut butter protein balls, no-bake protein balls, healthy snack, energy balls, gluten-free protein balls, vegan protein balls


