The cashier at the hardware store—a man named Earl with a nametag that had been taped back together—was the last person I expected to give me a recipe. I was buying a new paintbrush, not looking for baking advice, but there he was, leaning on the counter, telling me about the black velvet cupcakes his wife made every Halloween. “They look like little pieces of midnight,” he said, squinting like he was remembering something important. “And the frosting? She puts a splash of something secret in it.” I stood there holding my paintbrush, completely hooked. He scribbled the recipe on the back of a receipt, and honestly, I almost lost it before I got to the car. The ink was smudged from his coffee cup.
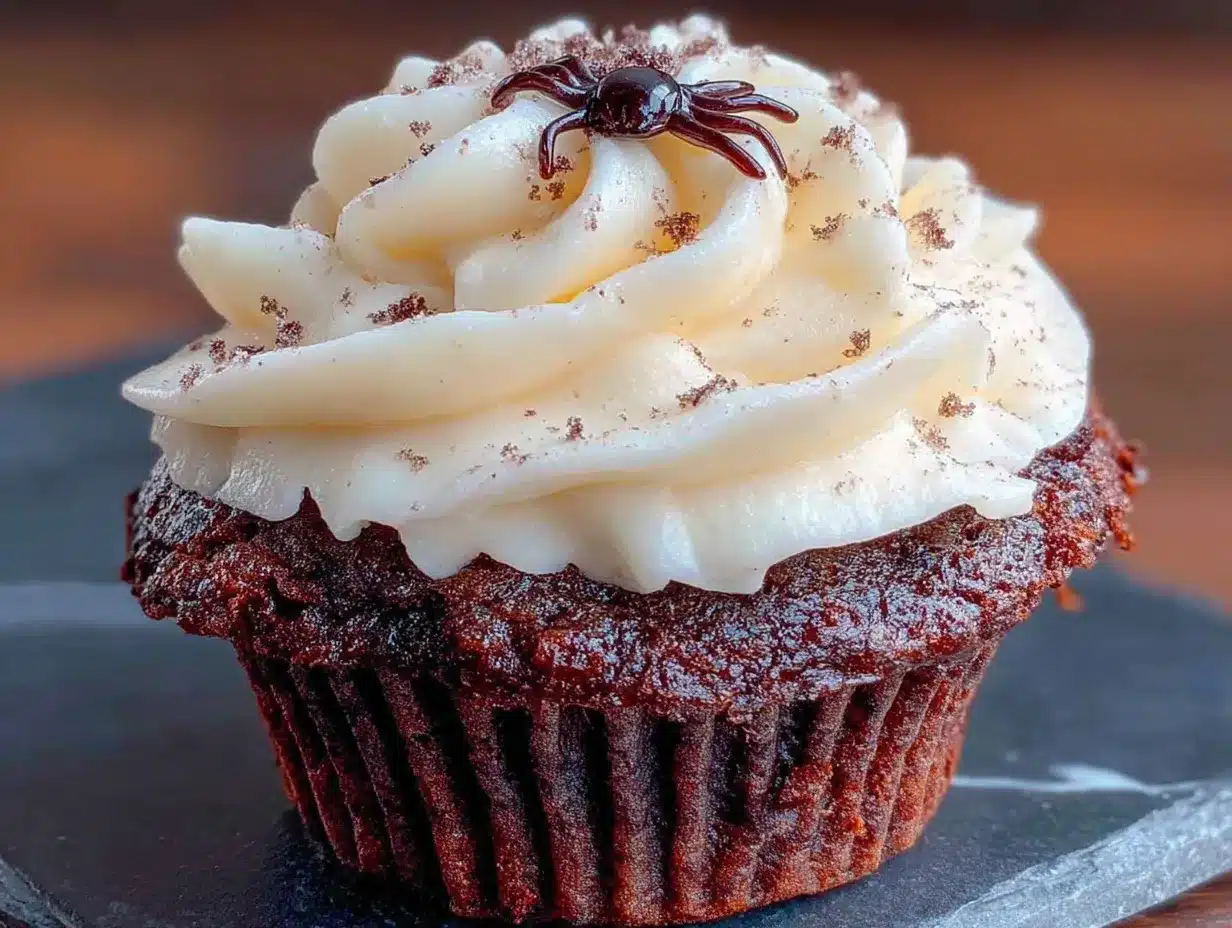
That was three Halloweens ago, and I haven’t made a different cupcake since. These Perfect Black Velvet Halloween Cupcakes with Cream Cheese Frosting are everything you want from a holiday dessert—dramatic, rich, and just a little bit spooky. The cake is impossibly dark, thanks to a generous amount of black cocoa powder, and it stays moist for days. The cream cheese frosting is tangy and smooth, with that little “Earl special” touch that makes people ask, “What’s in this?” I’ve tweaked the original over the years, testing different ratios of cocoa to flour, playing with the vinegar reaction (yes, there’s vinegar—trust me on this), and landing on a version that feels foolproof. Maybe you’ve been there, staring at a Pinterest board full of complicated Halloween treats, wondering if you have the energy for fondant or food coloring disasters. Let me tell you, this recipe is the opposite of that. It’s simple, honest, and it delivers every single time.
I keep making these cupcakes because they remind me that good recipes come from the strangest places. A hardware store. A Tuesday afternoon. A man who probably didn’t know he was changing someone’s Halloween tradition forever. Every time I pull a batch out of the oven, I think of Earl. And then I eat one, because that’s what you do.
Why You’ll Love This Recipe
These aren’t just any Halloween cupcakes. They’re the ones that get remembered. I’ve tested this recipe more times than I care to admit—through burnt batches, flat frosting, and one particularly tragic incident involving a melted cream cheese situation—and what I’m giving you is the version that works. Here’s why you’ll fall for them:
- Quick & Easy: From start to finish, you’re looking at about 45 minutes. The batter comes together in one bowl, no electric mixer required. That’s less time than it takes to argue with a bag of candy corn.
- Simple Ingredients: No black food coloring, no specialty extracts, no trips to three different stores. Black cocoa powder does all the heavy lifting, and you can find it online or at most baking supply shops.
- Perfect for Halloween Parties: These cupcakes are the centerpiece of any spread. They look incredible on a cake stand, they photograph beautifully, and they don’t require any fancy piping skills to look professional.
- Crowd-Pleaser: I’ve served these to kids, adults, and that one friend who “doesn’t like cake.” Everyone reaches for a second one. The cream cheese frosting is the secret weapon here—it’s not too sweet, and it cuts through the deep cocoa flavor perfectly.
- Unbelievably Delicious: The texture is what gets people. It’s tender, almost velvety (hence the name), with a crumb that holds together without being dense. The black cocoa gives it an Oreo-like flavor that’s subtle but unmistakable.
What makes this recipe different from the rest? It’s the technique. Most black velvet recipes rely on a ton of food coloring to get that dark color, which can leave a bitter aftertaste. This version uses black cocoa powder—the same stuff used in Oreos—to achieve that gothic black hue naturally. The result is a cupcake that tastes as good as it looks. No shortcuts, no artificial junk, just smart ingredient choices.
This recipe isn’t just good—it’s the kind that makes you close your eyes after the first bite. It’s comfort food with a dark twist, perfect for a night when you want to impress without the stress. Whether you’re hosting a Halloween bash or just want to make a Tuesday feel a little more magical, these cupcakes deliver.
What Ingredients You Will Need
This recipe uses simple, everyday ingredients to create something that looks completely over-the-top. The magic is in the black cocoa powder—it’s the star of the show, and it does all the work of making these cupcakes look like they belong in a haunted bakery. Here’s what you’ll need:
For the Cupcakes
- 1 ½ cups all-purpose flour (spooned and leveled—don’t scoop directly from the bag, or you’ll end up with dry cupcakes)
- ½ cup black cocoa powder (I prefer King Arthur Flour Black Cocoa for the deepest color, but any brand works)
- 1 cup granulated sugar
- 1 teaspoon baking soda
- ½ teaspoon salt
- 1 cup buttermilk (room temperature—cold buttermilk won’t emulsify properly)
- ½ cup vegetable oil (or any neutral oil like canola or grapeseed)
- 2 large eggs (room temperature)
- 1 teaspoon vanilla extract
- 1 teaspoon white vinegar (this reacts with the baking soda for extra lift—don’t skip it)
For the Cream Cheese Frosting
- 8 oz cream cheese (full-fat, softened—low-fat versions will make the frosting runny)
- ½ cup unsalted butter (softened, but not melted)
- 3 cups powdered sugar (sifted if you want extra smooth frosting)
- 1 teaspoon vanilla extract
- 1 tablespoon heavy cream (or milk, if that’s what you have)
- Pinch of salt
For Decoration (Optional but Fun)
- Black sanding sugar or edible glitter
- Mini plastic spiders or Halloween sprinkles
- Orange food coloring (for a ghostly drip effect on the frosting)
A few notes on ingredient selection: For the black cocoa powder, don’t substitute regular Dutch-process cocoa. It won’t give you that dark, almost black color. You can find black cocoa at specialty baking stores or online—it’s worth the investment if you plan on making these more than once. For the buttermilk, if you don’t have any on hand, you can make a quick substitute by adding 1 tablespoon of lemon juice or vinegar to a cup of milk and letting it sit for 5 minutes. It works perfectly.
If you’re dairy-free, you can swap the buttermilk for a plant-based milk mixed with a teaspoon of vinegar, and use a dairy-free cream cheese alternative for the frosting. Just keep in mind that the texture might be slightly different—dairy-free cream cheese tends to be a bit softer.
Equipment Needed
You don’t need a professional bakery setup for these cupcakes, but a few key tools will make your life easier. Here’s what I recommend:
- Standard 12-cup muffin tin—This is non-negotiable. You need a sturdy pan that distributes heat evenly. I’ve had good luck with Wilton and USA Pan brands.
- Paper cupcake liners—Go for black or dark gray liners for maximum spooky effect. White liners will show through the dark batter and look a little sad.
- Large mixing bowls—One for dry ingredients, one for wet. Glass or stainless steel works best.
- Whisk—For combining dry ingredients and smoothing out the batter.
- Electric hand mixer or stand mixer—For the frosting. You can make it by hand, but your arm will hate you by the end.
- Cookie scoop or ice cream scoop—For portioning batter evenly. This is my favorite trick for consistent cupcake sizes.
- Piping bag with a star tip—For that bakery-style swirl on top. If you don’t have one, a zip-top bag with the corner snipped off works in a pinch.
- Cooling rack—Letting cupcakes cool completely before frosting is crucial. A wire rack speeds up the process and prevents soggy bottoms.
If you’re on a budget, skip the piping bag and just spread the frosting with a knife. It won’t look as polished, but it’ll taste exactly the same. I’ve done it plenty of times when I couldn’t find my piping tips—no one ever complained.
Preparation Method
Let’s get into the actual making of these cupcakes. I’ve broken this down step by step, with all the little details I wish someone had told me the first time. Trust me, follow these instructions, and you’ll have perfect black velvet cupcakes every time.
Step 1: Preheat and Prep
Preheat your oven to 350°F (175°C). Line your muffin tin with black or dark-colored paper liners. This is important—white liners will look gray and unappetizing after baking. I learned this the hard way. Set the tin aside while you make the batter.
Step 2: Mix the Dry Ingredients
In a large bowl, whisk together the flour, black cocoa powder, sugar, baking soda, and salt. Make sure there are no lumps of cocoa—black cocoa tends to clump more than regular cocoa, so take an extra minute to break them up with your whisk. If you see any stubborn lumps, you can sift the mixture, but honestly, a good whisking usually does the trick.
Step 3: Combine the Wet Ingredients
In a separate bowl or a large liquid measuring cup, whisk together the buttermilk, vegetable oil, eggs, vanilla extract, and white vinegar. Whisk until the eggs are fully incorporated and the mixture looks smooth. It should be a pale, slightly thick liquid at this point.
Step 4: Make the Batter
Pour the wet ingredients into the dry ingredients. Stir gently with a spatula or wooden spoon until just combined. Do not overmix—stop as soon as you no longer see streaks of flour. Overmixing will activate the gluten and make your cupcakes tough. The batter will be thin, darker than any batter you’ve ever seen, and it might look a little grainy from the cocoa. That’s normal.
Step 5: Fill the Liners
Use a cookie scoop or a spoon to divide the batter evenly among the 12 liners. Fill each liner about ⅔ full—no more. These cupcakes rise beautifully, and if you overfill them, you’ll get muffin tops that spill over the edges. I usually aim for about 3 tablespoons of batter per cupcake.
Step 6: Bake
Bake for 18-22 minutes, or until a toothpick inserted into the center of a cupcake comes out clean or with a few moist crumbs. The tops should spring back when lightly touched. Start checking at 18 minutes—ovens vary, and you don’t want to overbake them. The black color makes it hard to tell if they’re browning, so rely on the toothpick test.
Step 7: Cool Completely
Let the cupcakes cool in the pan for 5 minutes, then transfer them to a wire rack to cool completely. Do not frost them while they’re still warm, or the cream cheese frosting will melt into a sad, soupy mess. I usually wait at least 30 minutes, sometimes longer if I’m being patient.
Step 8: Make the Frosting
While the cupcakes cool, make the cream cheese frosting. In a large bowl, beat the softened cream cheese and butter together with an electric mixer until smooth and creamy—about 2 minutes. Scrape down the sides of the bowl. Add the powdered sugar, one cup at a time, beating on low speed to avoid a sugar cloud. Add the vanilla extract, heavy cream, and a pinch of salt. Increase the speed to medium-high and beat for 2-3 minutes until the frosting is light, fluffy, and spreadable. If it’s too thick, add another tablespoon of cream. If it’s too thin, add more powdered sugar, one tablespoon at a time.
Step 9: Frost and Decorate
Transfer the frosting to a piping bag fitted with a star tip. Pipe a generous swirl onto each cooled cupcake. If you don’t have a piping bag, simply spread the frosting with a knife—it’ll still be delicious. Top with black sanding sugar, Halloween sprinkles, or a mini plastic spider for extra spooky vibes.
Cooking Tips & Techniques
I’ve made these cupcakes more times than I can count, and I’ve learned a few things along the way. Here are my best tips for getting perfect results every time:
Room temperature ingredients matter. I know, I know—every recipe says this, but it’s especially important here. Cold buttermilk and cold eggs will seize the batter and make it lumpy. Take them out of the fridge 30 minutes before you start baking. If you forget, you can warm the buttermilk in the microwave for 10 seconds, and place the eggs in a bowl of warm water for 5 minutes.
Don’t skip the vinegar. I almost did once, thinking it couldn’t make that much of a difference. It does. The vinegar reacts with the baking soda to create carbon dioxide bubbles, which gives the cupcakes their light, tender texture. Without it, you’ll get dense, flat cupcakes that look more like brownies.
Use a light touch when mixing. The first time I made these, I was so excited that I beat the batter like I was angry at it. The result was tough, rubbery cupcakes that nobody wanted to eat. Mix until the flour just disappears, then stop. A few lumps are fine—they’ll bake out.
Weigh your flour if you can. Cup measurements are notoriously inconsistent. One cup of flour can weigh anywhere from 120 to 150 grams depending on how you scoop it. For best results, use a kitchen scale and aim for 180 grams of flour. If you don’t have a scale, spoon the flour into your measuring cup and level it off with a knife—don’t scoop directly from the bag.
My biggest failure: I once forgot to add the sugar. Yes, the entire cup of sugar. I realized it when I took the first bite and tasted… nothing. Just bitter cocoa and sadness. I had to throw the whole batch away. Now I triple-check my ingredients before I start mixing. Learn from my mistake—read the recipe twice before you begin.
Variations & Adaptations
One of the best things about this recipe is how adaptable it is. Here are a few ways to make it your own:
Gluten-Free Version: Substitute the all-purpose flour with a 1:1 gluten-free baking flour blend. I’ve tested this with King Arthur Flour Measure for Measure and it works beautifully. Add an extra tablespoon of buttermilk to compensate for the drier texture of gluten-free flours.
Vegan Version: Replace the buttermilk with 1 cup of almond milk mixed with 1 tablespoon of apple cider vinegar. Use flax eggs (1 tablespoon ground flaxseed mixed with 3 tablespoons water per egg) instead of regular eggs. For the frosting, use a vegan cream cheese alternative like Kite Hill or Violife, and substitute the butter with vegan butter. The texture will be slightly denser, but the flavor is still spot-on.
Spiced Black Velvet: Add 1 teaspoon of cinnamon, ½ teaspoon of nutmeg, and ¼ teaspoon of cloves to the dry ingredients. This gives the cupcakes a warm, autumnal flavor that pairs beautifully with the black cocoa. I made this version for a Thanksgiving potluck once, and it was gone in 10 minutes.
Peppermint Twist: Add ½ teaspoon of peppermint extract to the frosting instead of vanilla. Top each cupcake with a crushed candy cane for a wintery, black-and-white look that’s perfect for Christmas.
Boozy Adult Version: Add 1 tablespoon of Kahlúa or Irish cream liqueur to the frosting. It adds a rich, coffee-like depth that complements the cocoa. Just be aware that this version won’t keep as long—the alcohol can make the frosting slightly softer.
I’ve tried the spiced version personally, and it’s become my go-to for fall gatherings. The cinnamon and nutmeg make the cupcakes smell like a haunted gingerbread house, and the black color still delivers that Halloween drama.
Serving & Storage Suggestions
These cupcakes are best served at room temperature. The cream cheese frosting softens slightly, the cake is tender, and every bite is pure perfection. If you’ve refrigerated them, let them sit on the counter for 20-30 minutes before serving.
For presentation, arrange the cupcakes on a black cake stand or a dark wooden board. The contrast between the black cake and the white frosting is striking. Add a few fake spider webs, some battery-operated candles, or a scattering of candy corn around the base for a full Halloween effect. If you’re feeling extra fancy, drizzle a little black icing over the top in a zigzag pattern.
These cupcakes pair beautifully with a hot cup of coffee, a glass of cold milk, or—for the adults—a dark stout beer. The bitterness of the stout echoes the black cocoa, making for a sophisticated dessert experience.
Storage: Store unfrosted cupcakes in an airtight container at room temperature for up to 3 days. Frosted cupcakes should be stored in the refrigerator, also in an airtight container, for up to 5 days. The frosting will firm up in the fridge, so let them sit at room temperature for 15 minutes before eating.
Freezing: You can freeze unfrosted cupcakes for up to 3 months. Wrap each cupcake individually in plastic wrap, then place them in a freezer-safe bag. Thaw at room temperature before frosting. I don’t recommend freezing frosted cupcakes—the cream cheese frosting can become grainy when thawed.
One thing I love about these cupcakes is that the flavor actually improves after a day. The black cocoa deepens, the spices (if you added them) meld together, and the texture stays moist. So feel free to bake them a day ahead of your Halloween party—they’ll be even better.
Nutritional Information & Benefits
Let’s be real: these are cupcakes, not health food. But that doesn’t mean they can’t have some redeeming qualities. Here’s a rough estimate of the nutritional content per cupcake (based on 12 servings, with frosting):
- Calories: Approximately 380
- Fat: 22g
- Carbohydrates: 45g
- Protein: 5g
- Sugar: 32g
- Fiber: 2g
The black cocoa powder used in this recipe is a good source of antioxidants—specifically flavonoids, which can help reduce inflammation and support heart health. Cocoa is also rich in magnesium, iron, and zinc. Of course, the sugar and butter balance out those benefits, but hey, it’s Halloween. Everything in moderation, right?
If you’re watching your sugar intake, you can reduce the sugar in the cupcake batter to ¾ cup without affecting the texture too much. For the frosting, you can use a sugar-free powdered sugar substitute, though the texture will be slightly less creamy.
These cupcakes are not gluten-free, vegan, or dairy-free in their standard form, but I’ve included adaptations above for those with dietary restrictions. The recipe does contain eggs, dairy, and gluten, so it’s not suitable for those with allergies to those ingredients.
From a wellness perspective, I believe in balance. I eat these cupcakes because they bring me joy, they remind me of Earl, and they make Halloween feel special. One cupcake isn’t going to derail your health goals—it’s going to make your day a little brighter. And that counts for something.
Conclusion
These Perfect Black Velvet Halloween Cupcakes with Cream Cheese Frosting are more than just a dessert—they’re a tradition waiting to happen. They’re dramatic enough to impress your Halloween guests, simple enough to whip up on a weeknight, and delicious enough to make you forget about all the other pumpkin-spiced things vying for your attention. The black cocoa gives them a rich, Oreo-like flavor that’s completely addictive, and the cream cheese frosting is the perfect tangy counterpoint.
I love this recipe because it feels like a secret I get to share. It came from a hardware store, from a man I barely know, and now it’s yours. You can make it your own—add spices, switch up the frosting, go wild with the decorations. That’s the beauty of a good base recipe. It’s a canvas for your creativity.
So go ahead. Bake these cupcakes. Take a photo for Instagram. Offer one to your neighbor. Watch people’s eyes go wide when they take that first bite. And if you make them, I want to hear about it. Leave a comment below, tag me in your photos, tell me if you added your own twist. Did you try the peppermint version? Did you use orange frosting instead of white? I genuinely want to know. Happy Halloween, friends. Now go make some midnight magic.
Frequently Asked Questions
Can I use regular cocoa powder instead of black cocoa?
You can, but the cupcakes won’t be black. They’ll be a dark brown color, more like a standard chocolate cupcake. Black cocoa has a distinct flavor—it’s less sweet and more Oreo-like—so the taste will also be different. If you want the dramatic black color, stick with black cocoa powder.
Why did my cream cheese frosting turn out runny?
This usually happens for one of three reasons: your cream cheese was too soft (or slightly melted), you added too much liquid, or you didn’t beat it long enough. Make sure your cream cheese is softened but still cool to the touch—if it’s greasy or shiny, it’s too warm. Also, beat the frosting for the full 2-3 minutes to incorporate enough air for structure.
Can I make these cupcakes ahead of time?
Absolutely. You can bake the cupcakes up to 2 days in advance and store them in an airtight container at room temperature. Frost them the day you plan to serve them for the best presentation. You can also freeze unfrosted cupcakes for up to 3 months—just thaw them at room temperature before frosting.
How do I get the cupcakes to rise evenly?
Make sure your baking soda is fresh (not expired), and don’t overmix the batter. Also, fill each liner with the same amount of batter—a cookie scoop is your best friend here. Finally, make sure your oven is fully preheated before you put the cupcakes in. An inconsistent oven temperature can cause uneven rising.
Can I make these into a cake instead of cupcakes?
Yes! Pour the batter into two greased and floured 8-inch round cake pans and bake at 350°F for 25-30 minutes, or until a toothpick comes out clean. You’ll need to double the frosting recipe to have enough for a layer cake. The cake will be slightly denser than the cupcakes, but it’s still delicious.
Pin This Recipe!
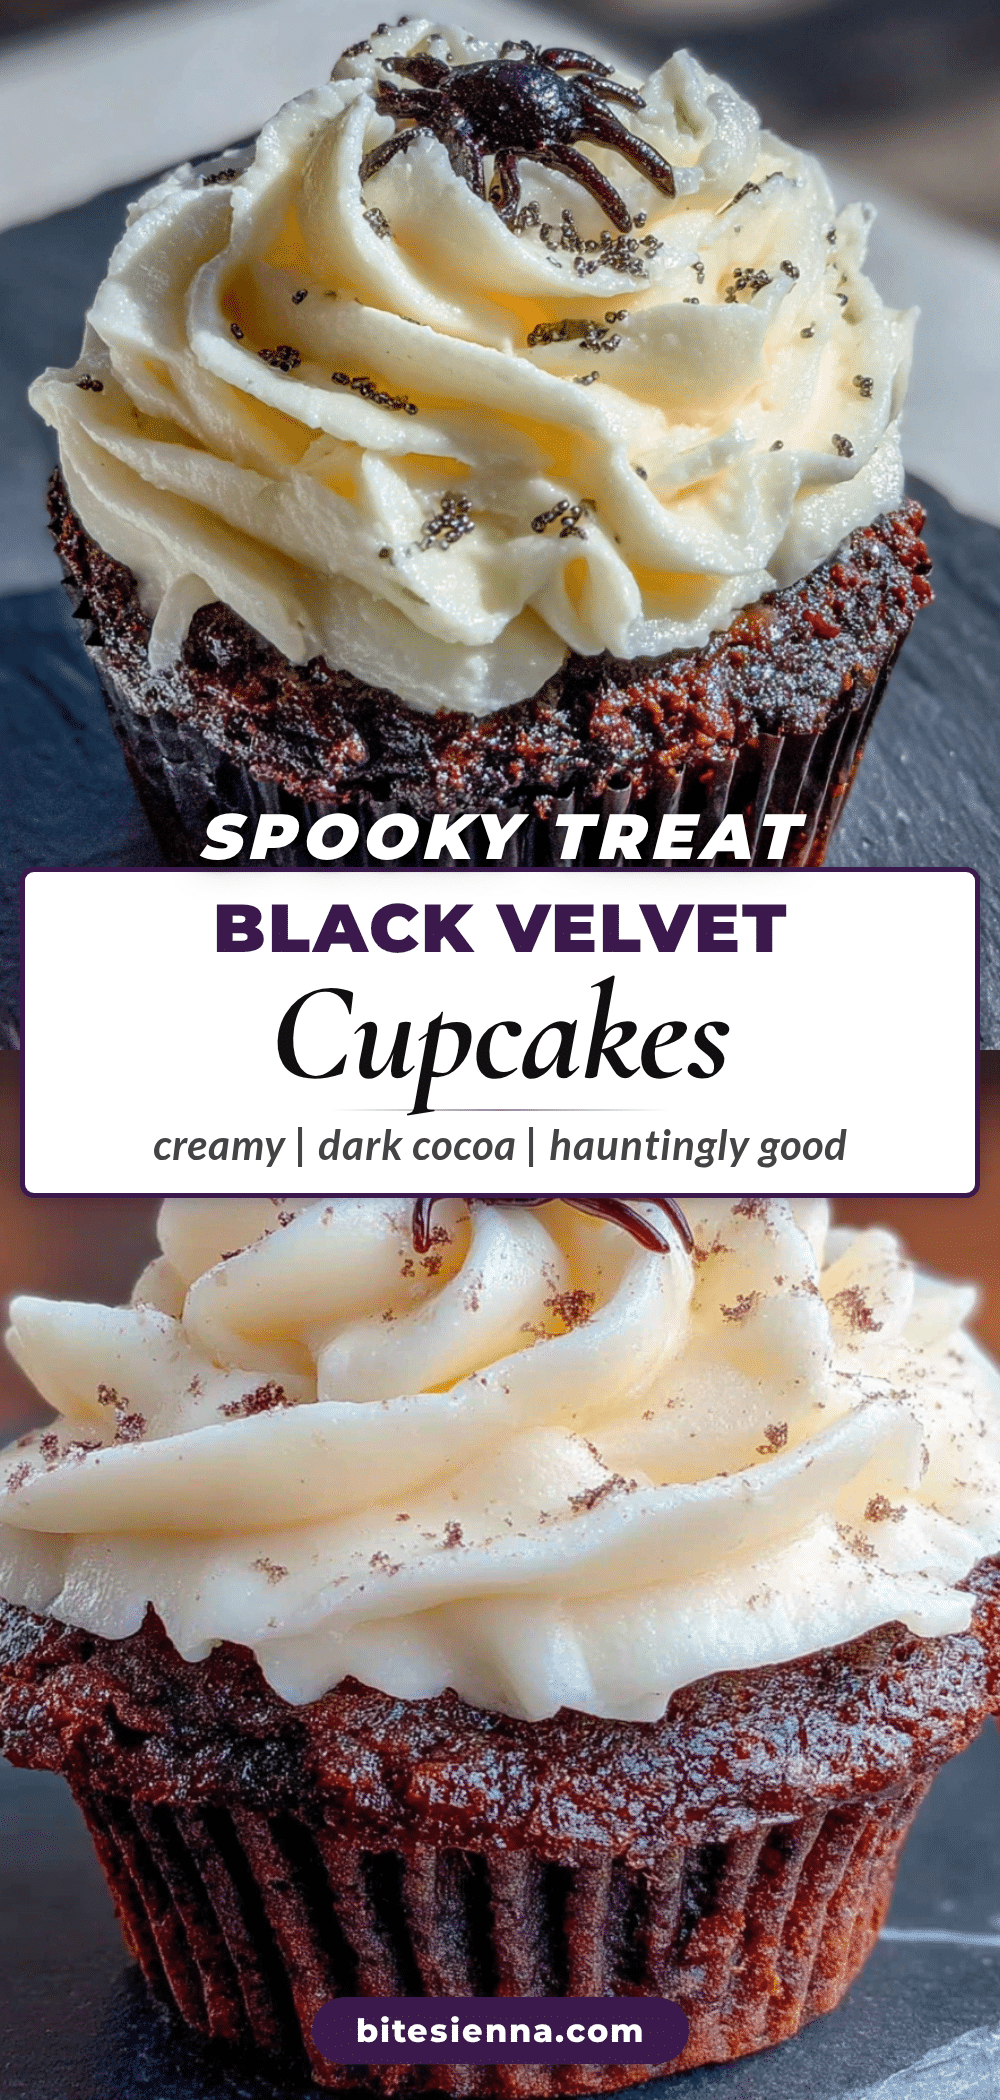
Perfect Black Velvet Halloween Cupcakes
These Perfect Black Velvet Halloween Cupcakes with Cream Cheese Frosting are everything you want from a holiday dessert—dramatic, rich, and just a little bit spooky. The cake is impossibly dark, thanks to a generous amount of black cocoa powder, and it stays moist for days.
- Prep Time: 15 minutes
- Cook Time: 20 minutes
- Total Time: 45 minutes
- Yield: 12 servings 1x
- Category: Dessert
- Cuisine: American
Ingredients
- 1 ½ cups all-purpose flour (spooned and leveled)
- ½ cup black cocoa powder
- 1 cup granulated sugar
- 1 teaspoon baking soda
- ½ teaspoon salt
- 1 cup buttermilk (room temperature)
- ½ cup vegetable oil (or any neutral oil like canola or grapeseed)
- 2 large eggs (room temperature)
- 1 teaspoon vanilla extract
- 1 teaspoon white vinegar
- 8 oz cream cheese (full-fat, softened)
- ½ cup unsalted butter (softened)
- 3 cups powdered sugar (sifted if desired)
- 1 teaspoon vanilla extract
- 1 tablespoon heavy cream (or milk)
- Pinch of salt
- Black sanding sugar or edible glitter (optional, for decoration)
- Mini plastic spiders or Halloween sprinkles (optional, for decoration)
- Orange food coloring (optional, for decoration)
Instructions
- Preheat your oven to 350°F (175°C). Line your muffin tin with black or dark-colored paper liners.
- In a large bowl, whisk together the flour, black cocoa powder, sugar, baking soda, and salt until no lumps remain.
- In a separate bowl or large liquid measuring cup, whisk together the buttermilk, vegetable oil, eggs, vanilla extract, and white vinegar until smooth.
- Pour the wet ingredients into the dry ingredients. Stir gently with a spatula or wooden spoon until just combined. Do not overmix.
- Use a cookie scoop or spoon to divide the batter evenly among the 12 liners, filling each about ⅔ full (about 3 tablespoons per cupcake).
- Bake for 18-22 minutes, or until a toothpick inserted into the center comes out clean or with a few moist crumbs. The tops should spring back when lightly touched.
- Let the cupcakes cool in the pan for 5 minutes, then transfer them to a wire rack to cool completely (at least 30 minutes).
- While the cupcakes cool, make the frosting: In a large bowl, beat the softened cream cheese and butter together with an electric mixer until smooth and creamy, about 2 minutes. Scrape down the sides.
- Add the powdered sugar, one cup at a time, beating on low speed. Add the vanilla extract, heavy cream, and a pinch of salt. Increase speed to medium-high and beat for 2-3 minutes until light, fluffy, and spreadable.
- Transfer the frosting to a piping bag fitted with a star tip. Pipe a generous swirl onto each cooled cupcake. Alternatively, spread the frosting with a knife.
- Top with black sanding sugar, Halloween sprinkles, or mini plastic spiders for decoration, if desired.
Notes
Room temperature ingredients are crucial for best results. Do not skip the vinegar—it reacts with baking soda for lift. Use a light touch when mixing to avoid tough cupcakes. Weigh flour if possible (180g) for accuracy. Frosted cupcakes can be stored in the refrigerator for up to 5 days; let sit at room temperature for 15 minutes before serving. Unfrosted cupcakes can be frozen for up to 3 months.
Nutrition
- Serving Size: 1 cupcake
- Calories: 380
- Sugar: 32
- Fat: 22
- Carbohydrates: 45
- Fiber: 2
- Protein: 5
Keywords: Halloween cupcakes, black velvet cupcakes, cream cheese frosting, black cocoa, spooky desserts, easy Halloween recipe


