Tuesday morning, 9 AM, and I had promised my book club I’d bring the bread for our meeting that evening. Not just any bread—the kind that makes people close their eyes when they bite into it. The problem? I’d completely forgotten until my phone buzzed with a reminder. Everyone else would be bringing wine and fancy cheese plates, and I’d be the one showing up with a store-bought baguette? No way.
I stood in my kitchen, staring at my pantry like it might magically produce a bakery-quality loaf. Flour, salt, yeast, water. That’s all I had. No Dutch oven, no bread machine, no fancy proofing basket. Just four ingredients and about nine hours until I needed to look like I had my act together.
Honestly, I almost gave up and grabbed a sandwich roll from the corner store. But something made me pull out my biggest mixing bowl instead. I’d seen those no-knead recipes floating around, you know—the ones that promise crusty artisan bread with almost zero effort. I figured I had nothing to lose. Maybe you’ve been there, standing in your kitchen with ingredients that seem too simple to possibly work, hoping for a miracle.
I mixed everything together in about three minutes. The dough looked like a shaggy, sticky mess, and I was pretty sure I’d just wasted good flour. I covered the bowl with a damp towel and walked away, fully expecting to toss it in the trash later.
Fast forward to 6 PM. I slid that golden, crackling loaf onto a cutting board, and the sound alone made my neighbor knock on my door to ask what I was baking. The crust shattered under the knife with this incredible crunch, revealing a soft, airy crumb with those irregular holes that make bread look professional. I brought it to book club still warm, wrapped in a kitchen towel, and it disappeared before anyone finished their first glass of wine. Three people asked for the recipe, and I had to admit—I’d just thrown it together that morning.
That day changed how I think about homemade bread. This easy no-knead artisan bread recipe isn’t just simple—it’s the kind of thing that makes you feel like a baking genius when you’ve barely done any work. And now I make it every single week.
Why You’ll Love This Recipe
Let me tell you why this same-day no-knead artisan bread has become my absolute favorite thing to bake. I’ve tested this recipe at least two dozen times, tweaking the timing and temperature until it works perfectly for busy people who still want amazing results.
- Quick & Easy: This bread comes together with just 10 minutes of active prep time. No kneading, no stand mixer, no special skills required. You mix, you wait, you bake. That’s it.
- Simple Ingredients: You need exactly four ingredients—flour, water, salt, and yeast. Chances are you already have all of them in your kitchen right now. No trips to specialty stores or expensive online orders.
- Same-Day Results: Most no-knead recipes require 18 to 24 hours of rising time. This one gives you a gorgeous loaf in about 8 to 10 hours. Start it in the morning and have fresh bread for dinner.
- Crowd-Pleaser: I’ve brought this bread to potlucks, dinner parties, and casual get-togethers. It gets devoured every single time. The crusty exterior and soft interior make everyone think you spent hours perfecting your technique.
- Unbelievably Delicious: The flavor develops beautifully during the long rise, giving you that tangy, complex taste you usually only get from bakery bread. The texture is absolutely next-level.
What makes this recipe different from all the other no-knead breads out there? It’s the timing. Most recipes force you to plan a full day ahead, which never works for spontaneous baking urges. This version uses a slightly warmer rising temperature and a specific flour-to-water ratio that speeds things up without sacrificing that artisan quality. I tested it with different flours, different water temperatures, and different rising times until I found the sweet spot.
This isn’t just another bread recipe—it’s the one that makes you wonder why you ever bought bread from the store. The first time you pull a golden loaf from your oven, you’ll understand what I mean. It’s comfort food at its most basic and most satisfying. And honestly, it makes your whole house smell incredible.
What Ingredients You Will Need
This recipe uses simple, wholesome ingredients to deliver bold flavor and satisfying texture without the fuss. Every ingredient plays a specific role, and I’ve tested them all to make sure you get perfect results every time.
- All-Purpose Flour (3 ½ cups / 440 grams): Regular all-purpose flour works beautifully here. I prefer Gold Medal or King Arthur Flour for consistent results. Do not use bread flour—it makes the crumb too dense. Do not use cake flour either, as it lacks the protein needed for structure. If you want to experiment, you can substitute up to 1 cup of whole wheat flour, but your loaf will be denser.
- Warm Water (1 ½ cups / 355 ml, about 105°F to 110°F): The temperature matters more than you might think. Too hot and you’ll kill the yeast. Too cold and the yeast won’t activate properly. I use my instant-read thermometer, but if you don’t have one, the water should feel comfortably warm on your wrist—like a pleasant bath, not hot.
- Active Dry Yeast (1 packet / 2 ¼ teaspoons / 7 grams): I use Red Star or Fleischmann’s active dry yeast. Instant yeast also works, but reduce the amount to 2 teaspoons. Do not use rapid-rise yeast, as it works too quickly for the long rise this recipe needs. If your yeast doesn’t foam within 10 minutes of adding it to the warm water, it’s dead—start over with fresh yeast.
- Salt (1 ½ teaspoons / 9 grams): Fine sea salt or table salt both work. I use Morton’s fine sea salt. Do not use kosher salt unless you weigh it, because the flakes are larger and you won’t get the right amount. Salt is crucial for flavor and for controlling yeast activity, so don’t skip it.
- Olive Oil (1 tablespoon / 15 ml, optional but recommended): This is my secret ingredient. It adds a subtle richness to the dough and helps create a slightly softer crust. You can leave it out, but I’ve found it makes the bread stay fresh for an extra day. Use a good-quality extra virgin olive oil if you have it.
- Cornmeal or Semolina (for dusting, optional): Sprinkling this on your baking surface prevents sticking and adds a lovely texture to the bottom of the loaf. I use Bob’s Red Mill cornmeal. You can skip this if you don’t have it—just use parchment paper.
I recommend using a kitchen scale for the flour if you have one. Measuring by volume can be inconsistent, and I’ve had readers tell me their bread turned out too dry because they packed the flour too tightly. One cup of all-purpose flour should weigh about 125 grams. If you’re scooping directly from the bag, fluff it up first with a spoon, then lightly spoon it into your measuring cup and level it off.
Equipment Needed
You don’t need much for this recipe, and that’s part of the beauty. Here’s what you’ll need:
- Large Mixing Bowl (at least 4-quart capacity): Glass, ceramic, or stainless steel all work. I use a 5-quart Pyrex bowl because I can see the dough rising through the sides.
- Wooden Spoon or Dough Whisk: A sturdy wooden spoon works perfectly. I’ve also used a Danish dough whisk, which I love because it doesn’t get clogged with sticky dough.
- Plastic Wrap or a Clean Kitchen Towel: You need something to cover the bowl while the dough rises. I prefer a damp linen towel because it creates the perfect humidity level.
- Dutch Oven or Heavy Oven-Safe Pot (5 to 6 quarts with a lid): This is the key to that amazing crust. The pot traps steam, which creates the crackly exterior. I use a 5.5-quart Le Creuset, but any heavy pot with a lid works. Lodge makes an excellent budget-friendly cast iron version for around $40.
- Parchment Paper: This makes transferring the dough into the hot pot so much easier. Without it, you risk burning your fingers or deflating the dough.
- Sharp Knife or Bread Lame: You need something to score the top of the loaf before baking. A sharp serrated knife works fine. A bread lame is nice but not necessary.
- Cooling Rack: Essential for letting the bread cool properly. If you leave it in the pot, the bottom will get soggy.
If you don’t have a Dutch oven, you can use a heavy baking sheet with a metal bowl placed over the bread to trap steam. I’ve done this in a pinch, and it works, though the crust isn’t quite as dramatic. Another option is to place a cast iron skillet on the bottom rack of your oven and pour a cup of hot water into it when you add the bread—this creates steam that helps the crust form.
Preparation Method
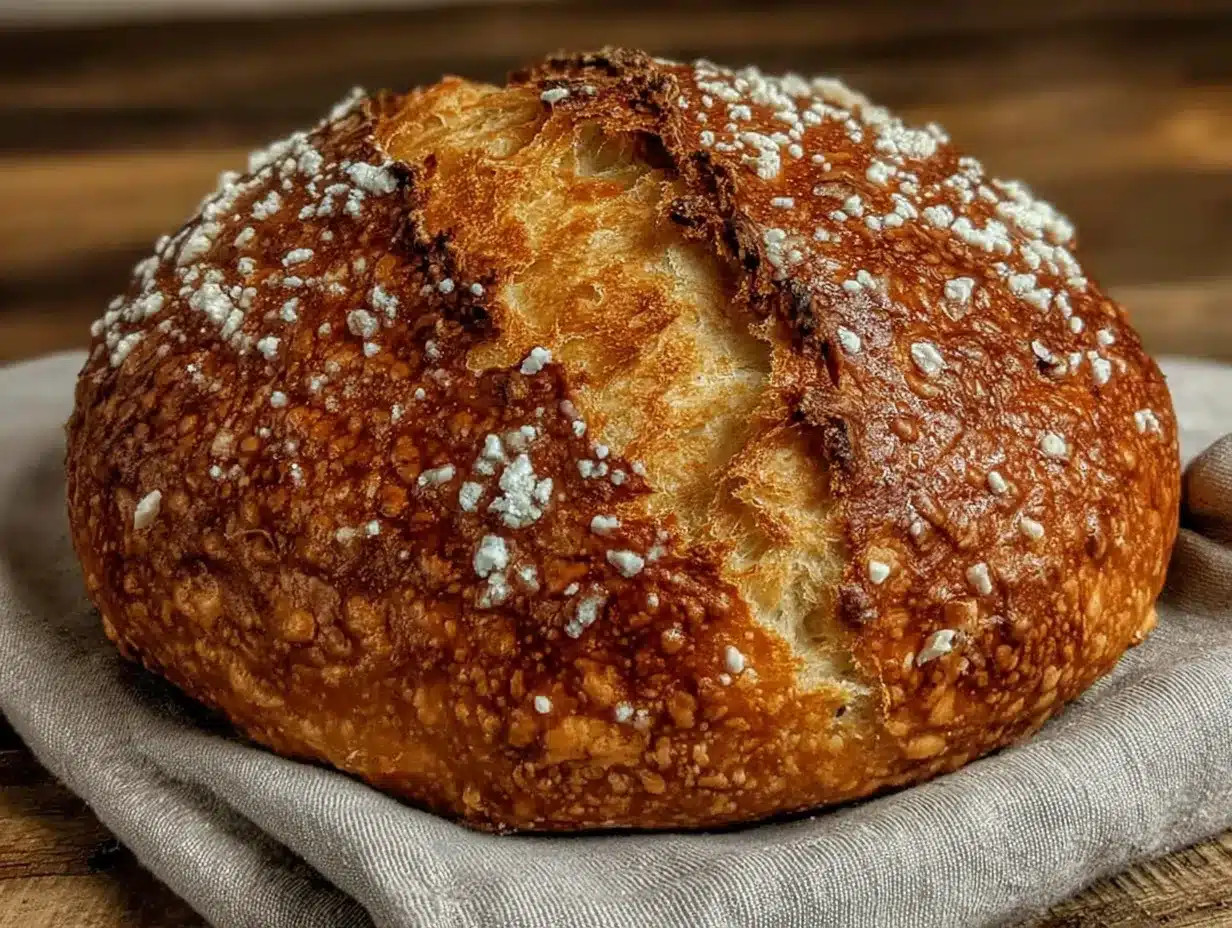
Let me walk you through this step by step. I’ve included all the little details that make the difference between good bread and great bread.
- Activate the yeast. In your large mixing bowl, combine the warm water and active dry yeast. Let it sit for 5 to 10 minutes until it becomes foamy. If nothing happens after 10 minutes, your yeast is dead—start over with fresh yeast. I learned this the hard way when I tried to rush and ended up with a dense brick of bread.
- Mix the dry ingredients. In a separate bowl, whisk together the flour and salt. This ensures the salt is evenly distributed so it doesn’t kill the yeast in one spot. If you’re using the olive oil, you can add it to the water mixture now.
- Combine everything. Pour the flour mixture into the yeast mixture. Stir with your wooden spoon until a shaggy, sticky dough forms. There should be no dry pockets of flour. The dough will look rough and unappealing—that’s normal. Don’t be tempted to add more flour.
- First rise. Cover the bowl with plastic wrap or a damp towel. Let it sit at room temperature (about 70°F to 75°F) for 6 to 8 hours. The dough should double in size and look bubbly on top. If your kitchen is cold, it might take longer. If it’s warm, it might be ready in 5 hours. Look for visual cues, not the clock.
- Shape the dough. Lightly flour your work surface. Turn the dough out onto it. The dough will be very sticky—that’s okay. Using a bench scraper or your floured hands, fold the edges of the dough toward the center, creating a rough ball shape. Don’t overwork it. You want to keep those air bubbles intact.
- Second rise. Place the shaped dough on a piece of parchment paper. Cover it loosely with a towel and let it rest for 30 to 45 minutes. Meanwhile, preheat your oven to 450°F with your Dutch oven inside. The pot needs to be screaming hot.
- Score the bread. After the second rise, use a sharp knife or lame to make a slash across the top of the dough, about ½ inch deep. This allows the bread to expand during baking. If you don’t score it, the bread will burst open in an unpredictable spot.
- Bake. Carefully remove the hot Dutch oven from the oven. Lift the parchment paper with the dough and lower it into the pot. Put the lid on and bake for 30 minutes. Then remove the lid and bake for another 15 to 20 minutes until the crust is deep golden brown.
- Cool completely. Transfer the bread to a cooling rack. This step is crucial—if you cut into it while it’s hot, the interior will be gummy. Let it cool for at least 1 hour before slicing. I know it’s tempting, but trust me on this.
The first time I made this, I skipped the scoring step and my bread exploded sideways. It still tasted amazing, but it looked like a mutant blob. Now I always take that extra 10 seconds to make a clean slash.
Cooking Tips & Techniques
After making this bread more times than I can count, I’ve collected some tips that will save you frustration and help you get consistent results.
Use the right water temperature. This is probably the most common mistake I see. If your water is too hot, you’ll kill the yeast. If it’s too cold, the rise will take forever. I use my instant-read thermometer every single time. If you don’t have one, the water should feel like a warm bath—not hot, not lukewarm.
Don’t skip the preheat. Your Dutch oven needs to be in the oven for at least 30 minutes before you add the dough. I once tried to speed this up and added the dough to a barely warm pot. The bread came out pale and flat. The thermal shock of hitting that hot pot is what creates the dramatic oven spring.
Watch the humidity. I live in a dry climate, and I’ve noticed my dough needs slightly more water in winter. If your dough seems too dry after mixing, add a tablespoon of water. If it seems too wet, add a tablespoon of flour. Bread dough is forgiving—trust your instincts.
My biggest failure? I once forgot to put the lid back on the Dutch oven after checking the bread. The top burned black while the inside stayed raw. Now I set a timer for the covered portion and don’t open the oven until it goes off.
Multitasking strategy. Start the dough in the morning while you’re having coffee. Go about your day. About an hour before dinner, preheat the oven and shape the dough. By the time your main dish is ready, the bread will be cooling on the counter. It’s that easy.
For consistent results, use the same brand of flour and yeast each time. Different brands absorb water differently, and switching things up can throw off your hydration ratio. I stick with King Arthur Flour and Red Star yeast, and my results are predictable every time.
Variations & Adaptations
Once you’ve mastered the basic recipe, here are some ways to make it your own:
- Herb and Garlic Bread: Add 2 teaspoons of dried rosemary, 1 teaspoon of dried thyme, and 3 minced garlic cloves to the flour mixture. The garlic infuses the bread with amazing flavor during the long rise. I make this version for pasta nights, and it disappears fast.
- Cheese and Black Pepper Bread: Fold in 1 cup of shredded sharp cheddar and 1 teaspoon of freshly cracked black pepper after the first rise. The cheese melts into pockets throughout the bread, creating these incredible savory bits. This is my go-to for soup season.
- Seeded Artisan Loaf: Add 2 tablespoons each of sesame seeds, poppy seeds, and sunflower seeds to the flour. Sprinkle more seeds on top before baking. The seeds add crunch and nuttiness. I love this version for sandwiches.
- Whole Wheat Version: Substitute 1 cup of all-purpose flour with whole wheat flour. You’ll need to add an extra 2 tablespoons of water because whole wheat absorbs more liquid. The bread will be denser but has a lovely nutty flavor.
- Olive and Rosemary Bread: Fold in ½ cup of chopped Kalamata olives and 1 tablespoon of fresh rosemary after the first rise. The briny olives pair beautifully with the crusty bread. This is perfect for serving with antipasto.
I’ve tried all of these variations, and they each bring something special to the table. My personal favorite is the herb and garlic version—it makes the whole house smell like a pizzeria. Just remember that add-ins like cheese or olives can make the dough slightly harder to handle, so be gentle when shaping.
Serving & Storage Suggestions
This bread is best served warm, but it’s still amazing at room temperature. Here’s how to make the most of it:
Serving Temperature: I prefer to serve this bread within a few hours of baking, when the crust is still crackly and the interior is soft. If you’re serving it later, reheat it in a 350°F oven for 5 to 10 minutes to revive the crust. Never microwave it—that turns the crust into rubber.
Presentation: Slice the bread with a serrated knife and arrange the pieces on a wooden cutting board. Serve with good olive oil and balsamic vinegar for dipping, or alongside a bowl of hearty soup. For breakfast, toast slices and slather them with butter and jam.
Complementary Dishes: This bread pairs beautifully with tomato basil soup, beef stew, roasted chicken, or a simple green salad with vinaigrette. It’s also incredible for sandwiches—try it with roasted vegetables and hummus.
Storage: Store the bread at room temperature wrapped in a clean kitchen towel or paper bag. Do not store it in plastic, as that will make the crust soft. It will stay fresh for 2 to 3 days. If the crust gets soft, just pop it in a 350°F oven for 5 minutes.
Freezing: This bread freezes beautifully. Wrap the cooled loaf tightly in plastic wrap, then in aluminum foil. Freeze for up to 3 months. To thaw, leave it at room temperature for a few hours, then reheat in the oven. I always make a double batch and freeze one loaf for busy weeks.
Flavor Development: Interestingly, the flavor actually improves after the first day. The tangy notes become more pronounced, and the texture remains excellent. So don’t worry if you don’t eat it all on day one.
Nutritional Information & Benefits
Here’s the approximate nutritional breakdown for one slice (1/12 of the loaf):
- Calories: 140
- Total Fat: 1g
- Saturated Fat: 0g
- Cholesterol: 0mg
- Sodium: 290mg
- Total Carbohydrates: 28g
- Dietary Fiber: 1g
- Sugars: 0g
- Protein: 4g
This bread is naturally low in fat and contains no added sugars. It’s a good source of complex carbohydrates for sustained energy. The fermentation process during the long rise actually makes the nutrients more bioavailable, meaning your body can absorb them more easily.
If you’re watching your sodium intake, you can reduce the salt to 1 teaspoon, though the flavor will be less pronounced. For a gluten-free version, I recommend using a good-quality gluten-free all-purpose flour blend, though the texture will be different.
Potential allergens include wheat and gluten. The olive oil version may not be suitable for those with olive allergies. Always check your ingredient labels if you’re cooking for someone with dietary restrictions.
I personally love that this bread is made from such simple, clean ingredients. There are no preservatives, no artificial flavors, and no weird additives. Just flour, water, salt, and yeast—the same ingredients humans have used for thousands of years.
Conclusion
This easy no-knead artisan bread recipe has honestly changed how I think about baking. It proves that you don’t need fancy equipment, professional training, or hours of kneading to create something beautiful and delicious. You just need a little patience and a willingness to trust the process.
I love that this recipe is forgiving enough for beginners but produces results that impress even experienced bakers. Whether you’re making it for a special occasion or just because you want your kitchen to smell amazing, this bread delivers every single time.
Don’t be afraid to experiment with the variations I’ve shared. Make it your own. Add your favorite herbs, cheeses, or seeds. The beauty of this recipe is that it’s a canvas for your creativity.
I’d love to hear how your bread turns out! Leave a comment below and let me know what variations you tried. Share a photo of your loaf on Pinterest and tag me—I love seeing your creations. And if you have any questions, just ask. Happy baking, friend!
Frequently Asked Questions
Can I use whole wheat flour instead of all-purpose flour?
Yes, you can substitute up to 1 cup of all-purpose flour with whole wheat flour. You’ll need to add an extra 2 tablespoons of water because whole wheat absorbs more liquid. The bread will be denser and have a nuttier flavor, but it’s still delicious.
Why didn’t my bread rise?
There are a few common reasons. Your yeast might be expired or dead—always check the expiration date and make sure it foams when activated. Your water might have been too hot and killed the yeast, or too cold and didn’t activate it. Your kitchen might be too cold for the dough to rise properly. Try placing the bowl in a warm spot, like near a sunny window or on top of the refrigerator.
Can I make this bread without a Dutch oven?
Absolutely! You can use a heavy baking sheet with a metal bowl placed over the bread to trap steam. Alternatively, place a cast iron skillet on the bottom rack of your oven and pour a cup of hot water into it when you add the bread. The steam helps create that crispy crust.
How do I get a crispier crust?
Make sure your Dutch oven is preheated for at least 30 minutes before adding the dough. Bake with the lid on for the first 30 minutes to trap steam, then remove the lid for the final 15 to 20 minutes. For an extra-crispy crust, you can spritz the inside of the hot pot with water before adding the dough.
Can I double this recipe?
Yes, you can double all the ingredients, but you’ll need to bake the loaves separately. The dough will be too large for one Dutch oven. Divide the dough in half after the first rise and shape each half into a ball. Bake them one at a time, keeping the second loaf covered in the refrigerator while the first one bakes.
Pin This Recipe!
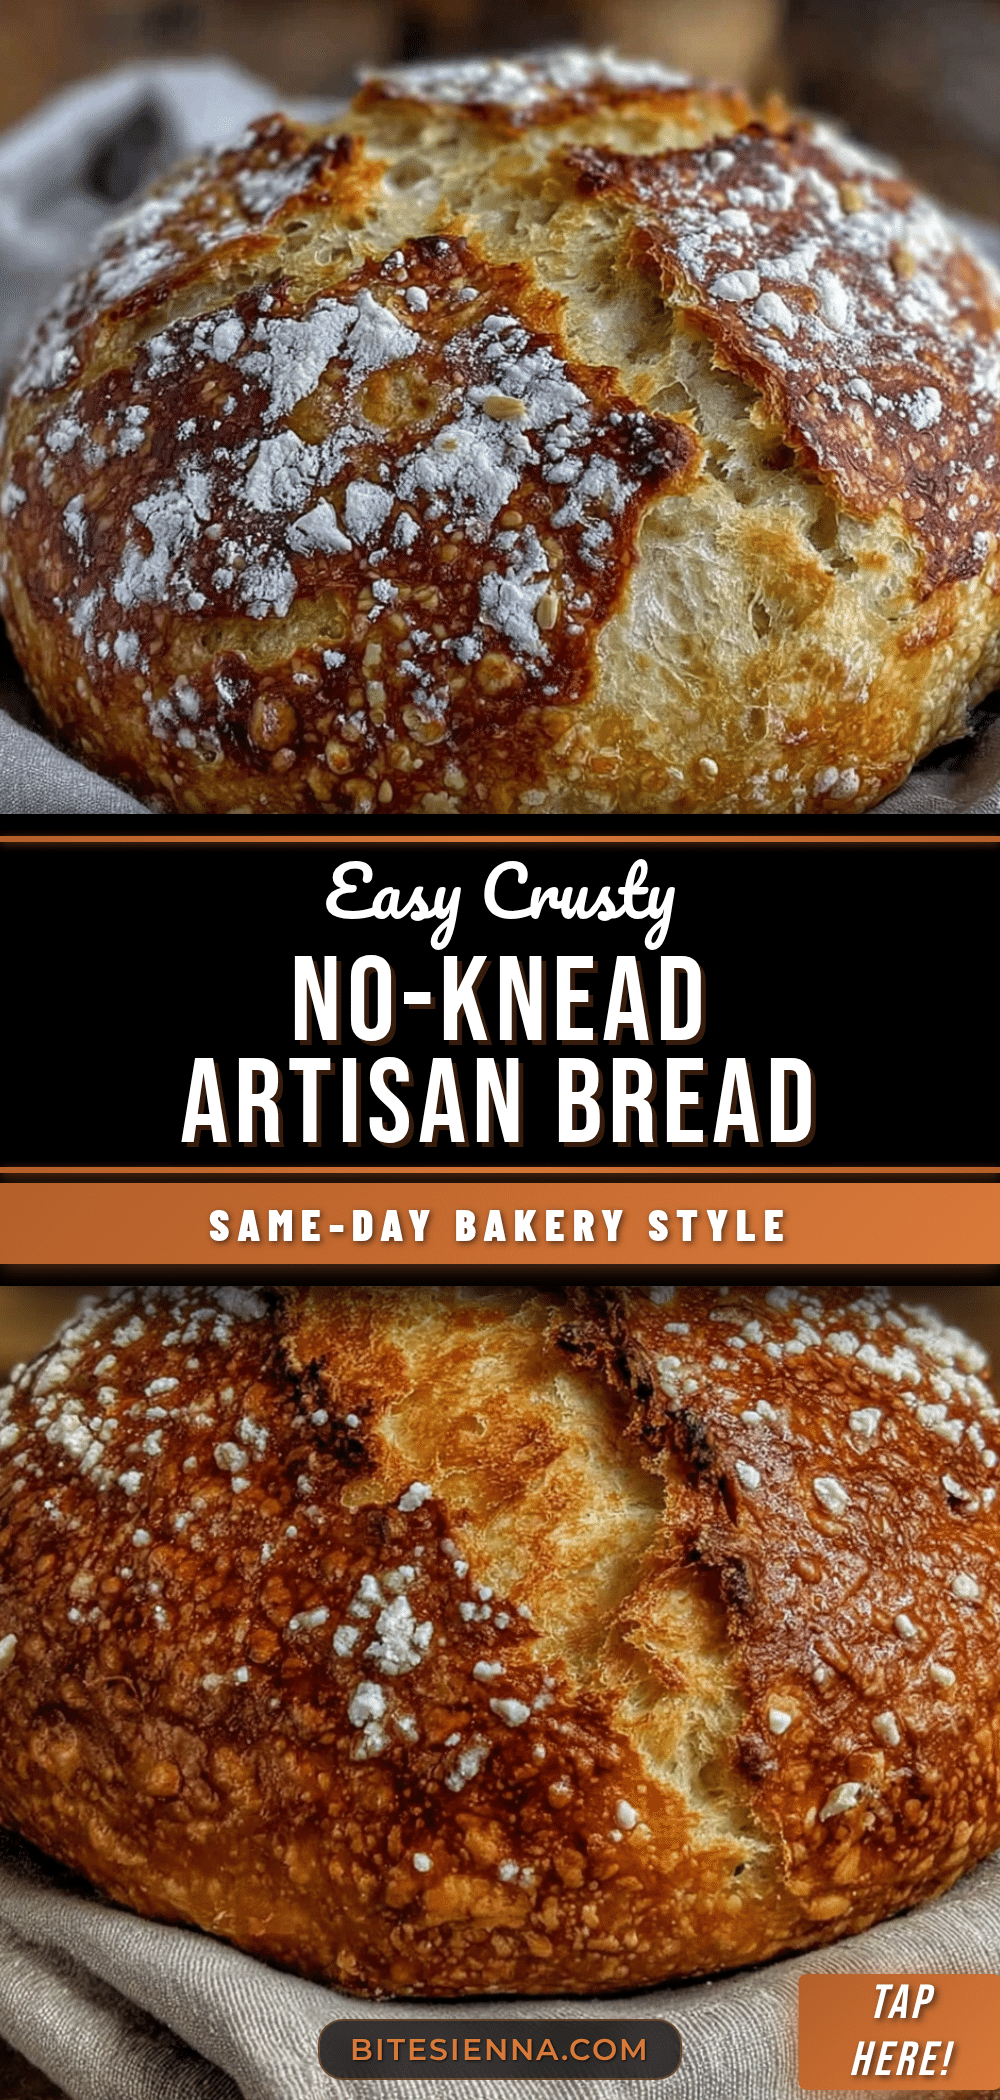
Easy No-Knead Artisan Bread Recipe: Best Same-Day Homemade Loaf

This easy no-knead artisan bread recipe delivers a crusty, bakery-quality loaf with just 10 minutes of active prep time and simple ingredients. Perfect for same-day baking, it yields a golden, crackling crust and soft, airy interior that will impress everyone.
- Prep Time: 10 minutes
- Cook Time: 45 minutes
- Total Time: 8 hours 55 minutes (including rising time)
- Yield: 12 servings 1x
- Category: Bread
- Cuisine: American
Ingredients
- 3 ½ cups (440 grams) all-purpose flour
- 1 ½ cups (355 ml) warm water (105°F to 110°F)
- 1 packet (2 ¼ teaspoons / 7 grams) active dry yeast
- 1 ½ teaspoons (9 grams) fine sea salt or table salt
- 1 tablespoon (15 ml) olive oil (optional but recommended)
- Cornmeal or semolina for dusting (optional)
Instructions
- Activate the yeast: In a large mixing bowl, combine warm water and active dry yeast. Let sit for 5 to 10 minutes until foamy.
- Mix dry ingredients: In a separate bowl, whisk together flour and salt. If using olive oil, add it to the yeast mixture now.
- Combine: Pour flour mixture into yeast mixture. Stir with a wooden spoon until a shaggy, sticky dough forms. No dry pockets of flour should remain.
- First rise: Cover bowl with plastic wrap or a damp towel. Let sit at room temperature (70°F to 75°F) for 6 to 8 hours until doubled in size and bubbly on top.
- Shape dough: Lightly flour work surface. Turn dough out onto it. Using floured hands or a bench scraper, fold edges toward center to form a rough ball. Do not overwork.
- Second rise: Place shaped dough on parchment paper. Cover loosely with a towel and let rest for 30 to 45 minutes. Meanwhile, preheat oven to 450°F with Dutch oven inside.
- Score bread: After second rise, use a sharp knife or lame to make a ½-inch deep slash across the top of the dough.
- Bake: Carefully remove hot Dutch oven from oven. Lift parchment with dough and lower into pot. Cover and bake for 30 minutes. Remove lid and bake for another 15 to 20 minutes until deep golden brown.
- Cool completely: Transfer bread to a cooling rack. Let cool for at least 1 hour before slicing.
Notes
Use a kitchen scale for flour for best results. Water temperature is crucial: too hot kills yeast, too cold slows rise. Do not skip preheating Dutch oven for at least 30 minutes. Scoring the bread prevents uneven bursting. Cool completely before slicing to avoid gummy texture.
Nutrition
- Serving Size: 1 slice (1/12 of loa
- Calories: 140
- Sodium: 290
- Fat: 1
- Carbohydrates: 28
- Fiber: 1
- Protein: 4
Keywords: no-knead bread, artisan bread, same-day bread, homemade bread, crusty bread, easy bread recipe


