My brother-in-law asked why I couldn’t just use the slow cooker for the chicken. I started to explain why that wouldn’t work — then stopped. He was making a face that said he just wanted dinner done without standing over a stove. I was convinced that baking chicken breasts was the only way to get that crispy skin and juicy interior. He wanted it to be effortless. I wanted it to be perfect. We compromised on the oven, but he insisted on skipping the marinade time. “Just throw it in there,” he said. “With the honey and garlic.” I rolled my eyes. Honey burns. Garlic turns bitter. It sounded like a recipe for disaster. But honestly, I was tired. I was also hungry. So I let him drizzle that thick, golden syrup over the raw meat. I sprinkled the minced garlic on top. I put it in the oven. When I pulled it out twenty minutes later, the kitchen smelled like a high-end restaurant. The chicken was glazed, tender, and incredibly moist. I took a bite and realized he was right. The heat caramelized the sugar without burning it. The garlic softened into a savory paste. It was the best chicken I had made in months. I felt a little sheepish admitting I was wrong. But let’s face it, sometimes the easiest way is the best way. This recipe stuck with me because it solved a real problem. It made healthy eating feel indulgent. It turned a bland staple into something special. Maybe you’ve been there, staring at a package of dry chicken breasts, wondering how to save them. This honey garlic baked chicken breast changed everything for me. It’s simple, but it’s magic.
Why You’ll Love This Recipe
Let’s be honest, chicken breasts have a reputation for being dry and boring. I used to feel the same way. But this method changes the game completely. I’ve tested dozens of variations over the years, and this one stands out. It’s not just about the taste; it’s about the texture. The honey creates a sticky glaze that locks in moisture. The garlic adds depth without overpowering. You get a meal that feels gourmet but takes almost no effort. Here is why this dish is a staple in my kitchen now.
- Quick & Easy: This comes together in under 30 minutes. That is perfect for busy weeknights when you are exhausted after work. You spend five minutes prepping and twenty-five minutes waiting. It is low stress.
- Simple Ingredients: You likely have everything in your kitchen right now. You don’t need to go to the store for special spices. Just honey, garlic, soy sauce, and chicken. It is pantry-friendly.
- Perfect for Meal Prep: This makes great leftovers. The flavors actually get better the next day. I often make a double batch on Sunday. It saves so much time during the week.
- Crowd-Pleaser: Kids love the sweetness. Adults love the savory notes. It works for date nights and family dinners. Everyone cleans their plate.
- Unbelievably Delicious: The combination of sweet and salty is next-level comfort food. It is juicy, tender, and flavorful.
What makes this different from other recipes? Many recipes call for marinating for hours. This one works instantly. The high heat sears the outside quickly. The inside stays pink and juicy. It is not just another chicken recipe. It is your best version of baked chicken. It is the kind of meal that makes you close your eyes after the first bite. It feels like a treat, but it is actually quite healthy. You can serve it with rice or veggies. It is versatile and reliable. I promise you will make this again and again.
What Ingredients You Will Need
This recipe uses simple, wholesome ingredients to deliver bold flavor. You do not need fancy groceries. The magic is in the balance of sweet and salty. Here is what you need to get started.
- Chicken Breasts: Use four boneless, skinless chicken breasts. Try to find ones that are similar in size so they cook evenly. I prefer organic if possible, but regular works fine. Pat them dry with paper towels. This helps the glaze stick.
- Honey: You need half a cup of good quality honey. Raw honey is nice, but any clear honey works. It provides the sweetness and helps with browning. Do not skip this part. It is essential for the glaze.
- Soy Sauce: Use half a cup of low-sodium soy sauce. This adds the salty umami flavor. It balances the sugar in the honey. If you are watching sodium, this is a good choice. It also helps tenderize the meat slightly.
- Garlic: You need four cloves of fresh garlic. Minced finely. Fresh garlic tastes much better than jarred. It adds a sharp, aromatic punch. If you hate garlic, use two cloves. But don’t skip it entirely.
- Apple Cider Vinegar: Add one tablespoon. This adds a little acidity. It cuts through the sweetness. It makes the flavor more complex. It prevents the dish from being too cloying.
- Butter: Use two tablespoons of unsalted butter. Melt it in the pan before adding the chicken. It adds richness and helps the glaze bubble. It gives a professional finish to the dish.
- Red Pepper Flakes: Use one half teaspoon. This adds a tiny kick of heat. It is optional but recommended. It wakes up the palate. It balances the sweet honey flavor nicely.
- Black Pepper: Use one teaspoon of freshly cracked black pepper. It adds a little earthiness. It enhances the savory notes. Freshly cracked is always better than pre-ground.
- Optional Garnish: Chopped green onions or sesame seeds. These add color and texture. They make the dish look pretty. Use them if you want a restaurant-style presentation.
I recommend using a good brand of soy sauce like Kikkoman. It has a consistent flavor. The honey should be liquid. If it is crystallized, warm it up slightly. The garlic should be fresh. Old garlic can taste bitter. Keep these tips in mind for the best results.
Equipment Needed
You do not need fancy gadgets for this recipe. A standard baking sheet is all you really need. I use a rimmed baking sheet. The rim keeps the juices from spilling over. It makes cleanup easier. Line it with parchment paper. This is a game changer. The glaze can stick and burn if you don’t use parchment. It saves you from scrubbing the pan later. You also need a small bowl for mixing the sauce. A whisk or fork works fine. A basting brush is helpful. You can use a silicone one. It handles the heat well. It helps you coat the chicken evenly. If you don’t have a basting brush, just use a spoon. It works too. An oven thermometer is nice to have. It ensures your oven is accurate. Ovens can be off by twenty degrees. This helps you avoid dry chicken. A meat thermometer is crucial. It tells you when the chicken is done. Insert it into the thickest part. When it hits 165 degrees Fahrenheit, you are good. Do not overcook it. That is the most common mistake. Use these tools wisely. They make cooking easier and more reliable.
Preparation Method
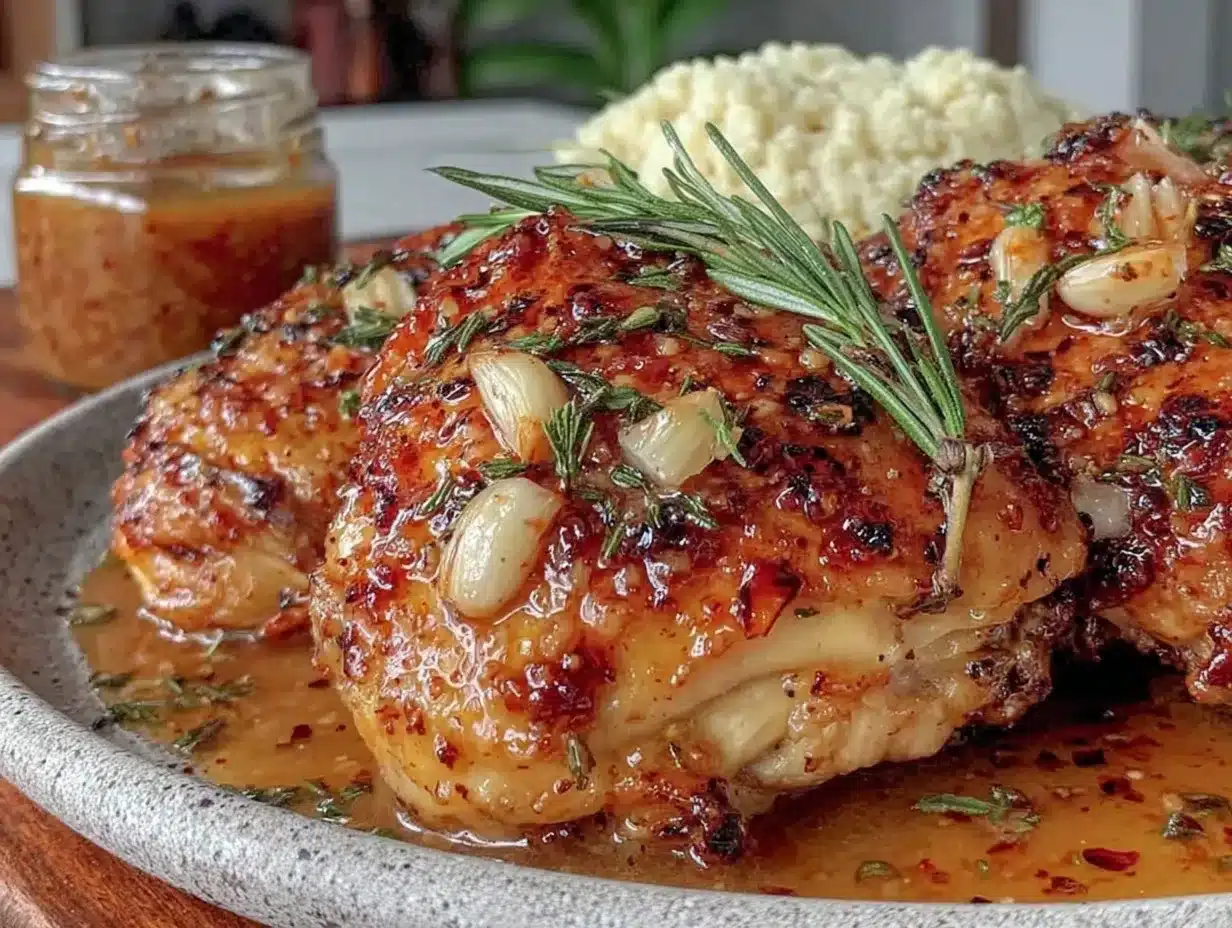
Getting this chicken right is straightforward. Follow these steps closely. They ensure the best texture and flavor.
- Preheat the Oven: Set your oven to 400 degrees Fahrenheit. This is a high heat. It cooks the chicken quickly. It keeps it juicy. Let it fully preheat. This takes about ten minutes. Do not skip this step. A hot oven is key.
- Prepare the Chicken: Place the chicken breasts on the baking sheet. Pat them dry with paper towels. Moisture is the enemy of browning. Dry chicken means better glaze. Season both sides with salt and pepper. Use about one teaspoon of salt. Be generous. The chicken needs seasoning.
- Make the Sauce: In a small bowl, mix the honey, soy sauce, minced garlic, apple cider vinegar, and red pepper flakes. Whisk them together. The mixture should be smooth. It will look thick and glossy. Taste it. It should be sweet and salty. Adjust if needed. Add more honey if you like it sweeter.
- Melt the Butter: Melt the butter in a small saucepan over low heat. Or microwave it for thirty seconds. Do not burn it. Just melt it. Pour the melted butter over the chicken breasts. Use a spoon to coat them. This adds flavor and helps the glaze adhere.
- First Coat of Sauce: Pour half of the honey garlic sauce over the chicken. Use a basting brush to spread it evenly. Make sure every part is covered. The chicken should look shiny and coated. This first coat starts the flavor infusion.
- Bake: Put the baking sheet in the oven. Bake for 15 minutes. Do not open the oven door. You want to keep the heat steady. The chicken will start to cook. The sauce will bubble around the edges. It will look delicious.
- Second Coat of Sauce: Take the pan out of the oven. Be careful, it is hot. Brush the remaining sauce over the chicken. This adds another layer of flavor. It creates a thicker glaze. Put it back in the oven.
- Finish Baking: Bake for another 10 to 12 minutes. Check the temperature with a meat thermometer. It should read 165 degrees Fahrenheit. If it is not done, give it two more minutes. Do not overcook. The chicken will continue to cook slightly after you take it out.
- Rest the Chicken: Remove the pan from the oven. Let the chicken rest for 5 minutes. This is crucial. It allows the juices to redistribute. If you cut it now, the juices will run out. The meat will be dry. Let it sit. It stays hot. The glaze will thicken slightly.
- Serve: Slice the chicken against the grain. This makes it tender. Pour any extra sauce from the pan over the top. Garnish with green onions. Serve immediately. Enjoy the juicy results.
Pay attention to the cooking time. Every oven is different. Use the thermometer. It is your best friend. Trust the numbers, not just the clock. This ensures perfect chicken every time.
Cooking Tips & Techniques
I have made this recipe many times. I have learned a few things along the way. Here are some tips to help you succeed. First, do not skip drying the chicken. Wet chicken steams instead of baking. It will not get that nice glaze. Paper towels are your friend. Second, use a meat thermometer. It takes the guesswork out. Overcooked chicken is sad. Undercooked chicken is dangerous. Aim for 165 degrees. That is the sweet spot. Third, let the chicken rest. I know it is tempting to cut in. But wait. Five minutes makes a big difference. The texture will be so much better. Fourth, watch the sauce. Honey burns easily. Keep an eye on the edges. If they are getting too dark, cover the pan with foil. This prevents bitterness. Fifth, vary the garlic amount. Some people love garlic. Some hate it. Adjust to your taste. But don’t skip it. It adds depth. Sixth, use fresh garlic. Jarred garlic can taste metallic. Fresh cloves taste bright and clean. It makes a huge difference in flavor. Seventh, marinate if you have time. If you have an hour, marinate the chicken. It will be more flavorful. But it is not required. This recipe works without it. Eighth, use a heavy baking sheet. Thin sheets warp. They cook unevenly. A thick sheet distributes heat well. It helps the chicken cook evenly. Ninth, baste generously. The sauce is the star. Coat the chicken well. Do not be shy. Tenth, taste the sauce before baking. If it needs more salt, add it now. You cannot add salt after it is baked. Adjust flavors early. These tips will help you make the best chicken. Practice makes perfect. But this recipe is forgiving. It is hard to mess up. Just follow the steps. You will do great.
Variations & Adaptations
This recipe is flexible. You can change it up. Here are some ideas. For a spicy version, add more red pepper flakes. Or use sriracha instead of honey. It adds a different kick. For a healthier option, use less honey. Use a sugar-free sweetener. It cuts calories. But the texture will be different. For a gluten-free version, use tamari instead of soy sauce. It is gluten-free and tastes similar. For a different flavor profile, add ginger. Fresh ginger pairs well with garlic. It adds warmth. You can also add lemon juice. It brightens the dish. For a dairy-free version, skip the butter. Use olive oil instead. It works well. For a kid-friendly version, reduce the garlic. Add more honey. Kids love sweet things. You can also add carrots or broccoli to the pan. Roast them with the chicken. It makes a complete meal. Try different herbs. Basil or cilantro work well. Add them after cooking. They stay fresh. Experiment with these changes. Find your favorite. The base recipe is solid. You can build on it. Don’t be afraid to try new things. Cooking is fun. Make it your own.
Serving & Storage Suggestions
How you serve this chicken matters. Slice it thinly. It looks better. Arrange it on a plate. Drizzle extra sauce over it. Add green onions for color. Serve with rice. Jasmine rice is good. Steamed broccoli is nice. A simple salad works too. Dress it with vinegar. It cuts the richness. For a heavier meal, serve with mashed potatoes. The sauce goes well with potatoes. Store leftovers in an airtight container. Keep them in the fridge. They last for three days. Reheat in the microwave. Add a splash of water. It keeps the chicken moist. Or reheat in the oven. It crisps up the edges. Do not overheat. Just warm it through. The flavors develop over time. It tastes good the next day. It is great for lunch. Pack it in a bento box. Add some fruit. It is a balanced meal. Enjoy it cold or warm. It is versatile. Share it with friends. It is a crowd-pleaser. Serve it at parties. It is easy to eat. Finger food style. Use toothpicks. It is convenient. Make it ahead. It saves time. Plan your meals. This recipe fits in. It is reliable. You can count on it.
Nutritional Information & Benefits
This chicken is relatively healthy. It is high in protein. It is low in carbs. One breast has about 25 grams of protein. It helps build muscle. It keeps you full. The honey adds sugar. But it is natural sugar. Use it in moderation. The garlic has health benefits. It is good for your heart. It boosts immunity. The soy sauce has sodium. Watch your intake. If you are on a low-sodium diet, use less soy sauce. Or use low-sodium version. The recipe is balanced. It is not a diet food. But it is not junk food either. It is a solid meal. It provides energy. It satisfies hunger. It tastes good. That is important. Healthy food should taste good. This recipe delivers. It is good for you. And it tastes great. Win-win. Enjoy it guilt-free. You earned it. Treat yourself. But be mindful. Balance is key. Listen to your body. Eat when hungry. Stop when full. This recipe fits in. It is part of a healthy lifestyle. Keep moving. Stay active. Eat well. This chicken helps. It is a good choice. Make it a regular. It is nutritious. It is delicious. It is the best of both worlds. Love your body. Feed it well. You deserve it.
Conclusion
This honey garlic baked chicken breast is a game changer. It is simple but impressive. It is juicy and flavorful. You will love it. Try it this week. It is easy to make. It is worth the effort. Customize it to your taste. Add your own twist. Share it with others. They will love it too. Post your results online. Tag me. I want to see them. Leave a comment below. Tell me how it went. Did you like it? Did your family like it? I love hearing from you. It keeps me going. Cooking is better together. Connect with me. Join the community. Share recipes. Share tips. We learn from each other. This recipe is a start. It is not the end. Keep exploring. Keep cooking. Keep eating well. You can do it. I believe in you. Let’s make dinner great. Together. Thank you for reading. Enjoy your meal. Bon appétit. Let’s eat.
Frequently Asked Questions
Can I use chicken thighs instead of breasts?
Yes, you can use boneless, skinless chicken thighs. They have more fat and are juicier. The cooking time might be slightly longer. Check the temperature to ensure they are done. They work well with this glaze.
How do I prevent the honey from burning?
Honey can burn at high heat. Keep an eye on the chicken. If the edges get dark, cover the pan with foil. You can also lower the oven temperature slightly. But 400 degrees is usually fine if you watch it.
Can I make this in the slow cooker?
You can, but the texture will be different. The chicken will be softer. It will not have the caramelized glaze. If you want that, broil it for a few minutes at the end. But baking is better for this recipe.
Is this recipe gluten-free?
Not by default, because of the soy sauce. But you can make it gluten-free by using tamari. Tamari is a gluten-free soy sauce. It tastes the same. Just check the label to be sure.
How long does this chicken last in the fridge?
It lasts for about three to four days. Store it in an airtight container. Reheat it gently. Do not overheat it. It stays moist if you add a little water when reheating.
Pin This Recipe!
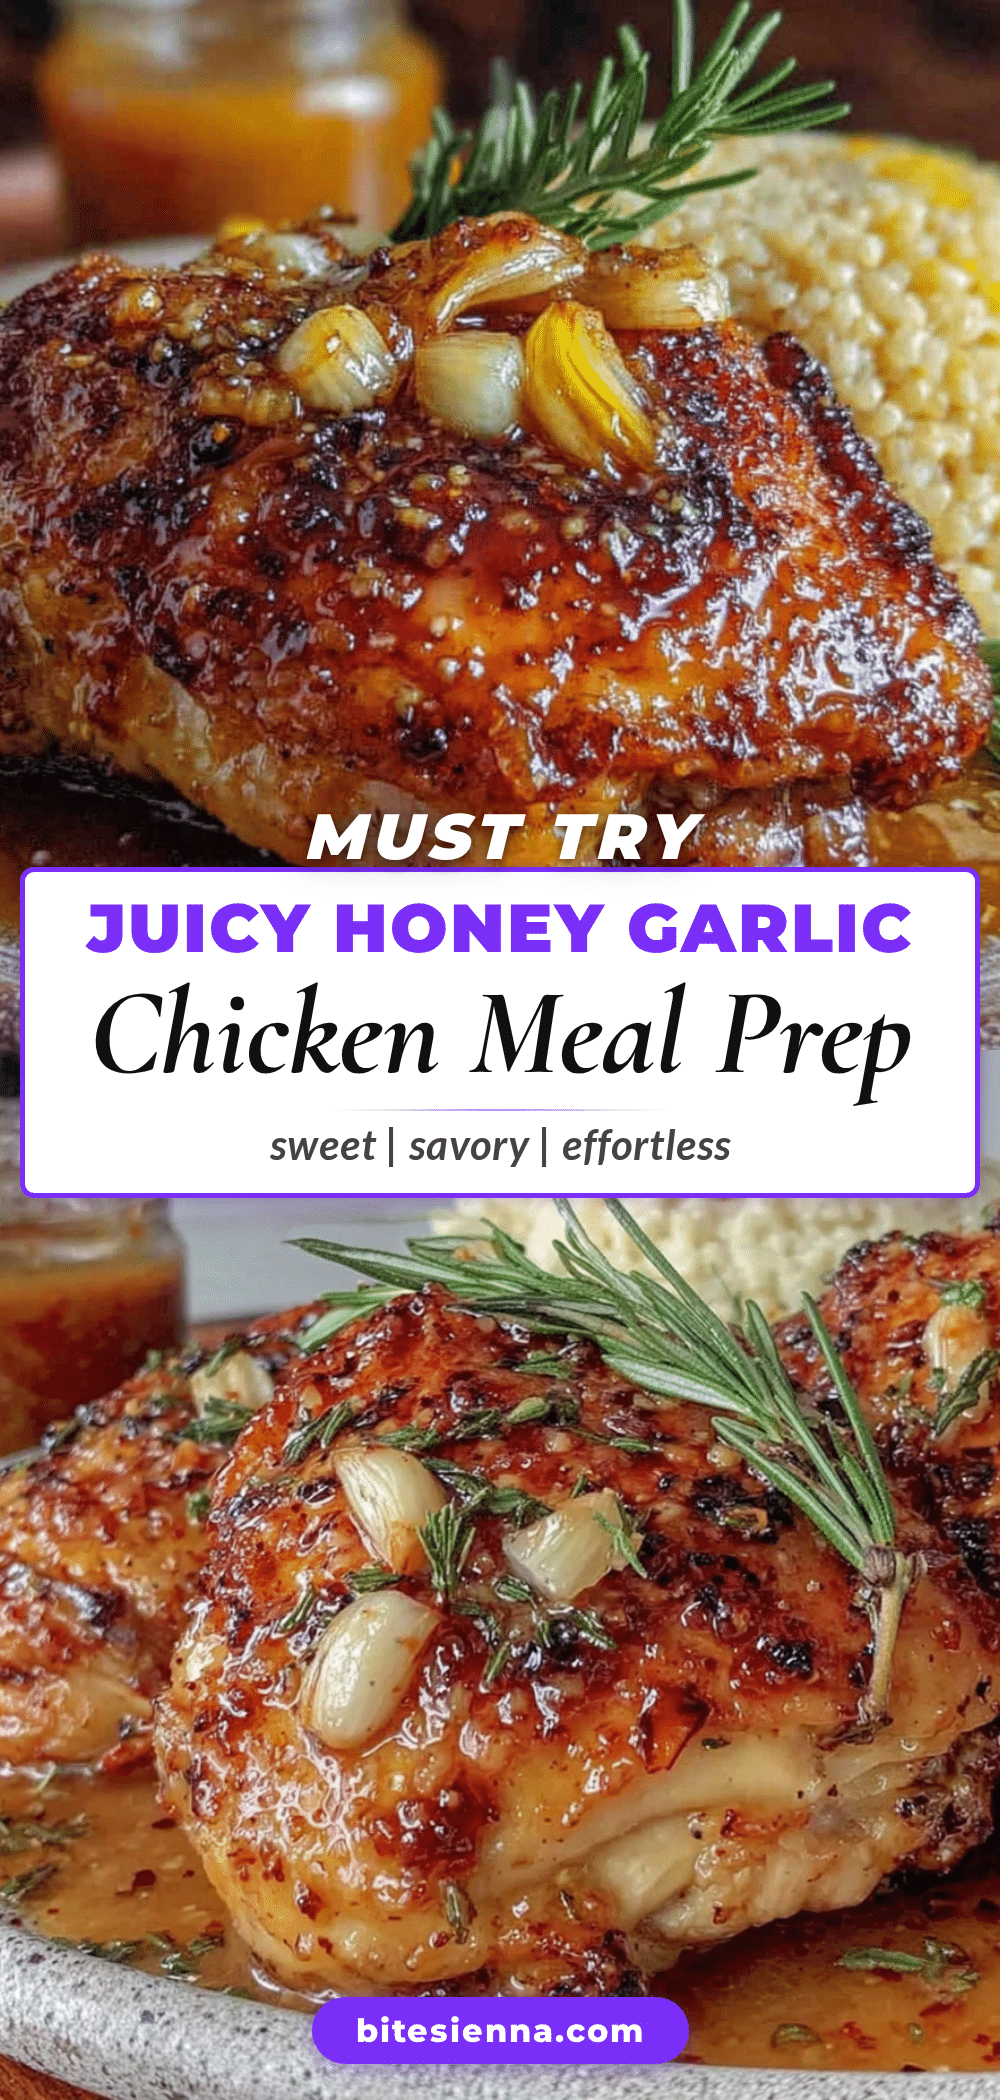
Juicy Honey Garlic Baked Chicken Breast: Easy & Perfect
A simple, quick, and flavorful baked chicken breast recipe featuring a sticky honey garlic glaze that keeps the meat juicy and tender without requiring marination time.
- Prep Time: 5 minutes
- Cook Time: 25 minutes
- Total Time: 30 minutes
- Yield: 4 servings 1x
- Category: Main Course
- Cuisine: Asian Fusion
Ingredients
- 4 boneless, skinless chicken breasts
- 1/2 cup honey
- 1/2 cup low-sodium soy sauce
- 4 cloves fresh garlic, minced
- 1 tablespoon apple cider vinegar
- 2 tablespoons unsalted butter
- 1/2 teaspoon red pepper flakes
- 1 teaspoon freshly cracked black pepper
- 1 teaspoon salt
- Optional: Chopped green onions or sesame seeds for garnish
Instructions
- Preheat oven to 400°F (200°C).
- Pat chicken breasts dry with paper towels and place on a parchment-lined rimmed baking sheet.
- Season both sides of the chicken with salt and black pepper.
- In a small bowl, whisk together honey, soy sauce, minced garlic, apple cider vinegar, and red pepper flakes.
- Melt the butter and pour it over the chicken breasts, coating them evenly.
- Pour half of the honey garlic sauce over the chicken and brush to coat evenly.
- Bake for 15 minutes without opening the oven door.
- Remove from oven and brush the remaining sauce over the chicken.
- Return to oven and bake for another 10-12 minutes, or until internal temperature reaches 165°F.
- Remove from oven and let rest for 5 minutes before slicing.
- Slice against the grain, pour any remaining pan juices over the top, and garnish with green onions or sesame seeds if desired.
Notes
Patting the chicken dry is crucial for the glaze to stick and brown properly. Use a meat thermometer to ensure the chicken reaches 165°F without overcooking. Letting the chicken rest for 5 minutes allows juices to redistribute. If the edges of the glaze get too dark, cover the pan with foil.
Nutrition
- Serving Size: 1 chicken breast wit
- Calories: 380
- Sugar: 34
- Sodium: 900
- Fat: 12
- Saturated Fat: 5
- Carbohydrates: 35
- Protein: 35
Keywords: honey garlic chicken, baked chicken breast, easy dinner, weeknight meals, healthy chicken recipe, gluten-free option, meal prep


