It wasn’t just about the ingredients; it was about the technique. That café used a specific ratio of rolled oats to pumpkin puree that created a structural integrity you don’t often find in healthy baked goods. I mean, let’s face it, most oatmeal bars are either too crumbly or too gummy. I wanted something that could be packed in a lunchbox, eaten cold from the fridge, or warmed up for a quick breakfast without falling apart. Honestly, it took me about six weeks of weekend baking sessions to nail down the exact method.
I remember the first time I tasted the final version. It had that distinct earthiness from the pumpkin but a lightness from the oats that made it feel guilt-free. You know that feeling when you finally solve a puzzle that’s been bothering you for weeks? That was me, standing in my kitchen with a forkful of bar, closing my eyes and just smiling. Maybe you’ve been there too, chasing a memory of a flavor that you can’t quite place. This recipe is my tribute to that lost café. It’s simple, it’s wholesome, and it tastes like autumn in a single square.
Why You’ll Love This Recipe
This isn’t just another pumpkin recipe. It’s the result of serious trial and error, refined until it became my go-to for meal prep and healthy snacking. I’ve tested this with different types of oats, various sweeteners, and even alternative flours to make sure it works for everyone. Here is why these bars deserve a spot in your regular rotation:
- Quick & Easy: You can have these in the oven in under 15 minutes of prep time. No fancy techniques or hard-to-find tools are required. It’s perfect for busy weeknights or when you need a last-minute treat for guests.
- Simple Ingredients: You likely already have most of these items in your pantry. We are talking about basic staples like rolled oats, pumpkin puree, eggs, and spices. No need for a specialty grocery store run.
- Perfect for Meal Prep: These bars hold up incredibly well in the fridge for up to five days. They are portable, non-messy, and satisfying enough to keep you full until lunch.
- Crowd-Pleaser: Even my pickiest eaters love these. The natural sweetness from the pumpkin and maple syrup means they satisfy a craving without the sugar crash.
- Unbelievably Delicious: The texture is the star here. It’s chewy, moist, and packed with the warm flavors of cinnamon and nutmeg. It feels like dessert but acts like a nutritious breakfast.
What makes this recipe different is the use of whole rolled oats instead of instant oats or flour. This gives it a hearty, substantial bite that feels more like a granola bar than a cake. I also skip the refined sugar entirely, relying on the natural fructose in the pumpkin and the richness of maple syrup. It’s comfort food reimagined — healthier, faster, but with the same soul-soothing satisfaction. Whether you are looking for a gluten-free option or just want to reduce your sugar intake, these bars hit the sweet spot.
What Ingredients You Will Need
This recipe uses simple, wholesome ingredients to deliver bold flavor and satisfying texture without the fuss. The key is quality. Since there are so few ingredients, each one plays a critical role in the final taste and texture. I recommend using organic pumpkin puree if you can find it, as the flavor is often more intense and less watery than store brands.
- Old-Fashioned Rolled Oats (2 cups / 180g): These are the foundation. Do not use instant oats or steel-cut oats. Rolled oats provide the necessary chew and structure. Look for certified gluten-free oats if you have sensitivities.
- Pumpkin Puree (1 cup / 245g): Make sure you use 100% pure pumpkin puree, not pumpkin pie filling. The filling has added sugar and spices that will throw off the balance. I prefer Libby’s or a local brand that uses fresh squash.
- Maple Syrup (1/2 cup / 120ml): Use real, pure maple syrup. Avoid pancake syrups which are mostly corn syrup. The grade doesn’t matter too much, but Grade A Dark Robust will give a deeper flavor.
- Coconut Oil (1/4 cup / 55g): Melted coconut oil adds moisture and richness. It keeps the bars soft and chewy. You can substitute with melted butter if you don’t mind dairy, but coconut oil gives a nice subtle sweetness.
- Eggs (2 large): Room temperature eggs work best for binding. They help hold all the dry ingredients together so the bars don’t crumble when you cut them.
- Vanilla Extract (1 teaspoon): A good quality vanilla extract enhances the warmth of the spices. Don’t skip this; it adds depth.
- Ground Cinnamon (1.5 teaspoons): The primary spice. Use fresh cinnamon for the best aroma.
- Ground Ginger (1/2 teaspoon): Adds a bit of zing and warmth.
- Nutmeg (1/4 teaspoon): Just a pinch goes a long way. Freshly grated is best, but pre-ground works fine.
- Baking Powder (1 teaspoon): Helps the bars rise slightly so they aren’t too dense.
- Salt (1/2 teaspoon): Essential for balancing the sweetness. Never underestimate the power of salt in baked goods.
For substitutions, you can use almond flour or oat flour if you want a slightly finer texture, but the rolled oats are what give these bars their signature chew. If you need a vegan option, you can use flax eggs (1 tablespoon ground flaxseed mixed with 3 tablespoons water per egg) instead of regular eggs, though the texture will be slightly denser.
Equipment Needed
You don’t need a lot of fancy gear for this recipe. A standard 8×8 inch baking pan is perfect. If you only have a 9×9 pan, the bars will be thinner and cook faster, so keep an eye on them. I recommend lining the pan with parchment paper, leaving an overhang on the sides. This makes it super easy to lift the entire block of bars out of the pan once they cool, so you can cut them cleanly without sticking.
A large mixing bowl is all you need for combining the ingredients. A whisk works well for the wet ingredients, while a fork or spatula is fine for folding in the oats. I also suggest having a measuring cup and spoon set handy for accuracy. If you don’t have a baking pan, you can use a cake pan, but the cooking time might vary slightly. Keep your tools simple and clean for the best results.
Preparation Method
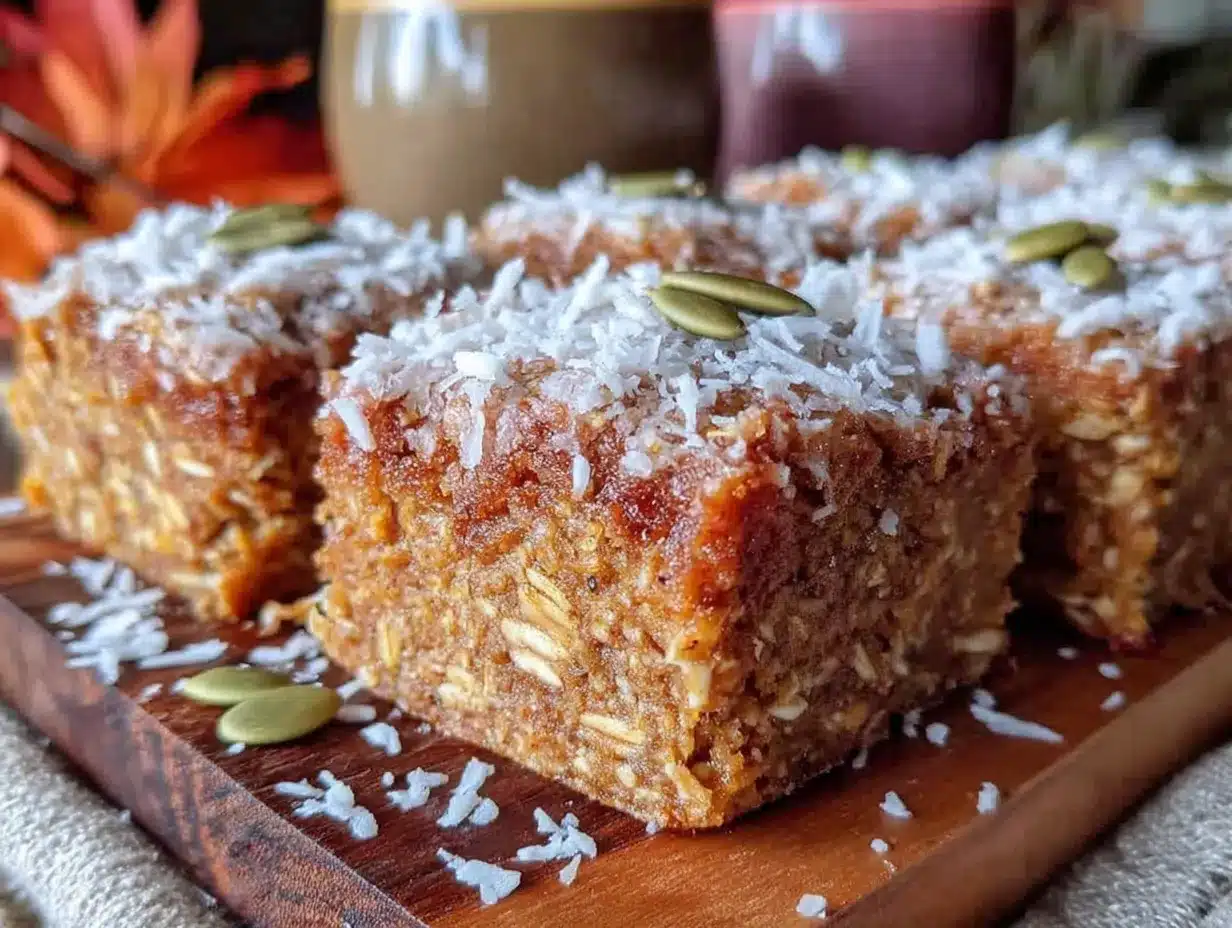
Getting these bars right is easier than you think. Here is the step-by-step process to ensure perfect results every time.
- Preheat and Prep (2 minutes): Start by preheating your oven to 350°F (175°C). Line your 8×8 inch baking pan with parchment paper. This is crucial for easy removal. Grease the parchment lightly with a little coconut oil if you want extra insurance against sticking.
- Mix Wet Ingredients (3 minutes): In a large mixing bowl, combine the melted coconut oil, maple syrup, pumpkin puree, eggs, and vanilla extract. Whisk them together vigorously until the mixture is smooth and uniform. It should look like a thick, orange batter. Make sure the eggs are fully incorporated so you don’t get chunks of egg in the final bars.
- Add Dry Ingredients (2 minutes): To the wet mixture, add the rolled oats, baking powder, cinnamon, ginger, nutmeg, and salt. Stir everything together with a sturdy spatula. You want to make sure every single oat is coated in the pumpkin mixture. If you see dry spots of oats, keep mixing. This step usually takes about two minutes of steady stirring.
- Press into Pan (2 minutes): Pour the mixture into your prepared baking pan. Use the back of a spoon or your hands (if you don’t mind getting messy) to press the mixture down firmly. This is the secret to chewy bars. If you leave it fluffy, it will be cakey. Press it down until it is an even, compact layer.
- Bake (25-30 minutes): Place the pan in the center of the oven. Bake for 25 to 30 minutes. You will know they are done when the edges are golden brown and a toothpick inserted into the center comes out clean or with just a few moist crumbs. Do not overbake, or they will become dry. The center might still look slightly soft, but it will firm up as it cools.
- Cool Completely (1 hour): This is the hardest part. Let the bars cool in the pan on a wire rack for at least 45 minutes to an hour. If you try to cut them while they are hot, they will fall apart. Patience pays off here. Once completely cool, lift them out of the pan using the parchment overhang and cut into squares.
Cooking Tips & Techniques
There are a few small tricks that can make a big difference in your final product. First, don’t skip the cooling time. I know it’s tempting to dig in right away, but the bars need time to set. The oats absorb the moisture from the pumpkin and syrup as they cool, which creates that chewy texture. If you cut them hot, they will be mushy.
Another tip is to press the mixture firmly into the pan. I’ve made the mistake of just spreading it out evenly in the past, and the resulting bars were too crumbly. Pressing them down creates density and helps them hold together. Also, make sure your oven is properly preheated. If the oven is too cool, the bars will spread too much and become greasy. If it’s too hot, the edges will burn before the center is cooked.
I also recommend using a sharp knife for cutting. A dull knife will squish the bars and make messy edges. You can also dip the knife in hot water between cuts for cleaner lines. Finally, store the bars in an airtight container. They stay fresh for up to five days in the fridge, but they are best eaten within the first three days when the texture is at its peak.
Variations & Adaptations
One of the best things about this recipe is how versatile it is. You can easily tweak it to suit your dietary needs or taste preferences. Here are a few variations I love:
- Choco-Pumpkin Bars: Add 1/2 cup of dark chocolate chips or dairy-free chocolate chunks to the batter before baking. The bitterness of the dark chocolate pairs perfectly with the sweet pumpkin.
- Spiced Pecan Bars: Sprinkle 1/2 cup of toasted pecans over the top before baking. This adds a nice crunch and nutty flavor. Toasting the nuts first brings out their natural oils and makes them more flavorful.
- Seed-Loaded Bars: For an extra nutrient boost, add 2 tablespoons of chia seeds, flaxseeds, and pumpkin seeds to the dry ingredients. This adds fiber and healthy fats.
- Low-Sugar Option: If you are watching your sugar intake, you can reduce the maple syrup to 1/4 cup and add a pinch of stevia or monk fruit sweetener. The pumpkin still provides enough natural sweetness for most people.
I personally love adding a swirl of cream cheese frosting on top, but it’s not necessary. The bars are delicious on their own. You can also swap the cinnamon for a pumpkin pie spice blend if you want a quicker spice option. Just make sure to adjust the quantity to taste.
Serving & Storage Suggestions
These bars are perfect for a variety of occasions. They make a great breakfast on the go, a mid-afternoon snack, or a healthy dessert. Serve them with a cup of hot coffee or tea for a cozy autumn experience. They also travel well, making them ideal for work lunches or school snacks.
For storage, keep the bars in an airtight container in the refrigerator. They will stay fresh for up to five days. If you want to keep them longer, you can freeze them. Place the bars in a single layer on a baking sheet and freeze until solid, then transfer them to a freezer-safe bag. They can be frozen for up to three months. To thaw, simply leave them on the counter for an hour or microwave them for 30 seconds.
When reheating, I recommend warming them in the oven at 350°F for 5-10 minutes. This restores the chewy texture. Avoid the microwave if you can, as it can make the oats tough. The flavors actually develop and meld together over the first day, so they often taste even better the next day.
Nutritional Information & Benefits
These bars are not only delicious but also packed with nutritious ingredients. Pumpkin is rich in vitamins A and C, as well as potassium. Oats are a great source of fiber, which helps with digestion and keeps you feeling full. Maple syrup provides minerals like zinc and manganese, though it is still a sugar, so it should be consumed in moderation.
Each bar contains approximately 120-140 calories, depending on the size. They are naturally gluten-free if you use certified gluten-free oats, making them a great option for those with celiac disease or gluten sensitivity. They are also free from refined sugars and artificial ingredients. This recipe is a great way to incorporate more whole grains and vegetables into your diet without compromising on taste.
From a wellness perspective, I love that these bars provide sustained energy. The complex carbohydrates in the oats release energy slowly, preventing the blood sugar spikes associated with sugary snacks. They are a perfect example of how healthy eating can be satisfying and enjoyable.
Conclusion
I hope you give these Healthy Baked Pumpkin Oatmeal Bars a try. They are a wonderful blend of comfort and nutrition, perfect for anyone looking to eat healthier without giving up flavor. I remember how much I missed those café bars, and creating this recipe was a journey of rediscovery. Now, every time I make them, I feel connected to that memory, but with the added bonus of knowing exactly what is in them.
Please feel free to customize the recipe to suit your tastes. Add nuts, seeds, or chocolate chips if you want. I’d love to hear how you enjoy them. Leave a comment below and let me know what variations you try. Share your photos on social media and tag me so I can see your creations. Happy baking, and enjoy every bite!
Frequently Asked Questions
Can I use instant oats instead of rolled oats?
It is not recommended. Instant oats are thinner and will absorb liquid differently, resulting in a mushy texture. Rolled oats provide the necessary chew and structure for these bars.
Are these bars gluten-free?
Yes, as long as you use certified gluten-free rolled oats. Oats are naturally gluten-free, but they are often processed in facilities that handle wheat, so certification is important for those with celiac disease.
Can I freeze these bars?
Absolutely. They freeze very well. Store them in an airtight container or freezer bag for up to three months. Thaw at room temperature or warm in the oven before eating.
How do I store the bars?
Store them in an airtight container in the refrigerator for up to five days. You can also keep them at room temperature for up to two days, but refrigeration helps maintain their freshness and texture.
Can I use pumpkin pie filling instead of pure pumpkin puree?
No. Pumpkin pie filling contains added sugar and spices that will alter the taste and sweetness of the bars. Always use 100% pure pumpkin puree for the best results.
Pin This Recipe!
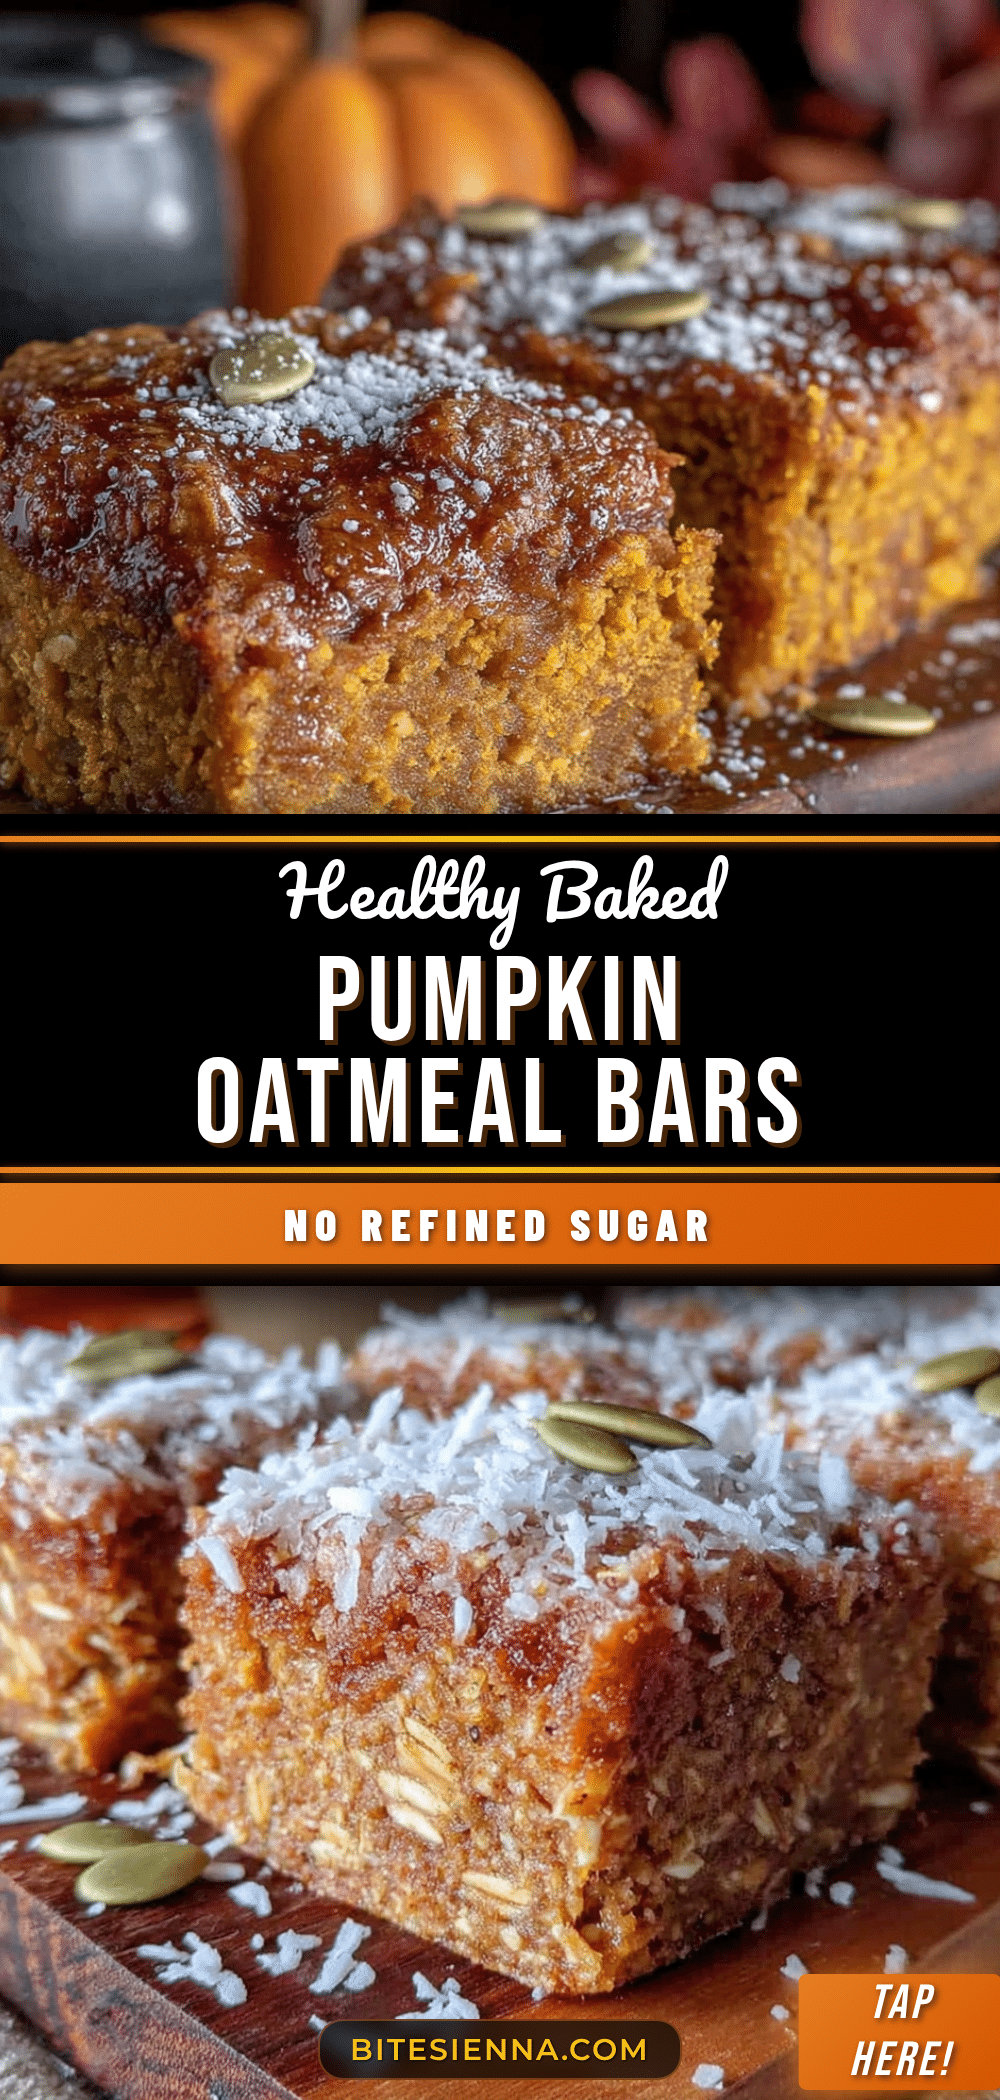
Healthy Baked Pumpkin Oatmeal Bars: Easy Gluten Free Recipe
Chewy, moist, and wholesome baked oatmeal bars made with pumpkin puree and rolled oats. These bars are naturally gluten-free, free from refined sugars, and perfect for meal prep or a healthy breakfast on the go.
- Prep Time: 15 minutes
- Cook Time: 30 minutes
- Total Time: 45 minutes
- Yield: 12 servings 1x
- Category: Breakfast
- Cuisine: American
Ingredients
- 2 cups (180g) Old-Fashioned Rolled Oats
- 1 cup (245g) 100% Pure Pumpkin Puree
- 1/2 cup (120ml) Pure Maple Syrup
- 1/4 cup (55g) Coconut Oil, melted
- 2 large Eggs, room temperature
- 1 teaspoon Vanilla Extract
- 1.5 teaspoons Ground Cinnamon
- 1/2 teaspoon Ground Ginger
- 1/4 teaspoon Nutmeg
- 1 teaspoon Baking Powder
- 1/2 teaspoon Salt
Instructions
- Preheat oven to 350°F (175°C). Line an 8×8 inch baking pan with parchment paper, leaving an overhang on the sides for easy removal.
- In a large mixing bowl, whisk together the melted coconut oil, maple syrup, pumpkin puree, eggs, and vanilla extract until smooth and uniform.
- Add the rolled oats, baking powder, cinnamon, ginger, nutmeg, and salt to the wet mixture. Stir with a sturdy spatula until every oat is coated.
- Pour the mixture into the prepared pan. Press down firmly and evenly with the back of a spoon or your hands to create a compact layer.
- Bake for 25-30 minutes, or until the edges are golden brown and a toothpick inserted into the center comes out clean or with moist crumbs.
- Let the bars cool completely in the pan on a wire rack for at least 45 minutes to 1 hour. This step is crucial for the bars to set and become chewy.
- Lift the bars out of the pan using the parchment paper and cut into squares.
Notes
Do not use instant oats or steel-cut oats; rolled oats are required for the correct texture. Ensure you use 100% pure pumpkin puree, not pumpkin pie filling. Pressing the mixture firmly into the pan is essential for chewy bars rather than cakey ones. Allow bars to cool completely before cutting to prevent crumbling. Store in an airtight container in the fridge for up to 5 days or freeze for up to 3 months.
Nutrition
- Serving Size: 1 bar
- Calories: 130
- Sugar: 10
- Sodium: 150
- Fat: 5
- Saturated Fat: 4
- Carbohydrates: 20
- Fiber: 2
- Protein: 3
Keywords: pumpkin oatmeal bars, gluten free baking, healthy breakfast, meal prep, pumpkin recipe, oatmeal bars, vegan option, refined sugar free


