My husband had claimed to hate chicken breast for fifteen years. He said it was the culinary equivalent of chewing on a dry sponge, especially when it came to slow-cooked meals. Then last Tuesday, I made this version just for myself, expecting to eat it alone while he tackled his usual steak night. I found him standing by the crockpot lid, steam fogging his glasses, asking if there was enough sauce for seconds.
I’m not supposed to play favorites with recipes, but let me tell you, this one changed our dinner rotation completely. The power went out halfway through prep, so I was cooking by candlelight, which added a weird rustic charm to the whole experience. I forgot to chop the garlic initially and had to scramble while the onions were already sweating in the pan. Honestly, it taught me that perfect timing isn’t as important as using the right technique.
You know that feeling when you’re worried your meal will be a disaster before it even starts? That was me. I’ve burned so many chicken breasts in the past that I stopped trusting them entirely. But this juicy never-dry crockpot chicken breast changed everything. It wasn’t just good; it was tender, flavorful, and actually moist.
I keep making it because it solves the biggest problem in weeknight cooking. You come home tired, and you don’t want to babysit a stove. This dish does the work for you. It’s reliable, it’s forgiving, and it tastes like you spent hours on it. My husband still pretends he didn’t love it, but he asks for it every week. That’s my victory.
Why You’ll Love This Recipe
Let’s be real for a second. Chicken breast is the most misunderstood protein in the fridge. People think it’s inherently dry, but that’s usually because they’ve been overcooking it or using the wrong method. This recipe is different because it uses a gentle, moist-heat environment that keeps the fibers from tightening up. I’ve tested this method with cheap store brands and expensive organic cuts, and the result is consistently juicy every single time.
Here is why this method stands out from the crowd:
- Quick & Easy: You spend about ten minutes prepping, and then the crockpot does the heavy lifting. It’s perfect for busy weeknights when you’re running late from work or dealing with kids’ schedules.
- Simple Ingredients: No fancy grocery trips needed. You likely already have chicken broth, onion, and spices in your kitchen. It relies on pantry staples to create restaurant-quality flavor.
- Perfect for Meal Prep: This recipe yields enough for several meals. It’s great for lunches, salads, or freezing for later. I often make a double batch on Sunday to save time during the week.
- Crowd-Pleaser: It gets rave reviews from kids and adults alike. The mild, savory flavor profile works for everyone, even the picky eaters at the table.
- Unbelievably Tender: The texture is next-level comfort food. It shreds easily or slices beautifully without falling apart into mush.
What makes this recipe special isn’t just the convenience. It’s the balance of flavors. I use a specific blend of herbs and a bit of acid to cut through the richness. Whether it is the slow breakdown of collagen or the perfectly balanced seasoning profile, this isn’t just another version. It’s my best version. It’s the kind of meal that makes you close your eyes after the first bite and just relax. It’s comfort food reimagined—simpler, faster, but with the same soul-soothing satisfaction. It’s perfect for impressing guests without stress, or turning a simple meal into something memorable.
What Ingredients You Will Need
This recipe uses simple, wholesome ingredients to deliver bold flavor and satisfying texture without the fuss. The magic happens because of how these ingredients interact in the slow cooker. The liquid creates steam, the fats keep the meat moist, and the aromatics build a deep, savory base. You can swap some of these out based on what you have, but sticking to the core components ensures success.
Here is what you need to gather:
- Chicken Breasts: Use four to six boneless, skinless chicken breasts. Look for pieces that are roughly the same size so they cook evenly. If you buy large ones, pound them slightly to even them out. I prefer organic if possible, but conventional works fine.
- Chicken Broth: One cup of low-sodium chicken broth. This provides the cooking liquid. Low sodium is better so you can control the saltiness. You can substitute vegetable broth if you need a lighter option.
- Onion: One medium yellow onion, sliced into thin strips. Onion adds sweetness and depth to the sauce. It breaks down as it cooks, thickening the liquid slightly.
- Garlic: Three cloves of fresh garlic, minced. Fresh garlic is much better than the jarred stuff for this dish. It adds a pungent aroma that fills the kitchen.
- Butter: Two tablespoons of unsalted butter, melted. The butter adds richness and helps carry the flavors. It also contributes to that luxurious mouthfeel.
- Dried Italian Seasoning: One tablespoon of dried Italian seasoning. This blend usually contains basil, oregano, and thyme. It gives the chicken a classic, aromatic profile.
- Garlic Powder: One teaspoon of garlic powder. This adds a concentrated garlic flavor that complements the fresh cloves.
- Salt and Black Pepper: One teaspoon of kosher salt and one teaspoon of freshly ground black pepper. Season the chicken generously before cooking. Salt helps draw out moisture initially but then reabsorbs it, keeping the meat juicy.
- Optional Thickener: One tablespoon of cornstarch mixed with two tablespoons of cold water. Use this only if you want a thicker gravy-like sauce. It’s not necessary for the chicken itself.
I recommend using a good quality broth like Swanson or Kitchen Basic for the best base flavor. If you are watching your sodium intake, make sure to check the label on your broth. For the spices, I buy mine from a bulk bin to save money and ensure freshness. The herbs lose potency over time, so if yours look dusty, it’s time to replace them.
Equipment Needed
You don’t need much to make this recipe, which is part of the appeal. Here is what you’ll need to get started:
- Slow Cooker (Crockpot): A 4-quart or 6-quart slow cooker is ideal. I use a ceramic insert because it heats evenly. If you have a newer model with a glass lid, be careful not to let it hit the hot stove surface, or it might shatter. I always use a trivet or towel under the lid when it’s hot.
- Knife and Cutting Board: You’ll need a sharp chef’s knife to slice the onion and mince the garlic. A sturdy cutting board is essential for safety. I prefer wood because it’s gentler on my knife edges.
- Mixing Bowl: A small bowl to mix the melted butter with the spices. Any small mixing bowl will do. I usually use the same bowl I used to measure the spices to save on dishes.
- Measuring Spoons and Cups: Standard measuring tools for the broth and spices. Accuracy helps, but a little variance won’t ruin the dish.
- Whisk or Fork: To mix the butter and spices together. A small whisk works well, but a fork is fine too.
If you don’t have a slow cooker, you can use an Instant Pot, but the cooking time will be much shorter. You can also use a Dutch oven on the stovetop, but you’ll need to check it more often. For budget-friendly options, a basic 4-quart slow cooker from a discount store works perfectly. Just make sure it’s in good working order. If your lid doesn’t seal well, moisture will escape, and your chicken might dry out.
Preparation Method
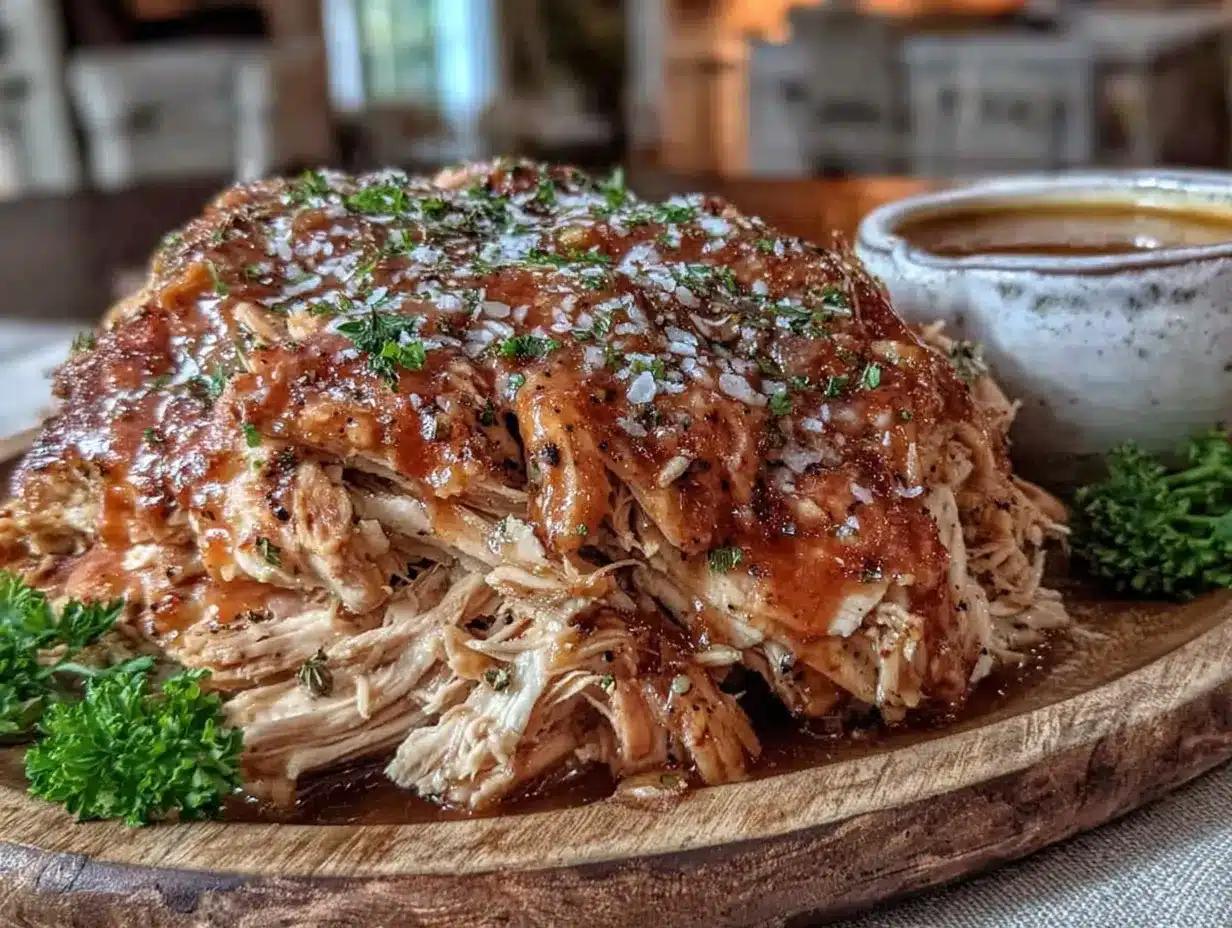
Getting this juicy never-dry crockpot chicken breast ready is straightforward. Follow these steps carefully to ensure the best results.
- Prep the Chicken: Start by patting the chicken breasts dry with paper towels. This helps the seasoning stick better. If the chicken is wet, the spices will slide off. Trim any excess fat or silver skin if you see it. Place the chicken breasts in a single layer in your slow cooker. If they are very large, you might need to overlap them slightly, but try to keep them as flat as possible. (Time: 5 minutes)
- Prepare the Aromatics: Slice the onion into thin half-rings. Mince the garlic cloves finely. Place the sliced onion at the bottom of the slow cooker. The onion acts as a rack for the chicken, preventing it from sticking to the bottom. Sprinkle the minced garlic over the onions. (Time: 5 minutes)
- Mix the Seasoning Blend: In a small mixing bowl, combine the melted butter, dried Italian seasoning, garlic powder, salt, and black pepper. Whisk or stir them together until well combined. The mixture should look like wet sand. This ensures every bite of chicken gets seasoned. (Time: 2 minutes)
- Coat the Chicken: Pour the butter-spice mixture over the chicken breasts. Use a spoon or your hands to rub the mixture evenly over the top and sides of the chicken. You want to coat them thoroughly. Don’t worry if some of the mixture drips to the bottom; that’s part of the sauce. (Time: 3 minutes)
- Add the Liquid: Pour the one cup of chicken broth over everything. It will pool at the bottom. This liquid creates steam during cooking, which keeps the chicken moist. Make sure the lid is on tightly. (Time: 1 minute)
- Cook on Low: Place the lid on the slow cooker. Cook on the LOW setting for 6 to 7 hours. Do not cook on HIGH unless you are in a huge rush, as high heat can toughen the protein. The chicken is done when it reaches an internal temperature of 165°F (74°C) and shreds easily with a fork. (Time: 6-7 hours)
- Check and Rest: Once cooked, turn off the slow cooker. Let the chicken rest in the pot for 10 minutes before removing it. This allows the juices to redistribute. If you cut it immediately, the juices will run out, and it might seem drier. (Time: 10 minutes)
- Optional Thickening: If you prefer a thicker sauce, remove the chicken and set it aside. Mix the cornstarch and cold water in a small cup until smooth. Stir this slurry into the hot liquid in the slow cooker. Turn the heat to HIGH and cook for 15 more minutes until the sauce thickens. (Time: 15 minutes)
Personal tip: If you are using a newer slow cooker that runs hot, check the chicken at the 5-hour mark. Older models might need the full 7 hours. The key is to not open the lid too often, as you lose heat and steam.
Cooking Tips & Techniques
There are a few professional tricks that make this recipe fail-proof. I’ve learned these through trial and error, including one memorable disaster where I left the chicken in for 10 hours and it turned into chicken nugget crumbs.
- Don’t Overcrowd: While you can stack chicken, it’s better to keep it in a single layer if possible. If you must stack them, rotate the top layer halfway through cooking. This ensures even heat distribution.
- Use a Meat Thermometer: This is the most important tool. Visual cues can be misleading. Insert the thermometer into the thickest part of the chicken. Once it hits 165°F, it’s done. Pulling it out at 160°F is also safe, as the residual heat will finish the cooking.
- Room Temperature Ingredients: If you have time, let the chicken sit out for 20 minutes before cooking. Cold chicken going into a hot pot can sometimes cook unevenly. It’s a small step that makes a difference.
- Patience with the Lid: Every time you lift the lid, you lose about 15-20 minutes of cooking time. Trust the process. Set a timer and don’t peek. The steam is doing the work.
- Shred vs. Slice: If you want to shred the chicken, let it rest for 15 minutes. Two forks make short work of it. If you want to slice it for a salad, let it rest for 10 minutes and slice against the grain. This cuts the muscle fibers for a more tender bite.
Timing is everything. If you are using the high setting, cut the time in half to 3-4 hours. But honestly, low and slow is the secret to juicy meat. It breaks down the connective tissues without squeezing out the moisture.
Variations & Adaptations
This recipe is a blank canvas. You can tweak it to fit your dietary needs or taste preferences. Here are a few variations I’ve tried:
- Spicy Kick: Add one teaspoon of red pepper flakes or a diced jalapeño to the bottom layer. This adds a nice heat that cuts through the richness of the butter.
- Herb Garden: Swap the Italian seasoning for a mix of fresh rosemary and thyme. This gives a more earthy, savory flavor. It pairs well with roasted vegetables.
- Gluten-Free: This recipe is naturally gluten-free. Just make sure your broth and seasonings are certified gluten-free. Some spice blends have anti-caking agents with wheat, so check the label.
- Dairy-Free: Swap the butter for olive oil. It adds a fruity note and keeps the dish dairy-free. The texture will be slightly lighter, but still moist.
- Veggie Boost: Add sliced carrots or bell peppers to the bottom with the onions. They cook down and add sweetness and color to the dish. It’s a great way to sneak in more vegetables.
I once made this with coconut milk instead of broth for a curry twist. It was surprisingly delicious and added a creamy richness. Feel free to experiment with flavors you enjoy.
Serving & Storage Suggestions
This juicy never-dry crockpot chicken breast is versatile. Serve it over mashed potatoes, rice, or quinoa to soak up the sauce. It’s also great in wraps, salads, or tacos.
- Serving Temperature: Serve it hot, straight from the slow cooker. The warmth enhances the aromas of the herbs.
- Pairings: It pairs well with steamed broccoli, roasted asparagus, or a simple green salad. A glass of white wine or sparkling water with lemon complements the flavors well.
- Storage: Store leftovers in an airtight container in the refrigerator for up to 4 days. The chicken stays moist for several days if kept in the sauce.
- Freezing: You can freeze the chicken and sauce for up to 3 months. Thaw it in the refrigerator overnight before reheating. It freezes well because the slow cooking process preserves the texture.
- Reheating: Reheat gently on the stovetop or in the microwave. Add a splash of broth if it seems dry. Avoid high heat, which can toughen the meat.
The flavors actually improve the next day as the chicken absorbs more of the sauce. It’s even better as leftovers.
Nutritional Information & Benefits
This recipe is a lean protein powerhouse. Chicken breast is low in fat and high in protein, making it great for muscle repair and satiety. The broth adds minimal calories but boosts flavor.
- Protein: Each serving contains about 30-35 grams of protein, depending on the size of the breast.
- Fat: The fat content is moderate, coming mainly from the butter. You can reduce this by using less butter or olive oil.
- Carbs: This dish is low-carb, with only a few grams from the onions and broth.
- Allergens: This recipe is free from common allergens like nuts, soy, and dairy (if using olive oil). Always check your specific ingredient labels.
From a wellness perspective, this meal is balanced and nourishing. It provides sustained energy without the crash of heavy carbs. I love it because it’s healthy but doesn’t feel like diet food. It’s just good, honest food.
Conclusion
This juicy never-dry crockpot chicken breast is a game-changer for weeknight dinners. It’s easy, reliable, and delicious. I encourage you to try it and customize it to your liking. Maybe add some extra herbs or swap the spices.
I love this recipe because it takes the stress out of cooking. You can set it and forget it, knowing you’ll come home to a delicious meal. It’s a testament to the power of slow cooking.
Please leave a comment below if you try it. I’d love to hear how it turned out for you. Share your variations and tips with the community. Happy cooking!
FAQs
Can I use frozen chicken breasts?
Yes, you can use frozen chicken breasts. However, you may need to add 30-60 minutes to the cooking time. Make sure the chicken reaches 165°F internally. It’s best to thaw it first for even cooking, but it works in a pinch.
How do I prevent the chicken from drying out?
The key is to not overcook it. Use a meat thermometer to check the temperature. Also, keeping the chicken in the sauce helps retain moisture. Don’t skip the liquid in the pot.
Can I make this in an Instant Pot?
Yes, cook on high pressure for 10-12 minutes, then do a quick release. The texture will be slightly different but still tender. You’ll need to reduce the cooking liquid.
What sauce goes well with this chicken?
The natural juices from the pot make a great sauce. You can also add a splash of cream or a dollop of sour cream for richness. Gravy pairs well too.
How long does it last in the fridge?
It lasts up to 4 days in an airtight container. The flavors meld together, making it even better on day two.
Pin This Recipe!
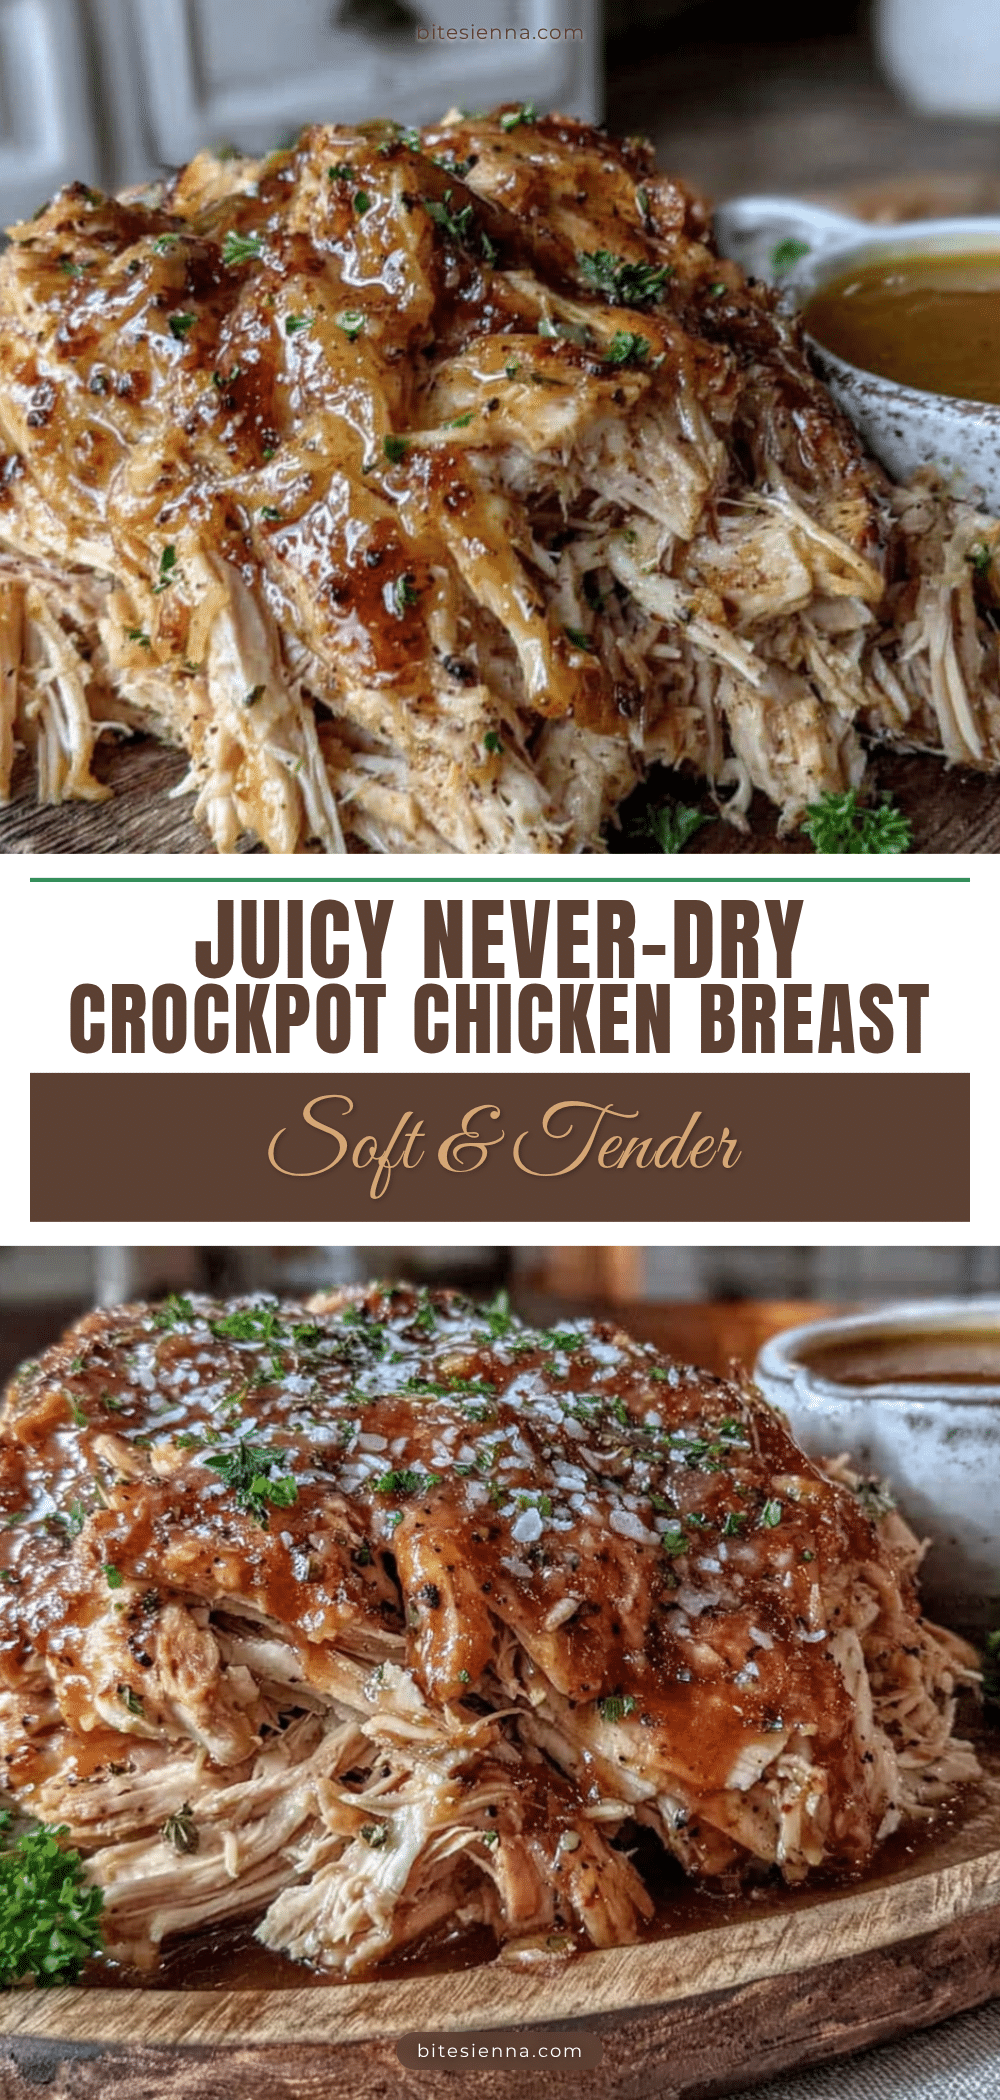
Juicy Never-Dry Crockpot Chicken Breast

A reliable, slow-cooked chicken breast recipe that stays tender and moist using simple pantry staples. Perfect for busy weeknights and meal prep.
- Prep Time: 15 minutes
- Cook Time: 6-7 hours
- Total Time: 6 hours 25 minutes
- Yield: 4 servings 1x
- Category: Main Course
- Cuisine: American
Ingredients
- 4–6 boneless, skinless chicken breasts
- 1 cup low-sodium chicken broth
- 1 medium yellow onion, sliced into thin strips
- 3 cloves fresh garlic, minced
- 2 tablespoons unsalted butter, melted
- 1 tablespoon dried Italian seasoning
- 1 teaspoon garlic powder
- 1 teaspoon kosher salt
- 1 teaspoon freshly ground black pepper
- 1 tablespoon cornstarch mixed with 2 tablespoons cold water (optional, for thickening)
Instructions
- Pat chicken breasts dry with paper towels and place in a single layer in the slow cooker.
- Slice onion into thin half-rings and place at the bottom of the slow cooker. Sprinkle minced garlic over the onions.
- In a small mixing bowl, combine melted butter, dried Italian seasoning, garlic powder, salt, and black pepper. Whisk until well combined.
- Pour the butter-spice mixture over the chicken breasts, rubbing it evenly over the top and sides.
- Pour the chicken broth over everything in the slow cooker.
- Cover and cook on LOW for 6 to 7 hours, until internal temperature reaches 165°F (74°C).
- Turn off the slow cooker and let the chicken rest in the pot for 10 minutes before removing.
- Optional: Remove chicken, mix cornstarch and cold water into the hot liquid, and cook on HIGH for 15 minutes to thicken the sauce.
Notes
Do not cook on HIGH unless in a rush, as high heat can toughen the protein. Use a meat thermometer to ensure chicken reaches 165°F. Letting the chicken rest is crucial to retain juices. For dairy-free, swap butter for olive oil. For gluten-free, ensure broth and spices are certified gluten-free.
Nutrition
- Serving Size: 1 chicken breast wit
- Calories: 350
- Sugar: 2
- Sodium: 600
- Fat: 12
- Saturated Fat: 5
- Carbohydrates: 4
- Fiber: 1
- Protein: 35
Keywords: crockpot chicken, slow cooker chicken breast, juicy chicken, easy dinner, meal prep, gluten-free, dairy-free option


