There used to be a tiny, wood-paneled supper club on the outskirts of town called The Rusty Spoon. It was the kind of place where the napkins were cloth, the wine glasses were mismatched, and the menu was handwritten on a chalkboard that leaned against a stack of old cookbooks. Their signature dish was a garlic butter chicken and rice that was so fragrant, it would hit you the second you walked through the creaky screen door. When The Rusty Spoon closed its doors three summers ago—the owner finally retired to fish in Florida—I felt a real, honest-to-goodness pang of loss. I mean, I actually grieved that chicken.
For the next year, I became a woman obsessed. I tried every variation I could find. I made versions with cream of mushroom soup (a sad, salty mess), versions with pre-packaged seasoning packets (don’t even get me started), and one particularly disastrous attempt where I forgot the rice altogether and just had a pan of sad, buttery chicken. After twelve tries—twelve!—I finally got it. The rice was perfectly fluffy, each grain separate and kissed with garlic. The chicken was golden and tender, falling apart with the nudge of a fork. And the best part? It all happens in one single pan. Honestly, this recipe is more than just dinner; it’s a piece of that little supper club I get to keep.
Why You’ll Love This Recipe
Let me tell you, after testing this recipe more times than I care to admit, I’ve nailed down exactly why this one-pan wonder deserves a permanent spot in your dinner rotation. It’s not just good; it’s the kind of meal that makes you close your eyes after the first bite, a little moment of pure, buttery bliss.
- Quick & Easy: This whole meal comes together in about 40 minutes, from start to finish. It’s perfect for those busy weeknights when you want something that feels special but doesn’t require a sink full of dishes.
- Simple Ingredients: You won’t need a trip to a specialty grocer. Chances are, you already have most of these pantry staples—garlic, butter, rice, chicken thighs—just waiting to be transformed.
- Pure Comfort: This is the definition of a hug in a bowl. It’s warm, savory, and deeply satisfying, especially on a cold evening or after a rough day that just needs fixing.
- Crowd-Pleaser: I’ve served this to my picky-eater nephew and my food-snob neighbor, and both went back for seconds. It’s one of those rare dishes that appeals to everyone, from kids to adults.
- Unbelievably Delicious: The secret is browning the chicken first to build a rich, savory fond, then letting the rice soak up all those browned bits and garlic butter. The flavor is next-level comfort food, no question.
What makes this recipe different from the rest is the technique. It’s not just dumping everything in a pan. By searing the chicken skin-side down until it’s impossibly crispy, then gently toasting the rice in the garlic butter before adding the broth, you build layers of flavor that you just can’t get from a quicker, lazier method. This is your best version of one-pan chicken and rice—I promise.
What Ingredients You Will Need
This recipe uses simple, wholesome ingredients to deliver bold flavor and satisfying texture without the fuss. Most of these are pantry staples, making this a perfect last-minute dinner hero.
- For the Chicken:
- 4 bone-in, skin-on chicken thighs (about 1.5 lbs / 680g) — The bone and skin add so much flavor and moisture. If you must use boneless, skinless thighs, reduce cooking time by about 5-7 minutes.
- 1 teaspoon kosher salt — For seasoning the chicken. I prefer Diamond Crystal brand for its even salinity.
- 1/2 teaspoon black pepper — Freshly cracked is best.
- 1 tablespoon olive oil — For searing the chicken. It has a higher smoke point than butter alone.
- For the Rice & Aromatics:
- 2 tablespoons unsalted butter — The star of the show. Use a good quality butter like Kerrygold for the richest flavor.
- 1 medium yellow onion, finely diced (about 1 cup / 150g) — Adds a sweet, savory base.
- 6 cloves garlic, minced — Don’t skimp here! This is garlic butter chicken, after all. Use fresh garlic for the best punch.
- 1 1/2 cups long-grain white rice (300g) — I recommend Jasmine or Basmati for their fluffy, separate grains. Do not use instant rice or short-grain sushi rice.
- For the Liquid & Finish:
- 2 cups low-sodium chicken broth (480ml) — Low-sodium is key so you can control the salt level. Adds savory depth.
- 1/2 cup water (120ml) — Helps the rice cook perfectly without becoming mushy.
- 1/2 teaspoon dried thyme — An earthy, slightly floral herb that pairs beautifully with garlic and butter. (adds warmth)
- 1/4 teaspoon red pepper flakes (optional) — For a tiny kick of heat that cuts through the richness.
- 2 tablespoons fresh parsley, chopped — For a bright, fresh finish and a pop of color.
- 1 lemon, cut into wedges — For squeezing over the top before serving. It’s non-negotiable in my book.
Equipment Needed
The beauty of this recipe is its simplicity. You don’t need a lot of fancy gadgets to pull it off, just a few reliable workhorses.
- Large, Heavy-Bottomed Skillet or Dutch Oven: This is your most important tool. I use a 12-inch cast iron skillet for its superior heat retention and even browning. A heavy stainless steel pan or a large enameled Dutch oven (like a Le Creuset) works beautifully too. Just make sure it has a tight-fitting lid.
- Sharp Chef’s Knife: For dicing the onion and mincing the garlic. A dull knife is a dangerous knife, and it makes prep work feel like a chore.
- Cutting Board: A sturdy wooden or plastic board is essential.
- Measuring Cups and Spoons: For accuracy. I’m a big fan of using a liquid measuring cup for the broth and water, and dry measuring cups for the rice.
- Wooden Spoon or Silicone Spatula: For scraping up all those delicious browned bits from the bottom of the pan (the fond) after searing the chicken.
- Tongs: For flipping the chicken easily and safely without piercing the skin.
- Fork: For fluffing the rice at the end. A fork is gentler than a spoon and won’t mash the grains.
If you don’t have a lid that fits your skillet, a large piece of heavy-duty aluminum foil crimped tightly around the edges works as a great substitute. I’ve done it more times than I can count.
Preparation Method
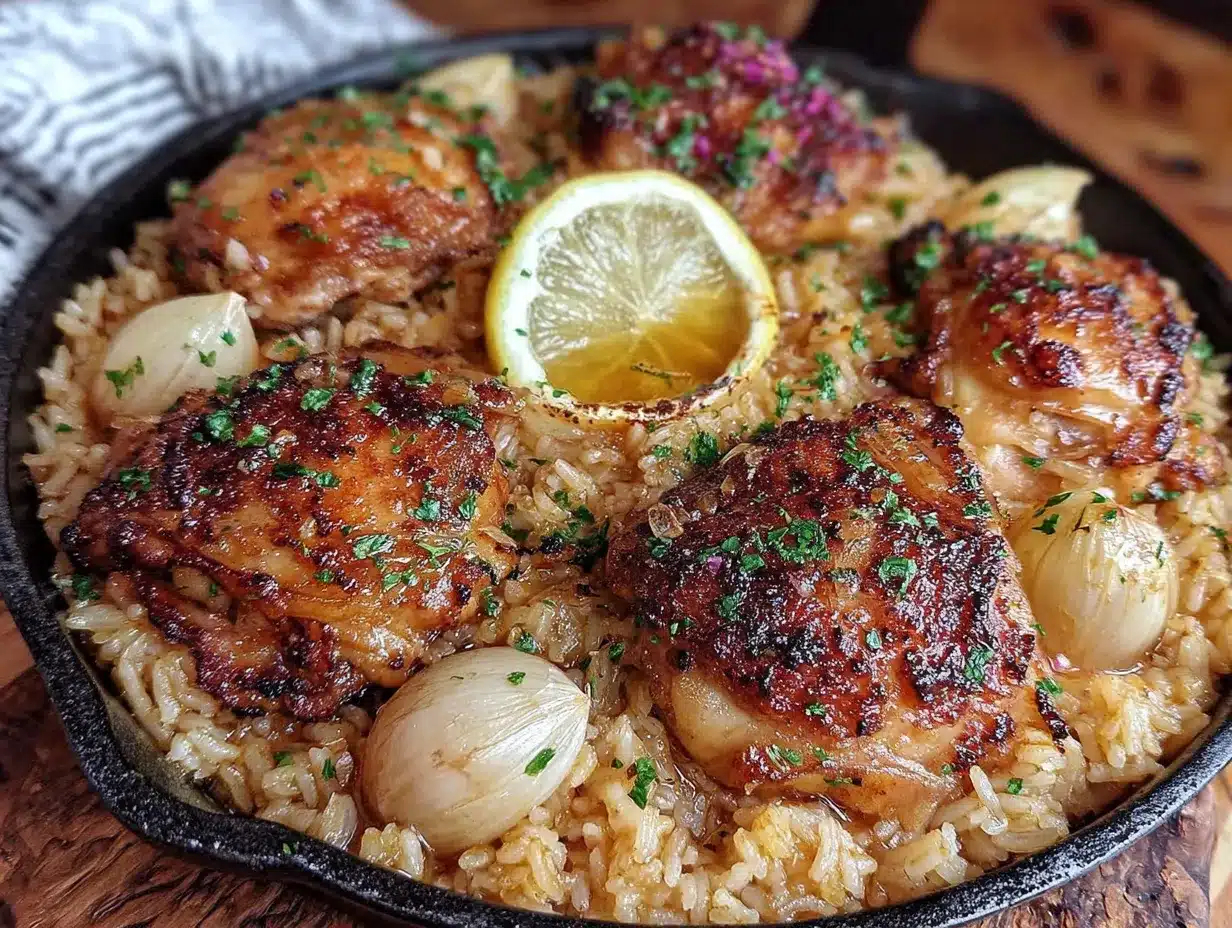
Alright, let’s get cooking. This is where the magic happens. The key is to trust the process and let the pan do the work.
- Prep the Chicken (5 minutes): Pat the chicken thighs completely dry with paper towels. This is a crucial step for getting that golden, crispy skin. Season them generously on all sides with the kosher salt and black pepper. Let them sit at room temperature for about 10 minutes while you prep the other ingredients.
- Brown the Chicken (10-12 minutes): Place your large skillet or Dutch oven over medium-high heat. Add the olive oil and let it shimmer until it’s just smoking. Carefully place the chicken thighs skin-side down in the hot oil. Do not crowd the pan—if your skillet is small, work in two batches. Let them cook undisturbed for 5-7 minutes, until the skin is a deep, golden brown and releases easily from the pan. Flip the thighs with your tongs and cook for another 3-4 minutes on the other side. The chicken won’t be cooked through yet, and that’s perfectly fine. Transfer the browned chicken to a clean plate. Sensory cue: You should hear a vigorous sizzle when the chicken hits the pan. The kitchen should smell like roasted chicken and savory fat.
- Sauté the Aromatics (4-5 minutes): Reduce the heat to medium. There should be about 2 tablespoons of fat left in the pan. If there’s way more, spoon some out. If there’s less, add the 2 tablespoons of butter. Once the butter is melted and bubbling, add the diced onion. Cook, stirring occasionally with your wooden spoon, for 3-4 minutes, until the onion is soft and translucent. Be sure to scrape up all those browned bits (the fond) from the bottom of the pan—that’s pure flavor. Add the minced garlic and cook for just 30 seconds more, until fragrant. Personal tip: Don’t let the garlic burn! It goes from fragrant to bitter in seconds.
- Toast the Rice (2 minutes): Add the 1 1/2 cups of rice to the pan with the onions and garlic. Stir well to coat every grain in the buttery, garlicky mixture. Cook for 1-2 minutes, stirring constantly. You’ll notice the rice starts to turn slightly translucent at the edges and smells wonderfully nutty. This toasting step is the secret to fluffy, not mushy, rice.
- Add the Liquid and Nestle the Chicken (1 minute): Carefully pour in the 2 cups of chicken broth and 1/2 cup of water. Add the dried thyme and the optional red pepper flakes. Stir everything together gently. Increase the heat to high and bring the liquid to a full, rolling boil. Once it’s boiling, gently nestle the browned chicken thighs back into the rice, skin-side up. Watching for: The liquid should be bubbling around the chicken.
- Cover and Cook (20-25 minutes): Immediately reduce the heat to low, cover the skillet with a tight-fitting lid, and let it simmer. Do not be tempted to lift the lid and peek! We need that steam to stay inside to cook the rice perfectly. Set a timer for 20 minutes. Warning: Peeking releases steam and can lead to undercooked rice.
- Rest and Fluff (5-10 minutes): After 20 minutes, turn off the heat. Leave the lid on and let the pan sit undisturbed for another 5-10 minutes. This resting period allows the rice to finish absorbing the steam and become perfectly tender. After resting, remove the lid. Use a fork to gently fluff the rice, being careful not to break up the chicken too much. The rice should be tender and the liquid fully absorbed. The chicken should be cooked through and tender (internal temp of 165°F / 74°C).
- Garnish and Serve (2 minutes): Sprinkle the fresh parsley over the top. Squeeze a lemon wedge or two over the whole pan—the acidity cuts through the richness of the butter and balances everything beautifully. Serve hot, straight from the pan.
Cooking Tips & Techniques
I’ve made every mistake in the book with this recipe, so you don’t have to. Here are my hard-won tips for perfect results every time.
- Don’t Skip the Searing: I know it’s tempting to just throw everything in the pan and walk away, but browning the chicken first is non-negotiable. That deep golden crust is where the flavor lives. It creates the fond that makes the rice taste like it’s been simmering for hours.
- Resist the Urge to Peek: This is the number one mistake. Every time you lift that lid, you let out valuable steam and heat. The rice needs that consistent, steamy environment to cook evenly. Trust the timer and the heat level. I once peeked three times and ended up with crunchy rice.
- Use the Right Rice: Long-grain white rice is your best friend here. Jasmine or Basmati are my top picks because they cook up light and fluffy, with distinct grains. Avoid short-grain rice (it gets sticky and gummy) and definitely avoid instant rice (it will turn to mush).
- Check Your Heat: After you add the liquid and bring it to a boil, make sure you reduce the heat to a very low simmer before covering. If the heat is too high, the liquid will evaporate before the rice is cooked, leaving you with a burnt bottom and undercooked top. A low, gentle bubble is what we’re after.
- Let It Rest: That final 5-10 minute rest with the lid on is essential. It’s like letting a steak rest after cooking. It allows the moisture to redistribute throughout the rice, resulting in a perfectly tender, not sticky, final texture.
Variations & Adaptations
This recipe is a fantastic base for experimentation. Here are a few of my favorite twists I’ve tried over the years.
- Lemony Herb Chicken and Rice: In the spring, I love to add the zest of one whole lemon along with the thyme. I also stir in a cup of fresh or frozen peas during the last 5 minutes of cooking. The pop of green and the bright lemon flavor make it feel so fresh and vibrant.
- Creamy Mushroom Version: For an even richer dish, sauté 8 ounces of sliced cremini mushrooms along with the onions. Once they’re golden and have released their liquid, proceed with the recipe. After the rice is cooked, stir in 1/4 cup of heavy cream or full-fat coconut milk for an extra-luxurious, creamy sauce.
- Spicy Chorizo and Rice: This is a favorite for game day. Replace the chicken with 1 pound of fresh Mexican chorizo (casings removed). Brown the chorizo, breaking it up with a spoon, then remove it. Sauté the onions and garlic in the rendered fat, then proceed. Stir the cooked chorizo back in with the broth. It’s smoky, spicy, and incredibly satisfying.
- Vegetarian Option: Skip the chicken entirely. Sauté a large portobello mushroom cap (sliced) with the onions. Use vegetable broth instead of chicken broth. For protein, stir in a can of drained and rinsed chickpeas or some cubed firm tofu along with the liquid.
- Make it Dairy-Free: This is an easy swap. Use a high-quality vegan butter or a good olive oil in place of the regular butter. The flavor will be slightly different, but still delicious and garlicky.
Serving & Storage Suggestions
This dish is a complete meal in itself, but here’s how to make the most of it from the table to the fridge.
Serving: Serve this piping hot, straight from the pan for a cozy, family-style dinner. The lemon wedges are a must-squeeze them over each serving. I love to pair it with a simple side salad dressed with a tangy vinaigrette to cut through the richness. A steamed green vegetable like broccoli or green beans also works beautifully. For drinks, a crisp, unoaked Chardonnay or a light lager like a pilsner is a perfect match.
Storage: This recipe stores surprisingly well. Let the chicken and rice cool completely to room temperature (within 2 hours). Transfer it to an airtight container. It will keep in the refrigerator for up to 4 days. The flavors actually meld together and deepen overnight, making leftovers even more delicious.
Reheating: The best way to reheat this is in a skillet. Add a splash of water or chicken broth to the pan, cover it, and warm it over medium-low heat for 5-7 minutes, stirring occasionally. This helps re-steam the rice without drying it out. You can also reheat individual portions in the microwave, but the rice won’t be as fluffy. Personal note: I actually look forward to the leftovers more than the first meal!
Freezing: This dish freezes well for up to 3 months. Let it cool completely, then transfer it to a freezer-safe container or a zip-top bag. To thaw, place it in the refrigerator overnight. Reheat using the skillet method described above.
Nutritional Information & Benefits
While this is definitely a comfort food, it’s built on a foundation of solid, nourishing ingredients. Here’s a rough breakdown per serving (one chicken thigh and about 1 cup of rice):
- Calories: ~550-650 kcal
- Protein: ~35-40g (from the chicken)
- Fat: ~25-30g (mostly from the chicken skin and butter)
- Carbohydrates: ~45-50g (from the rice)
- Fiber: ~1-2g
Health Benefits: Chicken thighs are a great source of high-quality protein, which is essential for muscle repair and keeping you full. Garlic is a powerhouse ingredient known for its immune-boosting and anti-inflammatory properties. The butter, while rich, provides fat-soluble vitamins like Vitamin A. And don’t forget the lemon juice at the end—it adds a dose of Vitamin C. This is a balanced, satisfying meal that fuels your body and soul.
Dietary Considerations: This recipe is naturally gluten-free (always double-check your broth label). To make it dairy-free, simply swap the butter for a high-quality vegan butter or olive oil. For a lower-carb option, you could try substituting the rice with cauliflower rice, but the texture and cooking time will change significantly.
Conclusion
So there you have it—my little piece of The Rusty Spoon, recreated in my own kitchen, and now, hopefully, in yours. This Cozy One-Pan Garlic Butter Chicken and Rice isn’t just a recipe; it’s a solution to a hundred different dilemmas. What’s for dinner on a hectic Tuesday? This. What do I bring to a friend who just had a baby? This. What do I make when I need a warm, buttery hug after a long week? You guessed it—this.
I really hope you give it a try. Don’t be afraid to make it your own—add a little more garlic, a pinch more thyme, or a squeeze of extra lemon. The best recipes are the ones that bend to fit your life. I’d love to hear how it turns out for you! Drop a comment below and let me know if you found that same little moment of cozy bliss I was chasing. And if you loved it, please share this post with a friend who needs a good, simple dinner in their life. Happy cooking!
Frequently Asked Questions
Can I use boneless, skinless chicken breasts instead of thighs?
You can, but be aware that chicken breasts are leaner and can dry out more easily. If you use boneless, skinless breasts, reduce the initial searing time to about 3-4 minutes per side. Also, check the internal temperature of the chicken after the rice has rested; it should be 165°F (74°C). You might need to remove the breasts a few minutes before the rice is done to prevent them from overcooking.
Why is my rice still crunchy after 20 minutes?
Crunchy rice usually means one of two things: either the heat was too low and the liquid never reached a proper simmer, or you lifted the lid and let the steam escape. Make sure the liquid is at a full boil before you reduce the heat and cover the pan. Also, ensure your lid fits very tightly. If it’s still crunchy, add 2-3 tablespoons of water, cover, and cook on low for another 5 minutes.
Can I make this in a slow cooker or Instant Pot?
This recipe is specifically designed for the stovetop one-pan method. I have not tested it successfully in a slow cooker (the rice tends to get mushy). For an Instant Pot, you would sear the chicken using the sauté function, then add the rice and liquid, and pressure cook on high for 5 minutes with a natural release, but the texture will be different from this stovetop version.
Can I use brown rice instead of white rice?
Yes, but you will need to adjust the cooking time and liquid. Brown rice takes much longer to cook. Use 2 1/4 cups of broth (instead of 2 cups) and increase the covered simmering time to 45-50 minutes. Check the rice for doneness and add a splash more liquid if it’s still hard and the pan is dry.
How do I prevent the rice from sticking to the bottom of the pan?
Using a heavy-bottomed pan is the first step. The second is ensuring you have enough fat (from the chicken and butter) coating the pan before you add the rice. Finally, make sure your heat is on low once you cover the pan, and let it rest off the heat at the end. If you have a bit of sticking, don’t worry—it’s often the most flavorful part! Just scrape it up and stir it into the rice.
Pin This Recipe!
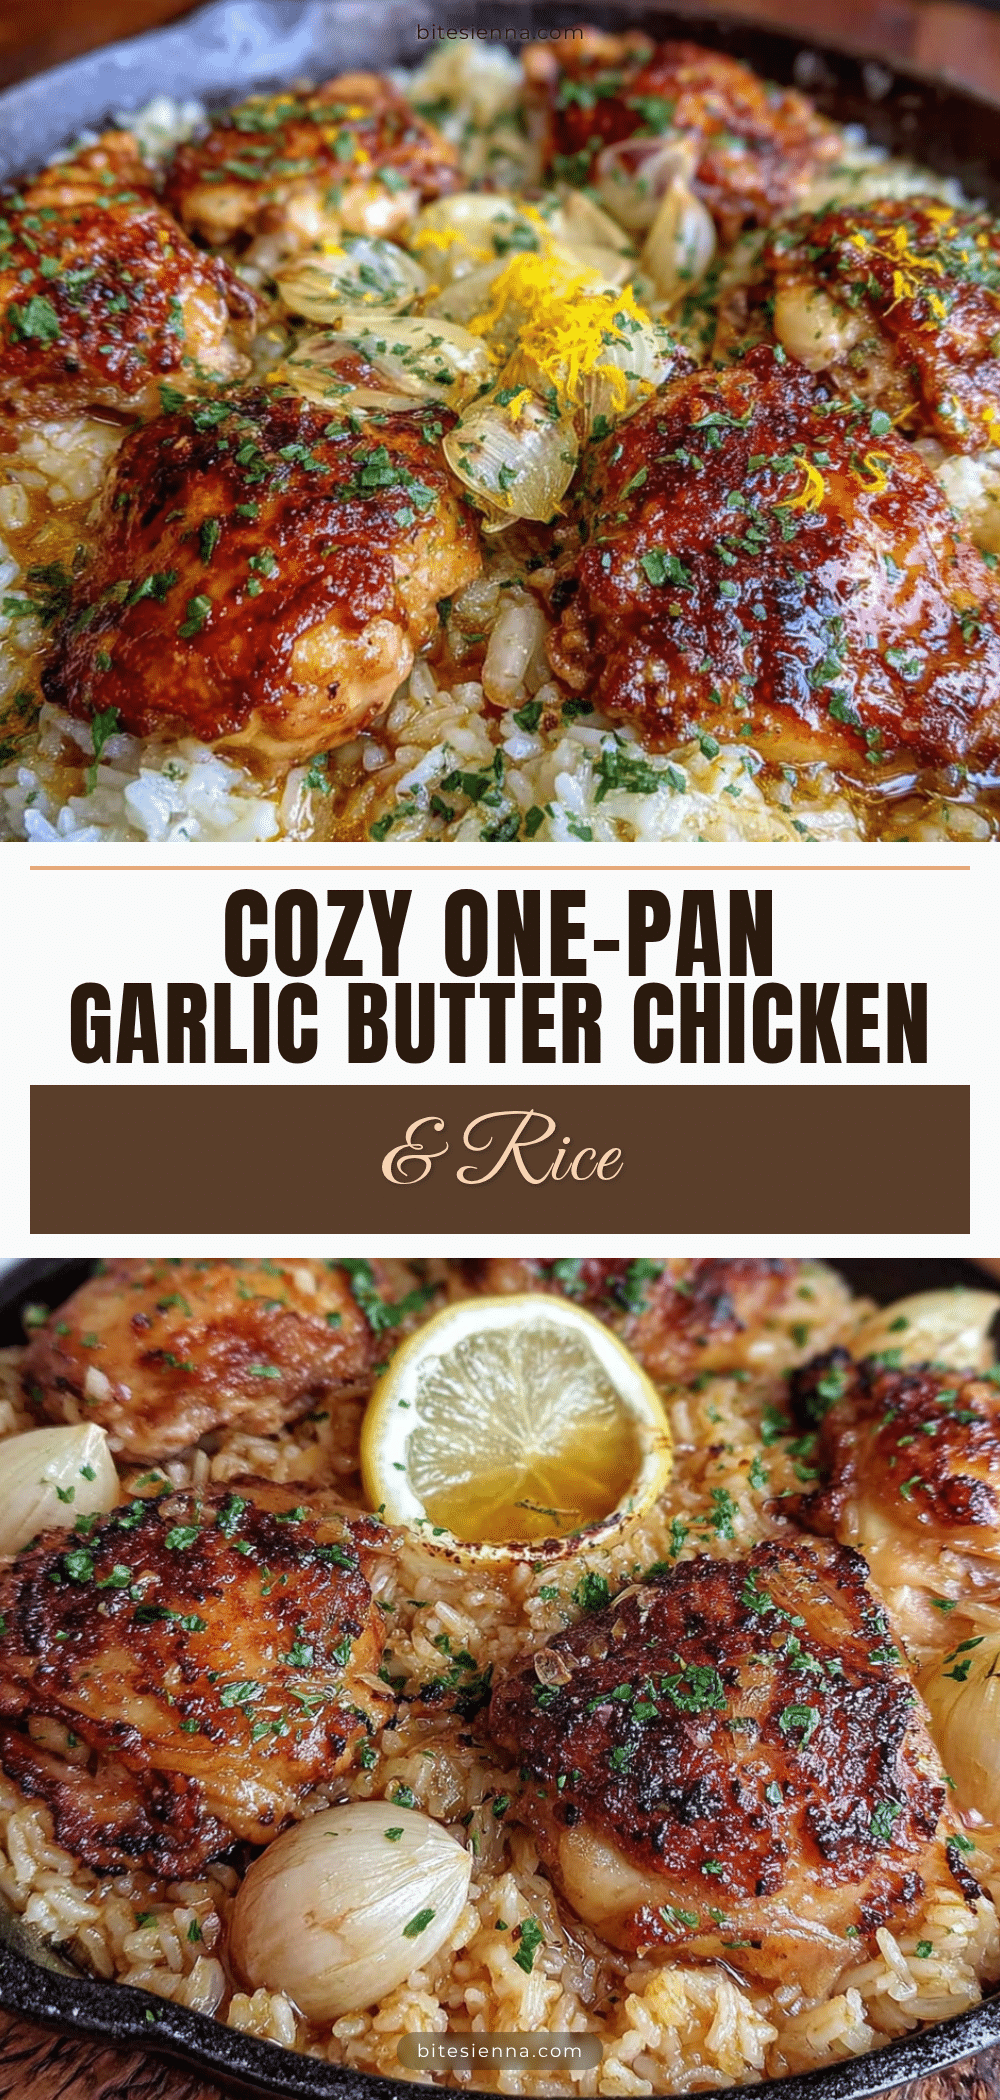
Cozy One-Pan Garlic Butter Chicken and Rice: Easy Weeknight Dinner

A comforting one-pan meal featuring crispy-skinned chicken thighs and fluffy garlic butter rice, all cooked together in a single skillet. This easy weeknight dinner is packed with flavor and comes together in about 40 minutes.
- Prep Time: 15 minutes
- Cook Time: 30 minutes
- Total Time: 45 minutes
- Yield: 4 servings 1x
- Category: Main Course
- Cuisine: American
Ingredients
- 4 bone-in, skin-on chicken thighs (about 1.5 lbs / 680g)
- 1 teaspoon kosher salt
- 1/2 teaspoon black pepper, freshly cracked
- 1 tablespoon olive oil
- 2 tablespoons unsalted butter
- 1 medium yellow onion, finely diced (about 1 cup / 150g)
- 6 cloves garlic, minced
- 1 1/2 cups long-grain white rice (300g), such as Jasmine or Basmati
- 2 cups low-sodium chicken broth (480ml)
- 1/2 cup water (120ml)
- 1/2 teaspoon dried thyme
- 1/4 teaspoon red pepper flakes (optional)
- 2 tablespoons fresh parsley, chopped
- 1 lemon, cut into wedges
Instructions
- Pat the chicken thighs completely dry with paper towels. Season generously on all sides with kosher salt and black pepper. Let sit at room temperature for about 10 minutes.
- Place a large skillet or Dutch oven over medium-high heat. Add olive oil and let it shimmer until just smoking. Carefully place chicken thighs skin-side down in the hot oil. Cook undisturbed for 5-7 minutes until skin is deep golden brown and releases easily. Flip and cook for another 3-4 minutes. Transfer chicken to a clean plate.
- Reduce heat to medium. There should be about 2 tablespoons of fat left in the pan; if less, add the butter. Once butter is melted and bubbling, add diced onion. Cook, stirring occasionally, for 3-4 minutes until soft and translucent, scraping up browned bits from the bottom. Add minced garlic and cook for 30 seconds until fragrant.
- Add rice to the pan and stir to coat in the buttery mixture. Cook for 1-2 minutes, stirring constantly, until rice turns slightly translucent and smells nutty.
- Pour in chicken broth and water. Add dried thyme and optional red pepper flakes. Stir gently. Increase heat to high and bring to a full rolling boil. Nestle the browned chicken thighs back into the rice, skin-side up.
- Reduce heat to low, cover with a tight-fitting lid, and simmer for 20 minutes. Do not lift the lid.
- Turn off the heat and let the pan sit undisturbed, covered, for 5-10 minutes. Remove lid and fluff rice gently with a fork. Chicken should be cooked through (internal temperature of 165°F / 74°C).
- Sprinkle with fresh parsley and squeeze lemon wedges over the top. Serve hot straight from the pan.
Notes
For best results, do not skip searing the chicken or toasting the rice. Resist the urge to peek while the rice cooks. Let the dish rest after cooking for perfectly tender rice. If using boneless, skinless chicken breasts, reduce searing time to 3-4 minutes per side and check internal temperature early.
Nutrition
- Serving Size: 1 chicken thigh and
- Calories: 600
- Sugar: 2
- Sodium: 800
- Fat: 28
- Saturated Fat: 10
- Carbohydrates: 48
- Fiber: 2
- Protein: 38
Keywords: one-pan chicken and rice, garlic butter chicken, easy weeknight dinner, comfort food, chicken thighs, one skillet meal


