This was supposed to be a chocolate mousse. A fancy, grown-up chocolate mousse for a dinner party I was hosting. I had the good chocolate out, the heavy cream was chilling, and I was feeling pretty confident about my dessert game. But then my three-year-old nephew decided to “help” by dumping an entire sleeve of Oreos into the mixing bowl while I was answering the phone. I stood there, staring at the crumb-covered cream, and honestly, I almost cried. The dinner party was in three hours, and my elegant dessert was now a disaster. I scraped it all into some clear plastic cups I found in the back of the cabinet, tossed in some gummy worms I had stashed for a rainy day, and called it “dirt.” What came out was nothing like the plan — and better.
You know that feeling when a kitchen accident turns into the best thing you’ve ever made? That’s this recipe. The kids at the party devoured them in minutes, and the adults were sneaking extras when they thought no one was looking. I mean, who knew that crushed Oreos and chocolate pudding would be such a hit? Let me tell you, I’ve been making these Easy Halloween Dirt Cups with Oreos & Gummy Worms every year since, and they never get old. It’s the kind of recipe that saves you when you’re short on time, low on energy, and just need something that works. No fancy techniques, no stress—just pure, messy fun that tastes amazing.
Why You’ll Love This Recipe
I’ve tested this recipe about a dozen times now, tweaking the pudding consistency and the cookie-to-cream ratio until it was just right. It’s been family-approved by picky eaters and nutritionist-reviewed for being a reasonable treat—not a sugar bomb. Here is why it works so well for busy families:
- Quick & Easy: Comes together in under 20 minutes with no baking required. Perfect for last-minute Halloween parties or school events.
- Simple Ingredients: You probably already have most of these in your pantry. No fancy grocery trips needed.
- Perfect for Halloween: Great for classroom parties, spooky movie nights, or just a fun afternoon snack with the kids.
- Crowd-Pleaser: Always gets rave reviews from kids and adults alike. My husband claims he’s “too old” for them, but I always catch him grabbing one.
- Unbelievably Delicious: The creamy pudding paired with the crunchy Oreo “dirt” is next-level comfort food. It’s like a deconstructed ice cream cake without the freezer burn.
This recipe isn’t just good—it is the kind that makes you close your eyes after the first bite. It’s comfort food reimagined: faster, simpler, but with the same soul-soothing satisfaction. Perfect for impressing guests without stress, or turning a simple Tuesday into something memorable.
What Ingredients You Will Need
This recipe uses simple, wholesome ingredients to deliver bold flavor and satisfying texture without the fuss. Most are pantry staples, which means you can whip these up anytime the craving hits.
- 1 (3.9 oz) package instant chocolate pudding mix (I prefer Jell-O brand for consistent texture)
- 2 cups cold milk (whole milk gives the creamiest result, but 2% works fine)
- 1 (8 oz) tub frozen whipped topping, thawed (like Cool Whip; you can use homemade whipped cream if you’re feeling ambitious)
- 1 (14.3 oz) package Oreo cookies (regular or Double Stuf—both work great)
- 1 cup gummy worms (use Halloween-themed ones for extra fun)
- Optional: green or orange food coloring (for a spooky tint, but totally optional)
- Optional: small plastic cups or clear dessert cups (for serving)
For the pudding, I recommend using instant mix rather than cook-and-serve—it sets up faster and gives that perfect creamy consistency. If you’re dairy-free, swap the milk for oat or almond milk, and use a dairy-free whipped topping. For a gluten-free option, use gluten-free chocolate sandwich cookies—they crush up just as nicely. And if you don’t have Oreos on hand, any chocolate wafer cookie will do the trick.
Equipment Needed
You don’t need a lot of fancy tools for this recipe, which is part of its charm. Here’s what you’ll need:
- Mixing bowls: One large bowl for the pudding, one for crushing cookies.
- Whisk or electric mixer: A whisk works fine, but an electric mixer speeds things up.
- Rolling pin or food processor: For crushing the Oreos into fine “dirt.” I’ve used both—a rolling pin is more fun with kids, but a food processor is faster.
- Ziploc bag: A sturdy one for crushing cookies if you’re going the rolling pin route.
- Clear plastic cups or small dessert cups: 6-8 cups, depending on size. I like the 5-ounce cups for portion control.
- Spatula: For scraping every last bit of pudding—because waste is not in our budget.
- Measuring cups and spoons: Basic kitchen staples.
If you don’t have a food processor, a rolling pin and a Ziploc bag work perfectly. Just let the kids go to town on the bag—it’s a great stress reliever and keeps them busy while you handle the pudding.
Preparation Method
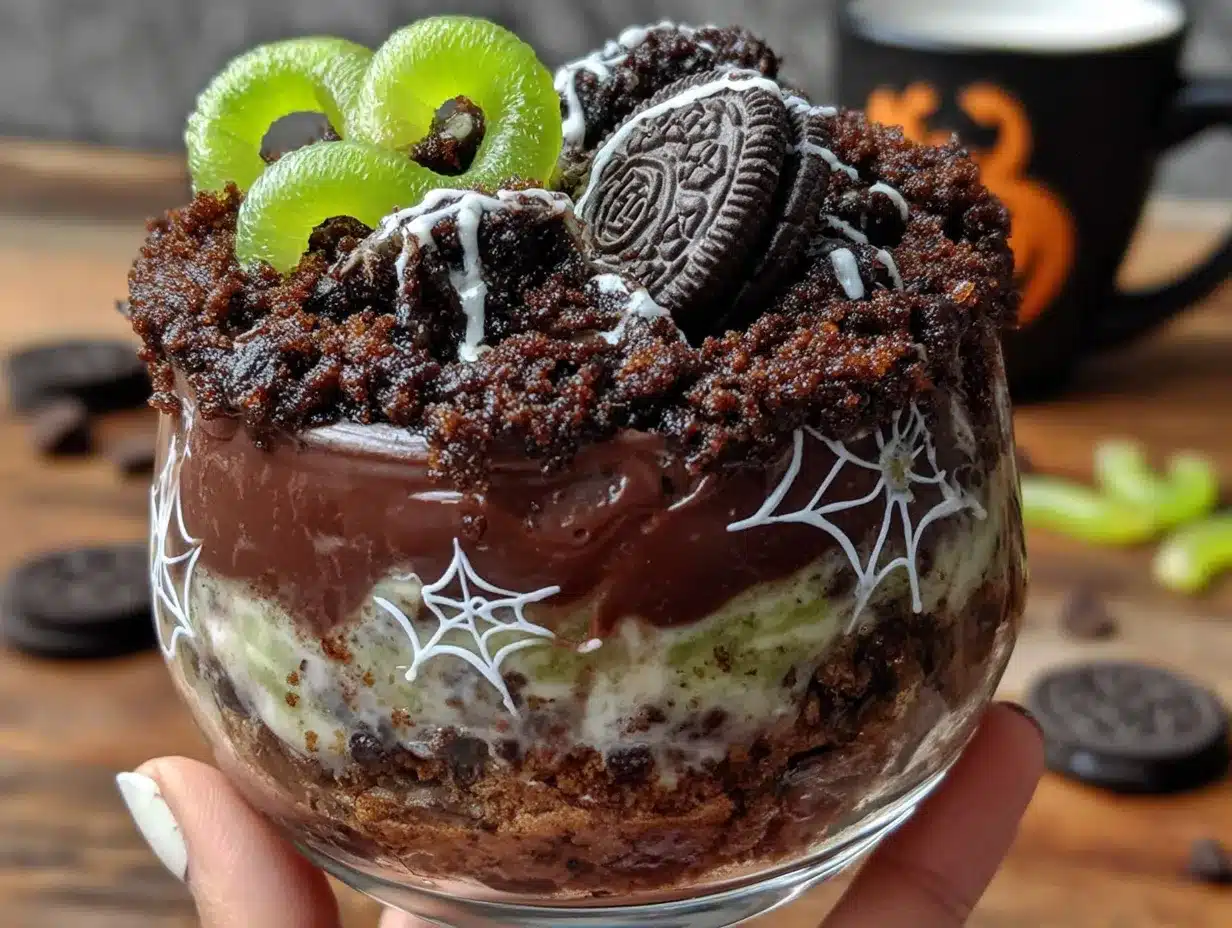
Let’s get our hands dirty—literally. Here’s how to make these Easy Halloween Dirt Cups with Oreos & Gummy Worms step by step.
- Make the pudding: In a large mixing bowl, whisk together the instant chocolate pudding mix and 2 cups cold milk. Whisk for about 2 minutes until it starts to thicken. It should look smooth and glossy. If you’re using an electric mixer, go low speed to avoid splashing.
- Fold in the whipped topping: Gently fold the thawed whipped topping into the pudding using a spatula. Be careful not to overmix—you want it light and airy, not deflated. This step is where the magic happens; it makes the filling super creamy.
- Crush the Oreos: Place the Oreos in a Ziploc bag and seal it tight. Use a rolling pin to crush them into fine crumbs. You want a mix of fine dirt and a few slightly larger pieces for texture. If you’re using a food processor, pulse in short bursts—don’t turn them into powder. Set aside about 1/4 cup for topping.
- Assemble the cups: Start with a layer of crushed Oreos at the bottom of each cup—about 2 tablespoons. This is the “dirt” base. Then add a layer of the pudding mixture, filling the cup about halfway.
- Add the gummy worms: Press a few gummy worms into the pudding layer so they look like they’re crawling out of the dirt. You can stick them in at different angles for a spooky effect.
- Top with more dirt: Add another layer of crushed Oreos on top, covering the pudding completely. Use the reserved 1/4 cup for a generous sprinkle on each cup.
- Chill: Refrigerate the cups for at least 30 minutes before serving. This helps the flavors meld and the pudding set properly. If you’re making them ahead, they can stay in the fridge for up to 2 days.
- Garnish: Just before serving, add a few more gummy worms on top for a dramatic effect. You can also add a little green food coloring to the pudding for an extra spooky touch—but honestly, the chocolate color is already perfect.
A quick note: Don’t skip the chilling step. I learned this the hard way when I served them too early and the pudding was runny. Trust me, 30 minutes makes all the difference.
Cooking Tips & Techniques
After making these Easy Halloween Dirt Cups with Oreos & Gummy Worms more times than I can count, I’ve picked up a few tricks that make the process smoother.
Don’t overmix the pudding: When you add the whipped topping, fold gently. Overmixing can make the filling too dense, and you lose that light, mousse-like texture. I once got distracted and ended up with a heavy mess—still tasted good, but not as pleasant.
Crush cookies strategically: For the best “dirt” texture, leave a few small chunks in the mix. It gives the cups a more realistic look and adds a nice crunch. If you go too fine, it just looks like black sand.
Layer wisely: Make sure each layer is even. If you pile too much pudding on one side, the worms won’t stay put. I usually tap the cup gently on the counter after each layer to settle everything.
Timing is everything: These are best made the day before you serve them. The flavors meld overnight, and the pudding gets even creamier. Plus, it’s one less thing to worry about on party day.
Keep it cold: If you’re serving these at a party, keep them in the fridge until the last minute. They don’t hold up well in warm weather—the pudding can get runny, and the worms might slide off. I learned this after a particularly warm Halloween when my cups turned into a sad puddle.
Variations & Adaptations
One of the best things about this recipe is how easy it is to customize. Here are a few variations I’ve tried and loved.
- Peanut Butter Dirt Cups: Add 2 tablespoons of peanut butter to the pudding mixture before folding in the whipped topping. It adds a rich, nutty flavor that pairs beautifully with the chocolate. My kids go crazy for this version.
- Vegan Version: Use dairy-free milk, vegan whipped topping, and vegan chocolate sandwich cookies. It works perfectly—I’ve made it for a friend with allergies, and no one could tell the difference.
- Spooky Green Pudding: Add a few drops of green food coloring to the pudding mixture for a slime effect. It’s gross in the best way and perfect for Halloween parties. Just be careful not to add too much—you want it green, not radioactive.
- Crunchy Topping: Mix some crushed pretzels or chocolate sprinkles into the Oreo crumbs for extra texture. It adds a salty-sweet element that’s addictive.
- Mini Cups: Use shot glasses or small cups for bite-sized versions. These are great for classroom parties or as a quick treat for little hands.
I once tried a version with mint extract in the pudding—it was interesting, but my family preferred the classic. Stick with what works, unless you’re feeling adventurous.
Serving & Storage Suggestions
These Easy Halloween Dirt Cups with Oreos & Gummy Worms are best served cold, straight from the fridge. The contrast between the creamy pudding and the crunchy Oreo “dirt” is what makes them so satisfying. I like to present them on a tray with a few extra gummy worms scattered around for a spooky vibe.
For a Halloween party, pair them with a batch of spooky pumpkin soup or some mummy pigs in a blanket for a full themed menu. They also go great with a warm cup of apple cider—the sweetness balances the chocolate perfectly.
Storage: Keep the cups covered in the refrigerator for up to 3 days. The Oreo crumbs will soften over time, but that’s actually kind of nice—it turns into a cake-like texture. If you want to keep the crunch, store the crushed Oreos separately and add them just before serving.
Freezing: You can freeze these for up to a month. Just wrap each cup tightly in plastic wrap and then foil. Thaw in the fridge overnight before serving. The texture might be slightly different, but they’re still delicious.
Reheating: Honestly, you don’t need to reheat these. They’re meant to be cold. But if you want a warm dessert, microwave one for 10 seconds—it turns into a gooey hot chocolate pudding. Not bad for a rainy day.
Nutritional Information & Benefits
Let’s be real: these are a treat, not a health food. But here’s a rough breakdown per serving (based on 8 cups):
- Calories: 320
- Fat: 14g
- Carbohydrates: 46g
- Sugar: 32g
- Protein: 5g
- Fiber: 2g
The good news? Oreos contain a small amount of iron, and milk provides calcium and vitamin D. The whipped topping adds a bit of creaminess without too much extra fat. If you’re watching sugar, you can use sugar-free pudding mix and light whipped topping—it cuts the sugar by about half.
For families with allergies, note that this recipe contains dairy, gluten, and soy (from the Oreos). The vegan version I mentioned earlier works well for dairy-free and egg-free diets. Always check labels on gummy worms—some contain gelatin, which isn’t vegetarian.
I’m not a nutritionist, but I believe in balance. These dirt cups are a fun, occasional treat that brings joy to a Halloween party. And honestly, that’s worth a few extra calories.
Conclusion
These Easy Halloween Dirt Cups with Oreos & Gummy Worms are the kind of recipe that proves mistakes can be delicious. They’re quick, budget-friendly, and guaranteed to make everyone smile—from the littlest goblins to the grown-ups sneaking seconds. I love how they bring people together, whether it’s for a classroom party or a quiet night in with the family.
Don’t be afraid to make them your own. Add extra worms, swap the cookies, or let the kids do the crushing—it’s all part of the fun. If you try this recipe, I’d love to hear how it goes. Drop a comment below or tag me in your photos. And if you’re looking for more kid-friendly Halloween ideas, check out my easy Halloween pizza mummies or these spider web cupcakes.
Happy Halloween, friends! May your dirt cups be messy, your gummy worms be wriggly, and your kitchen be full of laughter.
Frequently Asked Questions
Can I make these dirt cups ahead of time?
Absolutely! In fact, they taste better after a few hours in the fridge. Make them up to 2 days in advance, but wait to add the gummy worms on top until just before serving so they don’t get soggy.
Can I use homemade pudding instead of instant?
Yes, you can. Cook-and-serve pudding works, but it needs to cool completely before you fold in the whipped topping. Instant is just faster and more convenient for busy families.
How do I keep the gummy worms from sliding off?
Press them gently into the pudding layer before adding the top layer of Oreo crumbs. This anchors them in place. You can also use a toothpick to poke holes in the pudding for the worms to sit in.
Are these safe for peanut allergies?
Most Oreos and gummy worms are peanut-free, but always check the labels. Some brands of gummy worms may be processed in facilities that handle peanuts. For a safe alternative, use fruit leather strips cut into worm shapes.
Can I use a different cookie for the dirt?
Definitely! Chocolate wafer cookies, graham crackers, or even chocolate cake crumbs work well. Just make sure they’re crushed finely enough to look like dirt. Vanilla wafers give a lighter color if you want a different look.
Pin This Recipe!
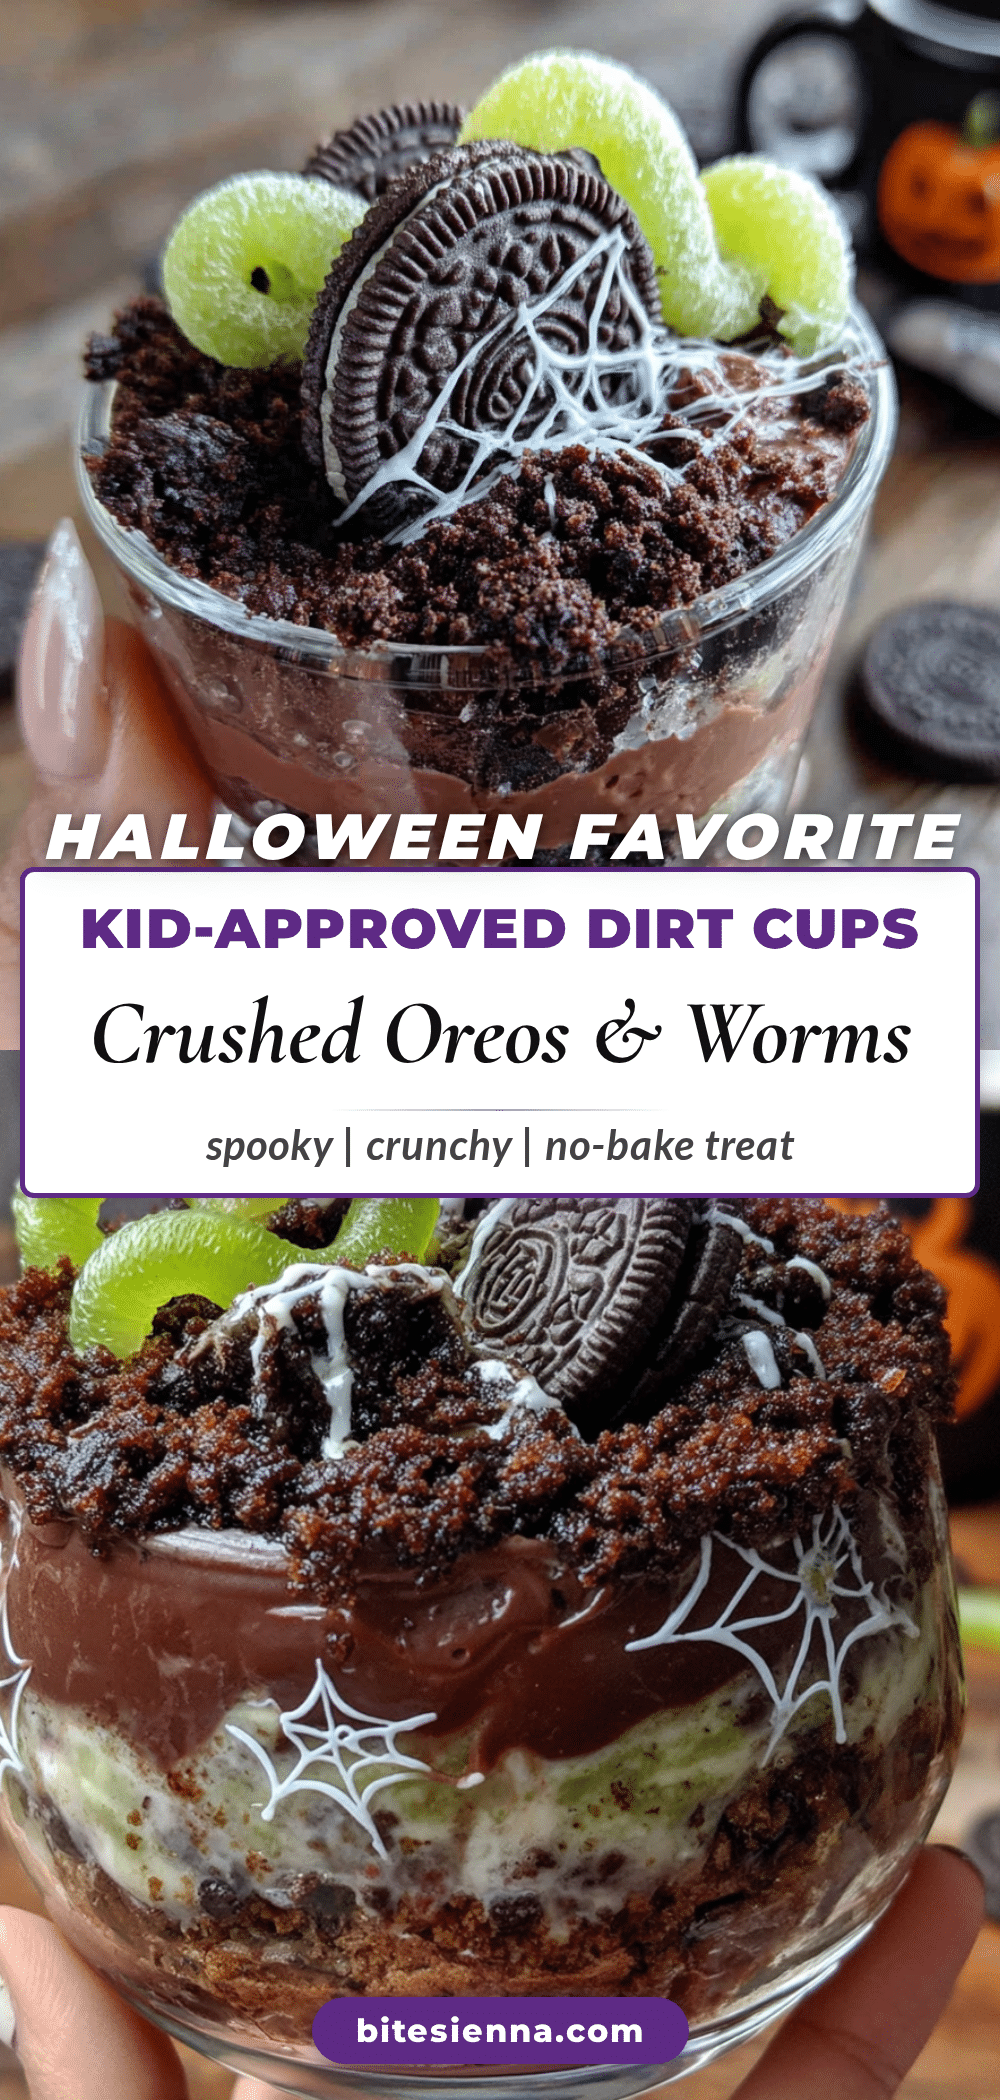
Easy Halloween Dirt Cups with Oreos & Gummy Worms
A quick, no-bake dessert featuring creamy chocolate pudding, crushed Oreo ‘dirt,’ and gummy worms. Perfect for Halloween parties and guaranteed to be a hit with kids and adults alike.
- Prep Time: 15 minutes
- Cook Time: 0 minutes
- Total Time: 45 minutes
- Yield: 8 servings 1x
- Category: Dessert
- Cuisine: American
Ingredients
- 1 (3.9 oz) package instant chocolate pudding mix
- 2 cups cold milk
- 1 (8 oz) tub frozen whipped topping, thawed
- 1 (14.3 oz) package Oreo cookies
- 1 cup gummy worms
- Optional: green or orange food coloring
- Optional: small plastic cups or clear dessert cups
Instructions
- In a large mixing bowl, whisk together the instant chocolate pudding mix and 2 cups cold milk for about 2 minutes until it starts to thicken.
- Gently fold the thawed whipped topping into the pudding using a spatula until light and airy.
- Place the Oreos in a Ziploc bag and crush them with a rolling pin into fine crumbs with some larger pieces. Set aside about 1/4 cup for topping.
- Start with a layer of crushed Oreos at the bottom of each cup (about 2 tablespoons).
- Add a layer of the pudding mixture, filling the cup about halfway.
- Press a few gummy worms into the pudding layer so they look like they’re crawling out.
- Top with another layer of crushed Oreos, covering the pudding completely.
- Refrigerate the cups for at least 30 minutes before serving.
- Just before serving, add a few more gummy worms on top for garnish.
Notes
Don’t skip the chilling step—30 minutes makes the pudding set properly. For best results, make the day before serving. Store covered in the refrigerator for up to 3 days. For a vegan version, use dairy-free milk, vegan whipped topping, and vegan chocolate sandwich cookies.
Nutrition
- Serving Size: 1 cup
- Calories: 320
- Sugar: 32
- Fat: 14
- Carbohydrates: 46
- Fiber: 2
- Protein: 5
Keywords: Halloween dirt cups, Oreo dirt cups, gummy worms, no-bake dessert, chocolate pudding, kid-friendly, Halloween dessert


