My sister-in-law, Jen, wasn’t trying to impress me. I’d stopped by to drop off a casserole dish she’d left at our place, and the smell hit me before I even got through the front door. It was rich, savory, and smelled like the kind of thing you’d order at a fancy restaurant, not something whipped up on a random Tuesday afternoon. She was standing over her stove with a spatula in one hand and her phone wedged between her ear and shoulder, talking to her mom about weekend plans like she wasn’t creating magic in a single pan.
I stood there for a second, just breathing it in. “What is that?” I asked, probably sounding a little too desperate. She barely looked up. “Oh, just some chicken and rice thing. I’m trying to use up the leftovers before we leave for the weekend.” Just some chicken and rice thing. She said it like it was nothing. But let me tell you, that first bite was a revelation. The chicken was so tender it fell apart with a fork, the rice was fluffy and soaked through with garlic butter, and the whole thing came together in one pan. No piles of dishes. No complicated steps. Just honest, incredible food.
I asked for the recipe, and she shrugged and gave me the gist of it from memory. I’ve been tweaking it ever since, and I think I’ve finally got it perfect. This Easy One-Pan Garlic Butter Chicken and Rice is now my go-to when I want to feed a crowd without spending the whole evening in the kitchen. Honestly, it’s the kind of meal that makes you look like a hero with very little effort. You know that feeling when you want to impress people but you also want to sit down and actually enjoy the party? This is that dish. It’s the recipe that stayed with me, and I keep making it because it works every single time.
Why You’ll Love This Recipe
This isn’t just another chicken and rice recipe. I’ve tested this thing more times than I care to admit, tweaking the liquid ratio, the garlic amount, and the cooking time until it was exactly right. Here’s why this version stands out from the rest.
- One-Pan Wonder: Everything cooks in a single skillet or Dutch oven. That means less cleanup and more time with your guests. No one wants to be scrubbing pans while everyone else is having dessert.
- Simple Ingredients: You probably already have most of these in your kitchen. Butter, garlic, chicken thighs, rice, broth — it’s all pantry and fridge staples. No fancy grocery trips required.
- Perfect for Hosting: This dish is a showstopper for dinner parties or potlucks. It looks impressive when you bring it to the table, but it’s secretly one of the easiest things you can make. Serve it alongside a simple green salad, and you’ve got a meal that feels special without the stress.
- Crowd-Pleaser: I’ve served this to picky eaters, foodie friends, and family members who swear they don’t like rice. Every single person has asked for seconds. It’s one of those rare dishes that appeals to everyone.
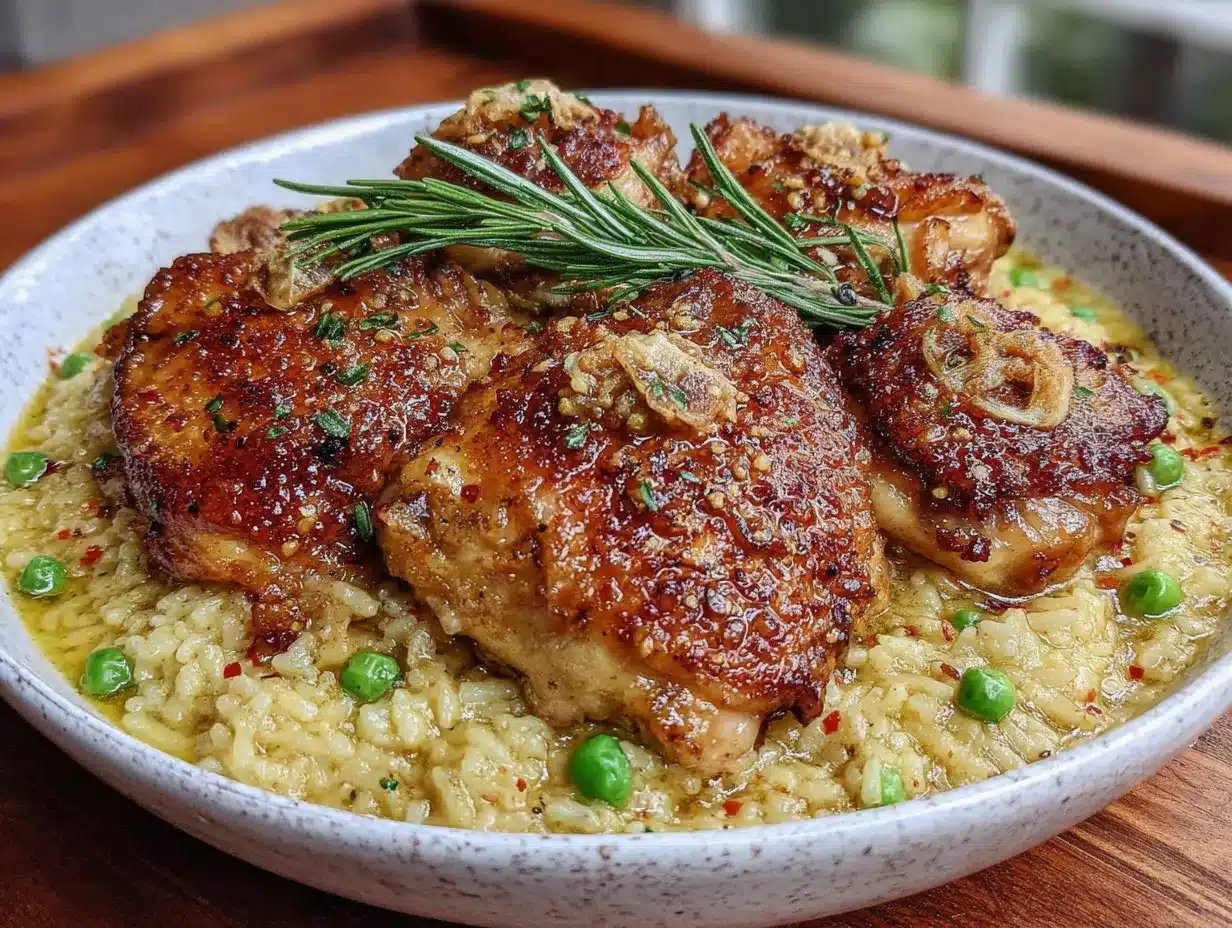
- Unbelievably Delicious: The garlic butter sauce coats every grain of rice, and the chicken gets that perfect golden crust. The flavor is deep, comforting, and honestly a little addictive. It’s the kind of meal that makes you close your eyes after the first bite.
What makes this recipe different is the technique. Instead of just dumping everything in the pan, you sear the chicken first to build that deep, savory flavor. Then you toast the rice in the garlic butter before adding the liquid. That extra step makes all the difference. It’s comfort food reimagined — faster, easier, but with the same soul-soothing satisfaction. Perfect for impressing guests without stress.
What Ingredients You Will Need
This recipe uses simple, wholesome ingredients to deliver bold flavor and satisfying texture without the fuss. Most of these are pantry staples, which makes this dish perfect for last-minute hosting.
- Chicken Thighs (bone-in, skin-on): 6-8 thighs (about 2 lbs or 900g). The bone and skin add incredible flavor and keep the meat juicy. You can use boneless, skinless thighs if you prefer, but reduce the cooking time by about 10 minutes.
- Unsalted Butter: 4 tablespoons (60g). I use unsalted so I can control the salt level. If you only have salted butter, just reduce the added salt later.
- Garlic: 6-8 cloves, minced. Don’t skimp on this. Fresh garlic is non-negotiable here — it’s the star of the show. I recommend using a microplane for the finest mince.
- Yellow Onion: 1 medium, diced. Adds a subtle sweetness that balances the garlic. You could use a shallot if that’s what you have.
- Long-Grain White Rice: 1 ½ cups (300g). Basmati or jasmine work beautifully. Avoid short-grain rice as it can get gummy. Rinse the rice until the water runs clear to remove excess starch.
- Chicken Broth: 3 cups (720ml). Use low-sodium so you can adjust the seasoning. Homemade broth is amazing here, but a good quality store-bought works fine. I like the brand Better Than Bouillon for its rich flavor.
- Dried Thyme: 1 teaspoon. Earthy and slightly floral, it pairs perfectly with the garlic butter. You can use fresh thyme — just double the amount and add the sprigs whole to the pan.
- Paprika: 1 teaspoon. Adds a subtle smokiness and a beautiful color to the chicken skin. Smoked paprika is a great option for extra depth.
- Salt and Black Pepper: To taste. Season generously at each stage.
- Fresh Parsley: A handful, chopped. For garnish. Adds a fresh pop of color and a clean finish.
- Optional Lemon Zest: From 1 lemon. Adds brightness at the end. I love this touch — it cuts through the richness beautifully.
Substitution Guidance: If you’re avoiding dairy, use a high-quality olive oil instead of butter. For a gluten-free option, ensure your broth is certified gluten-free (most are, but check the label). You can swap the chicken thighs for bone-in, skin-on chicken breasts, but watch the cooking time — breasts cook faster and can dry out if overdone.
Equipment Needed
You don’t need a ton of fancy gear for this one, which is part of the beauty of it. Here’s what you’ll need:
- Large, Deep Skillet or Dutch Oven: A 12-inch skillet with a tight-fitting lid is ideal. I use my trusty enameled cast iron Dutch oven — it holds heat evenly and the lid seals perfectly. If you’re using a regular skillet, make sure it has high sides to prevent splattering.
- Wooden Spoon or Silicone Spatula: For stirring the rice and scraping up the browned bits from the bottom of the pan. Those bits are pure flavor.
- Sharp Knife and Cutting Board: For mincing garlic and dicing the onion. A good chef’s knife makes this part quick and painless.
- Measuring Cups and Spoons: Accurate measurements are key for the rice-to-liquid ratio.
- Fine-Mesh Strainer: To rinse the rice. This step is important for fluffy, non-gummy rice.
- Tongs: For flipping the chicken. They give you better control than a fork, which can pierce the skin and release juices.
If you don’t have a Dutch oven, a large, deep non-stick skillet with a lid will work fine. Just keep an eye on the heat — non-stick pans can sometimes cook unevenly. I’ve used a cheap stainless steel pan in a pinch and it still turned out great. The key is the lid. A tight seal traps the steam and cooks the rice perfectly.
Preparation Method
- Prep Your Ingredients (10 minutes): Start by rinsing the rice in a fine-mesh strainer under cold water until the water runs clear. This removes excess starch and prevents the rice from getting sticky. Pat the chicken thighs dry with paper towels — this is crucial for getting that golden, crispy skin. Season them generously on both sides with salt, pepper, and the paprika.
- Sear the Chicken (8-10 minutes): Heat a large, deep skillet or Dutch oven over medium-high heat. Add 2 tablespoons of the butter. Once it’s melted and sizzling, carefully place the chicken thighs skin-side down in a single layer. Don’t overcrowd the pan — work in batches if you need to. Let them cook undisturbed for 5-6 minutes until the skin is deep golden brown and crispy. Flip and cook for another 2-3 minutes on the other side. The chicken won’t be fully cooked through yet, and that’s okay. Transfer the chicken to a plate and set aside.
- Sauté the Aromatics (3-4 minutes): Reduce the heat to medium. Add the remaining 2 tablespoons of butter to the pan. Toss in the diced onion and cook for 2-3 minutes, stirring occasionally, until it’s softened and translucent. Add the minced garlic and cook for just 30 seconds until fragrant. Be careful not to burn the garlic — it turns bitter fast.
- Toast the Rice (2 minutes): Add the rinsed rice to the pan. Stir it around in the garlic butter and onions for about 2 minutes. You’ll notice the rice starts to turn slightly translucent at the edges and smell nutty. This step is where the magic happens — it coats the grains in fat and prevents them from turning mushy.
- Add the Liquid and Seasoning (1 minute): Pour in the chicken broth and add the dried thyme. Stir everything together, scraping up any browned bits from the bottom of the pan with your wooden spoon. Those bits are packed with flavor from the seared chicken.
- Return the Chicken and Simmer (25-30 minutes): Nestle the seared chicken thighs back into the pan, skin-side up, on top of the rice. The rice should be mostly submerged in the liquid. Bring the mixture to a gentle boil, then reduce the heat to low. Cover the pan with a tight-fitting lid and let it simmer for 25-30 minutes. Don’t peek! Every time you lift that lid, you release precious steam. The rice needs that steam to cook evenly.
- Rest and Fluff (5 minutes): After 25 minutes, check the chicken for doneness — it should register 165°F (74°C) on an instant-read thermometer. The rice should be tender and have absorbed most of the liquid. Remove the pan from the heat and let it sit, covered, for 5 minutes. This resting period allows the rice to finish steaming and firm up slightly. After resting, fluff the rice gently with a fork, being careful not to break up the chicken.
- Garnish and Serve (2 minutes): Sprinkle the chopped fresh parsley over the top. If you’re using the lemon zest, add it now for a bright, fresh finish. Serve directly from the pan for a rustic, family-style presentation.
Cooking Tips & Techniques
I’ve made this recipe more times than I can count, and I’ve definitely had my share of learning moments. Here are the things I wish I knew from the start.
Don’t skip the rice rinsing. I know it’s an extra step, but it makes a huge difference. Unrinsed rice has surface starch that turns into a glue-like texture as it cooks. Rinsing gives you separate, fluffy grains. I learned this the hard way after a few gummy batches that were more like risotto than the tender rice I wanted.
Get that pan hot before adding the chicken. You want a good sizzle when the skin hits the butter. If the pan isn’t hot enough, the skin will stick and you’ll lose that beautiful golden crust. I once rushed this step and ended up with pale, rubbery skin. Not a good look for a dinner party.
Resist the urge to peek. I know it’s tempting to lift the lid and check on things, but every time you do, you let steam escape. That steam is what cooks the rice. If you’re worried about it burning, trust the process. A tight-fitting lid and low heat are your best friends here.
Let it rest. That 5-minute rest at the end isn’t optional. It allows the rice to absorb any remaining liquid and firm up. If you dig in right away, the rice might seem a little wet. Patience pays off here.
Scale up for a crowd. This recipe doubles beautifully. Just make sure you have a large enough pan. I use my biggest Dutch oven when I’m hosting — it holds everything comfortably. The cooking time stays roughly the same, but you might need an extra 5 minutes for the rice to absorb all the liquid.
Variations & Adaptations
One of the best things about this recipe is how flexible it is. Here are a few ways I’ve adapted it over the years.
Vegetable-Packed Version: After sautéing the onion and garlic, toss in a cup of diced bell peppers, carrots, or mushrooms. Cook them for 2-3 minutes before adding the rice. It adds color, texture, and extra nutrients. I did this once when I had leftover veggies in the fridge, and it turned out so well that it’s now my go-to for a more substantial meal.
Spicy Kick: Add ½ teaspoon of red pepper flakes or a finely chopped jalapeño along with the garlic. The heat cuts through the richness of the butter beautifully. A friend of mine added a splash of hot sauce at the end and swore it was the best version yet.
Herb Swap: If you don’t have thyme, try rosemary or oregano. Fresh herbs work wonderfully here — just double the amount and add them with the broth. I love using a mix of fresh rosemary and sage in the fall. It gives the dish a cozy, holiday feel.
Dairy-Free Adaptation: Swap the butter for a high-quality olive oil or a plant-based butter. The flavor changes slightly, but it’s still delicious. I’ve used a good extra virgin olive oil and it added a lovely fruity note that paired well with the garlic.
Different Protein: You can use bone-in, skin-on chicken breasts instead of thighs. Just watch the cooking time — breasts cook faster and can dry out. I’ve also made this with turkey thighs after Thanksgiving, and it was a fantastic way to use up leftovers.
Serving & Storage Suggestions
This dish is best served hot, straight from the pan. The steam rising from the garlic butter rice and the golden chicken skin makes for a gorgeous presentation. I like to bring the whole skillet to the table — it feels rustic and inviting, and it saves on dishes.
What to Serve Alongside: A simple green salad with a lemon vinaigrette is the perfect companion. The acidity cuts through the richness of the garlic butter. Steamed green beans or roasted asparagus also work beautifully. For a heartier meal, serve with a crusty baguette to soak up any extra sauce from the bottom of the pan.
Storage: Leftovers keep well in an airtight container in the refrigerator for up to 4 days. The flavors actually deepen overnight, making it even more delicious the next day. I’ve been known to make a double batch just for the leftovers.
Reheating: The best way to reheat is in a skillet over medium-low heat with a splash of chicken broth or water. Cover the pan and let it steam for 5-7 minutes until heated through. The microwave works in a pinch, but it can dry out the chicken and make the rice a little tough.
Freezing: This recipe freezes well for up to 3 months. Let it cool completely, then transfer to a freezer-safe container. To reheat, thaw in the refrigerator overnight and follow the stovetop reheating instructions above. I’ve frozen individual portions for quick lunches, and they’re a lifesaver on busy days.
Nutritional Information & Benefits
Here’s an estimated nutritional breakdown per serving (based on 6 servings):
| Nutrient | Amount |
|---|---|
| Calories | 485 |
| Protein | 32g |
| Fat | 22g |
| Saturated Fat | 9g |
| Carbohydrates | 38g |
| Fiber | 1g |
| Sugar | 2g |
| Sodium | 680mg |
Chicken thighs are a great source of protein, iron, and B vitamins, which support energy metabolism. Garlic is known for its immune-boosting properties and anti-inflammatory benefits. Butter, in moderation, provides fat-soluble vitamins like A, D, and E. This meal is naturally gluten-free (just check your broth) and can be adapted to be dairy-free.
I love that this dish feels indulgent but is actually quite balanced. It’s a complete meal in one pan — protein, carbs, and healthy fats. Pair it with a vegetable side, and you’ve got a dinner that’s both satisfying and nourishing.
Conclusion
This Easy One-Pan Garlic Butter Chicken and Rice has become a staple in my kitchen for good reason. It’s the recipe I turn to when I want to feed people without spending hours slaving over the stove. It’s the dish that makes me look like I put in way more effort than I actually did. And honestly, it’s just really, really good.
I hope you give this one a try. Don’t be afraid to make it your own — swap in your favorite herbs, add some veggies, or dial up the spice. The beauty of this recipe is that it’s forgiving and adaptable. It’s meant to be shared, tweaked, and enjoyed.
I’d love to hear how it turns out for you. Drop a comment below and let me know if you made any changes or if it became a hit at your dinner table. And if you’re looking for another easy crowd-pleaser, be sure to check out our crispy garlic chicken for another one-pan winner. Happy cooking!
Frequently Asked Questions
Can I use chicken breasts instead of thighs?
Yes, you can use bone-in, skin-on chicken breasts. The cooking time will be slightly shorter — check for doneness at around 20 minutes. Boneless, skinless breasts will cook even faster, so keep a close eye on them to prevent drying out.
Can I make this in a slow cooker?
You can, but the texture will be different. Sauté the chicken and aromatics in a skillet first, then transfer everything to a slow cooker. Cook on low for 3-4 hours. The rice might be softer than the stovetop version, but it’s still delicious.
Why is my rice mushy?
Mushy rice usually means too much liquid or the rice wasn’t rinsed. Make sure you rinse the rice until the water runs clear, and measure your broth accurately. Also, avoid lifting the lid during cooking — that steam is essential for proper cooking.
Can I add vegetables to this dish?
Absolutely! Diced bell peppers, carrots, mushrooms, or peas all work well. Add them after sautéing the onion and garlic, and cook for 2-3 minutes before adding the rice. This adds color, nutrition, and flavor.
How do I reheat leftovers without drying them out?
The best method is stovetop reheating. Add a splash of chicken broth or water to a skillet, add the leftovers, cover, and heat over medium-low for 5-7 minutes. This steams the rice and chicken back to life without drying them out.
Pin This Recipe!
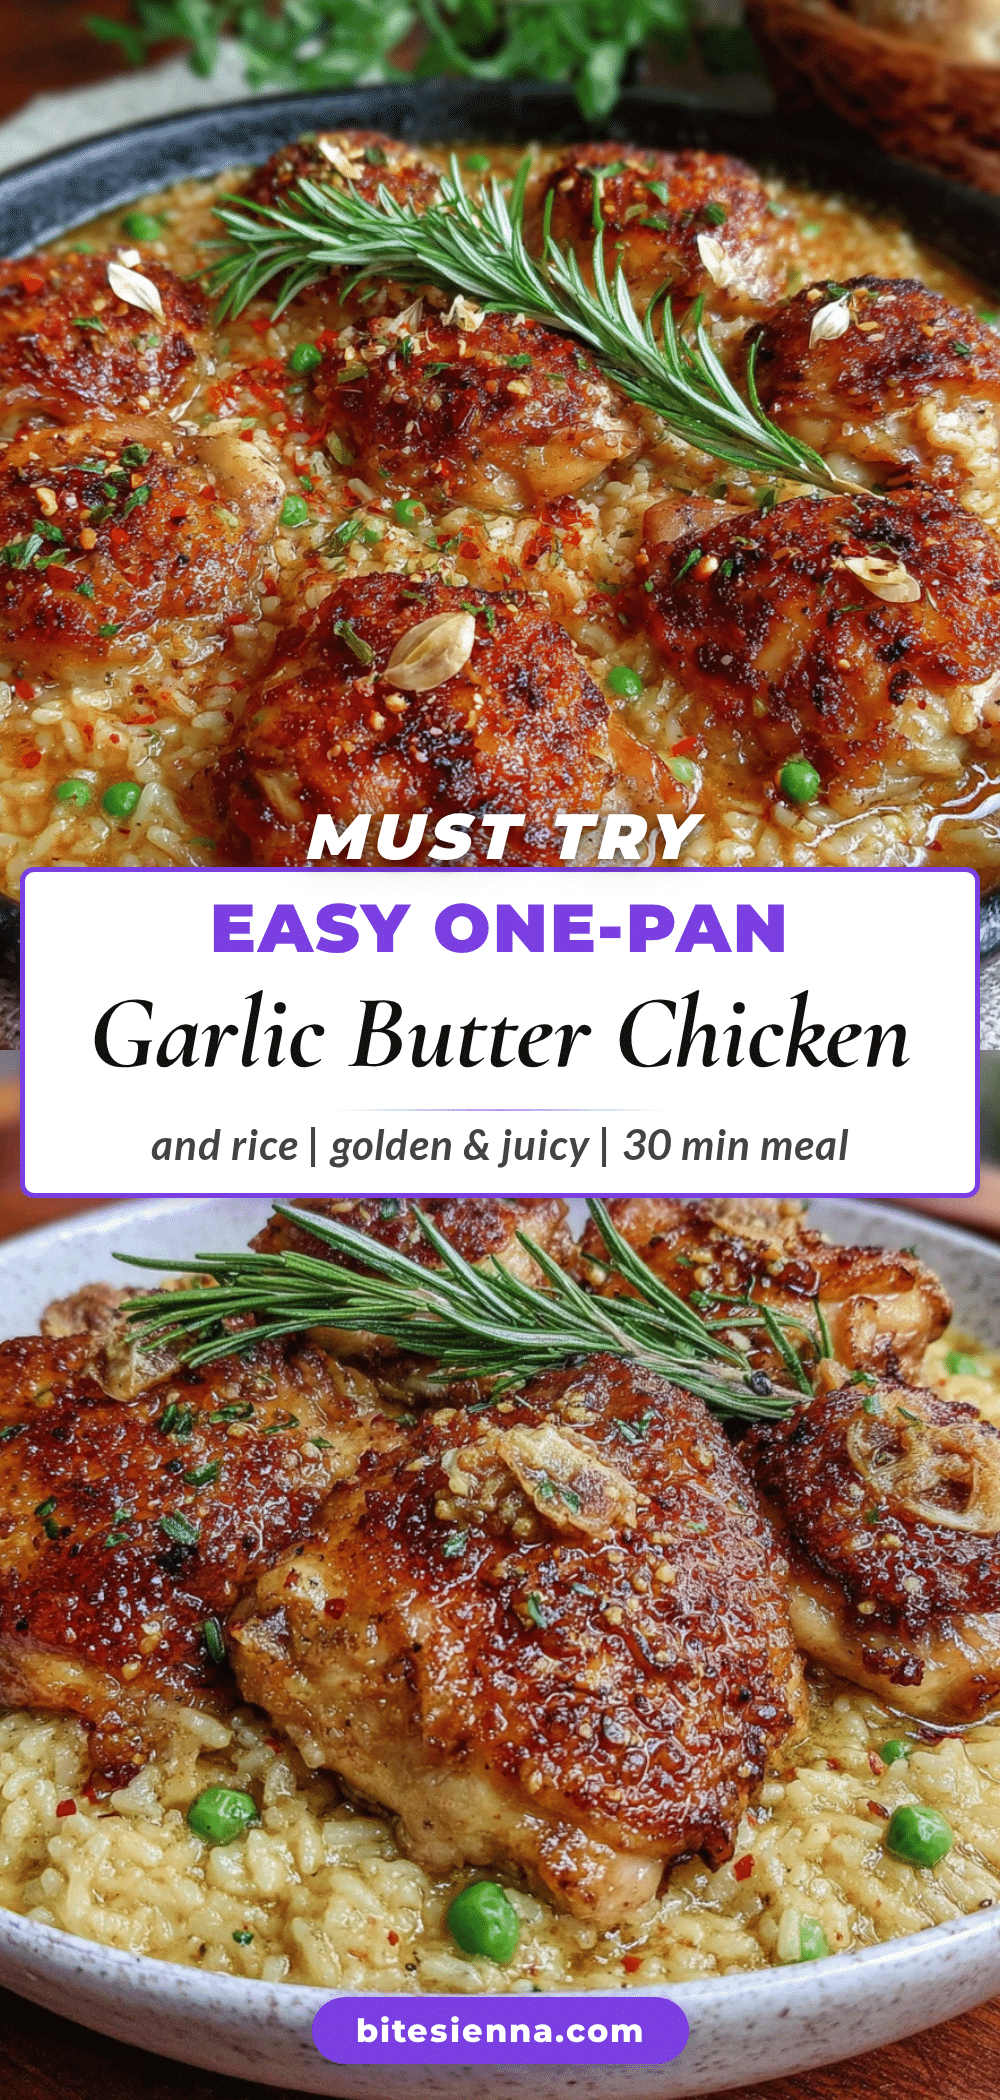
Easy One-Pan Garlic Butter Chicken and Rice: Best Weeknight Dinner

This Easy One-Pan Garlic Butter Chicken and Rice is a crowd-pleasing weeknight dinner that comes together in a single skillet. Tender, juicy chicken thighs are seared to golden perfection, then nestled into fluffy rice cooked in a rich garlic butter broth.
- Prep Time: 10 minutes
- Cook Time: 30 minutes
- Total Time: 45 minutes
- Yield: 6 servings 1x
- Category: Main Course
- Cuisine: American
Ingredients
- 6–8 bone-in, skin-on chicken thighs (about 2 lbs or 900g)
- 4 tablespoons (60g) unsalted butter
- 6–8 cloves garlic, minced
- 1 medium yellow onion, diced
- 1 ½ cups (300g) long-grain white rice (basmati or jasmine), rinsed
- 3 cups (720ml) low-sodium chicken broth
- 1 teaspoon dried thyme
- 1 teaspoon paprika
- Salt and black pepper to taste
- A handful fresh parsley, chopped
- Optional: zest of 1 lemon
Instructions
- Prep Your Ingredients (10 minutes): Rinse the rice in a fine-mesh strainer under cold water until the water runs clear. Pat the chicken thighs dry with paper towels and season generously on both sides with salt, pepper, and paprika.
- Sear the Chicken (8-10 minutes): Heat a large, deep skillet or Dutch oven over medium-high heat. Add 2 tablespoons of butter. Once melted and sizzling, place the chicken thighs skin-side down in a single layer. Cook undisturbed for 5-6 minutes until the skin is deep golden brown and crispy. Flip and cook for another 2-3 minutes. Transfer chicken to a plate and set aside.
- Sauté the Aromatics (3-4 minutes): Reduce heat to medium. Add the remaining 2 tablespoons of butter. Add the diced onion and cook for 2-3 minutes until softened. Add the minced garlic and cook for 30 seconds until fragrant.
- Toast the Rice (2 minutes): Add the rinsed rice to the pan. Stir for about 2 minutes until the rice turns slightly translucent and smells nutty.
- Add the Liquid and Seasoning (1 minute): Pour in the chicken broth and add the dried thyme. Stir, scraping up any browned bits from the bottom of the pan.
- Return the Chicken and Simmer (25-30 minutes): Nestle the seared chicken thighs back into the pan, skin-side up, on top of the rice. Bring to a gentle boil, then reduce heat to low. Cover with a tight-fitting lid and simmer for 25-30 minutes. Do not lift the lid.
- Rest and Fluff (5 minutes): Check that the chicken registers 165°F (74°C) and the rice is tender. Remove from heat and let sit, covered, for 5 minutes. Fluff the rice gently with a fork.
- Garnish and Serve (2 minutes): Sprinkle with chopped fresh parsley and optional lemon zest. Serve directly from the pan.
Notes
Don’t skip rinsing the rice for fluffy grains. Get the pan hot before searing the chicken for a golden crust. Resist the urge to peek during simmering. Let the dish rest for 5 minutes before serving. For a dairy-free version, substitute butter with high-quality olive oil. For a gluten-free option, ensure the broth is certified gluten-free.
Nutrition
- Serving Size: 1 serving (about 1/6
- Calories: 485
- Sugar: 2
- Sodium: 680
- Fat: 22
- Saturated Fat: 9
- Carbohydrates: 38
- Fiber: 1
- Protein: 32
Keywords: one-pan chicken and rice, garlic butter chicken, easy weeknight dinner, one skillet meal, chicken thigh recipe


