There used to be a tiny pumpkin patch out on Route 9, run by an older couple named the Garcias. They had this little stand where they sold the most incredible roasted pumpkin seeds—warm, salty, and so addictive you couldn’t stop eating them. When Mr. and Mrs. Garcia retired and the patch turned into a car lot three years ago, I honestly felt a little lost. Every fall, I’d find myself craving those seeds, and nothing from the store ever came close.
After maybe a dozen tries—some burnt, some too bland, a few that my kids politely described as “interesting”—I finally got it. This Kid-Approved Oven-Roasted Pumpkin Seeds with Sea Salt recipe is the one. It’s simple, it’s fast, and it brings back that exact salty crunch I thought I’d lost forever. Let me tell you, the first time I pulled a batch out of the oven and my youngest said, “Mom, these are better than the Garcia ones,” I almost teared up. Well, maybe not teared up, but I definitely did a little happy dance in the kitchen.
Maybe you’ve been there—a favorite snack from a place that just disappeared one day. Or maybe you’re just looking for a way to use up those pumpkin seeds after carving jack-o’-lanterns with the kids. Either way, this recipe is for you. It’s the kind of snack that makes everyone happy, and it costs next to nothing to make. Honestly, you won’t believe how easy it is until you try it.
Why You’ll Love This Recipe
I’ve tested this recipe more times than I care to admit, and here’s why it’s become a staple in our house. It’s not just another snack—it’s a crowd-pleaser that checks every box for a busy family.
- Quick & Easy: From start to finish, these seeds are ready in about 15 minutes. Perfect for those after-school hunger attacks or a last-minute movie night treat.
- Simple Ingredients: You need exactly four things—pumpkin seeds, olive oil, sea salt, and a little butter. No fancy grocery trips required.
- Perfect for Family Snacking: Great for lunchboxes, road trips, or just munching while you watch cartoons on a rainy Saturday.
- Crowd-Pleaser: I’ve served these at playdates, Halloween parties, and even Thanksgiving dinners. Kids and adults both gobble them up. Seriously, I’ve seen grown-ups sneak handfuls when they think no one’s looking.
- Unbelievably Delicious: The combination of a buttery coating and flaky sea salt creates this addictive crunch that’s way better than anything from a bag. It’s comfort food in its simplest form.
What makes this recipe different from all the others? It’s the technique. I learned the hard way that rinsing and drying the seeds properly is the secret to getting that perfect crunch. No soggy seeds here! Plus, using a mix of oil and butter gives you the best of both worlds—crispiness from the oil and rich flavor from the butter. This isn’t just another version of roasted seeds; it’s the one that’ll make you close your eyes after the first bite and smile.
This recipe is for those nights when you want something satisfying without spending hours in the kitchen. It’s for the mom who needs a quick win, the dad who wants to impress the kids, and the family that loves good food without breaking the bank. Honestly, it’s the kind of snack that makes you feel like a kitchen hero, even on a Tuesday.
What Ingredients You Will Need
This recipe uses simple, wholesome ingredients that you probably already have in your pantry. The magic is in how they come together to create that irresistible salty crunch. Here’s what you’ll need:
- 1 cup fresh pumpkin seeds (about the seeds from one medium pumpkin, cleaned and patted dry)
- 1 tablespoon olive oil (I prefer extra-virgin for flavor, but regular works fine too)
- 1 tablespoon unsalted butter, melted (adds richness and helps the salt stick better)
- 1 teaspoon flaky sea salt (like Maldon or a similar brand—trust me, the texture matters here)
That’s it! Four ingredients, and you’re on your way to the best pumpkin seeds you’ve ever had. But let me share a few tips I’ve picked up along the way.
On the pumpkin seeds: Fresh is best, but you can use store-bought raw pumpkin seeds (sometimes called pepitas) if you’re not carving a pumpkin. Just make sure they’re raw and unsalted. If you’re using seeds from a carving pumpkin, take the time to rinse them really well in a colander. You want to get all that stringy pumpkin pulp off, or you’ll end up with chewy, weird bits. I learned that the hard way after my first batch tasted like a pumpkin exploded in my mouth.
On the oil and butter: I recommend using a good-quality olive oil for the best flavor, but avocado oil works too if that’s what you have. The butter is optional, honestly, but it makes a huge difference. It gives the seeds a toasty, almost nutty flavor that you just can’t get from oil alone. If you’re dairy-free, skip the butter and use an extra tablespoon of oil instead. It’ll still be delicious, just a little less rich.
On the sea salt: Please don’t use regular table salt here. Flaky sea salt is the star of this show—it gives you those little bursts of saltiness that make each bite exciting. I’ve tried this with kosher salt in a pinch, and it’s okay, but not the same. The flaky stuff is worth the extra few cents. You can find it in most grocery stores now, usually near the spices or in the baking aisle.
One more thing: if you’re feeling adventurous, you can add a pinch of garlic powder or smoked paprika to the mix. My kids love the plain salted version best, but I sometimes sneak in a little cayenne for myself when I’m making a batch just for the grown-ups. Just don’t tell them!
Equipment Needed
You don’t need much for this recipe, which is part of why I love it so much. Here’s what you’ll need:
- Baking sheet (a standard half-sheet pan works perfectly; line it with parchment paper for easy cleanup)
- Colander (for rinsing the seeds—any size will do)
- Clean kitchen towel or paper towels (for drying the seeds thoroughly)
- Mixing bowl (medium-sized, for tossing the seeds with oil and butter)
- Spatula or wooden spoon (for stirring)
If you don’t have parchment paper, you can grease the baking sheet lightly with oil or cooking spray. I’ve gone without it before, and the seeds still come out fine—they just stick a little more. Honestly, parchment paper is a lifesaver for cleanup, so I recommend grabbing a roll if you don’t have one.
I’ve tried this recipe on both a dark non-stick baking sheet and a light aluminum one, and the light one works better. Dark pans tend to brown the seeds faster, which can lead to burning if you’re not careful. If that’s all you have, just check on them a couple minutes earlier than the recipe says.
And here’s a budget-friendly tip: you don’t need a fancy baking sheet. I bought mine at a discount store for five bucks, and it’s been going strong for years. As long as it’s flat and oven-safe, you’re good to go.
Preparation Method
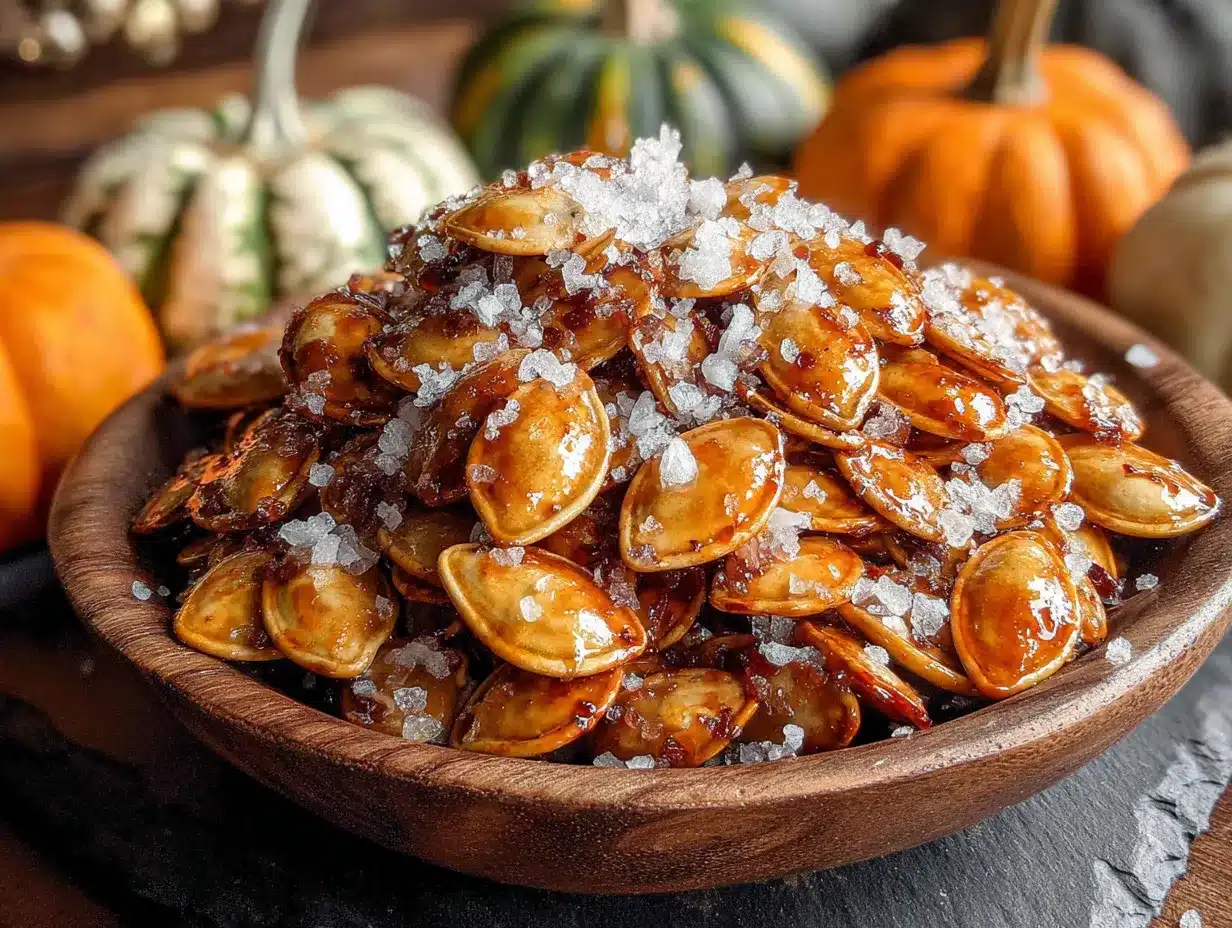
Alright, let’s get to the good stuff. Here’s how to make these little crunchy miracles. I’ve broken it down step by step so even a beginner can nail it.
- Preheat your oven to 350°F (175°C). This is important—don’t skip it. You want the oven nice and hot so the seeds crisp up quickly without drying out. While it’s heating, line your baking sheet with parchment paper.
- Clean the pumpkin seeds thoroughly. Place your seeds in a colander and rinse them under cool running water. Use your fingers to rub off any stringy pumpkin bits. This takes about 2-3 minutes. You’ll know they’re clean when the water runs clear and the seeds feel smooth, not slimy.
- Dry the seeds completely. This is the step most people mess up. Spread the rinsed seeds on a clean kitchen towel or a layer of paper towels. Pat them dry gently, then let them sit for about 5 minutes to air-dry. You want them dry to the touch—any moisture left on the seeds will make them steam instead of roast, and nobody wants soggy seeds. Trust me, I learned this after my first batch came out chewy and sad.
- Toss the seeds with oil and butter. In a medium mixing bowl, combine the dried seeds, olive oil, and melted butter. Stir with a spatula or wooden spoon until every seed is coated. This should take about 30 seconds. You want them glistening but not swimming in liquid.
- Spread the seeds in a single layer on the baking sheet. Use your spatula to spread them out evenly. Make sure no seeds are overlapping—if they’re piled up, they’ll steam instead of roast. It’s okay if they touch a little, but you want mostly a single layer.
- Roast for 10-12 minutes, stirring halfway through. Set a timer for 6 minutes, then pull the pan out and give the seeds a good stir with your spatula. This ensures even browning. Put them back in for another 4-6 minutes. Keep an eye on them during the last 2 minutes—they can go from golden to burnt really fast. You’re looking for a light golden-brown color and a nutty aroma filling your kitchen.
- Season immediately with sea salt. As soon as the seeds come out of the oven, sprinkle the flaky sea salt over them while they’re still hot. The heat helps the salt stick. Toss them gently with your spatula to distribute the salt evenly.
- Let them cool completely on the baking sheet. This is the hardest part, I know. But if you eat them right away, they won’t be as crunchy. They need about 10-15 minutes to cool and crisp up fully. Trust the process. While you wait, the kitchen will smell amazing, and your kids will probably be circling like little sharks.
A few extra notes: If your seeds are on the larger side (like from a big carving pumpkin), they might need an extra minute or two. If they’re small (like from a sugar pumpkin), check them at the 8-minute mark. Every oven is a little different, so get to know yours. My old oven ran hot, and I burnt two batches before I figured it out. Now I always set the timer for the lower end and check from there.
Cooking Tips & Techniques
I’ve made this recipe more times than I can count, and I’ve picked up a few tricks along the way. Here’s what I wish someone had told me when I started:
Dry those seeds like your life depends on it. I cannot stress this enough. Wet seeds = sad, chewy seeds. After rinsing, I spread them on a towel and let them sit for a good 10 minutes while I preheat the oven. Sometimes I even pat them dry with a second towel. Yes, I’m that person now.
Don’t overcrowd the pan. I know it’s tempting to throw all the seeds on one pan, especially if you’re short on time. But if they’re piled up, they’ll steam and never get that satisfying crunch. Use two pans if you have to, or roast in batches. Your patience will be rewarded.
Watch the last few minutes like a hawk. Ovens are unpredictable creatures. I once left my seeds in for two extra minutes while I answered the phone, and they went from perfect to charcoal. Now I stand by the oven during the last 3 minutes, peeking through the window like a crazy person.
Season while hot, but don’t add wet ingredients after roasting. The heat helps the salt stick, but if you add anything wet (like a sauce or more oil) after they’re done, they’ll lose their crunch. If you want to experiment with flavors, add dry spices before roasting, not after.
Let them cool completely. I know, I keep saying this. But it’s because I’ve ruined so many batches by digging in too early. The seeds continue to crisp up as they cool. Give them 15 minutes, and you’ll be rewarded with the perfect crunch.
One more thing: if you’re making a big batch, spread the seeds out on a cooling rack after roasting instead of leaving them on the hot pan. This helps them cool faster and more evenly. I learned this trick from a pastry chef friend, and it works like a charm.
Variations & Adaptations
Once you’ve mastered the basic recipe, the possibilities are endless. Here are some of my favorite variations:
- Spicy Kick: Add 1/4 teaspoon of cayenne pepper and 1/2 teaspoon of smoked paprika to the oil mixture before roasting. My husband loves this version, though the kids think it’s too hot. I make a separate batch just for us grown-ups sometimes.
- Sweet & Salty: After roasting, toss the hot seeds with 1 tablespoon of maple syrup or honey along with the sea salt. Spread them back on the pan and let them cool completely. The sugar crystallizes and gives you this amazing sweet-savory crunch. My youngest calls these “candy seeds” and begs for them constantly.
- Garlic Lovers: Mix 1/2 teaspoon of garlic powder and 1/2 teaspoon of onion powder into the oil before tossing with the seeds. This is perfect for snacking or sprinkling over salads and soups. I’ve even used them as a topping for mac and cheese—game changer.
- Everything Bagel Style: After seasoning with salt, sprinkle the seeds with 1 tablespoon of everything bagel seasoning (poppy seeds, sesame seeds, dried garlic, dried onion, and salt). This is my current obsession. They’re amazing on avocado toast.
- Cheesy Herb: Add 1 tablespoon of nutritional yeast and 1 teaspoon of dried rosemary to the oil mixture. The nutritional yeast gives a cheesy, umami flavor that’s surprisingly addictive. Great for vegan families.
For dietary adaptations, this recipe is naturally gluten-free and can be made dairy-free by skipping the butter and using an extra tablespoon of oil. If you’re watching your sodium, reduce the sea salt to 1/2 teaspoon—they’ll still be delicious, just less salty.
I once tried a batch with coconut oil instead of olive oil, and it was surprisingly good. The seeds had a subtle tropical flavor that worked well with the salt. Not my go-to, but fun for a change.
Serving & Storage Suggestions
These seeds are best served at room temperature, straight from the cooling pan. But they’re also fantastic in so many other ways:
- As a snack: Pile them in a bowl and watch them disappear. Perfect for movie nights, playdates, or just a Tuesday afternoon.
- On salads: Sprinkle them over a simple green salad for extra crunch. They’re especially good on spinach salads with dried cranberries and goat cheese.
- In lunchboxes: Pack a small container for a school snack. My kids love finding these in their lunch—they feel like a treat.
- On soups: Use them as a garnish for butternut squash soup or tomato bisque. The salty crunch is the perfect contrast to creamy soup.
- In trail mix: Combine with dried fruit, dark chocolate chips, and nuts for a custom trail mix.
Storage instructions: Store cooled seeds in an airtight container at room temperature. They’ll stay fresh for up to 2 weeks—if they last that long. In my house, they’re usually gone within 3 days. Do not refrigerate them, as the moisture will make them soft.
If you need to re-crisp them (say, after a few days), spread them on a baking sheet and pop them in a 300°F (150°C) oven for 3-4 minutes. Let them cool again before eating. I’ve done this multiple times, and it works perfectly.
One thing I’ve noticed: the flavors actually develop a bit over the first day. The salt settles in, and the seeds become even more delicious on day two. So if you can resist eating them all immediately, you’re in for a treat.
Nutritional Information & Benefits
These roasted pumpkin seeds aren’t just delicious—they’re packed with good stuff too. Here’s a rough breakdown per 1/4 cup serving (about a handful):
- Calories: Approximately 180
- Protein: 8 grams
- Healthy Fats: 15 grams (mostly unsaturated)
- Fiber: 2 grams
- Iron: 15% of the daily value
- Magnesium: 20% of the daily value
- Zinc: 10% of the daily value
Pumpkin seeds are a fantastic source of magnesium, which is important for sleep, muscle function, and bone health. They’re also rich in antioxidants and healthy fats that support heart health. For a snack that feels indulgent, it’s surprisingly good for you.
This recipe is naturally gluten-free and can be made dairy-free with a simple swap. It’s also low in sugar (none added) and works well for low-carb or keto diets in moderation. Just keep an eye on portion sizes if you’re watching calories—it’s easy to eat a whole batch without realizing it!
Potential allergens: This recipe contains dairy (butter) unless you use a dairy-free substitute. It’s naturally free of nuts, eggs, soy, and gluten, making it a great option for many common dietary restrictions.
I love that I can feel good about giving these to my kids. They’re getting real food with real nutrients, not a bag of processed junk. And the best part? They have no idea they’re eating something healthy. Win-win.
Conclusion
So there you have it—my little tribute to the Garcia pumpkin patch, perfected in my own kitchen. This Kid-Approved Oven-Roasted Pumpkin Seeds with Sea Salt recipe is proof that sometimes the simplest things are the best. With just four ingredients and about 15 minutes, you can create a snack that brings back memories, makes new ones, and keeps everyone happy.
I encourage you to make this recipe your own. Play with the seasonings, try different salts, or get the kids involved in the process. My youngest loves helping rinse the seeds, even if it means water all over the counter. That’s part of the fun, right? Don’t be afraid to experiment—cooking is supposed to be joyful, not perfect.
If you try this recipe, I’d love to hear about it. Drop a comment below and tell me how it went. Did your kids love them? Did you try a crazy variation? Share your pumpkin seed adventures with me. And if you’re looking for more easy family snacks, check out my homemade granola bars or easy oven-baked kale chips for more crunchy goodness.
Happy roasting, friends. May your seeds always be crunchy and your kitchen always smell like fall.
Frequently Asked Questions
Can I use store-bought pumpkin seeds instead of fresh ones?
Absolutely! Look for raw, unsalted pumpkin seeds (often called pepitas) in the bulk section or baking aisle. Just skip the rinsing and drying steps, and toss them directly with the oil and butter. They might roast a minute or two faster since they’re already dry, so keep an eye on them.
Why did my pumpkin seeds turn out chewy instead of crunchy?
This usually happens for two reasons: either the seeds weren’t dried thoroughly before roasting, or they were piled too thick on the baking sheet. Next time, pat them dry really well and spread them in a single layer. Also, make sure your oven is fully preheated before you put them in.
How long do these roasted pumpkin seeds stay fresh?
Stored in an airtight container at room temperature, they’ll stay fresh and crunchy for up to 2 weeks. But honestly, they never last that long in my house. If they start to lose their crunch after a few days, just re-crisp them in a 300°F oven for 3-4 minutes.
Can I make these in an air fryer instead of an oven?
Yes! Preheat your air fryer to 325°F (160°C). Toss the seeds with oil, butter, and salt, then spread them in the basket in a single layer. Cook for 6-8 minutes, shaking the basket halfway through. Keep a close eye on them since air fryers can vary. They’ll be even crispier than oven-roasted!
Are these pumpkin seeds healthy for kids?
Definitely! Pumpkin seeds are packed with protein, healthy fats, fiber, and important minerals like magnesium and zinc. This recipe uses minimal added fat and salt, making it a wholesome snack option. Just watch portion sizes since they’re calorie-dense. A small handful is perfect for little ones.
Pin This Recipe!
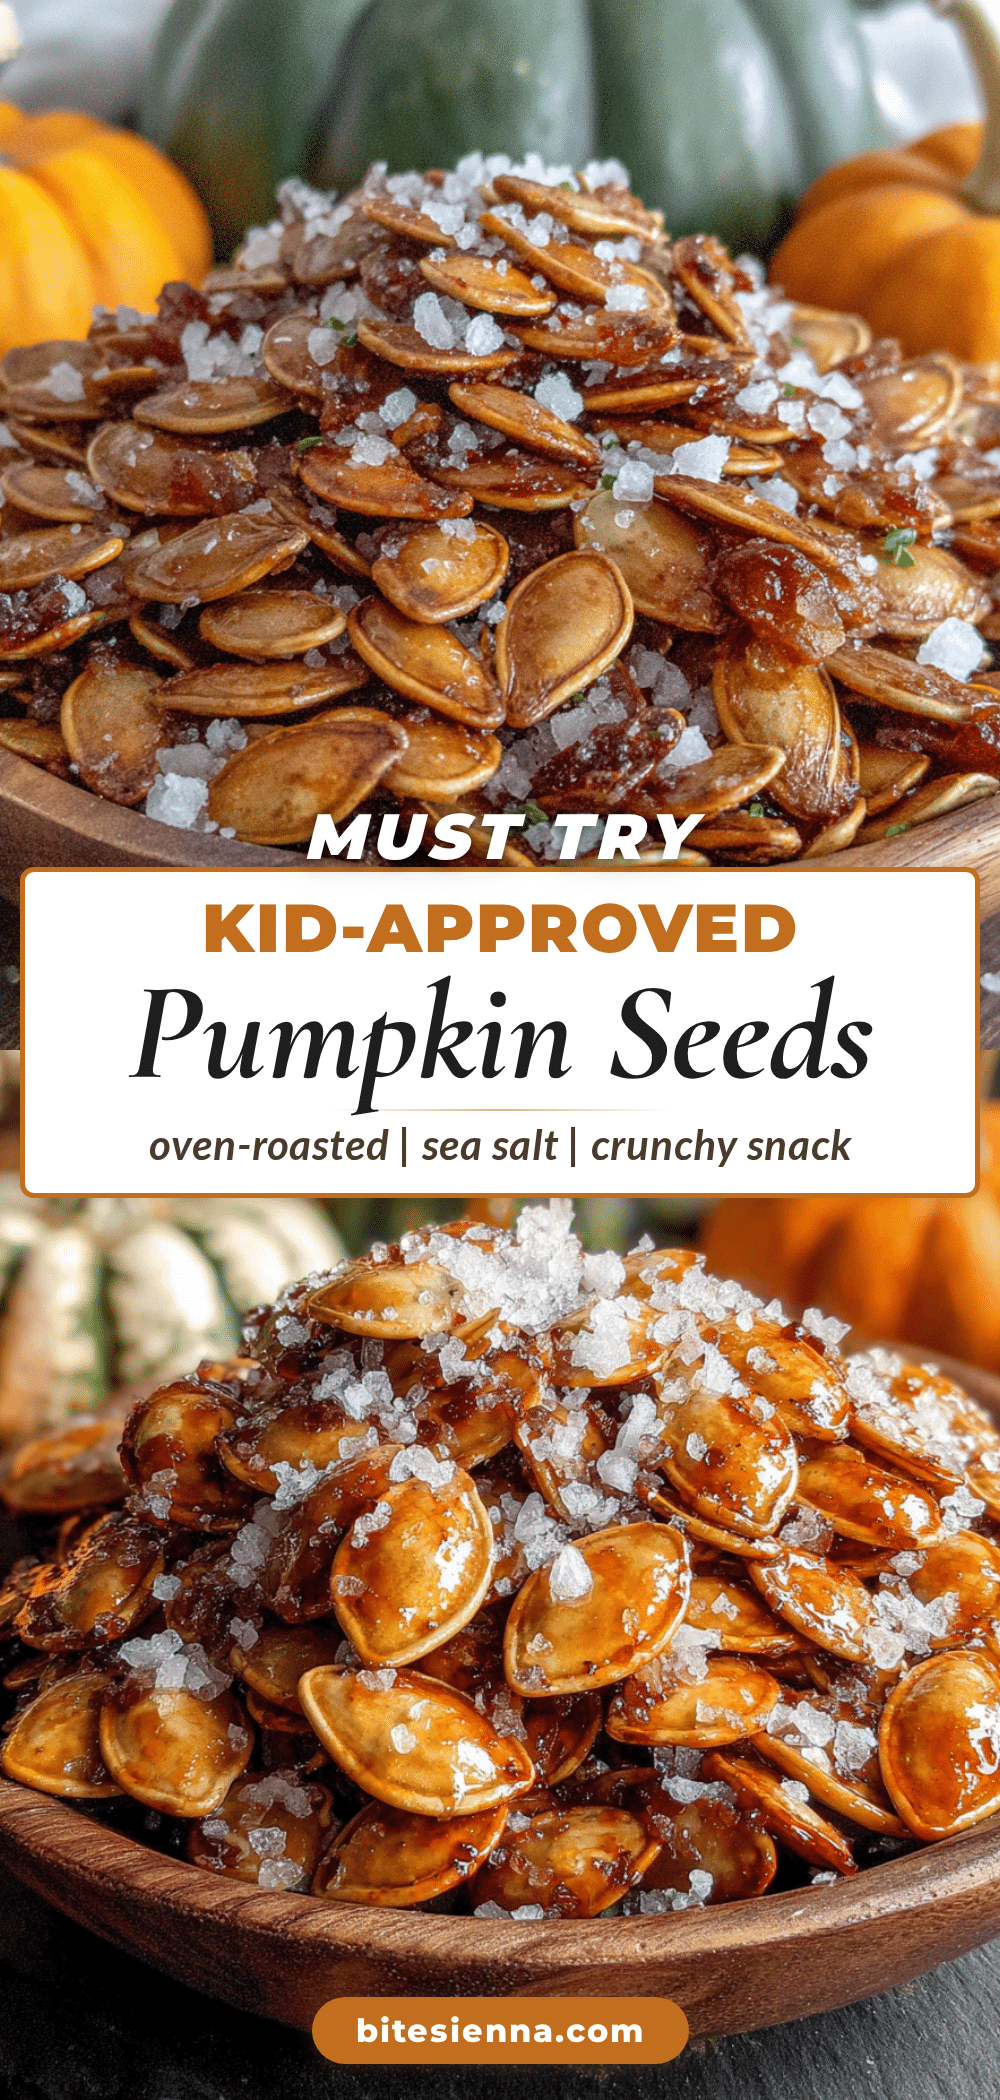
Kid-Approved Oven-Roasted Pumpkin Seeds with Sea Salt – Easy 15-Minute Snack
A simple, fast recipe for perfectly crunchy roasted pumpkin seeds with a buttery coating and flaky sea salt. Ready in about 15 minutes, this crowd-pleasing snack is ideal for after-school hunger attacks, movie nights, or using up pumpkin seeds after carving jack-o’-lanterns.
- Prep Time: 5 minutes
- Cook Time: 10-12 minutes
- Total Time: 15-17 minutes
- Yield: 4 servings (1/4 cup each) 1x
- Category: Snack
- Cuisine: American
Ingredients
- 1 cup fresh pumpkin seeds (about the seeds from one medium pumpkin, cleaned and patted dry)
- 1 tablespoon olive oil (extra-virgin preferred)
- 1 tablespoon unsalted butter, melted
- 1 teaspoon flaky sea salt (like Maldon)
Instructions
- Preheat your oven to 350°F (175°C). Line a baking sheet with parchment paper.
- Clean the pumpkin seeds thoroughly: Place seeds in a colander and rinse under cool running water, using your fingers to rub off any stringy pumpkin bits. Rinse until water runs clear and seeds feel smooth (about 2-3 minutes).
- Dry the seeds completely: Spread rinsed seeds on a clean kitchen towel or paper towels. Pat dry gently, then let sit for about 5 minutes to air-dry until dry to the touch.
- Toss the seeds with oil and butter: In a medium mixing bowl, combine dried seeds, olive oil, and melted butter. Stir with a spatula or wooden spoon until every seed is coated (about 30 seconds).
- Spread the seeds in a single layer on the prepared baking sheet. Ensure no seeds are overlapping.
- Roast for 10-12 minutes, stirring halfway through: Roast for 6 minutes, then stir. Return to oven for another 4-6 minutes until seeds are light golden-brown and fragrant.
- Season immediately with sea salt: As soon as seeds come out of the oven, sprinkle flaky sea salt over them while still hot. Toss gently to distribute evenly.
- Let them cool completely on the baking sheet (about 10-15 minutes) before serving.
Notes
Dry seeds thoroughly to avoid chewiness. Do not overcrowd the pan. Watch the last few minutes closely to prevent burning. Season while hot for best salt adhesion. Let cool completely for maximum crunch. For larger seeds, add 1-2 minutes; for smaller seeds, check at 8 minutes. Store in an airtight container at room temperature for up to 2 weeks. Re-crisp in a 300°F oven for 3-4 minutes if needed.
Nutrition
- Serving Size: 1/4 cup (about a han
- Calories: 180
- Sodium: 290
- Fat: 15
- Saturated Fat: 3
- Carbohydrates: 6
- Fiber: 2
- Protein: 8
Keywords: roasted pumpkin seeds, sea salt pumpkin seeds, easy snack, kid-friendly, fall snack, Halloween snack, healthy snack, gluten-free, dairy-free option


