There used to be this tiny bakery tucked on a side street in Portland called Butter & Salt that made a spiderweb brownie that I still dream about. When they closed their doors three years ago — right before Halloween, which felt like a cruel joke — I almost panicked. I mean, I literally stood outside their shuttered window, peering through the glass like some kind of dessert detective, hoping it was just a renovation. It wasn’t.
After twelve tries — twelve, let me tell you, my neighbors were very patient taste-testers — I finally cracked the code. The problem was never the brownie itself. That part was easy. It was that gorgeous spiderweb design on top, the way the peanut butter swirled through the dark chocolate without completely disappearing, the perfect balance of salty and sweet. I ruined more batches than I care to admit. One time I used crunchy peanut butter by accident and the web just… clumped. Another time I overbaked and the web turned into a sad, cracked desert floor.
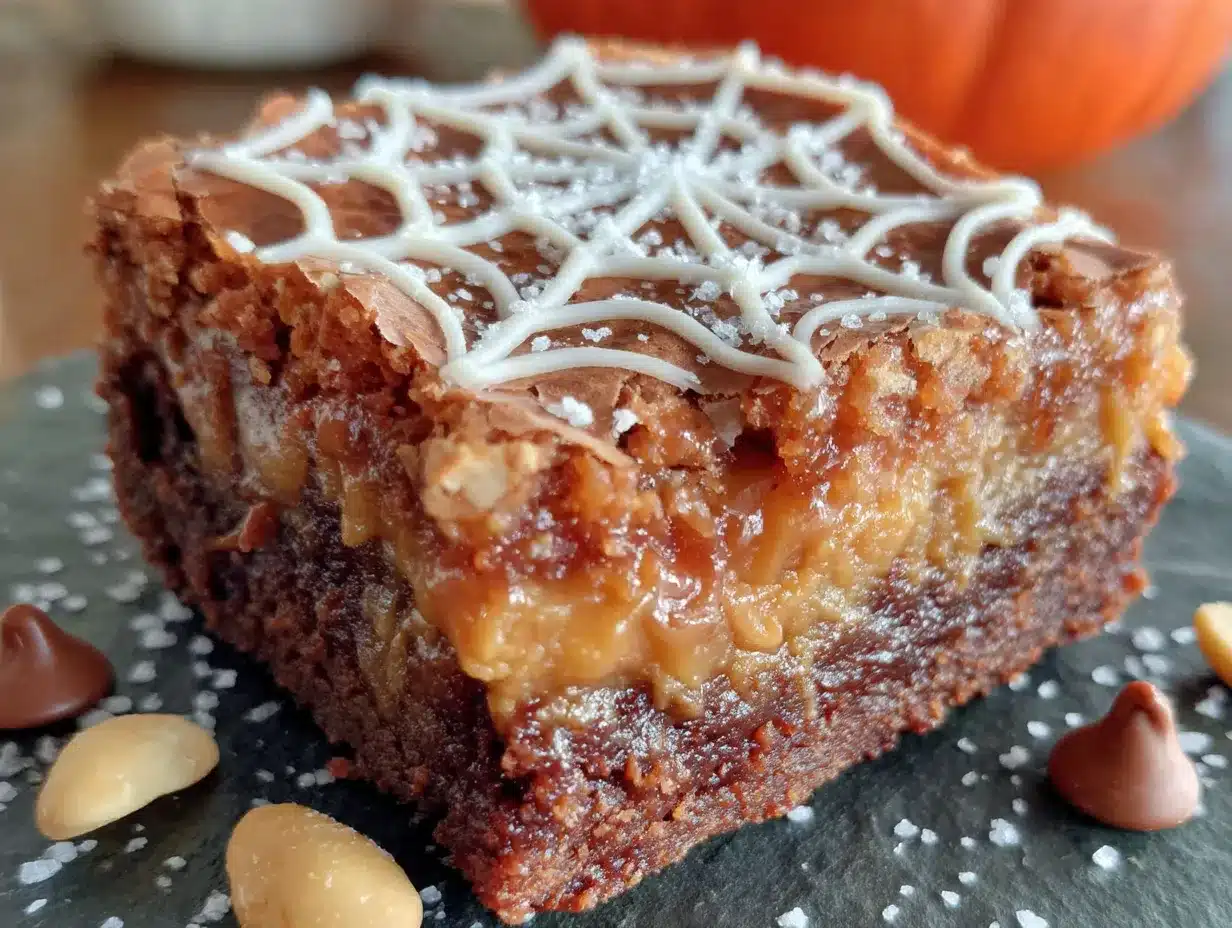
But this version? This is the one. The brownie base is fudgy and rich, the peanut butter swirl is silky and just salty enough, and that spiderweb pattern? It actually works without being a total pain. You know that feeling when you finally nail a recipe you’ve been chasing? Yeah, that’s this brownie.
Honestly, I make these now for every gathering I host. They disappear fast, and people always ask for the recipe. And every time I pull a pan out of the oven, I think about that little bakery and smile. Maybe you’ve been there — chasing a taste from somewhere that no longer exists. This one’s for you.
Why You’ll Love This Recipe
Let’s be real for a second. There are a million brownie recipes out there, and most of them are fine. But these spiderweb chocolate peanut butter brownies? They’re the ones you’ll actually want to show off. Here’s why they work so well for hosting:
- Looks Complicated, Isn’t : That spiderweb design looks like something from a professional bakery, but it’s just a toothpick and a steady hand. I promise, if I can do it after my third glass of wine, you can do it sober.
- Feeds a Crowd : This recipe makes a full 9×13 pan, which means you’re getting about 24 generous squares. Perfect for potlucks, dinner parties, or just a Tuesday that needs some excitement.
- Make-Ahead Friendly : These brownies actually taste better the next day. The flavors meld together, and the texture gets even fudgier. You can bake them the night before your party and just slice them before guests arrive.
- Two Flavors, One Bite : The dark chocolate base is rich and intense, while the peanut butter swirl adds creaminess and a salty kick. It’s the kind of combo that makes people close their eyes on the first bite.
- No Fancy Equipment : You probably already have everything you need. No stand mixer required, no specialty pans, no weird ingredients you’ll never use again.
What makes these different from every other peanut butter brownie recipe? It’s the technique. Most recipes just dollop peanut butter on top and call it a day. But this one uses a warm peanut butter mixture that spreads differently, creating that distinct web pattern without sinking into the batter. Plus, the salt level is dialed in perfectly — just enough to balance the sweetness without making it taste like a pretzel.
These brownies are the kind that make you feel like a hero at a party. They’re impressive without being stressful, delicious without being fussy. And honestly? They’re the reason I’m known as “the brownie person” in my friend group. I’m not mad about it.
Ingredients Needed
This recipe uses simple, mostly pantry-staple ingredients to deliver that bakery-quality result. Here’s what you’ll need, broken down by component:
For the Brownie Base
- 1 cup (226g) unsalted butter, melted and slightly cooled
- 2 cups (400g) granulated sugar
- 4 large eggs, room temperature (this matters for even mixing)
- 2 teaspoons vanilla extract
- 1 cup (120g) all-purpose flour, spooned and leveled
- ¾ cup (75g) unsweetened cocoa powder (I prefer Ghirardelli for depth of flavor)
- ½ teaspoon salt
- ½ teaspoon baking powder
For the Peanut Butter Swirl
- ¾ cup (180g) creamy peanut butter (I use Skippy natural — avoid natural styles that separate too much)
- ¼ cup (56g) unsalted butter, softened
- ½ cup (60g) powdered sugar
- ½ teaspoon vanilla extract
- Pinch of salt (optional, depending on how salty your peanut butter is)
Ingredient Notes & Substitutions:
- Peanut Butter : Stick with creamy, commercial peanut butter for the swirl. Natural peanut butters that separate can make the web pattern greasy and messy. If you must use natural, stir it really well first and add an extra tablespoon of powdered sugar.
- Cocoa Powder : Dutch-process cocoa will give you a darker, more intense brownie. Regular unsweetened works fine too. I’ve used both and honestly, the difference is subtle once the peanut butter is involved.
- Butter : Salted butter works if that’s all you have — just reduce the added salt in the brownie batter to ¼ teaspoon.
- Eggs : Room temperature eggs emulsify better with the melted butter, giving you a shinier, crackly top. If you forget to take them out early, place them in a bowl of warm water for 5 minutes.
- Flour : For a gluten-free version, swap in a 1:1 gluten-free baking flour blend. I’ve used Bob’s Red Mill with good results.
Equipment Needed
You don’t need much for these brownies, which is part of the beauty. Here’s what I use:
- 9×13-inch baking pan : Glass, ceramic, or metal all work. If using metal, reduce baking time by 5 minutes since metal conducts heat faster.
- Parchment paper : Non-negotiable. It makes lifting the brownies out so much easier and prevents sticking. Leave overhang on two sides for handles.
- Large mixing bowl : For the brownie batter. Any big bowl works.
- Medium mixing bowl : For the peanut butter swirl mixture.
- Whisk : For combining the wet ingredients.
- Rubber spatula : For folding in the dry ingredients without overmixing.
- Toothpick or skewer : This is your spiderweb tool. A thin wooden skewer works better than a thick toothpick for creating clean lines.
- Small saucepan or microwave-safe bowl : For melting the butter.
- Cooling rack : Helps the brownies cool evenly so the top sets properly.
If you don’t have parchment paper, you can grease the pan thoroughly with butter and dust it with cocoa powder. But honestly, parchment is worth buying — it saves so much cleanup time.
Preparation Method
Alright, let’s make these spiderweb beauties. Take your time with the web pattern — it’s easier than it looks, I promise.
- Preheat and Prep : Preheat your oven to 350°F (175°C). Line your 9×13 pan with parchment paper, leaving about 2 inches of overhang on the long sides. This creates handles for lifting the brownies out later.
- Melt the Butter : In a small saucepan over low heat, melt 1 cup of butter. Or microwave it in 30-second bursts in a microwave-safe bowl. Let it cool for about 5 minutes — you don’t want it hot enough to cook the eggs when you mix them in.
- Mix the Wet Ingredients : In a large bowl, whisk together the melted butter and 2 cups of sugar until combined. It’ll look a bit grainy, that’s fine. Add the 4 eggs one at a time, whisking well after each addition. Stir in the 2 teaspoons of vanilla. The mixture should look smooth and slightly glossy.
- Add the Dry Ingredients : In a separate small bowl, whisk together the flour, cocoa powder, salt, and baking powder. Gradually add this to the wet mixture, folding gently with a rubber spatula. Stop as soon as you don’t see any more white flour streaks — overmixing makes brownies tough and cakey.
- Pour the Batter : Scrape the brownie batter into your prepared pan and spread it evenly. Use the spatula to smooth the top. The batter will be thick, that’s what you want.
- Make the Peanut Butter Swirl : In a medium microwave-safe bowl, combine the peanut butter and ¼ cup of softened butter. Microwave in 20-second bursts, stirring between each, until smooth and spreadable. Stir in the powdered sugar, vanilla, and a pinch of salt until fully combined. The mixture should be thick but pourable — if it’s too stiff, microwave for another 10 seconds.
- Create the Spiderweb : Drop spoonfuls of the peanut butter mixture randomly over the brownie batter. You want about 8 to 10 dollops spaced evenly. Then, using a butter knife or offset spatula, gently swirl the peanut butter into the brownie batter in a figure-eight motion. Don’t over-swirl — you want distinct pockets, not a fully blended batter.
- Draw the Web : Here’s the fun part. Dip a toothpick or thin skewer into the peanut butter mixture (or just use the peanut butter already on top). Starting from the center of the pan, drag the toothpick outward in a straight line toward the edge. Then do another line from the center at a 45-degree angle. Repeat until you’ve created a web pattern across the entire surface. Wipe the toothpick clean between lines for crisp edges.
- Bake : Place the pan in the preheated oven and bake for 30 to 35 minutes. The edges should look set and slightly pulled away from the pan, and the center should be just barely jiggly when you gently shake the pan. A toothpick inserted into the center should come out with a few moist crumbs, not wet batter.
- Cool Completely : Transfer the pan to a cooling rack and let the brownies cool completely in the pan — about 2 hours. This is crucial. If you cut them while warm, they’ll fall apart and the web pattern will smudge. I know it’s hard to wait, but trust me.
- Slice and Serve : Once completely cool, use the parchment handles to lift the brownies out of the pan. Place them on a cutting board and slice into 24 squares using a sharp knife. Wipe the knife clean between cuts for neat edges.
Cooking Tips & Techniques
I’ve made these brownies more times than I care to count, and I’ve learned a few things the hard way. Here’s what I wish someone had told me:
- Don’t Overbake : The biggest mistake people make with brownies is leaving them in the oven too long. Remember, they continue cooking from residual heat after you pull them out. Take them out when the center still looks slightly underdone — a toothpick should come out with moist crumbs, not clean. Clean toothpick = overbaked brownies.
- Room Temperature Eggs Matter : I know it sounds fussy, but cold eggs can seize the melted butter, creating a lumpy batter. If you forget to take them out early, place them in a bowl of warm water for 5 minutes before cracking them.
- The Toothpick Trick for Clean Webs : Wipe your toothpick or skewer clean after every line you draw. If you don’t, the peanut butter drags through the batter and creates muddy, indistinct lines. Keep a paper towel handy and wipe between each stroke.
- Patience with Cooling : I once tried to cut these after 30 minutes because I was impatient and wanted to bring them to a party. Disaster. The brownies crumbled, the web pattern smeared, and I ended up with a pan of brownie rubble. Still delicious, but not pretty. Let them cool completely.
- Line the Pan Properly : Cut your parchment paper wide enough so it extends past the edges on two sides. This gives you handles to lift the entire block of brownies out cleanly. If you skip this step, you’ll be digging brownies out with a spatula and swearing.
Variations & Adaptations
Once you’ve mastered the basic recipe, feel free to play around. Here are some variations I’ve tried and loved:
- Chocolate Peanut Butter Cup Version : Before adding the peanut butter swirl, press 12 mini peanut butter cups into the brownie batter, spacing them evenly. Then proceed with the swirl and web pattern. You get surprise pockets of melty peanut butter cup in every bite.
- Spicy Mexican Chocolate Twist : Add ½ teaspoon of cinnamon and ¼ teaspoon of cayenne pepper to the brownie batter along with the dry ingredients. The warmth of the spices pairs beautifully with the rich chocolate and creamy peanut butter.
- Vegan Adaptation : Substitute the butter with vegan butter (I use Earth Balance), replace the eggs with flax eggs (2 tablespoons ground flaxseed mixed with 6 tablespoons water, let sit for 5 minutes), and use a vegan peanut butter. The texture will be slightly denser but still delicious.
- Gluten-Free Option : Swap the all-purpose flour for a 1:1 gluten-free baking blend. I’ve had success with Bob’s Red Mill. Add an extra tablespoon of flour since gluten-free blends tend to absorb more liquid.
- Double Peanut Butter : For the true peanut butter fanatics, add ½ cup of chopped peanut butter chips to the brownie batter before pouring it into the pan. They melt into gooey pockets of peanut butter goodness.
Serving & Storage Suggestions
These brownies are versatile enough for any occasion. Here’s how to serve and store them:
Serving Suggestions:
Serve these brownies at room temperature for the best texture. If you want to get fancy, warm them slightly in the microwave for 10 seconds and top with a scoop of vanilla ice cream. The warm brownie + cold ice cream combo is absolutely killer. For a dinner party, dust the tops with a little powdered sugar or flaky sea salt right before serving — it makes them look even more impressive.
What to Serve Alongside:
These brownies are rich enough to stand alone, but they pair beautifully with a cold glass of milk, a hot cup of coffee, or even a glass of red wine (a fruity Zinfandel works surprisingly well). If you’re hosting a dessert bar, set them out next to fresh berries and whipped cream for contrast.
Storage Instructions:
Store leftover brownies in an airtight container at room temperature for up to 5 days. Layer them with parchment paper between each layer to prevent sticking. Do not refrigerate — the fridge dries out brownies and makes them crumbly.
Freezing Instructions:
These brownies freeze beautifully. Once completely cool, wrap the entire slab (or individual squares) tightly in plastic wrap, then in aluminum foil. Freeze for up to 3 months. To thaw, let them sit at room temperature for about 2 hours, still wrapped, to prevent condensation from making them soggy.
Make-Ahead Tip:
These brownies actually taste better the day after baking. The flavors meld together, and the texture becomes even fudgier. So bake them a day ahead, let them cool completely, and store them airtight at room temperature. Slice them just before serving for the cleanest edges.
Nutritional Information & Benefits
Let’s be honest — these are indulgent brownies, not health food. But here’s the nutritional breakdown per serving (based on 24 servings):
| Nutrient | Amount Per Serving |
|---|---|
| Calories | 285 |
| Total Fat | 17g |
| Saturated Fat | 8g |
| Cholesterol | 55mg |
| Sodium | 180mg |
| Total Carbohydrates | 32g |
| Dietary Fiber | 2g |
| Sugars | 24g |
| Protein | 5g |
Health Highlights: Peanut butter adds a decent amount of protein and healthy monounsaturated fats. Dark cocoa powder is rich in antioxidants called flavonoids. And honestly? Sometimes you need a treat that’s just pure joy. These brownies are that treat.
Dietary Considerations: This recipe contains dairy, eggs, wheat (gluten), and peanuts. For allergen-friendly versions, see the variations section above.
FAQs
Can I use natural peanut butter for the swirl?
You can, but it’s trickier. Natural peanut butters tend to separate and can make the swirl greasy. If you use natural, stir it really well first and add an extra tablespoon of powdered sugar to help stabilize it. Commercial peanut butter like Jif or Skippy works much better for that clean web pattern.
Why did my spiderweb pattern disappear during baking?
This usually happens for two reasons: either you over-swirled the peanut butter into the batter (it should be gentle figure-eight motions, not aggressive mixing), or your peanut butter mixture was too thin. Make sure your peanut butter swirl is thick and spreadable, not runny.
Can I make these in an 8×8 pan instead?
Yes, but the baking time will change. An 8×8 pan will give you thicker brownies that need about 40 to 45 minutes of baking time. Keep an eye on them and use the toothpick test. You’ll also get about 16 servings instead of 24.
How do I get clean, neat cuts?
Let the brownies cool completely — this is non-negotiable. Use a sharp chef’s knife and wipe it clean with a damp paper towel between each cut. For the cleanest edges, chill the brownies in the fridge for 30 minutes before slicing. Let them come back to room temperature before serving.
Can I freeze these brownies with the web pattern?
Absolutely. The web pattern holds up fine through freezing. Just make sure the brownies are completely cool before wrapping them tightly. Thaw them in the wrapping at room temperature to prevent condensation from ruining the top.
Conclusion
Look, I know I’m biased, but these spiderweb chocolate peanut butter brownies are the real deal. They’re the kind of dessert that makes people stop mid-conversation and just say “wow” with their mouth full. The fudgy chocolate base, the creamy peanut butter swirl, that gorgeous web pattern that looks like you spent hours on it — it all comes together in one pan that serves a crowd without any stress.
What I love most about this recipe is how forgiving it is. Even if your web pattern isn’t perfect, even if you over-swirl a little, even if you cut them slightly warm — they still taste incredible. And isn’t that the whole point? Food that brings people together, that makes them smile, that turns a regular evening into something special.
So go ahead, make these for your next gathering. Watch people’s faces light up when you bring them out. And when someone asks for the recipe — and they will — you can smile and say, “Oh, it’s easy. Let me show you.”
I’d love to hear how yours turn out. Drop a comment below and let me know if you tried any variations, or tag me in your photos. Happy baking!
Pin This Recipe!
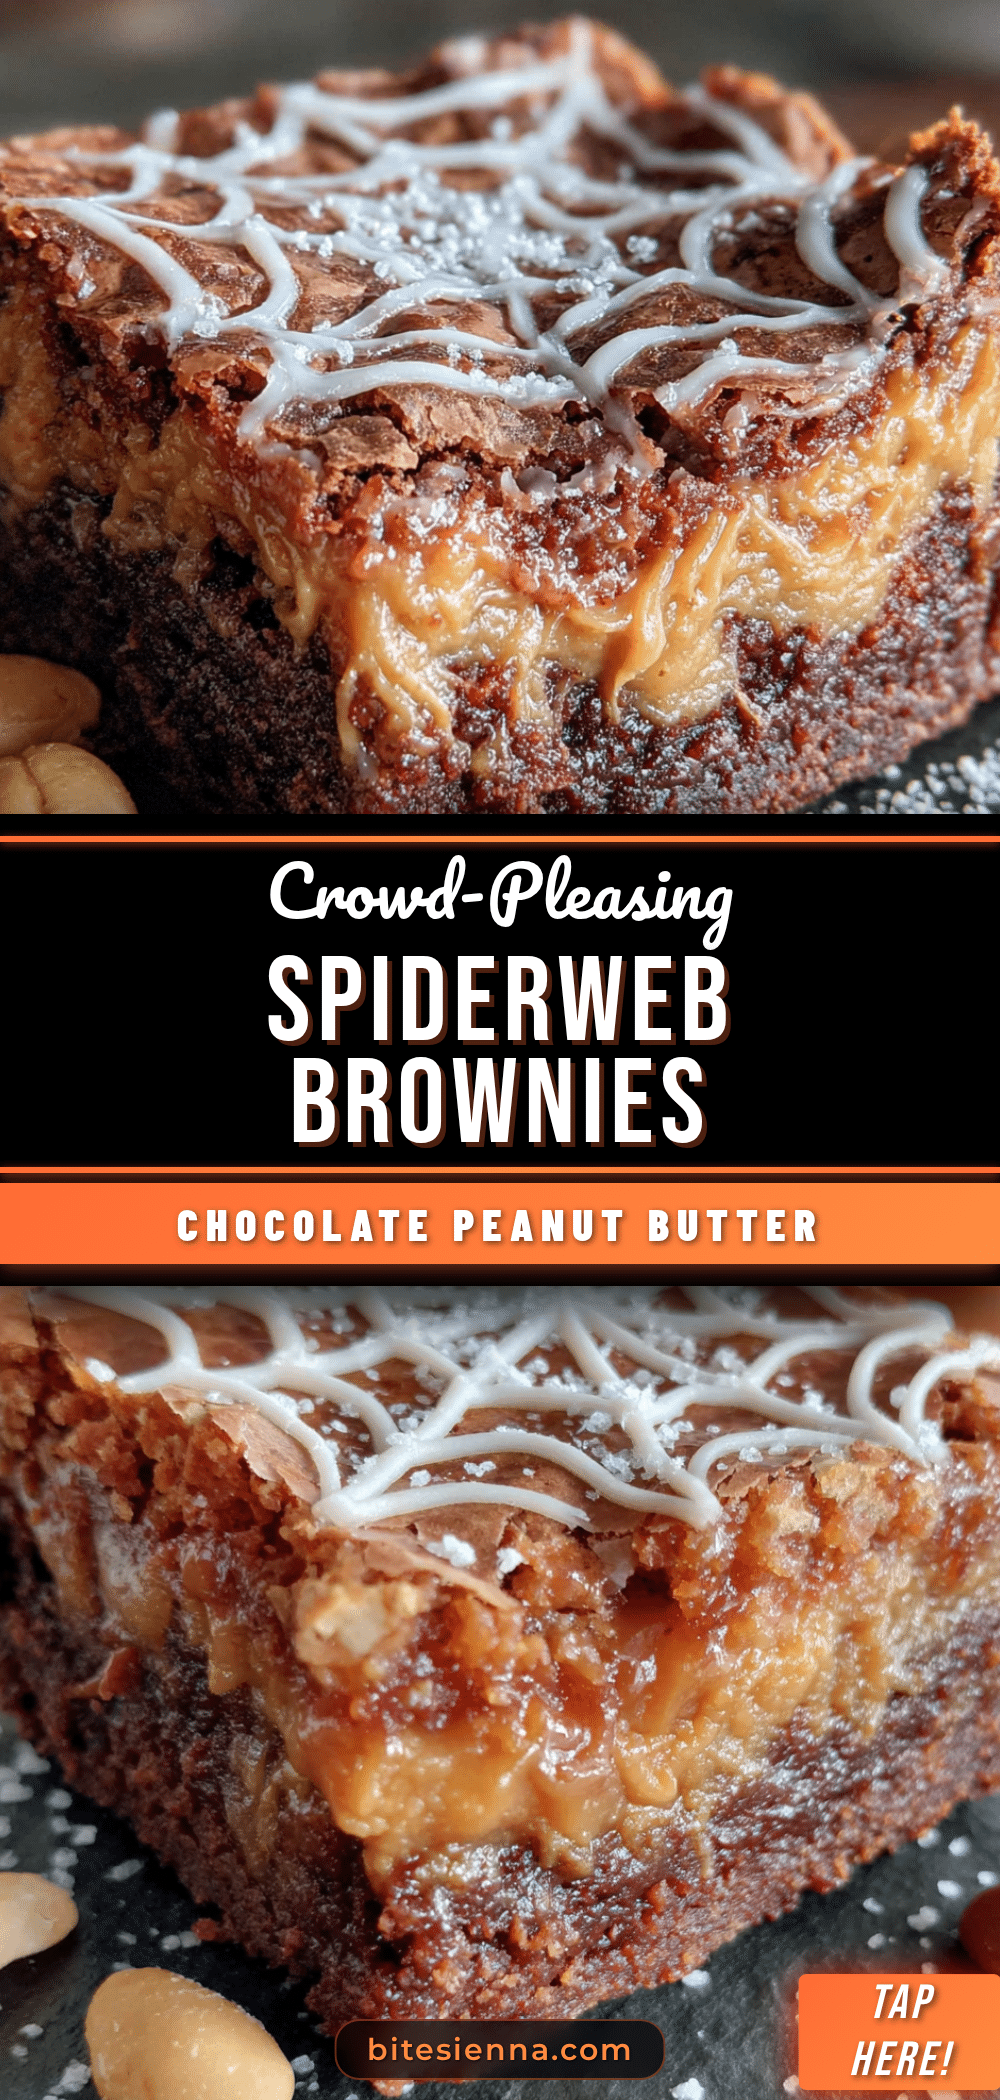
Best Spiderweb Chocolate Peanut Butter Brownies Recipe
Fudgy dark chocolate brownies with a creamy peanut butter swirl and a stunning spiderweb design. This bakery-inspired recipe is surprisingly easy to make and perfect for Halloween or any gathering.
- Prep Time: 15 minutes
- Cook Time: 30 minutes
- Total Time: 45 minutes
- Yield: 24 servings 1x
- Category: Dessert
- Cuisine: American
Ingredients
- 1 cup (226g) unsalted butter, melted and slightly cooled
- 2 cups (400g) granulated sugar
- 4 large eggs, room temperature
- 2 teaspoons vanilla extract
- 1 cup (120g) all-purpose flour, spooned and leveled
- ¾ cup (75g) unsweetened cocoa powder
- ½ teaspoon salt
- ½ teaspoon baking powder
- ¾ cup (180g) creamy peanut butter
- ¼ cup (56g) unsalted butter, softened
- ½ cup (60g) powdered sugar
- ½ teaspoon vanilla extract
- Pinch of salt
Instructions
- Preheat oven to 350°F (175°C). Line a 9×13-inch baking pan with parchment paper, leaving overhang on two sides.
- Melt 1 cup butter; let cool for 5 minutes.
- In a large bowl, whisk together melted butter and sugar until combined. Add eggs one at a time, whisking well after each. Stir in vanilla.
- In a separate bowl, whisk together flour, cocoa powder, salt, and baking powder. Gradually fold into wet mixture until just combined.
- Pour batter into prepared pan and spread evenly.
- In a microwave-safe bowl, combine peanut butter and ¼ cup softened butter. Microwave in 20-second bursts until smooth. Stir in powdered sugar, vanilla, and salt until thick but pourable.
- Drop spoonfuls of peanut butter mixture over batter. Gently swirl with a knife in figure-eight motions.
- Using a toothpick or skewer, drag from center outward to create a spiderweb pattern. Wipe toothpick clean between lines.
- Bake for 30-35 minutes, until edges are set and center is slightly jiggly. A toothpick should come out with moist crumbs.
- Cool completely in pan on a rack (about 2 hours).
- Lift brownies out using parchment handles. Slice into 24 squares with a sharp knife, wiping clean between cuts.
Notes
For clean web lines, wipe toothpick between each stroke. Do not overbake; brownies continue cooking after removal. Cool completely before slicing to prevent smudging. Store in an airtight container at room temperature for up to 5 days. Freeze for up to 3 months.
Nutrition
- Serving Size: 1 square
- Calories: 285
- Sugar: 24
- Sodium: 180
- Fat: 17
- Saturated Fat: 8
- Carbohydrates: 32
- Fiber: 2
- Protein: 5
Keywords: spiderweb brownies, chocolate peanut butter brownies, Halloween brownies, fudgy brownies, peanut butter swirl brownies


