Gloria watched me struggle with that butternut squash for a solid minute before she finally said something. I was at the community garden harvest swap last October, trying to figure out how to cram this massive squash into my already overflowing tote bag. She just laughed, walked over, and handed me a piece of parchment paper with some scribbled notes. “Roast it low and slow with lots of garlic,” she said. “That’s the secret.”
I didn’t know Gloria well back then—just a friendly face who always had the best tomatoes. But that little piece of paper changed how I thought about fall cooking forever. Her recipe wasn’t fancy or complicated. It was just honest, the kind of thing someone makes because they actually love eating it. I’ve tweaked it over the years, added my own little touches, but the heart of it is still hers.
Let me tell you, there’s something about the smell of garlic and herbs roasting with squash that just stops you in your tracks. It fills your whole kitchen and makes everything feel warmer, cozier. This cozy garlic herb roasted butternut squash has become my go-to for pretty much every fall gathering. Thanksgiving, Sunday dinners, even just a random Tuesday when I need a little comfort. It’s simple, it’s forgiving, and honestly? It makes you look like you know what you’re doing in the kitchen.
Maybe you’ve been there—standing in the grocery store aisle, staring at a butternut squash, wondering if it’s worth the hassle. I get it. I really do. But this recipe is different. It’s the one that made me actually look forward to squash season. And once you try it, I think you’ll feel the same way.
Why You’ll Love This Recipe
Look, I’ve tested this cozy garlic herb roasted butternut squash about a dozen times to get it just right. Not because it was hard, but because I wanted to make sure every single detail worked. And honestly? It’s become the side dish I’m most proud of.
- Quick & Easy : Comes together in about 45 minutes total, with just 10 minutes of active prep. Perfect for those busy fall weeknights when you still want something homemade.
- Simple Ingredients : You probably already have garlic, olive oil, and dried herbs in your pantry. No fancy grocery store runs needed.
- Perfect for Fall Gatherings : Thanksgiving, Friendsgiving, Sunday roasts—this dish fits right in and always gets compliments.
- Crowd-Pleaser : I’ve served this to picky eaters, veggie skeptics, and full-on squash lovers. Everyone goes back for seconds.
- Unbelievably Delicious : The edges get all caramelized and crispy, while the inside stays tender and sweet. The garlic and herbs? They just take it over the top.
What makes this recipe different from all those other roasted squash recipes out there? It’s the technique. Roasting at a slightly lower temperature for a bit longer lets the natural sugars develop without burning the garlic. Plus, I toss everything with the herbs and garlic before roasting, not after. That little change makes a huge difference in flavor.
This isn’t just another side dish. It’s the kind that makes you close your eyes after the first bite. It’s comfort food that feels special but doesn’t stress you out. Perfect for impressing guests without breaking a sweat, or turning a simple weeknight meal into something you actually look forward to.
What Ingredients You Will Need
This cozy garlic herb roasted butternut squash uses simple, wholesome ingredients to deliver big flavor. Most of these are pantry staples, especially if you cook regularly during fall. Here’s what you’ll need:
- 1 medium butternut squash (about 2-3 pounds / 900g-1.4kg), peeled, seeded, and cut into 1-inch cubes. Look for one that feels heavy for its size and has a matte, not shiny, skin.
- 4 cloves garlic, minced. Fresh garlic makes a big difference here. I use a microplane for super fine mincing, but a knife works just fine.
- 3 tablespoons olive oil (45ml). Use a good quality extra virgin olive oil if you can. It adds more flavor than regular cooking oil.
- 1 teaspoon dried thyme (about 1g). I prefer dried here because it doesn’t burn as easily as fresh.
- 1 teaspoon dried rosemary (about 1g). Crush it between your fingers before adding to release the oils.
- 1/2 teaspoon dried sage (about 0.5g). This is optional but really gives that cozy fall vibe.
- 1/2 teaspoon salt (about 3g). I use fine sea salt. Adjust to taste.
- 1/4 teaspoon black pepper (about 1g). Freshly ground is best.
- Optional: 1 tablespoon maple syrup (15ml). Adds a touch of sweetness that complements the squash beautifully. I add this when I’m feeling fancy.
- Optional: Fresh parsley for garnish. A little sprinkle of green makes it look pretty.
Ingredient tips: I personally love using Maille olive oil for roasting—it has a nice peppery finish. For the garlic, look for firm cloves without any green sprouts in the center. And if you can only find pre-cut squash cubes at the store, that works too! Just know they might cook a few minutes faster.
Substitution guidance: No dried thyme? Use oregano instead. Out of rosemary? Try marjoram. For a dairy-free option, this recipe is already dairy-free. If you’re watching sodium, cut the salt to 1/4 teaspoon and add more herbs for flavor. And if you want a little heat, add a pinch of red pepper flakes with the other herbs.
Equipment Needed
You don’t need much for this cozy garlic herb roasted butternut squash. Here’s what I use:
- Large baking sheet (18×13 inches or similar). A rimmed baking sheet works best to catch any juices. I use my trusty Nordic Ware half-sheet pan.
- Chef’s knife. A sharp 8-inch knife makes cutting the squash so much easier. Trust me, a dull knife is dangerous with hard squash.
- Vegetable peeler. A Y-shaped peeler works great for removing squash skin quickly.
- Large mixing bowl. For tossing everything together.
- Measuring spoons. For the herbs and oil.
- Parchment paper (optional but recommended). Makes cleanup a breeze.
- Spatula. For flipping the squash halfway through roasting.
If you don’t have a vegetable peeler, you can microwave the whole squash for 2-3 minutes to soften the skin, then peel with a knife. It’s a little messy but works in a pinch. And if you’re using a smaller baking sheet, just make sure the squash cubes are in a single layer. Overcrowding leads to steaming instead of roasting.
Preparation Method
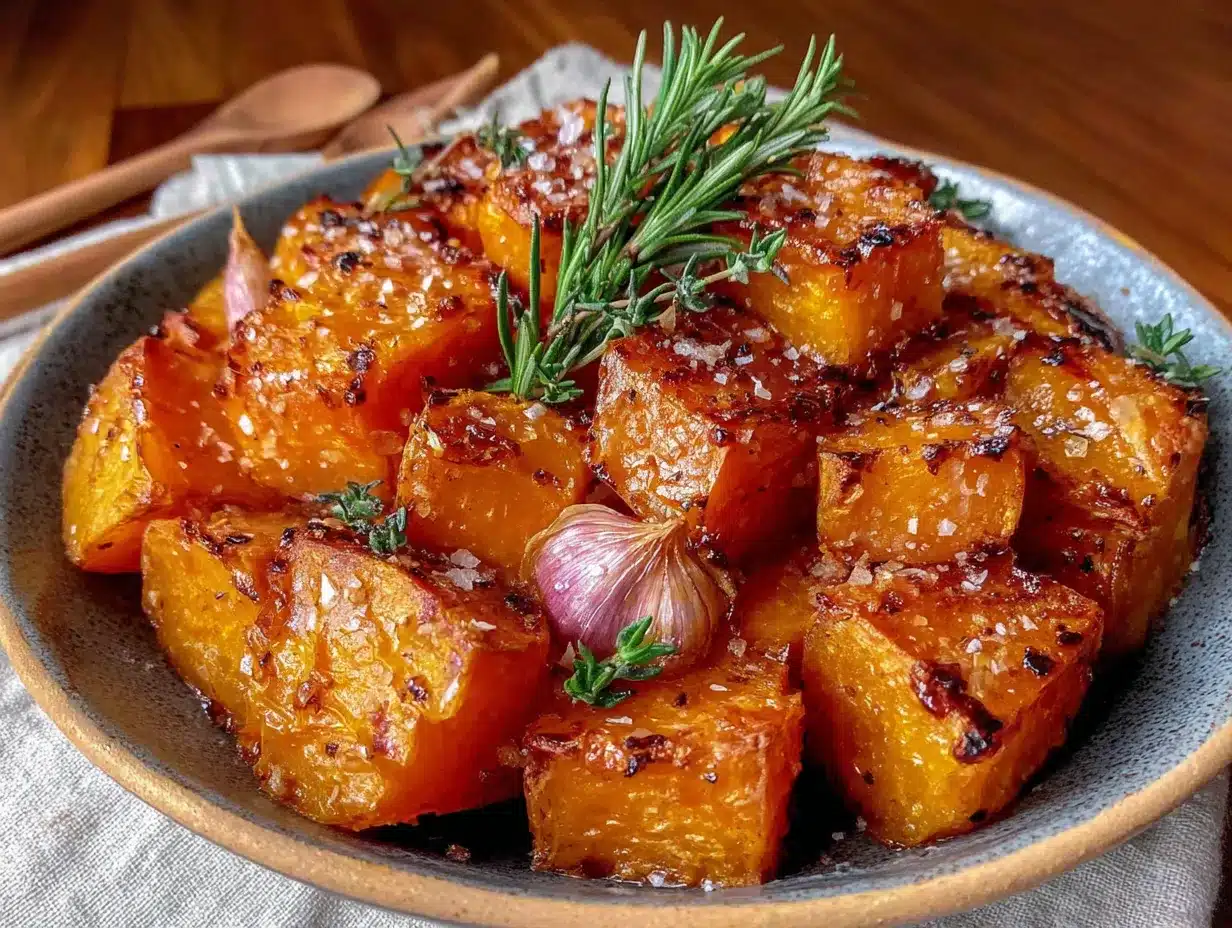
Let me walk you through this step by step. I’ve made this cozy garlic herb roasted butternut squash more times than I can count, so I’ve got all the little tricks figured out.
- Preheat your oven to 400°F (200°C). Getting the oven hot before you start is important. While it’s heating, line your baking sheet with parchment paper if you’re using it.
- Prepare the squash. Cut off both ends of the butternut squash with your chef’s knife. Then cut it in half where the narrow neck meets the round bottom. Stand each piece on its flat end and peel off the skin with your vegetable peeler. Cut the neck into 1-inch rounds, then cube them. Scoop out the seeds from the round section with a spoon, then cube that part too. Aim for uniform pieces—about 1 inch (2.5cm) each. This helps them cook evenly.
- Mince the garlic. Smash each clove with the flat side of your knife, then chop finely. I usually make a little extra because I love garlic. If you’re using a microplane, be careful—it’s easy to grate your knuckles (speaking from experience here).
- Toss everything together. In your large mixing bowl, combine the cubed squash, minced garlic, olive oil, dried thyme, dried rosemary, dried sage, salt, and pepper. Use your hands or a spatula to toss until every piece is coated. This takes about 30 seconds. If you’re using the maple syrup, add it now too.
- Spread on the baking sheet. Pour the seasoned squash onto your prepared baking sheet. Spread it into a single, even layer. Make sure the pieces aren’t touching too much—give them some breathing room. If they’re crowded, they’ll steam instead of roast.
- Roast for 25 minutes. Place the baking sheet on the middle rack of your oven. Set a timer for 25 minutes. Don’t peek too often—you want to keep that heat inside.
- Flip and continue roasting. After 25 minutes, take the sheet out and use your spatula to flip each piece. They should be starting to brown on the bottom. Return to the oven and roast for another 15-20 minutes. The squash is done when it’s golden brown on the edges, caramelized in spots, and easily pierced with a fork. The total roasting time is usually 40-45 minutes.
- Rest and serve. Let the squash sit on the baking sheet for 2-3 minutes before transferring to a serving dish. This lets the caramelization set. Garnish with fresh parsley if you like, and serve warm.
Sensory cues: You’ll know it’s working when your kitchen starts smelling like a cozy fall day. The garlic will mellow and sweeten, the herbs will become fragrant, and the squash will release a sweet, nutty aroma. When you flip the pieces, look for deep golden brown spots on the cut sides. That’s where all the flavor lives.
Troubleshooting tip: If your squash is browning too quickly but isn’t tender yet, cover the baking sheet loosely with foil for the last 10 minutes. If it’s not browning at all, your oven might run cool. Try increasing the temperature to 425°F (220°C) for the last 10 minutes.
Cooking Tips & Techniques
I’ve made my fair share of mistakes with roasted squash, so let me save you some trouble. Here are the things I wish someone had told me earlier.
Don’t skip the flipping. I know it’s tempting to just let it roast and be done, but flipping halfway through is non-negotiable. It ensures every side gets that beautiful caramelization. One time I got distracted and forgot to flip—half the batch was perfect, the other half was pale and sad. Learn from my mistake.
Keep the pieces uniform. I cannot stress this enough. If some cubes are bigger than others, the small ones will burn before the big ones are done. Take that extra minute to cut everything the same size. Your future self will thank you.
Don’t overcrowd the pan. This is the number one mistake people make with roasted vegetables. If the squash pieces are piled on top of each other, they’ll steam and get mushy instead of roasting and getting crispy. Use two baking sheets if you need to. I’ve done it plenty of times.
Let the squash come to room temperature. If your squash has been sitting in the fridge, let it sit on the counter for 15-20 minutes before cutting. Cold squash is harder to cut and more likely to crack under pressure. Plus, room temperature squash roasts more evenly.
Timing strategy: While the squash is roasting, you can prep the rest of your meal. I usually start my protein about 15 minutes after the squash goes in, so everything finishes around the same time. It makes for a much smoother dinner experience.
Make extra garlic. I always add a couple more cloves than the recipe calls for. Roasted garlic is so mellow and sweet—it’s like a completely different ingredient from raw garlic. Plus, those little roasted garlic bits that stick to the squash? Pure gold.
Variations & Adaptations
One of the best things about this cozy garlic herb roasted butternut squash is how flexible it is. Here are some ways I’ve changed it up over the years.
Maple Balsamic Version: Swap the olive oil for 2 tablespoons balsamic vinegar and 1 tablespoon maple syrup. The acidity balances the sweetness beautifully. I made this for a dinner party once and got asked for the recipe three times.
Spicy Chipotle Twist: Add 1/2 teaspoon chipotle powder and 1/4 teaspoon cumin along with the herbs. It gives the squash a smoky, warming heat that’s incredible with roasted chicken or pork. My husband loves this version.
Parmesan Herb Crust: In the last 5 minutes of roasting, sprinkle 1/4 cup grated Parmesan cheese over the squash. Return to the oven until the cheese is melted and crispy. It adds a salty, umami punch that’s absolutely addictive.
Air Fryer Method: Cook at 375°F (190°C) for 15-18 minutes, shaking the basket halfway through. You might need to work in batches depending on your air fryer size. The squash gets extra crispy on the outside.
Dairy-Free and Vegan: This recipe is already both! Just skip the Parmesan variation and you’re good to go. The olive oil and herbs provide plenty of flavor without any dairy.
Low-Carb Option: Butternut squash is naturally gluten-free and relatively low in carbs compared to potatoes. If you’re watching carbs, just reduce the portion size or skip the maple syrup.
I personally love the maple balsamic version for Thanksgiving. It feels a little more special without being complicated. And honestly? It looks gorgeous on the table.
Serving & Storage Suggestions
This cozy garlic herb roasted butternut squash is best served warm, right out of the oven. The edges are crispy, the inside is tender, and the aroma is just incredible. I like to transfer it to a shallow serving dish and scatter some fresh parsley or thyme leaves on top for color.
It pairs beautifully with just about any protein. Roasted chicken, grilled pork chops, pan-seared salmon, or even a hearty lentil stew. For holiday meals, it sits right alongside mashed potatoes and green bean casserole without stealing the show. It’s a team player, you know?
For drinks, a crisp white wine like Sauvignon Blanc or a light Pinot Noir works well. If you’re doing non-alcoholic, apple cider or sparkling water with a splash of pomegranate juice is lovely.
Storage: Leftover squash keeps in an airtight container in the refrigerator for up to 4 days. The texture won’t be quite as crispy as fresh, but the flavor is still fantastic.
Reheating: The best way to reheat is in the oven at 350°F (175°C) for 5-7 minutes. It helps revive some of that crispiness. You can also use an air fryer at 350°F for 3-4 minutes. Microwave works in a pinch, but the squash will be softer.
Freezing: You can freeze roasted squash for up to 3 months. Let it cool completely, then spread on a baking sheet and freeze until solid. Transfer to a freezer bag. To serve, thaw in the fridge overnight and reheat in the oven. The texture won’t be quite as perfect, but it’s still delicious in soups or grain bowls.
Fun fact: The flavors actually meld and deepen overnight. I sometimes make a double batch just so I can have leftovers for lunch the next day. Cold roasted squash tossed into a salad with some arugula and goat cheese? Absolutely divine.
Nutritional Information & Benefits
This cozy garlic herb roasted butternut squash isn’t just delicious—it’s actually really good for you. Here’s a rough breakdown per serving (about 1 cup, based on 4 servings):
- Calories: Approximately 180
- Total Fat: 11g
- Saturated Fat: 1.5g
- Carbohydrates: 22g
- Fiber: 4g
- Sugar: 6g (naturally occurring)
- Protein: 2g
- Sodium: 300mg
- Vitamin A: Over 200% of daily value
- Vitamin C: 35% of daily value
- Potassium: 10% of daily value
Butternut squash is packed with vitamin A in the form of beta-carotene, which is great for eye health and immune function. It’s also high in fiber, which helps with digestion and keeps you feeling full. The garlic adds allicin, a compound known for its anti-inflammatory properties. And olive oil provides healthy monounsaturated fats that support heart health.
This recipe is naturally gluten-free, dairy-free, and vegan. It’s also relatively low in calories for how satisfying it is. I love that I can serve something this comforting without feeling like I’m being unhealthy. It’s the kind of side dish that makes you feel good from the inside out.
One note: If you’re on a low-sodium diet, you can easily reduce the salt to 1/4 teaspoon or use a salt substitute. The herbs provide plenty of flavor either way.
Conclusion
So there you have it—my cozy garlic herb roasted butternut squash, the recipe that started with a simple conversation at a garden swap and became a fall staple in my kitchen. It’s simple, it’s forgiving, and honestly? It’s just really, really good.
I love this recipe because it reminds me that the best food doesn’t have to be complicated. A few good ingredients, a little patience, and you’ve got something that feels special. Whether you’re making it for a holiday feast or just a Tuesday night dinner, I think you’ll find yourself coming back to it again and again.
Don’t be afraid to make it your own. Add more garlic if you’re a garlic lover like me. Throw in some red pepper flakes if you want heat. Swap the herbs based on what you have. That’s the beauty of a simple recipe—it’s a starting point, not a rulebook.
I’d love to hear how yours turns out! Drop a comment below and let me know if you tried any variations. Did you add the maple syrup? Go for the Parmesan crust? Share your creation on Pinterest and tag me—I can’t wait to see what you make.
Happy roasting, friends. Here’s to cozy kitchens and good food shared with the people we love.
Frequently Asked Questions
Can I use frozen butternut squash instead of fresh?
Yes, you can use frozen cubed squash, but the texture will be softer and less caramelized. Thaw it first and pat it very dry with paper towels to remove excess moisture. Roast at 425°F (220°C) and expect a slightly shorter cooking time—about 25-30 minutes total.
How do I peel butternut squash without losing a finger?
I feel you on this one! The easiest method is to microwave the whole squash for 2-3 minutes to soften the skin slightly. Then cut off both ends, stand it upright, and use a sharp Y-shaped peeler in downward strokes. Alternatively, you can roast the squash with the skin on and scoop out the flesh after cooking—the skin peels right off.
Can I make this recipe ahead of time?
Absolutely! You can prep the squash up to 2 days ahead—peel, cube, and store in an airtight container in the fridge. You can also roast it fully, let it cool, and reheat in the oven at 350°F (175°C) for 5-7 minutes before serving. Just know the texture won’t be quite as crispy as fresh-roasted.
What can I do with leftover roasted butternut squash?
So many things! Toss it into salads with arugula and goat cheese, blend it into soup with some vegetable broth, add it to grain bowls with quinoa and roasted chickpeas, or mash it and use it as a topping for toast. I’ve even folded leftovers into omelets—it’s surprisingly good.
Why is my roasted butternut squash mushy instead of caramelized?
This usually happens for one of two reasons: overcrowding the pan or not roasting at a high enough temperature. Make sure your squash pieces are in a single layer with space between them, and don’t be afraid to use two baking sheets. Also, make sure your oven is fully preheated to 400°F (200°C) before the squash goes in. Patting the squash dry before seasoning can also help.
Pin This Recipe!
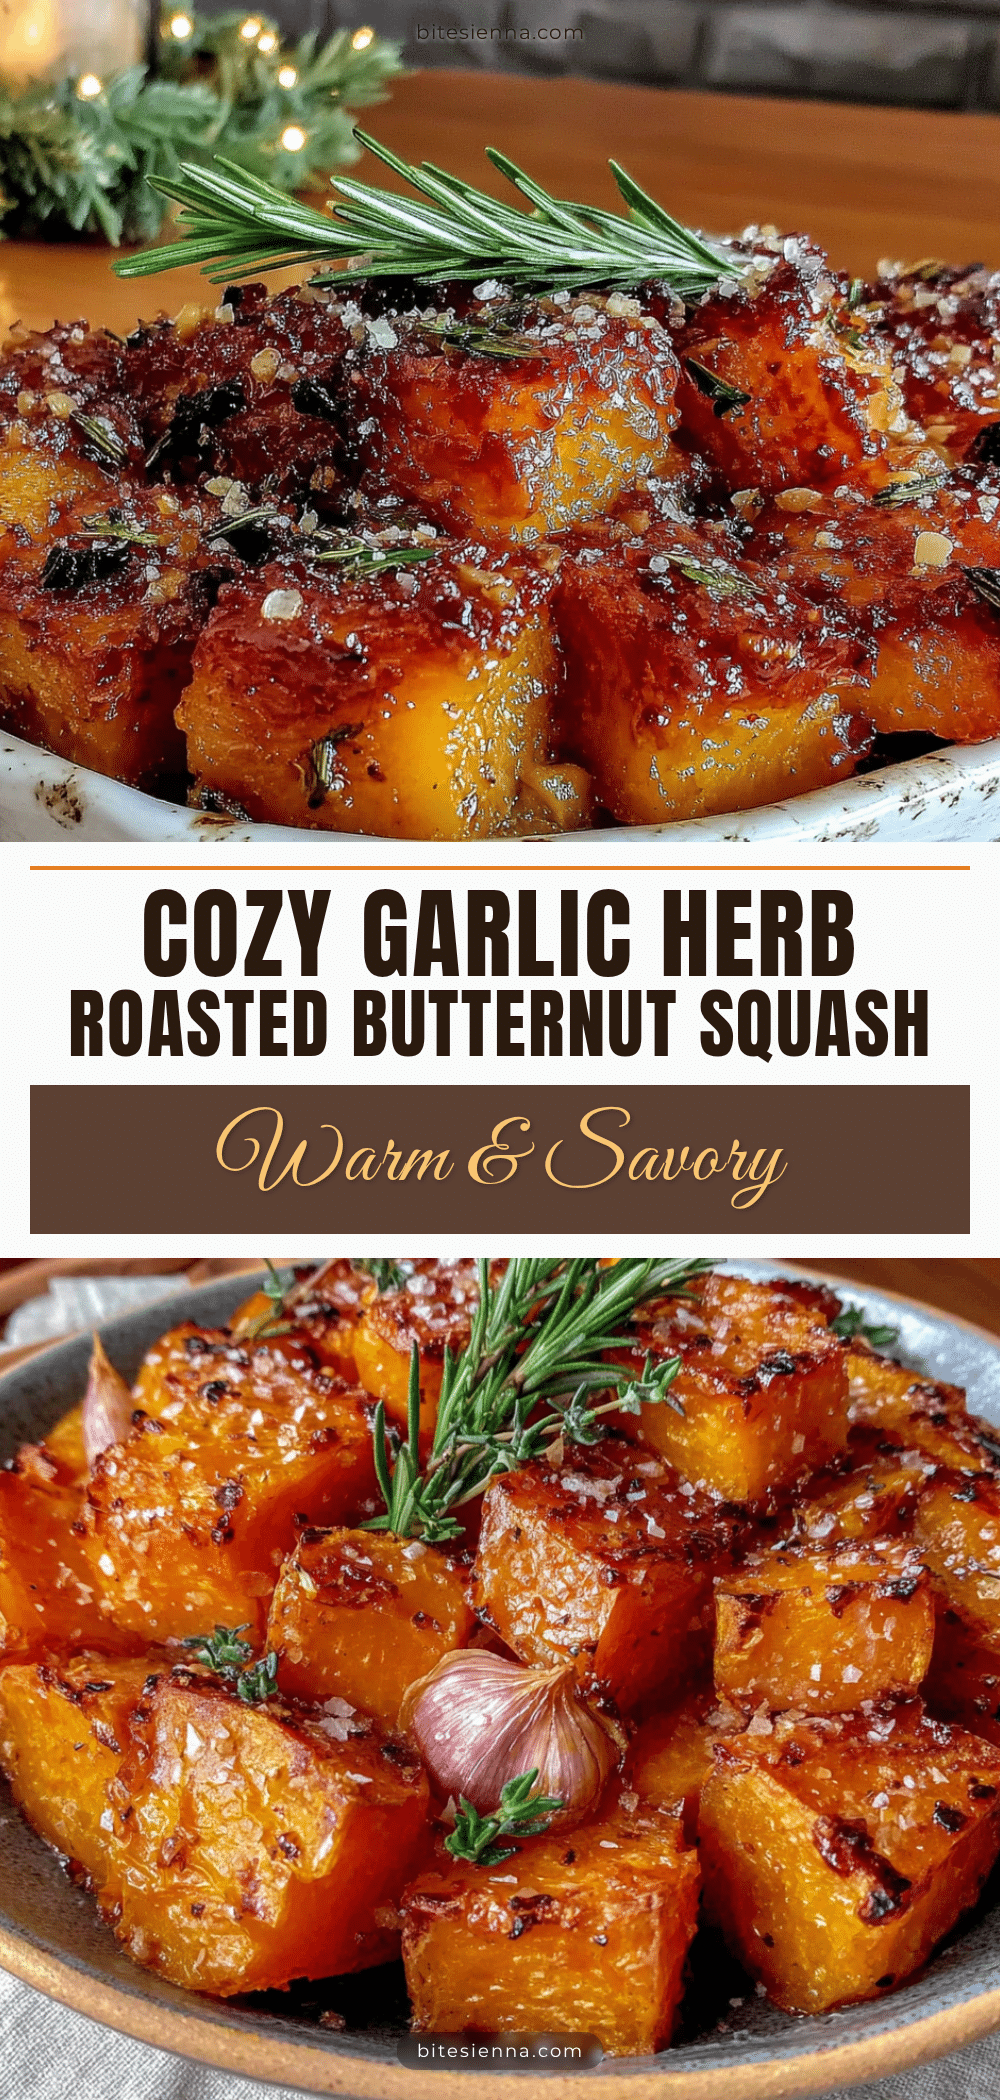
Cozy Garlic Herb Roasted Butternut Squash: Easy Best Side Dish
This cozy garlic herb roasted butternut squash is a simple, forgiving side dish that fills your kitchen with the warm aroma of fall. With caramelized edges and tender, sweet interior, it’s perfect for Thanksgiving, Sunday dinners, or a comforting weeknight meal.
- Prep Time: 10 minutes
- Cook Time: 40-45 minutes
- Total Time: 50-55 minutes
- Yield: 4 servings 1x
- Category: Side Dish
- Cuisine: American
Ingredients
- 1 medium butternut squash (about 2–3 pounds / 900g-1.4kg), peeled, seeded, and cut into 1-inch cubes
- 4 cloves garlic, minced
- 3 tablespoons olive oil (45ml)
- 1 teaspoon dried thyme (about 1g)
- 1 teaspoon dried rosemary (about 1g), crushed
- 1/2 teaspoon dried sage (about 0.5g)
- 1/2 teaspoon salt (about 3g)
- 1/4 teaspoon black pepper (about 1g)
- Optional: 1 tablespoon maple syrup (15ml)
- Optional: Fresh parsley for garnish
Instructions
- Preheat your oven to 400°F (200°C). Line a baking sheet with parchment paper if desired.
- Prepare the squash: Cut off both ends, then cut in half where the narrow neck meets the round bottom. Stand each piece on its flat end and peel off the skin. Cut the neck into 1-inch rounds, then cube them. Scoop out seeds from the round section and cube that part too. Aim for uniform 1-inch (2.5cm) pieces.
- Mince the garlic: Smash each clove with the flat side of a knife, then chop finely.
- In a large mixing bowl, combine the cubed squash, minced garlic, olive oil, dried thyme, dried rosemary, dried sage, salt, and pepper. Toss until every piece is coated. If using maple syrup, add it now.
- Spread the seasoned squash in a single, even layer on the prepared baking sheet, ensuring pieces are not overcrowded.
- Roast for 25 minutes on the middle rack.
- After 25 minutes, flip each piece with a spatula. Return to the oven and roast for another 15-20 minutes, until golden brown on the edges, caramelized in spots, and easily pierced with a fork (total roasting time: 40-45 minutes).
- Let the squash rest on the baking sheet for 2-3 minutes before transferring to a serving dish. Garnish with fresh parsley if desired and serve warm.
Notes
For best caramelization, don’t overcrowd the pan and flip halfway through. If squash browns too quickly but isn’t tender, cover loosely with foil for the last 10 minutes. For extra crispiness, use an air fryer at 375°F (190°C) for 15-18 minutes. Leftovers keep in the fridge for up to 4 days; reheat in the oven at 350°F (175°C) for 5-7 minutes.
Nutrition
- Serving Size: 1 cup
- Calories: 180
- Sugar: 6
- Sodium: 300
- Fat: 11
- Saturated Fat: 1.5
- Carbohydrates: 22
- Fiber: 4
- Protein: 2
Keywords: roasted butternut squash, garlic herb squash, fall side dish, easy roasted vegetables, Thanksgiving side dish, vegan, gluten-free


