There used to be this tiny bakery tucked between a vintage shop and a laundromat on the corner of Elm and 4th Street that made the most incredible pumpkin hand pies. When they closed two autumns ago—just packed up and vanished one Tuesday—I honestly felt a little lost. That flaky, golden crust and that spiced, creamy pumpkin filling had become my official kickoff to fall, and suddenly it was gone. After twelve tries—twelve, let me tell you, including one batch that looked more like sad, burnt ravioli than anything edible—I finally got it.
The day I pulled that first perfect batch out of my own oven, the kitchen smelled exactly like that little bakery used to. My neighbor, Mrs. Gable, knocked on the door asking if I’d started a pie shop. I mean, that’s when you know you’ve nailed it. These Mini Friendsgiving Pumpkin Hand Pies are that exact memory, made small enough for sharing, sturdy enough for a party, and just sweet enough to make you close your eyes after the first bite.
Maybe you’ve been there—chasing a flavor from a place that no longer exists, trying to capture a moment in a pan. That’s what this recipe is for me. It’s the taste of that vanished bakery, the smell of November, and the perfect little package for your Friendsgiving table. Honestly, once you make these, you’ll understand why I spent an entire autumn obsessed with getting them right.
Why You’ll Love This Recipe
These Mini Friendsgiving Pumpkin Hand Pies are everything you want in a fall dessert and nothing you don’t. They’re portable, personal, and packed with that cozy pumpkin spice flavor we all crave when the leaves start turning. Here’s why they’re going to become your new seasonal staple:
- Perfectly Portable: No plates, no forks, no fuss. Each hand pie is its own little package of happiness, making them ideal for Friendsgiving gatherings, potlucks, or just grabbing one on your way out the door.
- Simple Ingredients: You probably already have most of these in your pantry. No fancy grocery runs required—just good old-fashioned pumpkin puree, butter, flour, and your favorite fall spices.
- Make-Ahead Friendly: Assemble these bad boys a day ahead and bake them fresh when your guests arrive. The filling actually gets better after sitting overnight, letting those spices really meld together.
- Crowd-Pleaser: I’ve brought these to three different Friendsgivings now, and they disappear faster than anything else on the table. Kids love the size, adults love the flavor, and everyone appreciates not needing a fork.
- Unbelievably Delicious: That first bite—crispy, flaky crust giving way to that smooth, spiced pumpkin filling—is pure comfort. It’s the kind of dessert that makes you forget about the main course entirely.
What makes these different from every other pumpkin hand pie recipe out there? It’s the crust. I spent weeks testing different butter-to-flour ratios, different folding techniques, and different chilling times until I found the combination that gives you that impossibly flaky, tender exterior that shatters just a little when you bite into it. The filling isn’t overly sweet either—it lets the pumpkin and the spices shine, with just enough brown sugar to round everything out.
This is the recipe that made my Friendsgiving famous. Not because it’s complicated, but because it’s exactly what you want to eat when the weather turns cold and the people you love are gathered around a table. It’s comfort food you can hold in your hand.
What Ingredients You Will Need
This recipe uses simple, wholesome ingredients to deliver that bold pumpkin flavor and satisfying flaky texture without any fuss. Most of these are pantry staples, especially if you’re already in fall baking mode.
For the Pie Crust
- 2 ½ cups (312g) all-purpose flour (I prefer King Arthur for consistent results)
- 1 cup (226g) unsalted butter, very cold and cubed (the colder, the flakier)
- 1 teaspoon salt
- 1 tablespoon granulated sugar (just a touch for tenderness)
- 6-8 tablespoons ice water (you might need a little more or less depending on humidity)
For the Pumpkin Filling
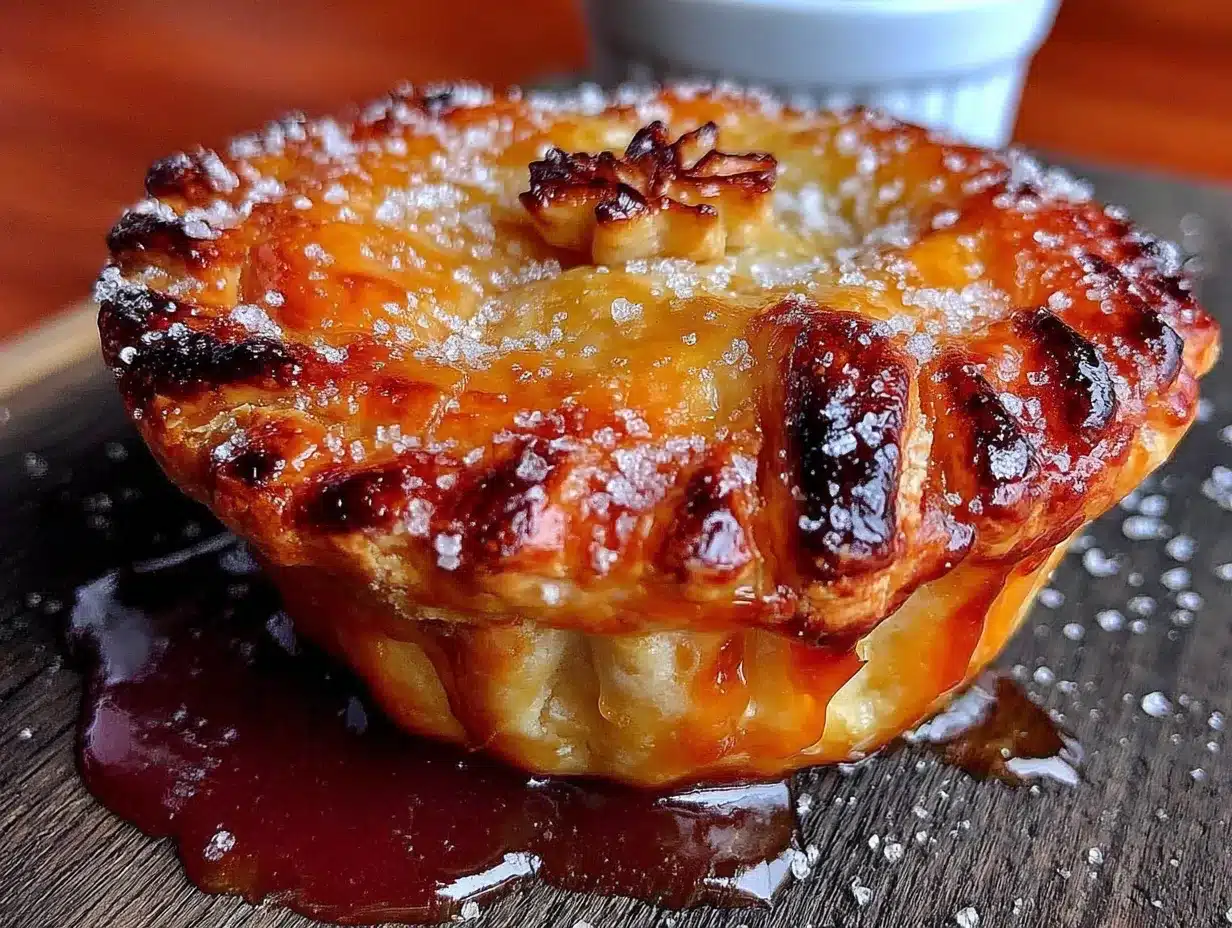
- 1 cup (245g) pumpkin puree (not pumpkin pie filling—make sure it’s 100% pure pumpkin)
- ½ cup (100g) packed brown sugar (dark or light both work; dark gives deeper flavor)
- 1 large egg yolk (adds richness and helps bind the filling)
- 1 teaspoon vanilla extract
- 1 teaspoon ground cinnamon
- ½ teaspoon ground ginger
- ¼ teaspoon ground nutmeg (freshly grated if you have it)
- ¼ teaspoon ground cloves
- Pinch of salt
For Assembly and Topping
- 1 large egg, beaten with 1 tablespoon water (for the egg wash)
- Turbinado or coarse sugar (for sprinkling on top—that crunchy finish is everything)
When it comes to the pumpkin puree, I’ve tried both canned and homemade, and honestly, canned Libby’s works beautifully here. It’s consistent, it’s smooth, and it saves you a ton of time. If you’re using fresh pumpkin, make sure to really squeeze out the excess moisture—wet filling leads to soggy crusts, and nobody wants that.
For the butter, don’t skimp. This is where the flakiness comes from. I use unsalted so I can control the salt level, but if all you have is salted butter, just reduce the added salt in the crust to ½ teaspoon.
Equipment Needed
You don’t need a fancy kitchen to make these hand pies, but a few specific tools will make your life easier:
- Large baking sheet (lined with parchment paper or a silicone baking mat)
- Rolling pin (a wine bottle works in a pinch—I’ve been there)
- 3-inch round cookie cutter or biscuit cutter (or a clean glass with a thin rim)
- Pastry blender or two forks (for cutting butter into flour)
- Small bowl (for the egg wash)
- Pastry brush (a silicone one is my favorite—no bristles falling off)
- Plastic wrap (for chilling the dough)
- Cooling rack (so the bottoms don’t get soggy)
If you don’t have a pastry blender, honestly, your hands work just fine. Just work quickly so the butter stays cold. I’ve also used a food processor in a pinch—just pulse until the butter is pea-sized and don’t overdo it.
Preparation Method
- Make the pie crust dough. In a large bowl, whisk together the flour, salt, and sugar. Add the cold, cubed butter and cut it in using your pastry blender or fingertips until the mixture looks like coarse meal with some pea-sized butter pieces remaining. This takes about 2 minutes. Drizzle 6 tablespoons of ice water over the mixture and stir with a fork until the dough just comes together. If it seems dry, add the remaining water, one tablespoon at a time. Don’t overwork it—you want shaggy, not smooth.
- Chill the dough. Turn the dough out onto a lightly floured surface, divide it in half, and shape each half into a flat disc. Wrap each disc tightly in plastic wrap and refrigerate for at least 1 hour. I’ve pushed it to 30 minutes in a hurry, but honestly, the longer it chills, the easier it is to roll and the flakier the crust. You can even make this a day ahead.
- Make the pumpkin filling. While the dough chills, combine the pumpkin puree, brown sugar, egg yolk, vanilla extract, cinnamon, ginger, nutmeg, cloves, and salt in a medium bowl. Stir until smooth and well combined. Give it a taste—it should be spicy, sweet, and unmistakably pumpkin. Cover and refrigerate until you’re ready to assemble.
- Preheat your oven. Set your oven to 375°F (190°C) and line a large baking sheet with parchment paper.
- Roll out the dough. Take one disc of dough out of the fridge and let it sit at room temperature for about 5 minutes—this prevents cracking. On a lightly floured surface, roll the dough to about ⅛-inch thickness. Don’t rush this part; let the dough relax if it starts shrinking back. Roll from the center outward, turning the dough occasionally to keep it even.
- Cut out the circles. Using your 3-inch round cutter, cut out as many circles as you can. Press straight down without twisting—twisting seals the edges and prevents proper rising. Gather the scraps, gently re-roll them, and cut more circles. You should get about 12-14 circles per disc of dough.
- Fill and seal the hand pies. Place about 1 heaping teaspoon of pumpkin filling in the center of half of the circles. Don’t overfill—trust me, I learned this the hard way when they burst open in the oven. Brush the edges of each filled circle with a little water, then top with another circle. Press the edges to seal, then crimp with a fork all around. Cut 2-3 small slits on top for steam to escape.
- Chill again. Place the assembled hand pies on the prepared baking sheet and pop them in the fridge for 15 minutes. This step is non-negotiable—it firms up the butter and prevents the crust from sliding during baking. I’ve skipped it before and ended up with lopsided pies.
- Egg wash and sugar. Brush the tops of the chilled hand pies with the egg wash, then sprinkle generously with turbinado sugar. That sugar crunch is what makes these bakery-worthy.
- Bake. Bake for 20-25 minutes, or until the crust is golden brown and the filling is bubbly. Rotate the pan halfway through for even browning. Let them cool on the baking sheet for 5 minutes, then transfer to a cooling rack.
Your kitchen is going to smell like heaven at this point. The hardest part is waiting for them to cool enough to eat without burning your mouth.
Cooking Tips & Techniques
After twelve batches, I’ve collected a few hard-earned lessons. Let me save you some trouble.
Keep everything cold. This is the number one rule of flaky pie crust. If your butter starts to soften, pop the dough back in the fridge for 10 minutes. I once tried to rush through this step on a warm September afternoon, and my crust turned out tough and greasy instead of light and flaky. Never again.
Don’t overfill. I know it’s tempting to cram as much pumpkin filling as possible into each hand pie, but resist the urge. Too much filling makes the pies leak, and then you’ve got burnt sugar all over your baking sheet and sad-looking pies. A heaping teaspoon is perfect.
Seal those edges well. Use a fork to crimp the edges, and make sure they’re pressed firmly together. If you see any gaps, pinch them closed. Otherwise, your filling will find its way out during baking. I speak from experience—my first batch looked like little pumpkin volcanoes.
Chill before baking. That 15-minute chill after assembly isn’t optional. It relaxes the gluten and solidifies the butter, which means your hand pies will hold their shape and bake up tender and flaky. Skip this step, and you’ll get spreading and tough crusts.
Watch the oven. All ovens run a little differently. Start checking your hand pies at 18 minutes. You want them deep golden brown, not pale. If the bottoms are browning faster than the tops, move the baking sheet to a higher rack.
Variations & Adaptations
One of the best things about this recipe is how flexible it is. Here are some ways to make it your own:
- Gluten-Free Version: Swap the all-purpose flour for a good 1:1 gluten-free baking flour blend. I’ve had great results with King Arthur’s Measure for Measure. The dough will be a little more fragile, so handle it gently and chill it well.
- Dairy-Free Adaptation: Use cold, cubed vegan butter in place of regular butter. Just make sure it’s really cold. Everything else in the recipe is naturally dairy-free except the egg wash, which you can skip or replace with a little plant-based milk.
- Spice It Up: Add a pinch of cayenne pepper or black pepper to the filling for a little warmth. It sounds weird, but trust me—it makes the pumpkin flavor pop in a way you wouldn’t expect.
- Sweet Potato Swap: Not a pumpkin fan? Use mashed, roasted sweet potato instead. The texture is almost identical, and the flavor is slightly earthier and just as delicious.
- Apple Cider Glaze: For extra indulgence, whisk together ½ cup powdered sugar with 1-2 tablespoons of apple cider and drizzle over the cooled hand pies. It adds a tangy sweetness that’s perfect for fall.
I once made a batch with a maple-cinnamon glaze for a Friendsgiving brunch, and they were gone in ten minutes. Don’t be afraid to experiment—this recipe is forgiving.
Serving & Storage Suggestions
These Mini Friendsgiving Pumpkin Hand Pies are best served slightly warm or at room temperature. If you’re serving them at a party, arrange them on a wooden board or a pretty platter and watch them disappear.
They pair beautifully with a scoop of vanilla ice cream or a dollop of whipped cream, but honestly, they’re perfect on their own. For a drink pairing, try hot apple cider, a spiced chai latte, or even a bourbon cocktail if you’re feeling festive.
Storage: Keep any leftovers (if there are any!) in an airtight container at room temperature for up to 2 days. After that, the crust starts to soften. You can also refrigerate them for up to 4 days, but let them come to room temperature before serving.
Freezing: These freeze beautifully. Place the baked, cooled hand pies in a single layer in a freezer-safe container, separating layers with parchment paper. They’ll keep for up to 3 months. To reheat, pop them in a 350°F oven for 10 minutes straight from the freezer. The crust crisps right back up.
You can also freeze the unbaked hand pies. Assemble them completely, place them on a baking sheet, and freeze until solid. Then transfer to a freezer bag. Bake straight from frozen, adding 5-7 minutes to the baking time.
The flavors actually deepen after a day in the fridge, so don’t worry about making these ahead. They might even taste better on day two.
Nutritional Information & Benefits
Here’s the approximate nutritional breakdown for one hand pie (based on 24 servings):
| Nutrient | Amount Per Serving |
|---|---|
| Calories | 145 |
| Total Fat | 8g |
| Saturated Fat | 5g |
| Cholesterol | 30mg |
| Sodium | 115mg |
| Total Carbohydrates | 17g |
| Dietary Fiber | 1g |
| Sugars | 7g |
| Protein | 2g |
Pumpkin is packed with vitamin A, fiber, and antioxidants, so you can feel a little less guilty about grabbing a second one. The butter and sugar are real, but that’s what makes them taste so good. Everything in moderation, right?
These hand pies are vegetarian and can easily be made gluten-free or dairy-free with the substitutions mentioned above. They do contain eggs and wheat in their standard form, so keep that in mind for guests with allergies.
Conclusion
These Mini Friendsgiving Pumpkin Hand Pies are more than just a dessert—they’re a little piece of fall you can hold in your hand. They’re the recipe I spent an entire season chasing, and now they’re the one I look forward to making every single year when the air gets crisp and the leaves start to turn.
Whether you’re hosting a big Friendsgiving feast or just want a cozy afternoon baking project, these hand pies deliver. They’re forgiving enough for beginners, impressive enough for guests, and delicious enough to make you forget all about that bakery that closed two years ago.
I’d love to hear how yours turn out! Did you try a fun variation? Did they disappear as fast as mine always do? Drop a comment below and let me know—I read every single one. And if you’re looking for more fall baking inspiration, don’t forget to check out our cozy pumpkin soup recipe or these easy apple cider donuts for your next gathering.
Happy baking, and happy Friendsgiving!
Frequently Asked Questions
Can I use store-bought pie crust instead of making my own?
Absolutely! If you’re short on time, a good quality refrigerated pie crust works perfectly. Just roll it out slightly thinner than usual and follow the same assembly steps. The texture won’t be quite as flaky, but it’ll still taste delicious.
How do I keep the hand pies from leaking in the oven?
The key is not overfilling them and sealing the edges really well. Use a fork to crimp the edges firmly, and don’t skip the slits on top—they let steam escape so the pies don’t burst open. Chilling them before baking also helps prevent leaks.
Can I make these ahead of time for a party?
Yes! You have two options: assemble them completely and refrigerate unbaked for up to 24 hours, then bake fresh just before serving. Or bake them fully, cool completely, and store in an airtight container at room temperature for up to 2 days. Reheat in a 350°F oven for 5 minutes to crisp up the crust.
Can I use pumpkin pie filling instead of pumpkin puree?
I wouldn’t recommend it. Pumpkin pie filling already has sugar and spices added, so it would throw off the balance of this recipe. Stick with 100% pure pumpkin puree and add your own spices—you’ll get a much better, more customizable result.
How many hand pies does this recipe make?
This recipe makes about 24 mini hand pies, depending on how thinly you roll your dough and how many times you re-roll the scraps. Perfect for a crowd, but you can easily halve the recipe if you’re just baking for yourself.
Pin This Recipe!
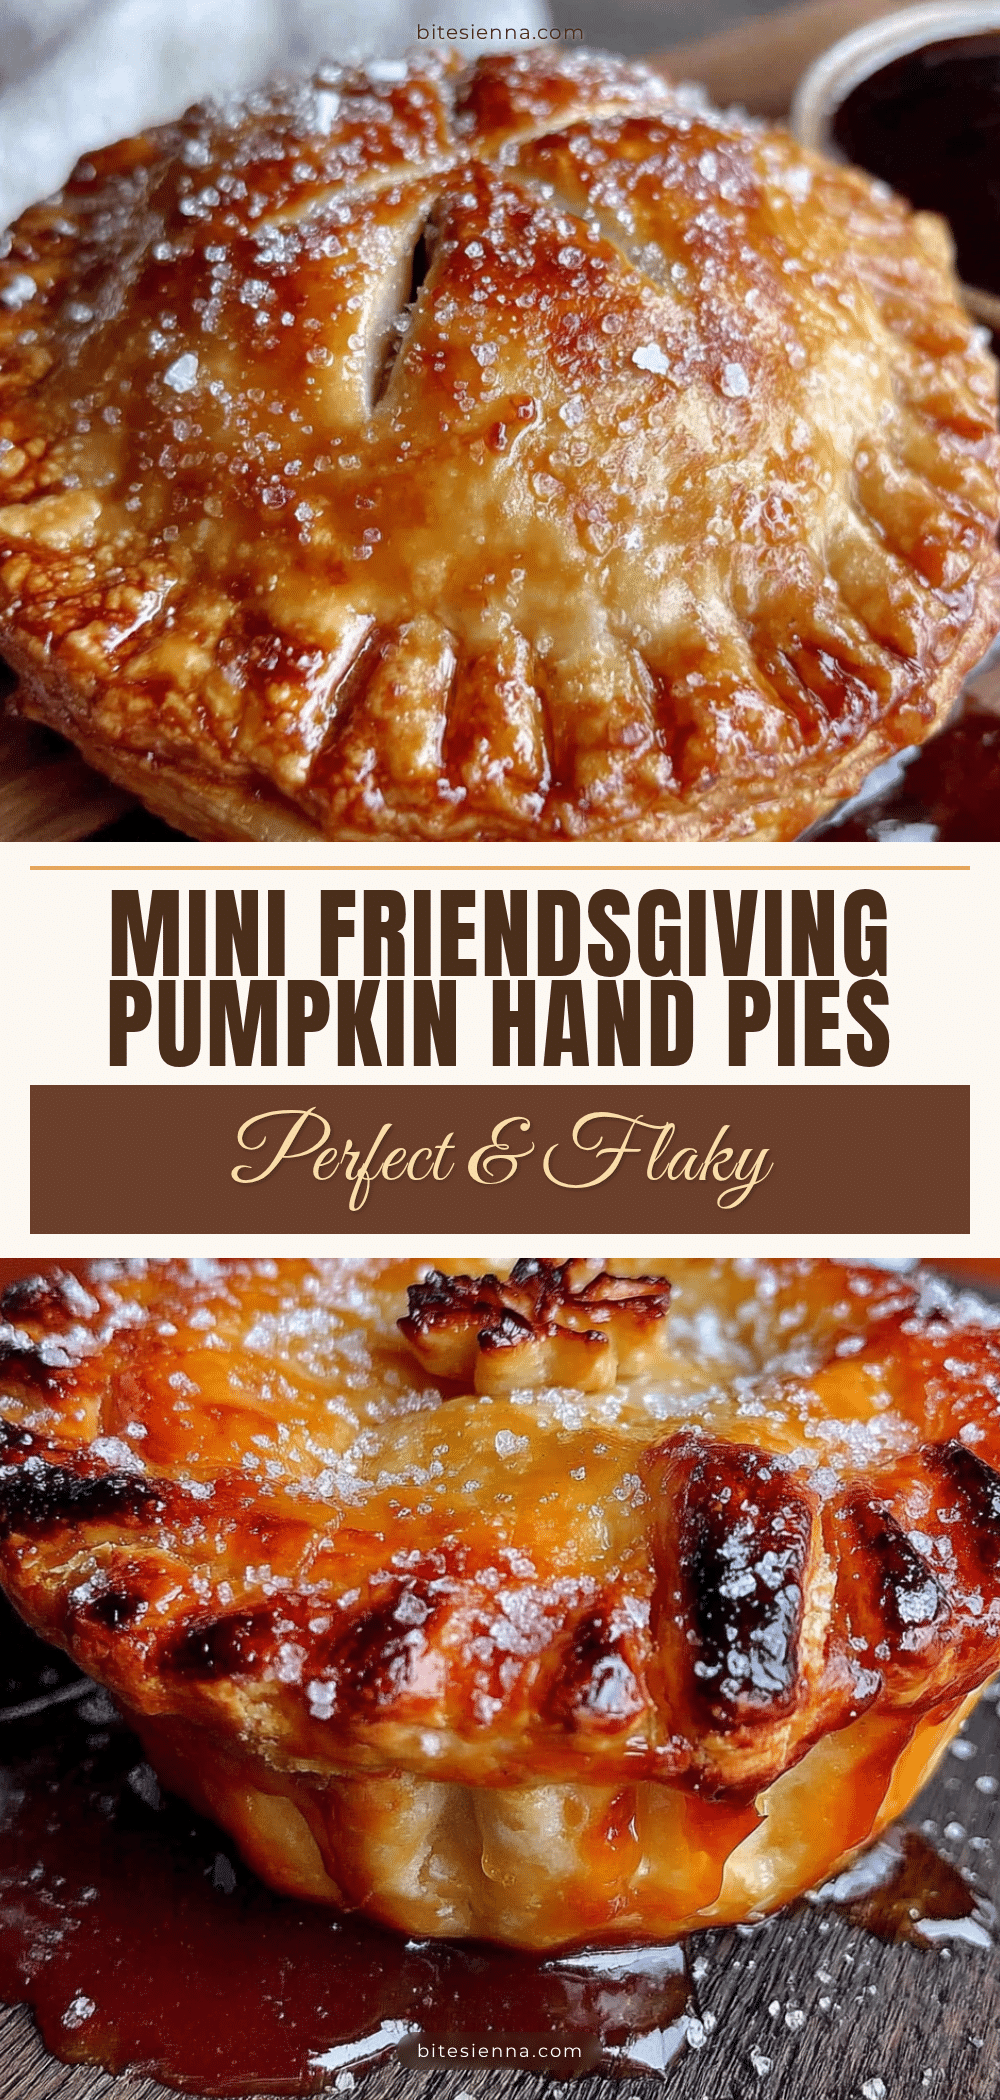
Perfect Mini Friendsgiving Pumpkin Hand Pies: Easy Bite-Sized Fall Dessert
These Mini Friendsgiving Pumpkin Hand Pies are portable, personal, and packed with cozy pumpkin spice flavor. With an impossibly flaky crust and a perfectly spiced pumpkin filling, they’re the ideal bite-sized dessert for any fall gathering.
- Prep Time: 30 minutes
- Cook Time: 25 minutes
- Total Time: 1 hour 55 minutes (includes chilling time)
- Yield: 24 servings 1x
- Category: Dessert
- Cuisine: American
Ingredients
- 2 ½ cups (312g) all-purpose flour
- 1 cup (226g) unsalted butter, very cold and cubed
- 1 teaspoon salt
- 1 tablespoon granulated sugar
- 6–8 tablespoons ice water
- 1 cup (245g) pumpkin puree (100% pure pumpkin)
- ½ cup (100g) packed brown sugar (dark or light)
- 1 large egg yolk
- 1 teaspoon vanilla extract
- 1 teaspoon ground cinnamon
- ½ teaspoon ground ginger
- ¼ teaspoon ground nutmeg
- ¼ teaspoon ground cloves
- Pinch of salt
- 1 large egg, beaten with 1 tablespoon water (for egg wash)
- Turbinado or coarse sugar (for sprinkling)
Instructions
- Make the pie crust dough: In a large bowl, whisk together the flour, salt, and sugar. Add the cold, cubed butter and cut it in using a pastry blender or fingertips until the mixture looks like coarse meal with some pea-sized butter pieces remaining. Drizzle 6 tablespoons of ice water over the mixture and stir with a fork until the dough just comes together. If it seems dry, add the remaining water, one tablespoon at a time. Do not overwork.
- Chill the dough: Turn the dough out onto a lightly floured surface, divide it in half, and shape each half into a flat disc. Wrap each disc tightly in plastic wrap and refrigerate for at least 1 hour (or up to a day ahead).
- Make the pumpkin filling: While the dough chills, combine the pumpkin puree, brown sugar, egg yolk, vanilla extract, cinnamon, ginger, nutmeg, cloves, and salt in a medium bowl. Stir until smooth and well combined. Cover and refrigerate until ready to assemble.
- Preheat your oven to 375°F (190°C) and line a large baking sheet with parchment paper.
- Roll out the dough: Take one disc of dough out of the fridge and let it sit at room temperature for about 5 minutes. On a lightly floured surface, roll the dough to about ⅛-inch thickness.
- Cut out the circles: Using a 3-inch round cutter, cut out as many circles as possible. Press straight down without twisting. Gather the scraps, gently re-roll, and cut more circles. You should get about 12-14 circles per disc of dough.
- Fill and seal the hand pies: Place about 1 heaping teaspoon of pumpkin filling in the center of half of the circles. Brush the edges of each filled circle with a little water, then top with another circle. Press the edges to seal, then crimp with a fork all around. Cut 2-3 small slits on top for steam to escape.
- Chill again: Place the assembled hand pies on the prepared baking sheet and refrigerate for 15 minutes.
- Egg wash and sugar: Brush the tops of the chilled hand pies with the egg wash, then sprinkle generously with turbinado sugar.
- Bake: Bake for 20-25 minutes, or until the crust is golden brown and the filling is bubbly. Rotate the pan halfway through. Let cool on the baking sheet for 5 minutes, then transfer to a cooling rack.
Notes
Keep everything cold for a flaky crust. Do not overfill the hand pies. Chill assembled pies before baking to prevent spreading. For gluten-free, use a 1:1 gluten-free flour blend. For dairy-free, use cold vegan butter. Hand pies can be frozen baked or unbaked.
Nutrition
- Serving Size: 1 hand pie
- Calories: 145
- Sugar: 7
- Sodium: 115
- Fat: 8
- Saturated Fat: 5
- Carbohydrates: 17
- Fiber: 1
- Protein: 2
Keywords: pumpkin hand pies, mini pumpkin pies, Friendsgiving dessert, fall dessert, bite-sized pumpkin pie, hand pie recipe, pumpkin spice


