My nephew asked why I couldn’t just layer crushed cookies and pudding in a cup and call it a day. I started to explain why that wouldn’t work — something about texture ratios and moisture barriers. Then I stopped. The kid was holding a bag of gummy worms with this look that said “you’re overcomplicating this.” So I shrugged and handed him a spoon.
Honestly, I thought it would be a soggy mess. I’d spent years perfecting these “proper” layered desserts with stabilized creams and precise crumb sizes. But he just dumped in the cookies, spooned the pudding on top, and shoved a worm in sideways. It looked ridiculous. It looked perfect.
The first bite hit me right in the childhood. That creamy, chocolatey pudding against the crunch of Oreo crumbs — it was everything a Halloween dessert should be. No fuss, no fancy techniques, just pure joy in a cup. I’d spent a Tuesday afternoon in my tiny kitchen, convinced I was about to teach him something. Turns out, he taught me that the best recipes don’t need a lecture. They need a little trust and a lot of gummy worms.
So here we are. These Cozy Halloween Dirt Cups with Gummy Worms and Oreo Crumble are the dessert I keep coming back to, not because they’re impressive, but because they feel like that moment. Maybe you’ve been there — overthinking a recipe when the simple version was staring you right in the face. This one is for those nights.
Why You’ll Love This Recipe
Let me tell you why these dirt cups are different from every other Halloween dessert you’ve seen. I’ve tested this recipe about a dozen times — yes, really — and here’s what I’ve learned.
- Quick & Easy: This comes together in under 10 minutes. No baking, no complicated steps. Perfect for when the kids are bouncing off the walls and you need a win.
- Simple Ingredients: You probably have most of this in your pantry right now. Instant pudding, Oreos, milk, and gummy worms. That’s it.
- Perfect for Halloween: Whether it’s a classroom party, a cozy movie night, or just a Tuesday that needs some spooky energy, these cups deliver.
- Crowd-Pleaser: I’ve served these to kids, adults, and that one friend who claims they don’t like sweets. Every single person went back for seconds.
- Unbelievably Delicious: The creamy pudding against the crunchy cookie crumble is next-level comfort food. It’s simple, but it hits that spot every time.
What makes this recipe different from the rest? It’s the texture. Most dirt cup recipes use whipped topping or cool whip, which can feel too light. I use whole milk and a touch of cream cheese in the pudding layer for a richness that feels indulgent. It’s not just another version — it’s the version that makes you close your eyes after the first bite.
This is comfort food reimagined for the spooky season. Faster, easier, but with the same soul-soothing satisfaction. Perfect for impressing little goblins without stressing yourself out.
What Ingredients You Will Need
This recipe uses simple, pantry-friendly ingredients to create something that feels special. No fancy trips to specialty stores — just the good stuff you already know.
- Instant chocolate pudding mix (3.9 oz box) — I prefer Jell-O brand for consistency, but any brand works. The instant kind is key here; cook-and-serve takes too long and doesn’t set up the same way.
- Whole milk (2 cups) — Whole milk gives the creamiest texture. You can use 2% in a pinch, but don’t go lower than that or the pudding won’t feel as luxurious.
- Oreo cookies (16-20 cookies) — Regular Oreos work best. Double Stuf is fine too, but you’ll want to scrape off some of the filling for a better crumb texture.
- Cream cheese (4 oz, softened) — This is my secret ingredient. It adds a tangy richness that balances the sweetness. Make sure it’s softened to room temperature so it blends smoothly.
- Powdered sugar (2 tablespoons) — Just a touch to sweeten the cream cheese without making it grainy.
- Vanilla extract (1 teaspoon) — Pure vanilla is best, but imitation works fine. It rounds out the chocolate flavor beautifully.
- Gummy worms (about 24 worms) — Go for the classic bright-colored ones. The sour varieties add a fun tangy contrast. I recommend Trolli or Black Forest brands.
- Halloween sprinkles (optional) — For extra spooky vibes. Little pumpkin or ghost shapes are adorable.
- Whipped cream (optional) — A dollop on top makes it feel extra special.
Substitution Guidance: For a dairy-free version, use almond milk and dairy-free cream cheese. The texture will be slightly thinner but still delicious. For a gluten-free option, use gluten-free chocolate sandwich cookies. And if you’re short on time, skip the cream cheese step entirely — the pudding alone is still fantastic.
Equipment Needed
You don’t need much for this recipe, which is part of the beauty. Here’s what you’ll want on hand:
- 6 small cups or jars — Mason jars, clear plastic cups, or even small bowls work. Clear cups let you see the layers, which is half the fun. I found a set of 8-ounce mason jars at the dollar store, and they’ve held up for years.
- Mixing bowls — One medium bowl for the pudding, one small bowl for the cream cheese mixture.
- Whisk or electric mixer — A whisk works fine for the pudding, but an electric mixer makes the cream cheese step much easier. I’ve done it by hand before, and let me tell you, it’s a workout.
- Ziploc bag or rolling pin — For crushing the Oreos. You can use a food processor, but I actually prefer the bag method. It’s more satisfying, and you get a mix of fine crumbs and small chunks.
- Spatula — For scraping every last bit of pudding into the cups. Waste not, want not.
- Measuring cups and spoons — For accuracy, especially with the milk and powdered sugar.
A quick tip: if you’re using mason jars, make sure they’re completely dry before assembling. Any moisture will make the cookie crumbs soggy faster. I learned that the hard way after a batch turned into a mushy mess within an hour.
Preparation Method
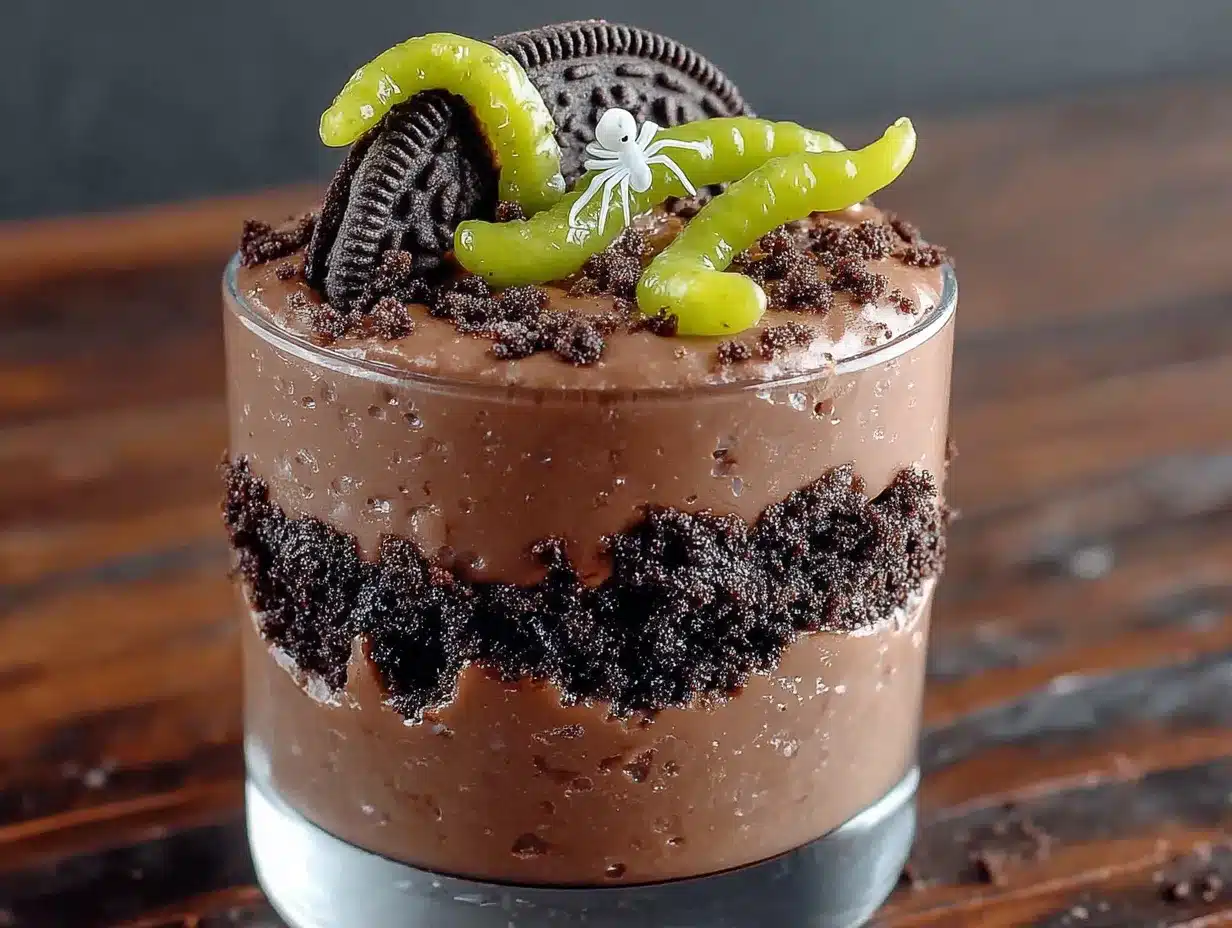
- Crush the Oreos. Place the cookies in a Ziploc bag and seal it tight. Use a rolling pin or the bottom of a heavy pan to crush them into fine crumbs. You want a mix of powder and small chunks — not too fine, not too chunky. Set aside about 2 tablespoons for topping later.
- Make the cream cheese layer. In a small bowl, beat the softened cream cheese with the powdered sugar and vanilla extract until smooth. Use an electric mixer if you have one; it makes a huge difference. Scrape down the sides with a spatula to get everything incorporated.
- Prepare the pudding. In a medium bowl, whisk together the instant pudding mix and 2 cups of cold milk. Whisk for about 2 minutes until it starts to thicken. It will be thin at first — don’t panic. Let it sit for 5 minutes to set up properly.
- Combine the layers. Once the pudding has thickened, fold in the cream cheese mixture. Stir gently until no white streaks remain. The color should be an even, rich chocolate brown. Taste it here — I dare you not to grab a spoon.
- Assemble the cups. Start with a layer of Oreo crumbs at the bottom of each cup. About 2 tablespoons per cup works well. Spoon the pudding mixture on top, filling each cup about three-quarters full. Tap the cups gently on the counter to settle the pudding and remove air bubbles.
- Add the worms. Gently press 3-4 gummy worms into the pudding, letting some stick out for that “crawling out of the dirt” effect. This is the fun part. Let the kids do it if you have them — their placement will be way more creative than yours.
- Top with crumbs. Sprinkle the reserved Oreo crumbs over the top, covering the pudding completely. You want it to look like actual dirt. Don’t be shy with the crumbs.
- Chill before serving. Refrigerate for at least 30 minutes before serving. This allows the flavors to meld and the texture to set properly. If you’re in a hurry, 15 minutes in the freezer works too — just don’t forget about them.
Sensory Cues: The pudding should be thick enough to hold its shape when spooned, but still silky smooth. The Oreo crumbs should feel dry and crumbly, not clumpy. When you press a gummy worm in, you want to feel a slight resistance from the pudding — that’s how you know it’s set right.
Troubleshooting: If your pudding is too thin, you might have used too much milk or not whisked long enough. Give it another 2-3 minutes of whisking and let it rest. If it’s still thin, add a tablespoon of instant pudding mix and whisk again. If your cream cheese is lumpy, it wasn’t soft enough. Next time, let it sit on the counter for 30 minutes before starting.
Cooking Tips & Techniques
I’ve made about twenty batches of these dirt cups over the past year, and I’ve learned a few things the hard way. Here’s what I wish someone had told me.
Don’t overmix the pudding. Whisk it just until it starts to thicken, then let it sit. Overmixing can make it grainy, and nobody wants grainy dirt. I learned this after a batch that looked like cottage cheese — not the vibe.
Crush the Oreos strategically. You want a mix of fine crumbs and small chunks. If you go too fine, it turns into dust that doesn’t look like dirt. Too chunky, and it doesn’t stick together. I use a rolling pin and stop when I see mostly pea-sized pieces.
Let the pudding set before adding worms. If you add the gummy worms too early, they’ll sink to the bottom. Wait about 10 minutes after assembling, then gently press them in. They should stay right where you put them.
Chill your bowls. This is a weird tip, but it works. If you chill your mixing bowl and whisk for 10 minutes before making the pudding, it sets up faster and smoother. I stumbled on this by accident when I forgot a bowl in the fridge overnight.
Make extra crumb topping. You’ll think you have enough Oreo crumbs, and then you’ll run out halfway through the last cup. Trust me on this. Crush an extra 4-5 cookies just in case. Leftover crumbs are great on ice cream.
Timing is everything. These are best within 4-6 hours of assembly. The gummy worms start to soften after that, and the crumbs lose their crunch. If you’re making them for a party, assemble them no more than 2 hours before serving.
Variations & Adaptations
One of the best things about this recipe is how easy it is to change up. Here are a few variations I’ve tried and loved.
Peanut Butter Dirt Cups: Add 2 tablespoons of creamy peanut butter to the cream cheese mixture before folding it into the pudding. The salty-sweet combo is incredible. I tried this on a whim one afternoon, and now it’s my go-to. Just make sure the peanut butter is smooth and well-stirred.
Vegan Dirt Cups: Use dairy-free chocolate pudding mix (Jell-O makes one), almond milk, and vegan cream cheese. The texture is slightly less creamy, but still delicious. For the Oreos, regular ones are actually vegan-friendly. I served these at a Halloween potluck last year, and nobody could tell the difference.
Pumpkin Spice Dirt Cups: Swap the chocolate pudding for vanilla, and add 1/4 cup of pumpkin puree and 1 teaspoon of pumpkin pie spice to the cream cheese mixture. Top with crushed graham crackers instead of Oreos for a fall twist. This version tastes like autumn in a cup.
Brownie Bottom Dirt Cups: Add a layer of crumbled brownie pieces between the Oreo crumbs and the pudding. It adds a fudgy texture that takes these to another level. I used leftover brownies from a batch I’d made the day before, and it was a game-changer.
Sugar-Free Version: Use sugar-free pudding mix and sugar-free Oreos. The cream cheese adds enough richness that you won’t miss the sugar. I made these for a friend who’s watching her carbs, and she asked for the recipe twice.
Serving & Storage Suggestions
These dirt cups are best served cold, straight from the fridge. The contrast between the cool, creamy pudding and the crunchy Oreo crumbs is what makes them special. I like to pull them out about 5 minutes before serving so they’re not ice-cold, but that’s personal preference.
Presentation Ideas: Serve them in clear cups so the layers show through. Add a gummy worm poking out of the top for that creepy-crawly effect. A few Halloween sprinkles on top add a festive touch. If you’re feeling fancy, add a dollop of whipped cream and a drizzle of chocolate syrup.
Complementary Dishes: These pair beautifully with warm apple cider or a pumpkin spice latte. For a full Halloween spread, serve them alongside popcorn balls, caramel apples, or a batch of pumpkin muffins. They’re also great as a standalone treat for a movie night.
Storage Instructions: Store assembled dirt cups in the refrigerator, covered with plastic wrap or a lid. They’ll keep for up to 2 days, but the texture is best within 24 hours. The gummy worms will soften over time, and the Oreo crumbs will lose their crunch. If you’re making them ahead, store the components separately and assemble just before serving.
Reheating: These are meant to be served cold, so no reheating needed. If the pudding has thickened too much after sitting in the fridge, let the cups sit at room temperature for 10 minutes before serving.
Freezer Notes: I don’t recommend freezing assembled dirt cups. The pudding becomes icy and the texture gets weird. If you have leftover pudding mixture, you can freeze it in an airtight container for up to a month. Thaw in the fridge and use within 2 days.
Nutritional Information & Benefits
Let’s be real — these are a treat, not a health food. But here’s the breakdown per serving (one cup, without optional toppings):
| Nutrient | Amount |
|---|---|
| Calories | 320 |
| Total Fat | 14g |
| Saturated Fat | 7g |
| Cholesterol | 25mg |
| Sodium | 380mg |
| Total Carbohydrates | 45g |
| Dietary Fiber | 2g |
| Sugars | 32g |
| Protein | 6g |
Health Highlights: The cream cheese adds a small amount of protein and calcium. The Oreos provide a bit of iron from the cocoa. And the gummy worms? Well, they’re mostly sugar, but they make people smile, and that counts for something.
Dietary Considerations: This recipe contains dairy, gluten, and soy. For allergen-friendly versions, see the variations section above. If you’re making these for a school party, check for any classroom allergies first.
My Personal Take: I believe in balance. These dirt cups are a fun, nostalgic treat that brings people together. One serving won’t derail your health goals, and the joy they bring is worth every calorie. Enjoy them mindfully, and maybe go for a walk afterward.
Frequently Asked Questions
Can I make these dirt cups ahead of time?
Yes, but no more than 24 hours in advance. The texture is best within 4-6 hours of assembly. If you’re making them for a party, assemble them the morning of the event.
Can I use homemade pudding instead of instant?
You can, but it won’t set up the same way. Instant pudding is formulated to thicken quickly without cooking. Homemade pudding will be thinner and may not hold its shape as well. If you want to try it, use a recipe that sets firmly.
How do I keep the Oreo crumbs crunchy?
The key is to add the crumbs just before serving. If you assemble the cups too far in advance, the moisture from the pudding will soften the crumbs. I recommend crushing the Oreos fresh and storing them in a sealed bag until you’re ready to assemble.
Can I use other types of cookies?
Absolutely. Chocolate wafers, graham crackers, or even crushed pretzels work well. Each gives a different texture and flavor. I’ve tried crushed shortbread cookies, and they add a buttery note that’s lovely.
What if I don’t have gummy worms?
Any gummy candy works. Gummy spiders, bats, or even gummy bears are great alternatives. You can also use candy eyeballs for a fun twist. The candy is really just for decoration and fun.
Conclusion
These Cozy Halloween Dirt Cups with Gummy Worms and Oreo Crumble are more than just a dessert — they’re a moment. A moment of laughter, of messy kitchen counters, of watching someone’s face light up when they see that gummy worm poking out of the “dirt.”
I love this recipe because it reminds me that the best things in life don’t have to be complicated. Sometimes the simplest ideas — the ones that come from a kid with a bag of gummy worms — are the ones that stick.
So go ahead. Make these for your Halloween party, your family movie night, or just because it’s Tuesday. Customize them however you like. Add extra worms. Skip the cream cheese. Use whatever cups you have. This recipe is forgiving, and that’s what makes it special.
I’d love to hear how yours turn out. Drop a comment below with your favorite variation, or tag me in your photos. Did you add something unexpected? Did your kids come up with a better way to arrange the worms? Share it all — I’m always learning from you.
Happy Halloween, friends. May your dirt cups be creepy, your gummy worms be plentiful, and your kitchen be full of joy.
Pin This Recipe!
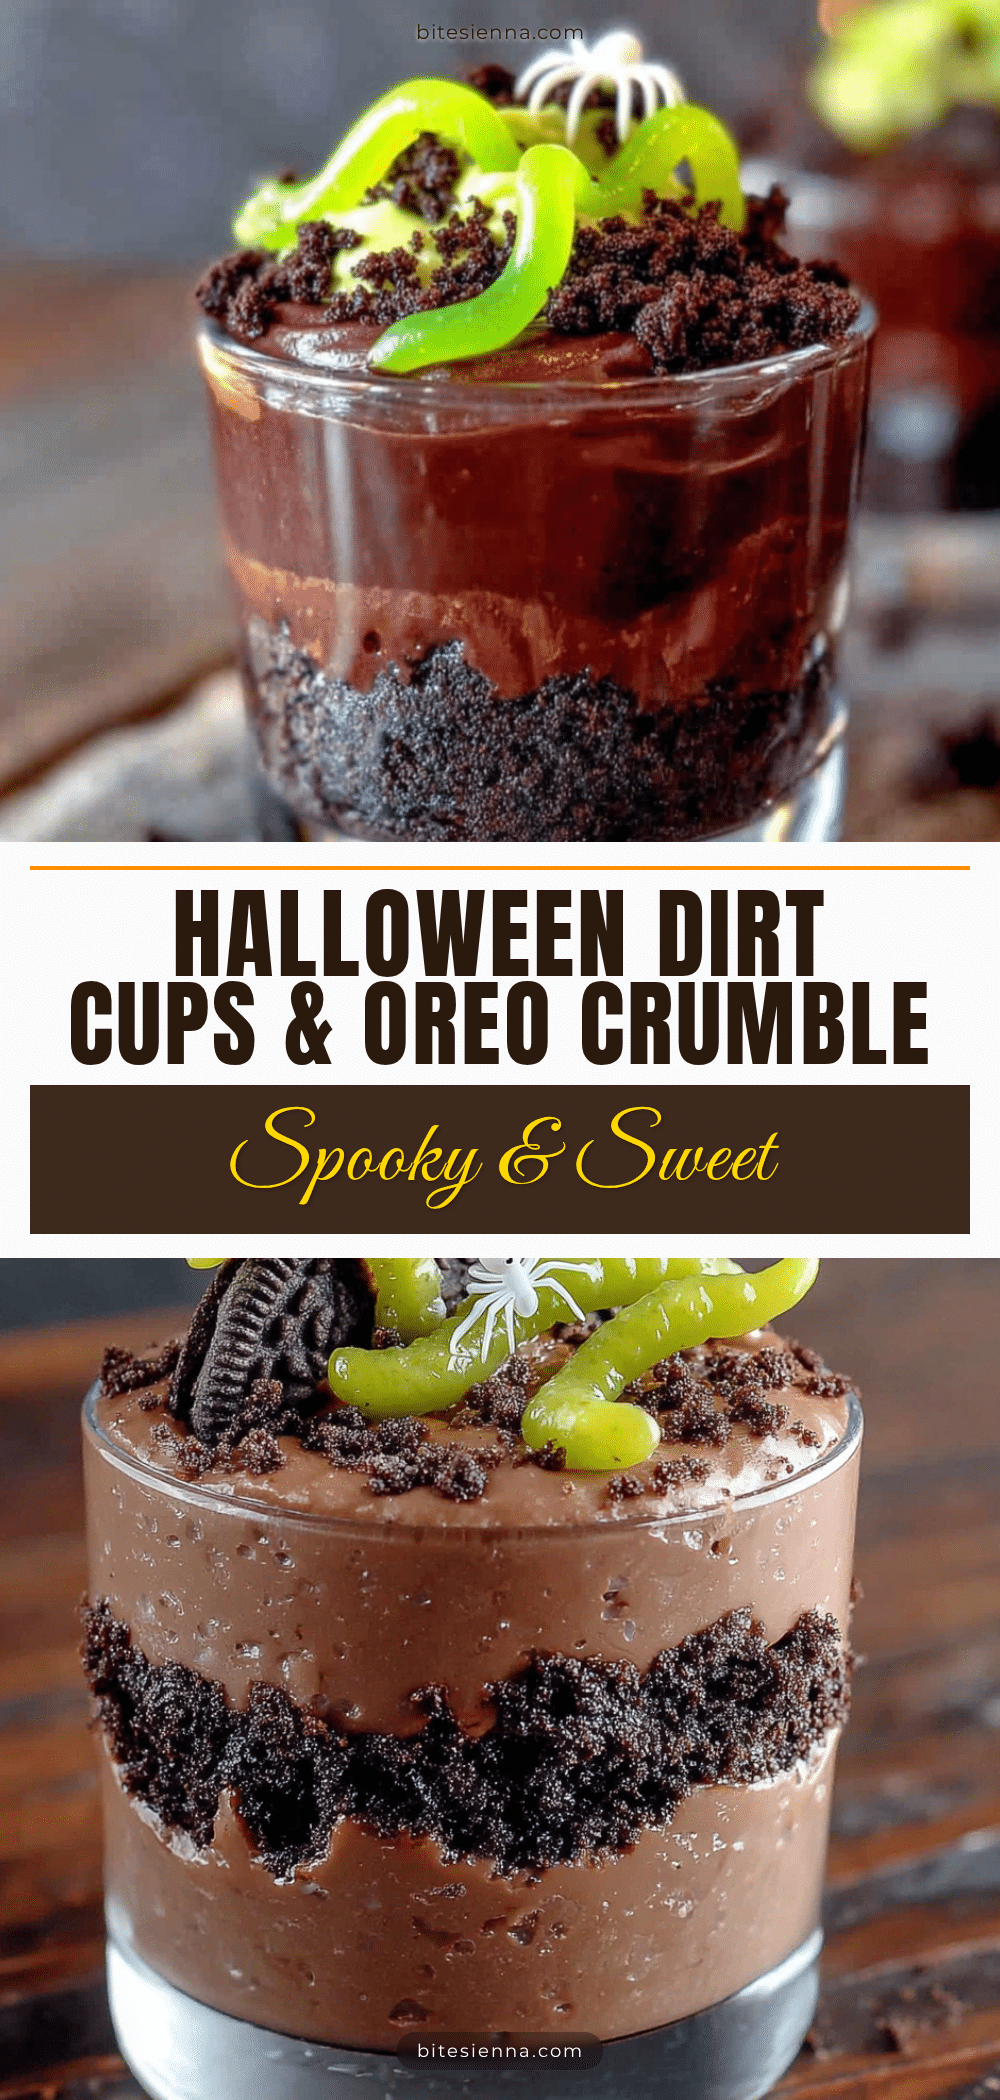
Cozy Halloween Dirt Cups with Gummy Worms: Easy 10-Minute Dessert
These no-bake Halloween dirt cups layer creamy chocolate pudding, Oreo crumble, and gummy worms for a fun, spooky treat that comes together in under 10 minutes. Perfect for parties, movie nights, or a quick dessert that kids and adults love.
- Prep Time: 10 minutes
- Cook Time: 0 minutes
- Total Time: 40 minutes (including chilling)
- Yield: 6 servings 1x
- Category: Dessert
- Cuisine: American
Ingredients
- 1 box (3.9 oz) instant chocolate pudding mix
- 2 cups whole milk
- 16–20 Oreo cookies
- 4 oz cream cheese, softened
- 2 tablespoons powdered sugar
- 1 teaspoon vanilla extract
- About 24 gummy worms
- Halloween sprinkles (optional)
- Whipped cream (optional)
Instructions
- Crush the Oreos: Place cookies in a Ziploc bag and crush with a rolling pin into fine crumbs with small chunks. Set aside about 2 tablespoons for topping.
- Make the cream cheese layer: In a small bowl, beat softened cream cheese with powdered sugar and vanilla extract until smooth.
- Prepare the pudding: In a medium bowl, whisk together instant pudding mix and 2 cups cold milk for about 2 minutes until it starts to thicken. Let sit for 5 minutes to set.
- Combine the layers: Fold the cream cheese mixture into the pudding until no white streaks remain.
- Assemble the cups: Layer about 2 tablespoons Oreo crumbs at the bottom of each cup. Spoon pudding mixture on top, filling each cup about three-quarters full. Tap cups gently to settle.
- Add the worms: Gently press 3-4 gummy worms into the pudding, letting some stick out.
- Top with crumbs: Sprinkle reserved Oreo crumbs over the top to cover completely.
- Chill before serving: Refrigerate for at least 30 minutes (or 15 minutes in the freezer) before serving.
Notes
For best texture, assemble no more than 2 hours before serving. The gummy worms will soften over time. For a dairy-free version, use almond milk and dairy-free cream cheese. For gluten-free, use gluten-free chocolate sandwich cookies. If pudding is too thin, whisk longer or add extra instant pudding mix.
Nutrition
- Serving Size: 1 cup
- Calories: 320
- Sugar: 32
- Sodium: 380
- Fat: 14
- Saturated Fat: 7
- Carbohydrates: 45
- Fiber: 2
- Protein: 6
Keywords: Halloween dirt cups, gummy worms, Oreo crumble, no-bake dessert, easy Halloween dessert, chocolate pudding cups


