The freezer door wouldn’t close. That was the first sign that I had made a terrible mistake. I was standing in my kitchen at 2:00 AM, holding a plastic container that weighed about fifteen pounds, trying to force it shut with my hip while balancing a spoon in my other hand. This was supposed to be a simple batch of vanilla bean ice cream, the kind I make when I want to feel organized and adult. Instead, I had somehow ended up with a sticky, golden catastrophe that smelled like a candy factory explosion.
I had forgotten to temper the eggs for the custard base. Panic set in immediately. You know that feeling when your heart drops into your stomach because you just ruined three hours of work? I was ready to scrape it all down the sink. But then, I tasted it. Just a tiny spoonful of the curdled, warm mixture. It was rich. It was salty. It was caramelized in a way that no textbook recipe could ever predict.
I grabbed the wrong jar of sea salt—flaky Maldon instead of fine kosher—and it changed everything. The texture wasn’t smooth custard anymore; it was chunky, intense, and wildly addictive. I decided to freeze it anyway, figuring it would be a frozen brick of regret. But when I broke it up the next morning, it had transformed. The salt had dissolved into pockets of sweet perfection, and the cream had whipped into something surprisingly airy. It was nothing like the plan—and infinitely better.
I’ve made this creamy no-churn salted caramel ice cream dozens of times since that chaotic night. Honestly, it’s become my go-to when I need comfort fast. Maybe you’ve been there too, staring into the fridge wondering what to salvage. This recipe isn’t just about the ice cream; it’s about trusting your instincts when things go sideways. It’s the kind of dessert that feels like a hug from the inside out, and I promise you won’t be able to stop eating it straight from the container.
Why You’ll Love This Recipe
Let’s be real for a second. Buying ice cream is easy. Making it from scratch usually involves an ice cream maker, a custard base that requires tempering eggs, and a lot of waiting around. This recipe cuts out all the fuss. I developed this version after years of testing different no-churn methods, trying to find the sweet spot between icy and dense. What I landed on is pure magic.
- Zero Equipment Needed: You don’t need an ice cream maker. A hand mixer and a loaf pan are all you need. This makes it perfect for those hot summer days when you don’t want to turn on the oven or deal with complex machinery.
- Pantry Staples: You likely have most of these ingredients right now. Heavy cream, sweetened condensed milk, and caramel sauce are the holy trinity here. No fancy grocery trips required.
- Perfect Texture: The secret is in the whipping. By whipping the heavy cream to stiff peaks and folding it gently with the condensed milk, you trap air bubbles that prevent ice crystals from forming. The result is a texture that is creamy, smooth, and melts on your tongue.
- Flavor Balance: Most caramel ice creams are too sweet. By using a high-quality salted caramel sauce and adding a pinch of flaky sea salt on top, you get that perfect sweet-salty balance that keeps you coming back for more.
- Quick & Easy: From start to finish, including freezing time, this is a breeze. The active prep time is under 20 minutes. It’s ideal for last-minute dinner parties or when you just need a treat to survive a tough Tuesday.
This isn’t just another no-churn recipe. It’s the one that makes people ask for your secret. Whether you’re hosting a potluck or just treating yourself after a long week, this ice cream delivers that next-level comfort food vibe without the stress. It’s reliable, delicious, and surprisingly sophisticated.
What Ingredients You Will Need
Creating the perfect base for this creamy no-churn salted caramel ice cream relies on a few key components that work together to create that signature smooth mouthfeel. The science here is simple but effective: fat from the cream, sugar from the condensed milk, and flavor from the caramel. Here is what you need to gather before you start.
- Heavy Whipping Cream: You need at least 35% fat content. Lower fat creams won’t whip up properly and will result in a denser, icier final product. I recommend using a local dairy brand if you can find it, as the higher butterfat content makes a noticeable difference in richness. Make sure it is very cold, straight from the fridge.
- Sweetened Condensed Milk: This is the backbone of the no-churn method. It adds sweetness and, more importantly, solids that prevent ice crystals from forming. Don’t confuse this with evaporated milk; they are very different. A standard 14-ounce can is perfect for this batch.
- Salted Caramel Sauce: This is where the magic happens. Use a store-bought sauce if you’re short on time, but look for one with a good balance of salt and butter. Brands like Smucker’s or Ghirardelli work well, but homemade is always superior if you have the time. The sauce should be at room temperature so it folds in easily.
- Vanilla Extract: A high-quality vanilla bean paste or pure extract adds depth. Avoid artificial vanilla if possible, as it can taste chemical. Just one teaspoon is enough to tie all the flavors together.
- Flaky Sea Salt: Maldon sea salt is my personal favorite for finishing. The large flakes provide a nice crunch and a burst of salty flavor that cuts through the sweetness. Sprinkle this on top before serving for that professional touch.
- Optional Mix-ins: If you want extra texture, you can add chopped toffee bits, pretzel pieces, or even a swirl of chocolate sauce. But honestly, the plain caramel version is often the most loved.
Keep in mind that the quality of your ingredients matters more here than in baked goods. Since there are only a few components, each one shines brightly. If you substitute ingredients, the texture might change, so stick to these basics for the best results.
Equipment Needed
You don’t need a fancy kitchen to make this ice cream. In fact, the simpler the equipment, the better. Here is what you’ll need to get the job done.
- Large Mixing Bowl: A metal or glass bowl works best because it stays cold. If your bowl is plastic, pop it in the freezer for 15 minutes before you start.
- Hand Mixer or Stand Mixer: A hand mixer is perfectly fine and often easier for cleanup. If you use a stand mixer, use the whisk attachment. Just make sure it’s clean and dry.
- Spatula: A silicone spatula is essential for folding. It helps you incorporate the ingredients without deflating the whipped cream. A rubber scraper works too.
- Loaf Pan: A standard 9×5 inch loaf pan is ideal. Line it with parchment paper for easy removal later. You can also use a 9×9 square pan or a larger container if you want smaller portions.
- Whisk: For mixing the condensed milk and caramel sauce together before folding.
If you don’t have a hand mixer, you can whip the cream by hand, but it will take about 10-15 minutes of elbow grease. Not recommended if you’re tired! Also, make sure your loaf pan is freezer-safe. Some thin plastic containers can crack if they get too cold.
Preparation Method
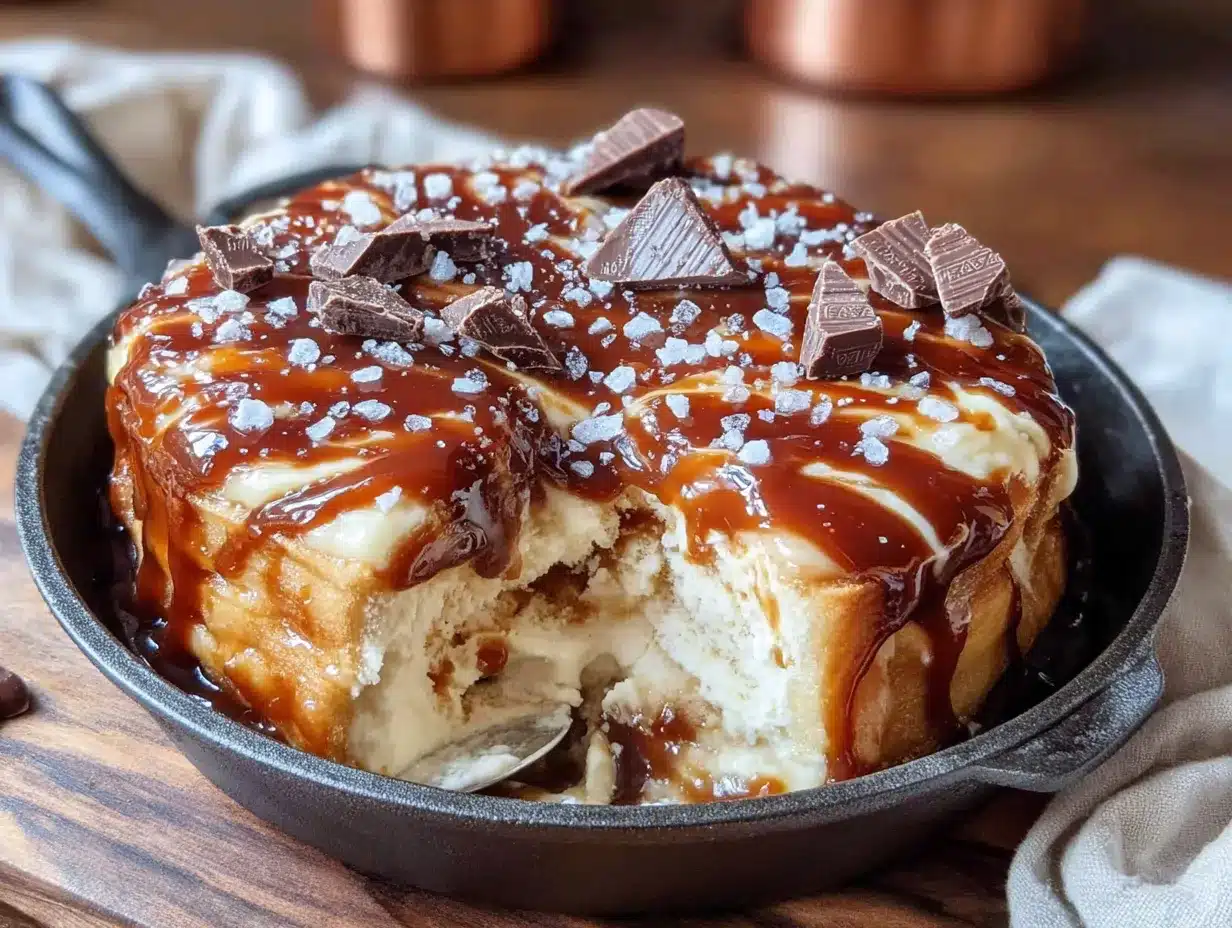
Getting this creamy no-churn salted caramel ice cream ready is straightforward, but technique is everything. Follow these steps carefully to ensure a smooth, creamy result every time.
- Prepare Your Pan: Line a 9×5 inch loaf pan with parchment paper, leaving an overhang on the long sides. This acts as a handle for lifting the ice cream out later. Set it aside in the freezer to chill while you prep the mix.
- Chill Your Bowl and Beaters: Place your mixing bowl and beaters in the freezer for 10-15 minutes. Cold equipment helps the cream whip faster and hold its shape better. This is a crucial step for success.
- Whip the Heavy Cream: Pour the cold heavy cream into the chilled bowl. Using your mixer on medium-high speed, whip the cream until stiff peaks form. This means when you lift the beaters, the cream stands up straight without drooping. Be careful not to over-whip, or it will turn into butter. This should take about 3-5 minutes.
- Mix the Sweet Base: In a separate medium bowl, combine the sweetened condensed milk, vanilla extract, and half of your salted caramel sauce. Whisk them together until smooth and well combined. The mixture should be liquid but thick.
- Fold the Ingredients: Gently fold one-third of the whipped cream into the condensed milk mixture to lighten it. Then, pour this mixture back into the bowl with the remaining whipped cream. Use your spatula to gently fold everything together. Use a cutting motion, scraping the bottom and folding over the top. Stop as soon as the mixture is uniform. Over-mixing will deflate the air you worked so hard to trap.
- Add the Swirl: Pour half of the ice cream mixture into the prepared loaf pan. Drizzle with some of the remaining caramel sauce. Add the rest of the ice cream mixture on top. Drizzle with more caramel. Use a knife or skewer to swirl the caramel into the ice cream. Don’t over-swirl; you want visible ribbons of caramel, not a uniform brown color.
- Freeze: Cover the loaf pan tightly with plastic wrap or aluminum foil. Freeze for at least 6 hours, but overnight is best. The ice cream needs time to firm up completely.
- Serve: When ready to serve, let the ice cream sit at room temperature for 5-10 minutes to soften slightly. Lift it out using the parchment paper, slice, and enjoy.
Remember, patience is key. If you try to scoop it too soon, it will be soft and soupy. Let it freeze fully for that perfect scoopable texture.
Cooking Tips & Techniques
I’ve learned a few things the hard way while perfecting this recipe. Here are some pro tips to help you avoid common pitfalls.
- Cold is Cool: I cannot stress this enough. If your cream is warm, it won’t whip. If your bowl is warm, it won’t whip. Keep everything cold until the moment it hits the pan.
- Don’t Over-Mix: When folding, be gentle. You are trying to keep those air bubbles intact. If you stir vigorously, you’ll lose the lightness, and your ice cream will be dense and icy.
- Caramel Temperature: Make sure your caramel sauce is at room temperature. If it’s too cold, it might clump up when you fold it in. If it’s too hot, it will melt the whipped cream. Aim for lukewarm.
- Salt Distribution: When adding the flaky sea salt on top, distribute it evenly. You want a little bit in every bite. But don’t go overboard; you want to enhance the flavor, not make it salty.
- Softening Before Serving: Ice cream straight from the freezer is hard as a rock. Letting it sit out for 5-10 minutes makes it much easier to scoop and improves the flavor release. Cold temperatures numb your taste buds slightly.
Also, if you find the ice cream too sweet, reduce the amount of caramel sauce by a quarter cup. Taste the mixture before freezing and adjust if needed. It’s easier to add more caramel than to fix an overly sweet batch.
Variations & Adaptations
While the classic salted caramel version is my favorite, there are plenty of ways to tweak this recipe to suit your taste or dietary needs.
- Chocolate Swirl: Substitute half of the caramel sauce with rich chocolate hazelnut spread. Swirl it in the same way for a delicious dessert-inspired treat.
- Peanut Butter Cup: Add a swirl of creamy peanut butter and top with crushed chocolate-covered pretzels. It’s like having a Reese’s Cup in ice cream form.
- Strawberry Fields: Fold in fresh, chopped strawberries and a swirl of strawberry jam. The acidity of the berries balances the sweetness of the condensed milk beautifully.
- Dairy-Free Option: Use full-fat coconut cream instead of heavy cream and dairy-free sweetened condensed milk (made from coconut milk). The texture will be slightly different but still delicious and creamy.
- Espresso Kick: Add a tablespoon of instant espresso powder to the condensed milk mixture. It adds a subtle coffee flavor that pairs amazingly with the caramel.
These variations are great for using up ingredients you might have on hand. Feel free to experiment and find your own signature twist. Just remember to adjust the sweetness if you add other sugary mix-ins.
Serving & Storage Suggestions
This ice cream is best served fresh, but it stores well if you have leftovers. Here is how to keep it at its peak.
Serving: Serve in chilled bowls for the best presentation. Garnish with a drizzle of warm caramel sauce and a sprinkle of flaky sea salt. It pairs wonderfully with warm apple pie, brownies, or simple vanilla wafers. For a sophisticated touch, serve it in a martini glass with a candied pecan on top.
Storage: Keep the ice cream in an airtight container in the freezer. It will stay good for up to 2 weeks. However, it is best consumed within the first week for optimal texture. After that, it might start to develop some ice crystals.
Reheating: If the ice cream gets too hard, let it sit at room temperature for 10 minutes before scooping. You can also microwave individual portions for 10-15 seconds to soften them up quickly.
The flavors actually deepen over time. The caramel and cream meld together, creating a more complex taste after a day or two in the freezer. It’s worth the wait!
Nutritional Information & Benefits
While this is definitely a treat, understanding the nutritional profile can help you enjoy it mindfully. One serving (about 1/2 cup) contains approximately 250-300 calories, depending on the specific brands of ingredients used.
The heavy cream provides healthy fats, which help with satiety. The sweetened condensed milk is high in sugar and calcium. The caramel sauce adds flavor but also significant sugar. Overall, this is a high-calorie, high-sugar dessert best enjoyed in moderation.
For those with dietary restrictions, this recipe is naturally gluten-free. However, it is not suitable for vegans or those with dairy allergies unless substitutions are made. Always check the labels of your caramel sauce and condensed milk for hidden allergens like soy or nuts.
I like to think of this ice cream as a special occasion treat. It’s not something I make every day, but when I do, it’s worth every calorie. Balance is key, and enjoying a small portion slowly can be more satisfying than eating a large amount quickly.
Conclusion
Making this creamy no-churn salted caramel ice cream at home is easier than you think, and the results are absolutely worth the effort. It’s a recipe that combines simplicity with incredible flavor, making it perfect for both novice and experienced cooks. I hope you try it and find it to be as much of a favorite in your kitchen as it is in mine.
Feel free to customize it with your favorite mix-ins or toppings. The beauty of no-churn ice cream is its versatility. Once you master the basic technique, the possibilities are endless.
If you make this recipe, please come back and leave a comment. I love hearing how it turned out for you. Did you add any unique twists? Share your experiences with the community. And if you have friends who love ice cream, share this recipe with them. Let’s spread the joy of homemade treats!
Happy scooping, and may your freezer always be full of deliciousness!
Frequently Asked Questions
Can I use light heavy cream for this recipe?
It’s not recommended. Light cream doesn’t have enough fat to whip into stiff peaks, which means your ice cream will be dense and icy. Stick to heavy whipping cream with at least 35% fat content for the best texture.
How do I prevent ice crystals from forming?
The key is to whip the cream properly and fold it gently to trap air. Also, ensure your container is airtight and that the ice cream is fully frozen before serving. Storing it in an airtight container helps prevent freezer burn.
Can I make this ice cream ahead of time?
Yes! You can make it up to two weeks in advance. Just make sure to cover it tightly with plastic wrap or foil to keep it fresh. It actually tastes better after a day or two as the flavors meld together.
What if I don’t have a hand mixer?
You can whip the cream by hand using a whisk, but it will take much longer (about 10-15 minutes). Make sure your bowl and cream are very cold to help the whipping process. It’s a bit of a workout, but it works!
Is this recipe gluten-free?
Yes, the basic ingredients are naturally gluten-free. However, always check the labels of your caramel sauce and condensed milk to ensure they don’t contain any gluten-containing additives. Some brands may have cross-contamination warnings.
Pin This Recipe!
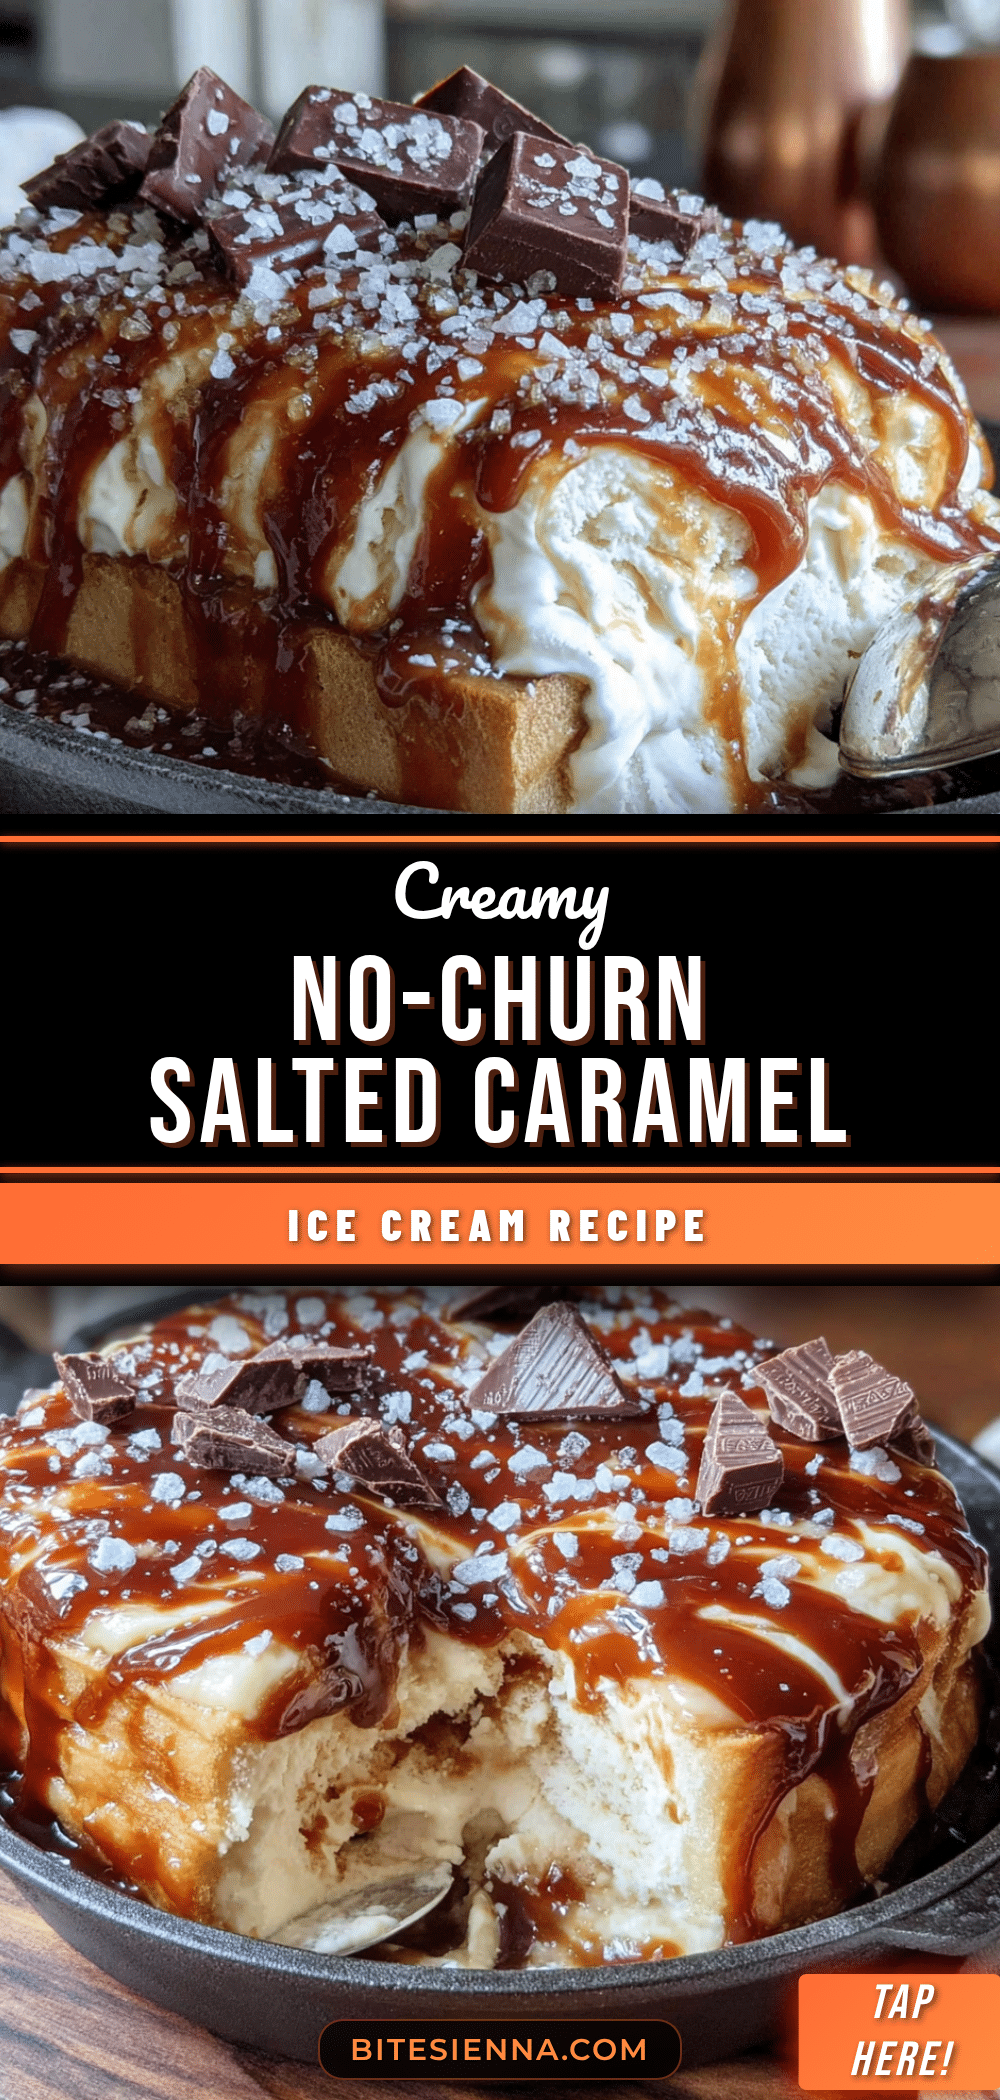
Creamy No-Churn Salted Caramel Ice Cream

A rich, creamy no-churn salted caramel ice cream made with just a few pantry staples. This recipe requires no ice cream maker and delivers a smooth, airy texture with a perfect sweet-salty balance.
- Prep Time: 20 minutes
- Cook Time: 0 minutes
- Total Time: 6 hours 20 minutes
- Yield: 8 servings 1x
- Category: Dessert
- Cuisine: American
Ingredients
- 2 cups heavy whipping cream (at least 35% fat content, very cold)
- 1 can (14 oz) sweetened condensed milk
- 1/2 cup salted caramel sauce (room temperature)
- 1 teaspoon vanilla extract
- Flaky sea salt (for garnish)
- Optional mix-ins: chopped toffee bits, pretzel pieces, or chocolate sauce
Instructions
- Line a 9×5 inch loaf pan with parchment paper, leaving an overhang on the long sides, and place it in the freezer to chill.
- Place a large metal or glass mixing bowl and beaters in the freezer for 10-15 minutes to ensure they are very cold.
- Pour the cold heavy cream into the chilled bowl. Using a hand or stand mixer on medium-high speed, whip the cream until stiff peaks form (about 3-5 minutes). Be careful not to over-whip.
- In a separate medium bowl, combine the sweetened condensed milk, vanilla extract, and half of the salted caramel sauce. Whisk until smooth and well combined.
- Gently fold one-third of the whipped cream into the condensed milk mixture to lighten it. Then, pour this mixture back into the bowl with the remaining whipped cream. Fold gently with a spatula using a cutting motion until just combined. Do not over-mix.
- Pour half of the ice cream mixture into the prepared loaf pan. Drizzle with some of the remaining caramel sauce. Add the rest of the ice cream mixture on top and drizzle with more caramel.
- Use a knife or skewer to swirl the caramel into the ice cream, creating visible ribbons.
- Cover the loaf pan tightly with plastic wrap or aluminum foil and freeze for at least 6 hours, or overnight, until firm.
- Before serving, let the ice cream sit at room temperature for 5-10 minutes to soften slightly. Lift out using the parchment paper, slice, and garnish with flaky sea salt.
Notes
Ensure all equipment and ingredients are very cold for best whipping results. Do not over-mix when folding to maintain airiness. The ice cream is best consumed within the first week for optimal texture, though it can be stored for up to two weeks. If the ice cream is too hard to scoop, let it sit at room temperature for 10 minutes.
Nutrition
- Serving Size: 1/2 cup
- Calories: 275
- Sugar: 26
- Sodium: 85
- Fat: 18
- Saturated Fat: 11
- Carbohydrates: 28
- Protein: 4
Keywords: no-churn ice cream, salted caramel, homemade ice cream, dessert, summer treats, gluten-free dessert