The office potluck was in forty minutes and I had absolutely nothing to bring. I stood in my kitchen, staring at a half-empty fridge, while my colleagues were presumably already carving out their elaborate charcuterie boards or assembling multi-layered pasta salads. I felt that familiar spike of panic, the kind that makes you question your entire social standing. I needed something impressive, something crunchy, and something that wouldn’t make me feel guilty about the carbs. Honestly, I was one step away from just bringing a bag of store-bought pretzels and hoping no one noticed.
Then I saw it. A single, slightly limp zucchini sitting next to the milk. It wasn’t pretty. It wasn’t even very firm. But I had parmesan cheese, I had panko breadcrumbs, and I had a whole lot of desperation. I didn’t have time to marinate or brine or do any of those fancy chef things I see on Instagram. I just needed to slice, dip, and bake. I remember frantically chopping the vegetable, my knife clattering against the cutting board because my hands were shaking from caffeine and anxiety. I threw everything into the oven and prayed to whatever culinary gods were listening.
When I pulled the tray out, they were golden, crispy, and smelled like heaven. I walked into the breakroom holding a plate of what looked like restaurant-quality appetizers. The look on my manager’s face when she took a bite was priceless. She actually asked for the recipe. I mean, who does that? Who asks for the recipe to a snack made from a sad zucchini? But that’s the magic of these Crispy Baked Parmesan Zucchini Chips. They look sophisticated but are ridiculously simple. That night, I wasn’t the person who brought nothing; I was the hero of the afternoon. I’ve made them every week since, mostly because they satisfy my craving for something salty and crunchy without derailing my keto diet.
You know that feeling when you’re scrolling through your phone at midnight and suddenly crave a chip? This is the answer. It’s real food, it’s fast, and it actually tastes good. I keep making it because it turns a humble vegetable into something I’m genuinely proud to serve, even if the story behind it started with pure chaos.
Why You’ll Love This Recipe
Let’s be honest for a second. Eating keto doesn’t mean you have to give up the joy of crunching on something salty while watching TV. I’ve tried so many veggie chips that end up soggy, bland, or just weirdly chewy. This recipe is different because it actually delivers on the promise of being crispy. I’ve tested this method dozens of times, tweaking the breadcrumb-to-cheese ratio until it was perfect. It’s not just about following instructions; it’s about understanding how the ingredients interact.
- Quick & Easy: You can have these from fridge to table in under 20 minutes. That’s right, less time than it takes to order takeout. It’s perfect for those last-minute cravings or when you need a snack to tide you over before dinner.
- Simple Ingredients: You likely already have everything you need. No fancy grocery trips or obscure ingredients that cost a fortune. Just zucchini, parmesan, and panko. It’s pantry-friendly and stress-free.
- Perfect for Keto: If you are watching your carb intake, these chips are a lifesaver. They give you that satisfying crunch without the carb bomb of potato chips. It’s a guilt-free indulgence that fits right into a low-carb lifestyle.
- Crowd-Pleaser: Even my non-keto friends love these. The combination of salty cheese and savory breadcrumbs is universal. It’s hard to find a person who doesn’t like something crispy and cheesy.
- Unbelievably Delicious: The texture is next-level. The outside is shatteringly crisp, while the inside stays tender. It’s comfort food reimagined for the health-conscious.
What makes this version special is the technique. Most people just throw raw zucchini in the oven and wonder why it turns to mush. I use a specific coating method that creates a barrier, keeping the moisture in the zucchini from making the coating soggy. It’s a small detail, but it makes all the difference. It’s the kind of recipe that makes you close your eyes after the first bite and just enjoy the moment. It’s simple, but it’s smart.
What Ingredients You Will Need
This recipe relies on the quality of just three ingredients. Since there’s nothing to hide behind, you want to make sure you’re starting with the best you can find. The flavor profile is clean and savory, letting the natural taste of the vegetable shine through the crispy coating.
- Zucchini: You’ll need 2 medium-sized zucchini. Look for ones that are firm and smooth, avoiding any with soft spots. Medium is best because it allows for even slicing. Large zucchini can be watery and seedy, which might affect the crispiness. I prefer buying them fresh from the farmer’s market when possible, as they tend to be tighter and less watery.
- Parmesan Cheese: Grated parmesan is key here. I recommend using a block and grating it yourself rather than buying the pre-grated stuff in a can. The pre-grated cheese often has anti-caking agents that prevent it from melting and sticking properly. A hard, aged parmesan like Parmigiano-Reggiano works best because it’s salty and flavorful. You need about 1/2 cup, finely grated.
- Panko Breadcrumbs: These are Japanese-style breadcrumbs that are lighter and airier than regular breadcrumbs. This lightness is what gives the chips their signature crunch. Make sure to use plain panko, not seasoned, so you can control the salt level. If you are strictly gluten-free, you can substitute this with gluten-free panko or crushed pork rinds, though the texture will be slightly different. I use a brand like Kikkoman for its consistent texture.
- Egg Whites: You’ll need 2 large egg whites. Using just the whites helps create a thin, sticky layer that holds the coating without making it too heavy. Whole eggs can sometimes make the coating too thick or greasy. Beat them lightly until frothy.
- Seasoning: A pinch of salt and black pepper is usually enough, but you can add garlic powder or Italian herbs if you want extra flavor. Since the parmesan is already salty, taste before adding extra salt.
If you can’t find panko, you can pulse regular breadcrumbs in a food processor until they are coarser, but panko is really the secret weapon here. Also, make sure your zucchini is dry before slicing. Excess water is the enemy of crispiness.
Equipment Needed
You don’t need a fancy kitchen to make these chips. A few basic tools will get the job done perfectly. The most important piece of equipment is a rimmed baking sheet. The rim helps keep the breadcrumbs from sliding off when you flip the chips. Line it with parchment paper for easy cleanup, though a silicone baking mat works well too if you prefer reusability.
A mandoline slicer is highly recommended, though not strictly required. It gives you uniform, paper-thin slices which cook evenly. If you don’t have one, a sharp chef’s knife will work, but you’ll need to be very careful to slice them as thin as possible. Uniformity is key to ensuring some chips don’t burn while others are still soggy. I lost a finger trying to slice zucchini by hand once, so please, use caution or a slicer.
You’ll also need a small bowl for whisking the egg whites and a shallow dish or plate for the breadcrumb mixture. A pastry brush can help if you want to apply the egg white evenly, but dipping works fine too. Keep it simple and budget-friendly. You don’t need anything specialized.
Preparation Method
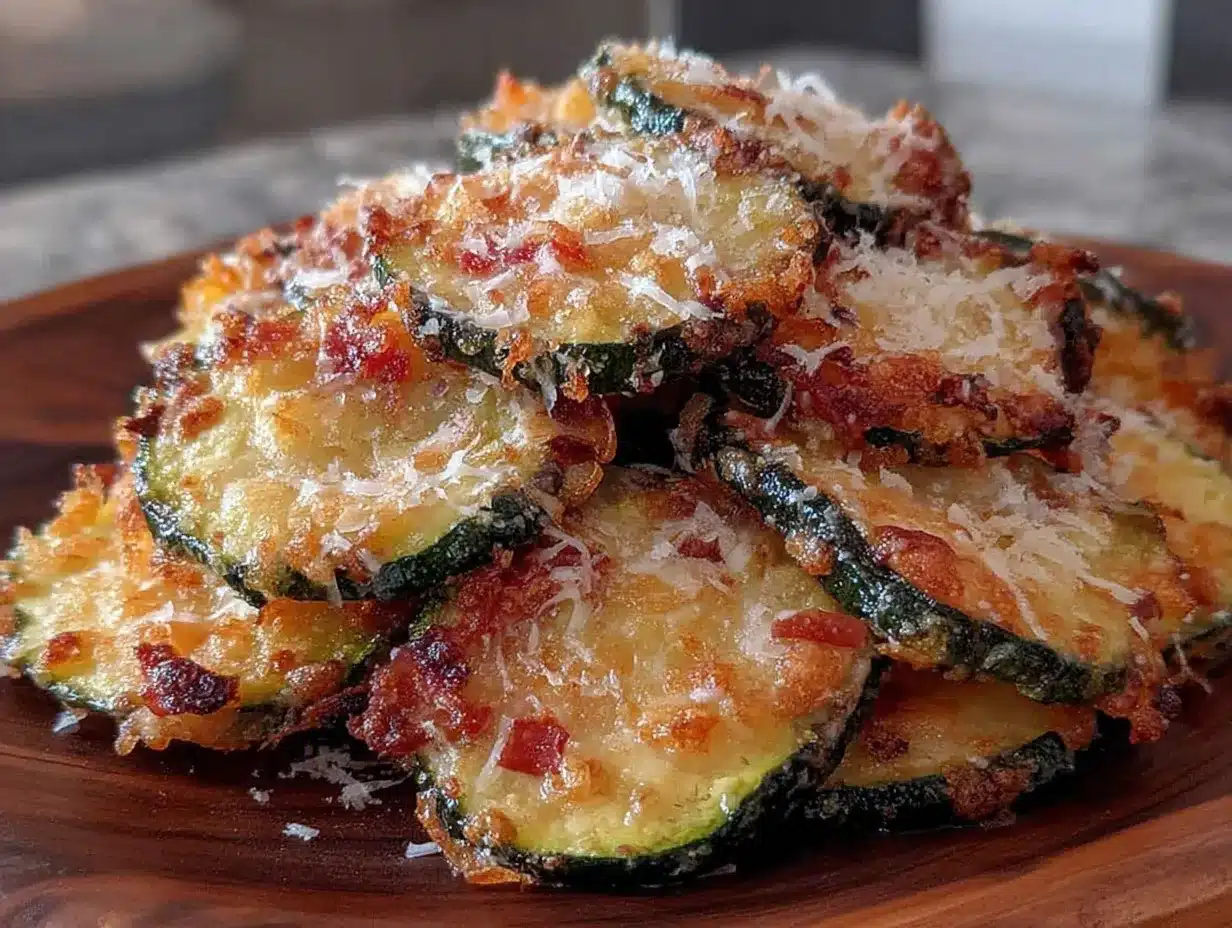
- Preheat the Oven: Start by preheating your oven to 400°F (200°C). This high heat is crucial for evaporating moisture quickly and creating that crispy texture. Line your baking sheet with parchment paper. (2 minutes)
- Prepare the Zucchini: Wash the zucchini thoroughly and trim off the ends. Using a mandoline slicer, slice the zucchini lengthwise into thin, uniform strips. Aim for slices that are about 1/8-inch thick. If you slice them too thick, they won’t crisp up. If they are too thin, they might burn. Place the slices on a clean kitchen towel and pat them dry. This step is non-negotiable. Removing excess moisture helps prevent sogginess. (5 minutes)
- Make the Coating: In a shallow dish, combine the grated parmesan cheese, panko breadcrumbs, and your chosen seasonings (salt, pepper, garlic powder). Mix well with a fork until evenly distributed. You want the cheese and crumbs to be intertwined so every bite has flavor. (2 minutes)
- Prep the Egg Wash: In a small bowl, whisk the egg whites until they are frothy. You don’t need to beat them stiff, just enough to break them up so they can coat the zucchini evenly. (1 minute)
- Coat the Zucchini: Take a slice of zucchini, dip it into the egg whites, making sure both sides are coated. Let any excess drip off. Then, press the slice firmly into the breadcrumb mixture. Use your hands to press the crumbs onto the zucchini, ensuring they stick well. Place the coated slice on the prepared baking sheet. Repeat with the remaining zucchini, egg whites, and breadcrumb mixture. (10 minutes)
- Bake: Place the baking sheet in the preheated oven. Bake for 10 minutes. Then, carefully remove the sheet and flip each chip over using a spatula. This ensures even browning on both sides. Return to the oven and bake for another 5-10 minutes, or until the edges are golden brown and crispy. Keep a close eye on them near the end, as they can go from golden to burnt quickly. (15-20 minutes total)
- Cool: Remove the chips from the oven and let them cool on the baking sheet for at least 5 minutes. They will crisp up further as they cool. If you try to move them while they are hot, they might break. (5 minutes)
Don’t overcrowd the pan. If you have too many chips, bake in batches. Crowding creates steam, which leads to soggy chips. Patience is key here.
Cooking Tips & Techniques
The biggest mistake people make with baked veggie chips is ignoring the moisture. Zucchini is mostly water. If you don’t remove that water before baking, you’re essentially steaming your snacks. I always pat my slices dry with paper towels. If you’re in a rush, you can even salt the slices and let them sit for 10 minutes to draw out moisture, then rinse and dry them. It’s an extra step, but it guarantees crispiness.
Another tip is to use the mandoline. I know it’s intimidating, but it’s worth it. Uniform slices cook at the same rate. I’ve learned this the hard way by having some burnt chips and some raw ones in the same batch. Consistency in thickness means consistency in texture.
Don’t skip the flipping step. The bottom side needs to get just as crispy as the top. If you leave them unflipped, the bottom might stay soft. Use a thin spatula to flip them gently so you don’t break the coating.
If your kitchen is humid, the chips might take a minute longer to crisp up. Keep an eye on the color. You want a golden brown, not a dark brown. Dark means burnt, and burnt parmesan tastes bitter.
Variations & Adaptations
While the classic parmesan and panko combo is my favorite, there are plenty of ways to tweak this recipe. For a spicy kick, add some red pepper flakes or cayenne pepper to the breadcrumb mixture. It adds a nice heat that balances the salty cheese.
If you’re dairy-free, you can substitute the parmesan with nutritional yeast, which adds a cheesy, nutty flavor. You might need to add a little extra salt to compensate. For a gluten-free option, use gluten-free panko or crushed pork rinds. Pork rinds make an incredibly crunchy coating that’s totally keto-friendly.
You can also experiment with herbs. Add dried oregano, basil, or thyme to the coating for an Italian-inspired twist. Or try adding smoked paprika for a smoky flavor. I once made these with everything bagel seasoning and they were amazing. The possibilities are endless.
For a lower-carb version, you can skip the panko entirely and just use a mixture of almond flour and parmesan. It’s denser, but still crispy. It’s a good option if you’re strictly tracking macros.
Serving & Storage Suggestions
These chips are best served warm, straight out of the oven. They pair perfectly with a cool dipping sauce like ranch, tzatziki, or marinara. I love dipping them in a spicy mayo for a kick. They also make a great side dish for grilled chicken or fish, adding a crunchy texture to the meal.
For storage, let the chips cool completely before placing them in an airtight container. They can be kept at room temperature for up to 2 days. However, they will lose some of their crispiness over time. If they get soft, you can re-crisp them in the oven at 350°F for 5 minutes. They are not great for freezing, as the texture becomes mushy upon thawing.
I usually make a batch and eat them over a couple of days, but honestly, they rarely last that long. They are that addictive. Just keep them in a cool, dry place to maintain their crunch.
Nutritional Information & Benefits
These chips are a great low-carb snack option. Zucchini is low in calories and high in water content, making it filling without being heavy. Parmesan cheese provides protein and calcium, while panko breadcrumbs add fiber (if using whole wheat or gluten-free varieties). One serving (about 10 chips) contains roughly 50-70 calories, depending on the size of the zucchini and the amount of oil used. They are naturally gluten-free if you use gluten-free panko. They are also keto-friendly, with very low net carbs. This makes them a perfect snack for anyone watching their weight or blood sugar levels. I enjoy them as a way to get more vegetables into my diet in a fun, crunchy format.
Conclusion
Making Crispy Baked Parmesan Zucchini Chips is easier than you think, and the result is worth the effort. They are crunchy, savory, and satisfying. Whether you’re keto, gluten-free, or just looking for a healthier snack, these chips fit the bill. I hope you give them a try and enjoy them as much as I do. Feel free to experiment with different seasonings to find your favorite combination. Don’t forget to share your creations or ask questions in the comments below. I love hearing how you adapt recipes. Thanks for reading, and happy baking!
FAQs
Why are my zucchini chips soggy?
This usually happens if the zucchini slices weren’t dry enough before coating, or if the oven wasn’t hot enough. Make sure to pat them dry thoroughly and preheat your oven fully. Also, avoid overcrowding the pan.
Can I use regular breadcrumbs instead of panko?
You can, but the texture won’t be as light and crispy. Panko has larger, flakier pieces that create more surface area for crunch. If you use regular breadcrumbs, pulse them in a food processor first to make them coarser.
How do I store leftover chips?
Store them in an airtight container at room temperature for up to 2 days. To restore crispiness, bake them at 350°F for 5 minutes. Do not refrigerate, as moisture will make them soft.
Can I make these in an air fryer?
Yes! Cook them at 375°F for 8-10 minutes, shaking the basket halfway through. Keep a close eye on them as they cook faster in an air fryer.
What dipping sauces go well with these chips?
Ranch, tzatziki, marinara, and spicy mayo are all excellent choices. The salty, cheesy flavor pairs well with both creamy and tangy dips.
Pin This Recipe!
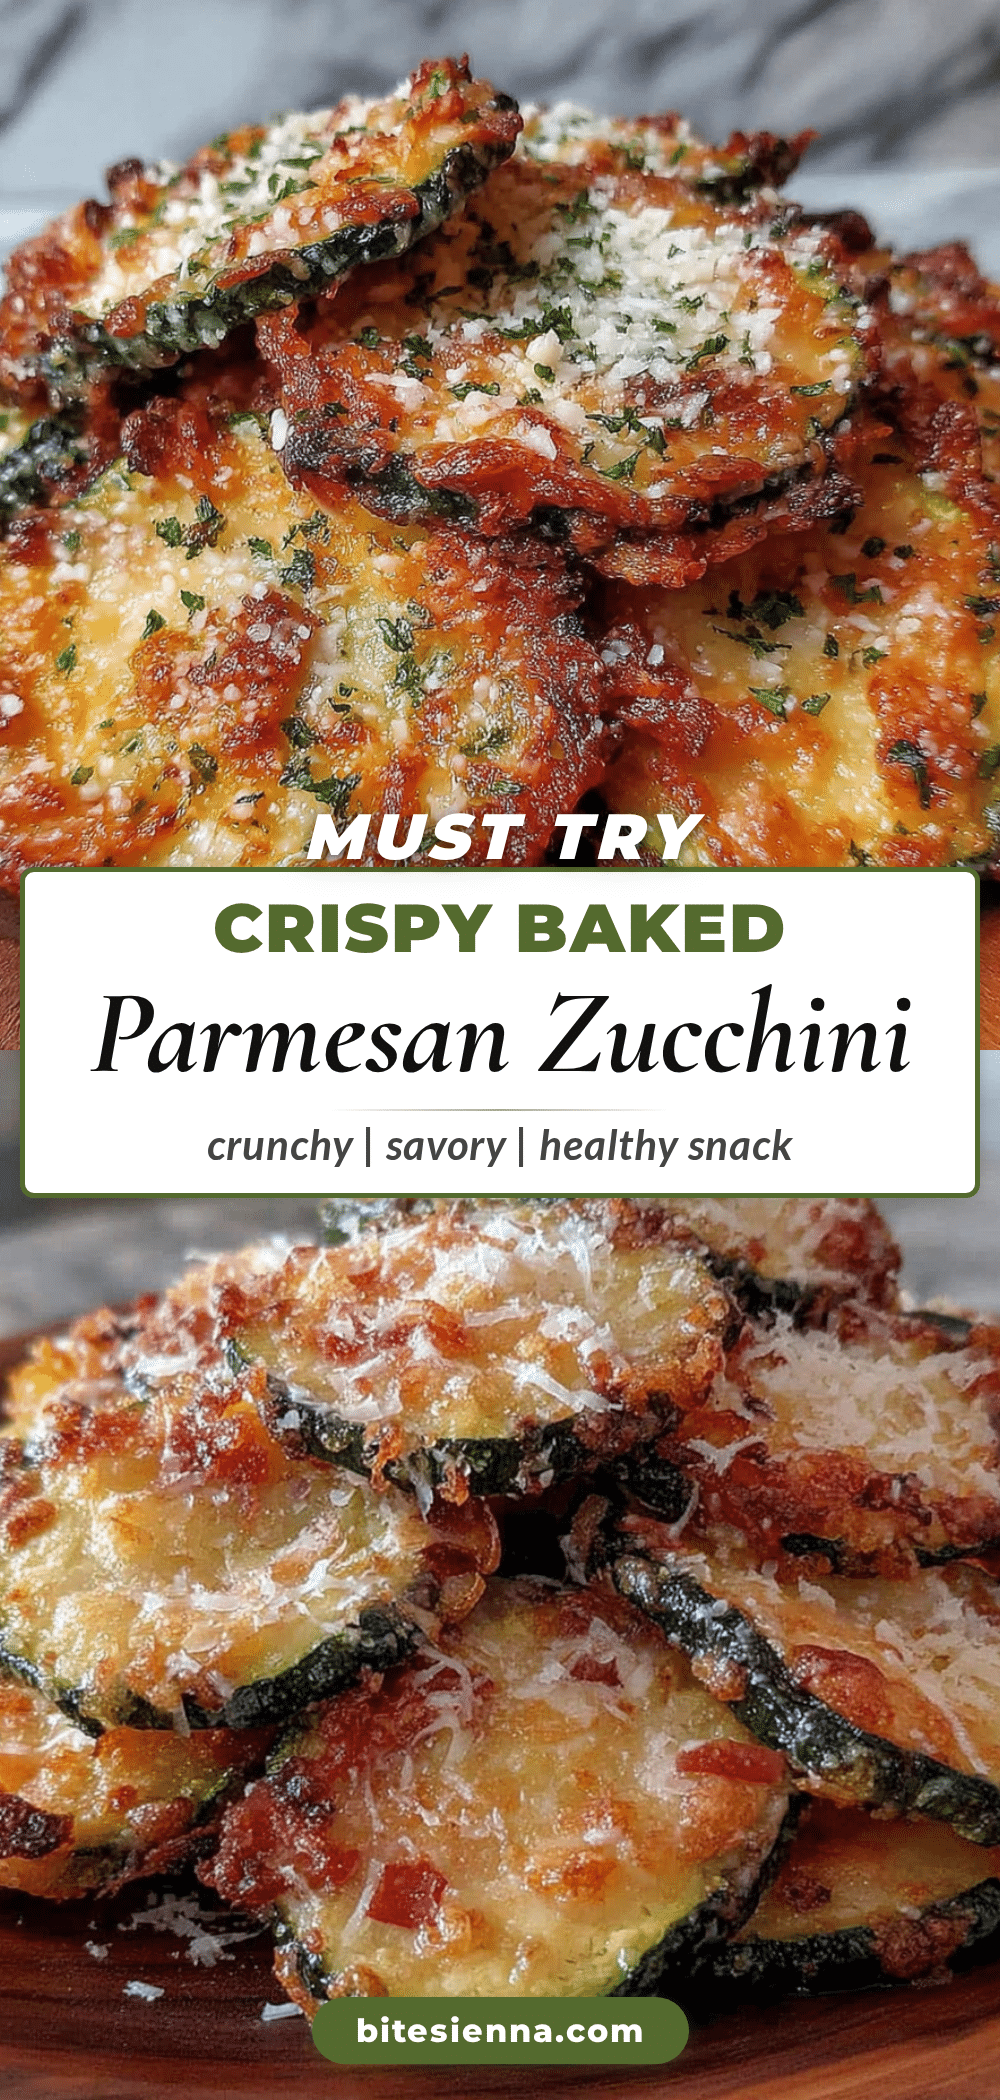
Crispy Baked Parmesan Zucchini Chips: Easy 3-Ingredient Keto Snack

A quick, keto-friendly snack made with just zucchini, parmesan, and panko. These chips are crispy, savory, and perfect for satisfying salty cravings without the guilt.
- Prep Time: 15 minutes
- Cook Time: 20 minutes
- Total Time: 35 minutes
- Yield: 4 servings 1x
- Category: Snack
- Cuisine: American
Ingredients
- 2 medium zucchini, sliced into 1/8-inch strips
- 1/2 cup finely grated Parmesan cheese (Parmigiano-Reggiano recommended)
- 1 cup plain Panko breadcrumbs
- 2 large egg whites, lightly beaten
- Salt and black pepper to taste
- Optional: Garlic powder or Italian herbs
Instructions
- Preheat oven to 400°F (200°C) and line a rimmed baking sheet with parchment paper.
- Wash zucchini, trim ends, and slice lengthwise into uniform 1/8-inch strips.
- Pat zucchini slices dry thoroughly with a clean kitchen towel to remove excess moisture.
- In a shallow dish, combine grated parmesan, panko breadcrumbs, and seasonings; mix well.
- Whisk egg whites in a small bowl until frothy.
- Dip each zucchini slice into egg whites, let excess drip off, then press firmly into the breadcrumb mixture to coat.
- Place coated slices on the prepared baking sheet, ensuring they are not overcrowded.
- Bake for 10 minutes, then flip each chip carefully with a spatula.
- Return to oven and bake for another 5-10 minutes until edges are golden brown and crispy.
- Remove from oven and let cool on the baking sheet for at least 5 minutes to crisp up further.
Notes
Ensure zucchini slices are completely dry before coating to prevent sogginess. Do not overcrowd the pan; bake in batches if necessary. Uniform slicing is key for even cooking. If using regular breadcrumbs, pulse them in a food processor to make them coarser. For dairy-free, substitute parmesan with nutritional yeast. For gluten-free, use GF panko or crushed pork rinds.
Nutrition
- Serving Size: 10 chips
- Calories: 60
- Sugar: 2
- Sodium: 150
- Fat: 3
- Saturated Fat: 1.5
- Carbohydrates: 5
- Fiber: 1
- Protein: 3
Keywords: keto snack, zucchini chips, baked veggie chips, low carb, gluten-free snack, parmesan zucchini, healthy appetizer, quick snack


