My sister-in-law, Jen, wasn’t trying to impress anyone. I’d stopped by to drop off a birthday present for my nephew, and the faint scent of peanut butter and banana hit me before I even got my shoes off. It was a Tuesday morning, around 10 AM, and her kitchen looked like a small tornado had touched down—crayons on the floor, a half-finished puzzle on the table, and there she was, calmly screwing lids onto little mason jars. She handed one to my four-year-old niece, who grabbed it like it was a treasure, and I watched this tiny human devour something that looked suspiciously like breakfast. “It’s just overnight oats,” Jen said, shrugging. “She makes them herself now.” Just overnight oats. Honestly, I felt a little jealous of how effortless she made it look. I’d been wrestling with my kids over breakfast for years, and here she was, casually solving the morning madness with a jar and a spoon. That day, I stood in her messy kitchen, learned exactly what she put in those jars, and never looked back. Maybe you’ve been there—staring at a cabinet full of oatmeal packets, wondering why your kids suddenly hate everything you loved last week. This recipe is the answer you didn’t know you needed.
Why You’ll Love This Recipe
Let me tell you why these peanut butter banana overnight oats jars have become a non-negotiable in our house. I’ve tested this recipe about a dozen times, tweaking the liquid-to-oat ratio until my husband begged me to stop buying chia seeds. What I landed on is pure gold for busy families.
- Quick & Easy: It takes exactly 10 minutes to throw together. You do it the night before, and breakfast is ready when you stumble into the kitchen.
- Simple Ingredients: You probably have everything in your pantry right now. No fancy health food store trips required.
- Perfect for Busy Mornings: Great for school days, rushed weekday breakfasts, or even a grab-and-go snack for the carpool line.
- Crowd-Pleaser: My picky five-year-old asks for these by name. My teenager eats them straight from the jar. Even my husband, who claims he “doesn’t do cold oatmeal,” finishes his in under a minute.
- Unbelievably Delicious: The peanut butter gets all melty and creamy overnight, the banana infuses everything with natural sweetness, and the texture is this perfect spoonable consistency that feels like dessert for breakfast.
What makes this different from every other overnight oats recipe out there? It’s the ratio. I spent a week tweaking the milk-to-oat ratio because I hate gluey oats. This version stays creamy without turning into a brick. Plus, using ripe bananas means you can cut back on added sugar, which is a win for parents who are trying to be sneaky about nutrition.
This isn’t just good—it’s the kind of breakfast that makes you feel like you’ve got your life together. It’s comfort food that’s actually good for you, and it makes the morning chaos feel a little more manageable. Honestly, that’s worth everything.
What Ingredients You Will Need
This recipe uses simple, wholesome ingredients to deliver big flavor and a satisfying texture without any fuss. Most of these are pantry staples, so you likely don’t need to make a special trip.
- For the Oats Base:
- 1 cup old-fashioned rolled oats (not instant or steel-cut; I prefer Quaker or Bob’s Red Mill for the best texture)
- 1 cup milk (whole milk adds creaminess, but 2% works great too; use oat milk or almond milk for a dairy-free version)
- 1/2 cup plain Greek yogurt (adds protein and tanginess; I like Fage 2% for thickness)
- 2 tablespoons chia seeds (these are the secret to the pudding-like texture; they absorb liquid and make everything thick and spoonable)
- 2 tablespoons maple syrup or honey (adjust based on sweetness preference; I use less if my bananas are super ripe)
- 1/2 teaspoon vanilla extract (pure vanilla makes a difference, but imitation works in a pinch)
- Pinch of salt (brings out all the flavors; don’t skip it)
- For the Peanut Butter Banana Layer:
- 1 large ripe banana, mashed (the riper, the better—brown spots mean more natural sweetness)
- 3 tablespoons creamy peanut butter (I use Skippy Natural or Justin’s; avoid the super oily natural kind that separates, unless you stir it really well)
- 1 tablespoon peanut butter for swirling on top (optional, but my kids love the extra ribbon)
- 1/2 banana, sliced for topping (adds freshness and visual appeal)
- Optional Toppings:
- 1 tablespoon mini chocolate chips (my kids beg for these; dark chocolate chips keep it a little healthier)
- 1 tablespoon chopped peanuts (adds crunch for older kids)
- Drizzle of extra peanut butter (because more is more)
Ingredient Tips: Look for bananas that are fully yellow with brown spots—they mash easier and add more sweetness. For the peanut butter, I’ve found that the no-stir varieties work best because they blend more evenly. If you’re using natural peanut butter that separates, give it a really good stir before measuring. Also, Greek yogurt is non-negotiable for the best texture; regular yogurt makes the oats too runny. If you need a dairy-free option, use a thick coconut yogurt instead.
Substitution Guidance: Swap the maple syrup with honey or agave. Use sunflower seed butter instead of peanut butter for a nut-free school version. Gluten-free certified oats work perfectly if needed. For a lower-sugar version, skip the maple syrup entirely and rely on the banana for sweetness—my kids didn’t even notice the difference.
Equipment Needed
You don’t need much for this recipe, which is part of the beauty. Here’s what you’ll need:
- 4 mason jars (16-ounce or 12-ounce work best; I use wide-mouth Ball jars because they’re easier to eat from)
- Measuring cups and spoons
- A small mixing bowl
- A fork or potato masher for the banana
- A spoon or small whisk for mixing
- Optional: a jar funnel (makes pouring the mixture less messy; I bought a set on Amazon for $8 and use them constantly)
Budget-Friendly Alternatives: If you don’t have mason jars, any airtight container works—glass meal prep containers, plastic deli containers, or even recycled peanut butter jars. I’ve used old pasta sauce jars in a pinch. Just make sure they seal well. For the mixing, a cereal bowl and a fork are totally fine. You don’t need a fancy whisk. I’ve made these in a hotel room with a plastic cup and a butter knife before—resourcefulness is key.
Maintenance Tip: If you use mason jars frequently, hand-wash the lids to prevent rusting. The glass parts are dishwasher safe. Also, store your jars with the lids slightly loose in the fridge to avoid any pressure buildup from the chia seeds expanding.
Preparation Method
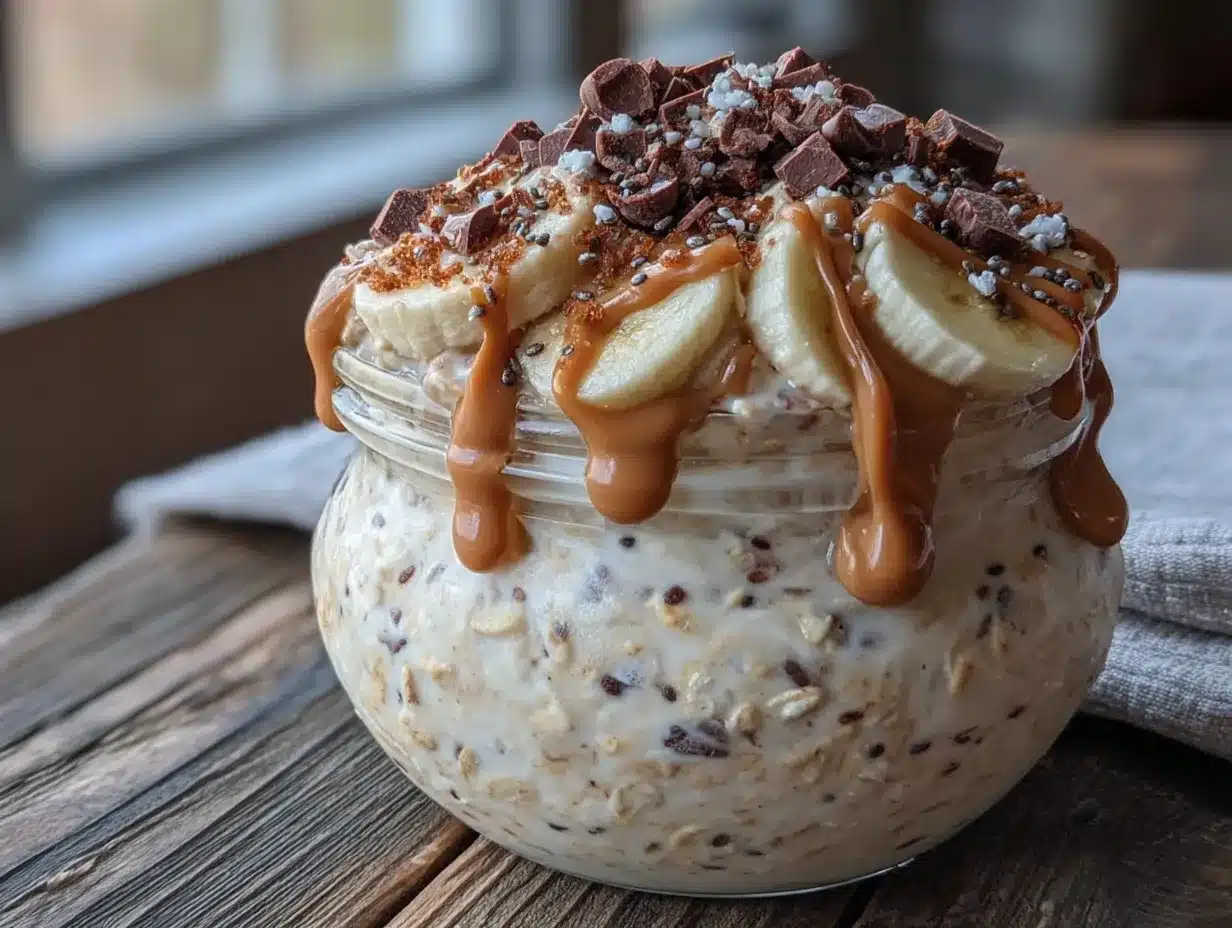
This is the easiest breakfast prep you’ll ever do. I promise. Here’s how to make these peanut butter banana overnight oats jars step by step.
- Mash the banana. In a small bowl, take your very ripe banana and mash it with a fork until it’s mostly smooth with a few small lumps. You want it to be like a thick paste. Set it aside. If your banana isn’t super ripe, you can microwave it for 15 seconds to soften it up.
- Mix the wet ingredients. In a separate medium bowl, whisk together the milk, Greek yogurt, maple syrup, and vanilla extract until smooth. Make sure the yogurt is fully incorporated—no white streaks left behind. This takes about 30 seconds.
- Add the dry ingredients. Stir in the old-fashioned rolled oats, chia seeds, and a pinch of salt. Mix until everything is evenly combined. The chia seeds will start to swell almost immediately, so don’t walk away yet.
- Add the peanut butter and banana. Fold in the mashed banana and the 3 tablespoons of peanut butter. Stir vigorously until the peanut butter is fully incorporated—you don’t want any clumps of peanut butter hiding in there. The mixture should look uniform and slightly thick. Taste it at this point if you want; I always do. Adjust sweetness if needed.
- Divide into jars. Evenly distribute the mixture among your four mason jars. I use about 1/2 cup per jar, but it depends on your jar size. Leave about 1/2 inch of space at the top for toppings and expansion.
- Add the topping swirl. If you’re using the extra tablespoon of peanut butter for swirling, warm it up in the microwave for 10 seconds so it’s runny. Drop small spoonfuls on top of each jar and use a knife to swirl it in gently. Don’t overmix—you want ribbons of peanut butter throughout.
- Top with banana slices. Place a few fresh banana slices on top of each jar. Press them in slightly so they stay put. If you’re adding chocolate chips or chopped peanuts, sprinkle them on now.
- Seal and refrigerate. Screw on the lids tightly and place the jars in the refrigerator. They need at least 4 hours to set, but overnight is best. I make mine right after dinner, and they’re perfect by morning.
- Serve cold or at room temperature. In the morning, grab a jar, give it a quick stir (the chia seeds settle at the bottom), and eat straight from the jar. If your kids prefer warm oats, microwave the jar for 30-45 seconds—just remove the lid first and stir halfway through.
Sensory Cues: After 4 hours, the oats should look thick and pudding-like, not watery. If you tilt the jar, the mixture should hold its shape slightly. The chia seeds will have expanded and created a gel-like texture. The banana flavor should be pronounced but not overpowering. If it smells like peanut butter and banana together, you’ve nailed it.
Troubleshooting: If your oats are too thin after sitting overnight, you used too much milk or not enough chia seeds. Next time, reduce the milk by 2 tablespoons or add an extra teaspoon of chia seeds. If they’re too thick, stir in a splash of milk before serving. I’ve done this many times—it’s an easy fix.
Cooking Tips & Techniques
I’ve made this recipe enough times to learn a few hard lessons. Let me save you the trouble.
Don’t use instant oats. I tried it once because I was out of rolled oats, and the texture was awful—mushy and baby-food-like. Rolled oats hold their shape and give you that satisfying chew. Steel-cut oats won’t soften enough without cooking, so stick with old-fashioned.
Mash the banana really well. I got lazy one time and left chunks, and my daughter picked them all out. Big banana chunks in cold oats are weird. Mash until it’s almost liquid. Your kids won’t even know it’s in there.
Let the chia seeds do their job. I know it’s tempting to eat these after an hour, but don’t. Chia seeds need time to absorb liquid and create that pudding texture. Four hours minimum, but overnight is where the magic happens. The difference between 4 hours and 12 hours is noticeable—the longer, the creamier.
Layer strategically for picky eaters. If your kid hates seeing banana bits, blend the banana into the milk mixture before adding the oats. It disappears completely. For my son, I leave the banana out of the base and just put slices on top so he can eat around them. Meet your kids where they are.
Double the batch for the week. These keep for up to 5 days in the fridge, so I make 8 jars on Sunday night. My kids grab them on their way to school, and I don’t have to think about breakfast until Wednesday. Just leave the toppings off until serving—banana slices get brown and sad after a day.
One mistake I made: I once used crunchy peanut butter because it was all I had. The texture was weird—little hard bits in an otherwise creamy jar. Stick with creamy. Save the crunchy for toast.
Variations & Adaptations
This recipe is incredibly forgiving. Here are some ways to switch it up based on what you have or what your family likes.
- Chocolate Peanut Butter Banana: Add 1 tablespoon of cocoa powder to the milk mixture before adding the oats. Stir in mini chocolate chips at the end. My kids call this “dessert breakfast” and honestly, I don’t correct them.
- Nut-Free School Version: Swap the peanut butter for sunflower seed butter (SunButter is my go-to). The color turns a little green from the reaction with baking soda, but it tastes the same. Use certified gluten-free oats if needed.
- Berry Banana Twist: Layer in 1/4 cup of frozen mixed berries between the oats and the banana layer. The berries thaw overnight and create these little jammy pockets. My niece requests this version every time she sleeps over.
- High-Protein Boost: Add a scoop of vanilla or unflavored protein powder. Increase the milk by 2 tablespoons to compensate for the extra dry ingredients. I do this when I know my kids have sports practice after school and need sustained energy.
- Vegan Version: Use maple syrup instead of honey, coconut yogurt or a thick plant-based yogurt, and almond milk or oat milk. The texture is slightly less creamy but still delicious. I’ve made this for my vegan sister-in-law, and she gave it two thumbs up.
- Warm Oats Option: If your family prefers hot breakfast, prepare the mixture without chia seeds and refrigerate overnight. In the morning, microwave for 1-2 minutes, stirring halfway. The chia seeds make it too thick to heat evenly, so skip them for the warm version.
Serving & Storage Suggestions
These peanut butter banana overnight oats jars are best served cold, straight from the fridge. My kids eat them with a spoon while standing at the kitchen counter, but you can also pour them into a bowl if you’re feeling fancy. For a fun presentation, top with a drizzle of peanut butter, a sprinkle of granola, and a few fresh banana slices right before serving.
What to Serve Alongside: These oats are filling on their own, but if you want a bigger breakfast, pair them with a hard-boiled egg for extra protein or a side of fresh fruit. My husband likes to have a cup of coffee and a jar together while he reads the news. It’s a simple, satisfying combo.
Storage Instructions: Keep the jars sealed in the refrigerator for up to 5 days. Do not freeze them—the texture gets watery and weird when thawed. If you’re meal prepping for the week, leave the banana slices and any crunchy toppings off until serving. Add them fresh each morning.
Reheating Tips: If you prefer warm oats, remove the lid and microwave on high for 30-45 seconds. Stir well and check the temperature. Add a splash of milk if it seems too thick after heating. For a quick reheat, I sometimes just let the jar sit on the counter for 15 minutes to take the chill off.
Flavor Development: These oats actually taste better on day 2 or 3. The flavors meld together, the banana gets more intense, and the texture becomes perfectly creamy. My kids actually prefer the ones from day 3. So don’t worry if you make a big batch—they only get better.
Nutritional Information & Benefits
Here’s an estimated breakdown per jar (based on using whole milk, Greek yogurt, and 2 tablespoons of maple syrup):
- Calories: 320-350
- Protein: 14g
- Fat: 12g
- Carbohydrates: 45g
- Fiber: 8g
- Sugar: 18g (naturally occurring from banana and milk)
Health Benefits: These oats are packed with fiber from the oats and chia seeds, which keeps kids full and focused at school. The peanut butter adds healthy fats and protein for sustained energy. Bananas provide potassium and natural sweetness without refined sugar. Greek yogurt contributes probiotics and calcium for growing bones. This is a breakfast that actually fuels their bodies—not just fills their bellies.
Dietary Considerations: This recipe is naturally vegetarian. For a gluten-free version, use certified gluten-free oats. For a dairy-free version, use plant-based milk and yogurt. For a nut-free version, swap the peanut butter for sunflower seed butter. Always check labels if you’re accommodating allergies.
My Wellness Perspective: I love that this recipe lets me feel good about what my kids eat without fighting them. It’s not about being perfect—some mornings they get chocolate chips on top, and that’s fine. The foundation is solid, and that’s what matters.
Conclusion
These kid-approved peanut butter banana overnight oats jars have genuinely changed our mornings. No more arguing over cereal, no more rushed bowls of instant oatmeal that end up in the sink. Just grab a jar, grab a spoon, and go. The best part? Your kids can help make them. My five-year-old loves mashing the banana and stirring everything together. It’s a small win that makes the whole family feel good.
I really hope you try this recipe and make it your own. Add what your family loves, leave out what they don’t. That’s the beauty of cooking for the people you love—it doesn’t have to be perfect. It just has to be made with them in mind.
If you make these, I’d love to hear how they turned out. Drop a comment below or tag me in your photos. And if you’ve got a picky eater who surprised you, tell me about that too. Those are my favorite stories.
Here’s to easier mornings and happy bellies. You’ve got this.
Frequently Asked Questions
Can I use quick oats instead of rolled oats?
I don’t recommend it. Quick oats turn mushy and lose their texture when soaked overnight. Rolled oats hold their shape and give you that satisfying chew. If you only have quick oats, reduce the milk by 1/4 cup and only soak for 2-3 hours, not overnight.
How long do these overnight oats last in the fridge?
They stay fresh for up to 5 days in a sealed jar. I usually make a batch on Sunday and we eat them through Thursday. Just keep the toppings separate until serving, especially banana slices, which get brown after a day.
Can I make these without chia seeds?
Yes, but the texture will be thinner and more like regular oatmeal. The chia seeds are what give these jars their pudding-like thickness. If you skip them, reduce the milk by 1/4 cup to compensate. The oats will still soften and be edible, just less creamy.
My kids don’t like cold breakfast. Can I warm these up?
Absolutely. Remove the lid and microwave for 30-45 seconds, stirring halfway through. Add a splash of milk if it seems too thick after heating. The texture changes slightly when warmed, but my kids actually prefer them this way in the winter.
Can I use a different nut butter?
Yes! Almond butter, cashew butter, or sunflower seed butter all work great. Keep in mind that different nut butters have different consistencies—almond butter is thicker, so you might need to stir it in more thoroughly. Sunflower seed butter can turn green from a reaction with baking soda, but it’s perfectly safe to eat.
Pin This Recipe!
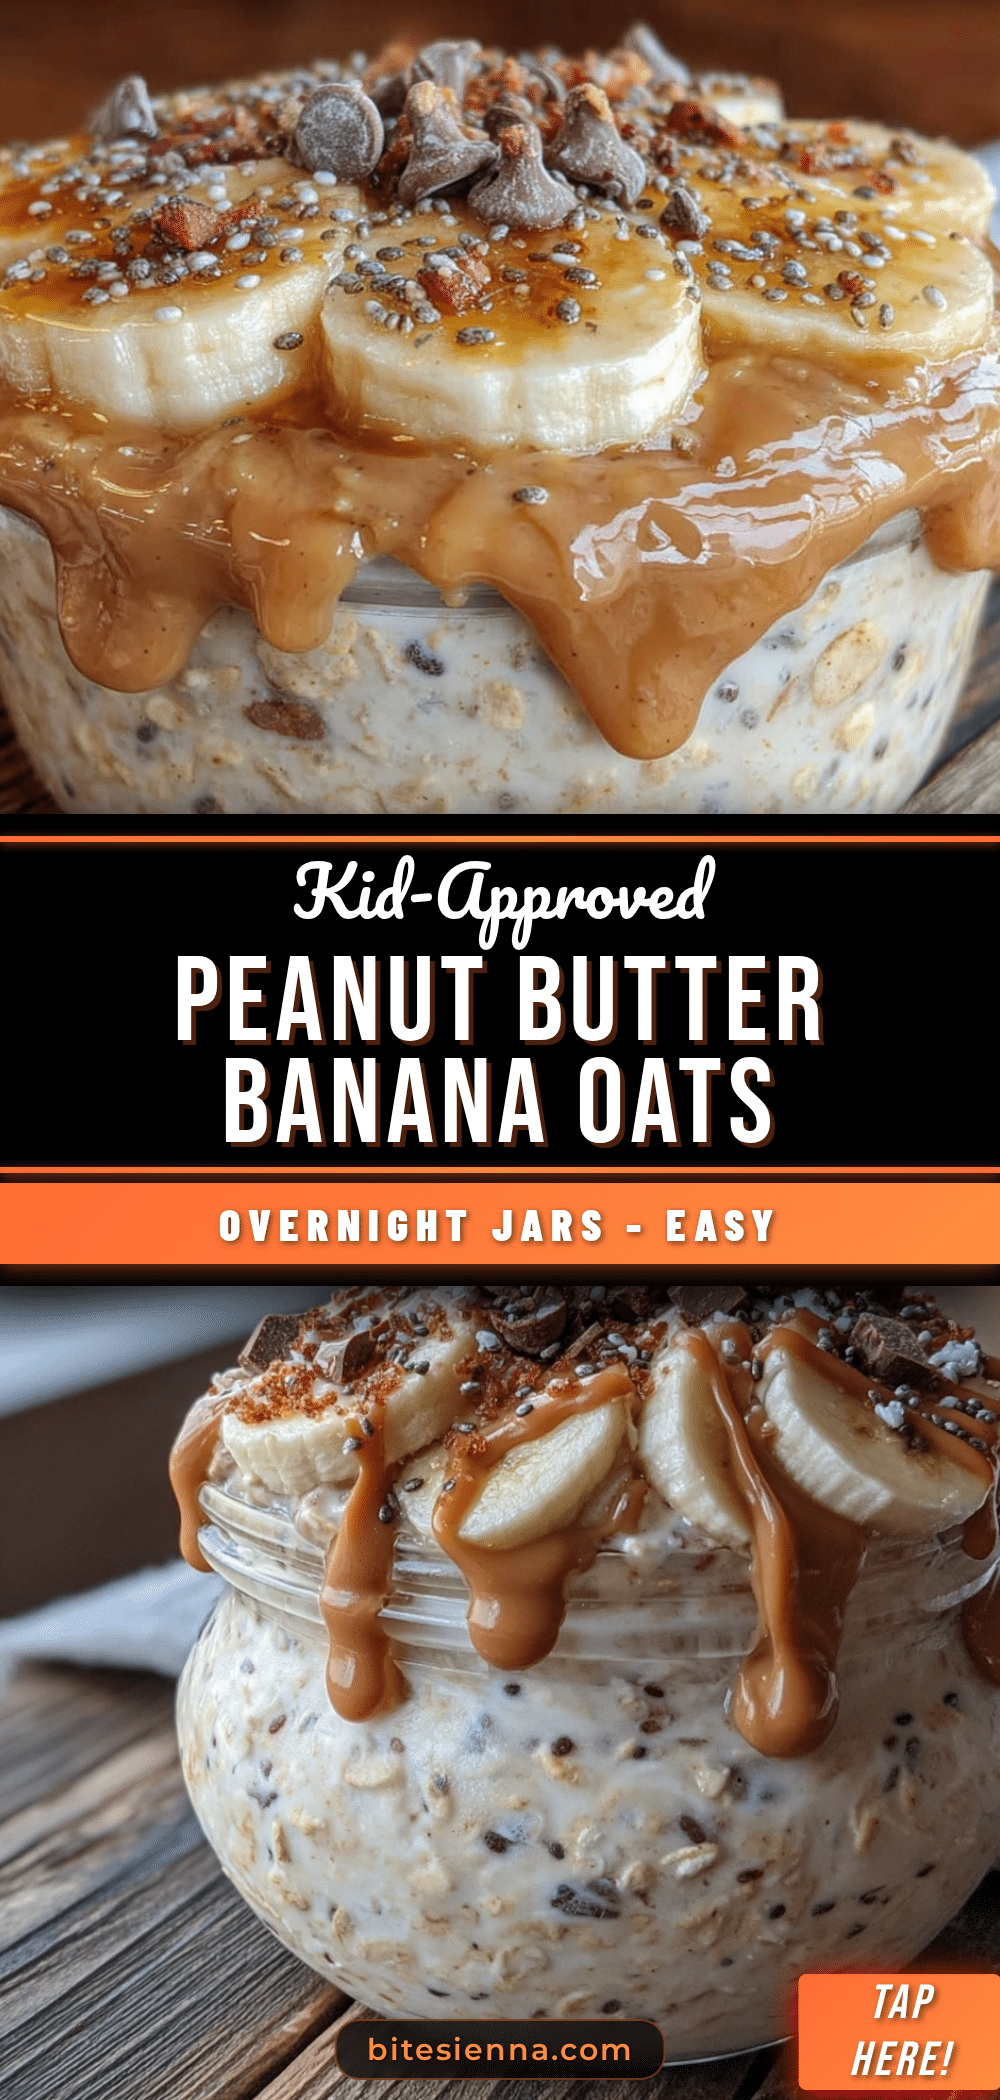
Kid-Approved Peanut Butter Banana Overnight Oats Jars
These peanut butter banana overnight oats jars are a quick, easy, and kid-approved breakfast solution. Made with simple ingredients like rolled oats, ripe bananas, and creamy peanut butter, they’re perfect for busy mornings and can be prepped in just 10 minutes.
- Prep Time: 10 minutes
- Cook Time: 0 minutes
- Total Time: 4 hours 10 minutes (includes chilling time)
- Yield: 4 servings 1x
- Category: Breakfast
- Cuisine: American
Ingredients
- 1 cup old-fashioned rolled oats
- 1 cup milk (whole milk or 2%)
- 1/2 cup plain Greek yogurt
- 2 tablespoons chia seeds
- 2 tablespoons maple syrup or honey
- 1/2 teaspoon vanilla extract
- Pinch of salt
- 1 large ripe banana, mashed
- 3 tablespoons creamy peanut butter
- 1 tablespoon peanut butter for swirling (optional)
- 1/2 banana, sliced for topping
- 1 tablespoon mini chocolate chips (optional)
- 1 tablespoon chopped peanuts (optional)
Instructions
- Mash the banana in a small bowl until mostly smooth with a few small lumps.
- In a separate medium bowl, whisk together the milk, Greek yogurt, maple syrup, and vanilla extract until smooth.
- Stir in the old-fashioned rolled oats, chia seeds, and a pinch of salt until evenly combined.
- Fold in the mashed banana and 3 tablespoons of peanut butter, stirring vigorously until fully incorporated.
- Divide the mixture evenly among 4 mason jars, leaving about 1/2 inch of space at the top.
- If using, warm the extra tablespoon of peanut butter for 10 seconds in the microwave, then drop small spoonfuls on top of each jar and swirl gently with a knife.
- Place a few fresh banana slices on top of each jar, pressing them in slightly.
- If desired, sprinkle mini chocolate chips or chopped peanuts on top.
- Screw on the lids tightly and refrigerate for at least 4 hours, preferably overnight.
- Serve cold or at room temperature. Stir before eating. If desired, microwave for 30-45 seconds for a warm version.
Notes
For best texture, use old-fashioned rolled oats, not instant or steel-cut. Chia seeds need at least 4 hours to absorb liquid; overnight is ideal. These keep for up to 5 days in the fridge. For a nut-free version, use sunflower seed butter. For a dairy-free version, use plant-based milk and yogurt. For a gluten-free version, use certified gluten-free oats. If oats are too thick after chilling, stir in a splash of milk before serving.
Nutrition
- Serving Size: 1 jar
- Calories: 320350
- Sugar: 18
- Sodium: 150
- Fat: 12
- Saturated Fat: 3
- Carbohydrates: 45
- Fiber: 8
- Protein: 14
Keywords: overnight oats, peanut butter banana, kid-friendly breakfast, easy breakfast, meal prep, healthy breakfast, no-cook breakfast


