The kindergarten bake sale was in twelve hours and I’d completely forgotten. My son, Leo, had reminded me exactly seventeen times over the past week, and somehow I still let it slip through the cracks. You know that sinking feeling when you realize you’re that parent—the one who shows up empty-handed while everyone else has perfectly decorated cupcakes from some fancy bakery? I stood in my kitchen at nine PM, staring into the pantry like it might magically produce something impressive. All I had was a can of pumpkin puree, some butter that was about to go bad, and the regular baking staples. Not exactly bake sale material, let me tell you. I nearly gave up and grabbed a box of store-bought cookies on the way to school the next morning. But then I remembered my grandmother’s snickerdoodle recipe—the one with the cinnamon-sugar coating that Leo always begged for. I figured I could wing it, add some pumpkin, and hope for the best. Honestly, I was bracing for a disaster. The butter started browning in the pan and that nutty smell filled the kitchen, waking up my husband who came downstairs asking if I was actually cooking at that hour. I made a mess of the counter, dropped an egg on the floor, and had to start over because I forgot the cream of tartar the first time. By midnight, I had two dozen slightly lopsided cookies that looked nothing like the Pinterest-perfect treats other moms would bring. I packed them in a tin, crossed my fingers, and went to bed feeling like I’d failed. The next afternoon, Leo came running off the bus holding an empty tin and a crumpled thank-you note from the bake sale coordinator. “Mom, your cookies sold out in twenty minutes,” he shouted. “Mrs. Patterson said they were the best thing there.” I laughed, honestly shocked. The simple recipe had won—not because I tried hard, but because it was just good. And that’s why I keep making these brown butter pumpkin snickerdoodles. They saved me that night, and now they’re the cookie we bring everywhere.
Why You’ll Love This Recipe
Let me be straight with you—I’ve tested this recipe about eight times to get it just right. My family has been my official taste-testing committee, and they’ve been very thorough in their research. Here’s why these cookies have earned a permanent spot in our rotation:
- Quick & Easy: These come together in under 30 minutes, not counting the chill time. Perfect for those evenings when you remember the school event is tomorrow morning.
- Simple Ingredients: You probably have most of this stuff already. Canned pumpkin, butter, flour, sugar, and cinnamon. No fancy trips to specialty stores required.
- Perfect for Family Gatherings: I’ve brought these to potlucks, holiday parties, and casual get-togethers. They disappear faster than anything else on the table.
- Crowd-Pleaser: My kids devour these. My neighbor’s picky eater asked for seconds. Even my mother-in-law, who claims she doesn’t like pumpkin, reached for a third cookie.
- Unbelievably Delicious: The brown butter adds this nutty depth that makes the pumpkin flavor shine. The cinnamon-sugar coating gives that classic snickerdoodle texture with a soft, chewy center.
What makes these different from every other pumpkin cookie recipe? It’s the brown butter. Seriously, that one step changes everything. Regular snickerdoodles are great, but brown butter takes them to a whole new level of cozy comfort. Plus, the pumpkin keeps them incredibly moist without being cakey. They’re the kind of cookie that makes you close your eyes after the first bite—I’m not kidding. This isn’t just another pumpkin cookie recipe. It’s the one you’ll come back to year after year.
What Ingredients You Will Need
This recipe uses simple, wholesome ingredients to deliver big flavor without the fuss. Most of these are pantry staples, which makes these cookies perfect for spontaneous baking sessions with the kids.
For the Cookies
- 1 cup unsalted butter (2 sticks, softened slightly before browning) — I prefer Land O’Lakes for consistent results, but any good-quality butter works
- 1 cup granulated sugar (adds sweetness and helps with that soft texture)
- 1/2 cup packed brown sugar (light or dark works—dark gives more molasses flavor)
- 1/2 cup canned pumpkin puree (not pumpkin pie filling—make sure it’s 100% pumpkin)
- 1 large egg (room temperature if you remember, cold works too honestly)
- 2 teaspoons vanilla extract (pure vanilla makes a difference, but imitation is fine in a pinch)
- 2 3/4 cups all-purpose flour (spoon and level for accuracy)
- 1 teaspoon cream of tartar (this is non-negotiable for that classic snickerdoodle tang)
- 1 teaspoon baking soda (make sure it’s fresh—test it in warm water if you’re unsure)
- 1/2 teaspoon salt (I use fine sea salt)
- 2 teaspoons ground cinnamon (I’m partial to McCormick, but any brand works)
- 1/2 teaspoon ground nutmeg (freshly grated is lovely, but pre-ground is totally fine)
- 1/4 teaspoon ground ginger (adds warmth without being overpowering)
- 1/4 teaspoon ground cloves (optional but recommended for that pumpkin spice vibe)
For the Coating
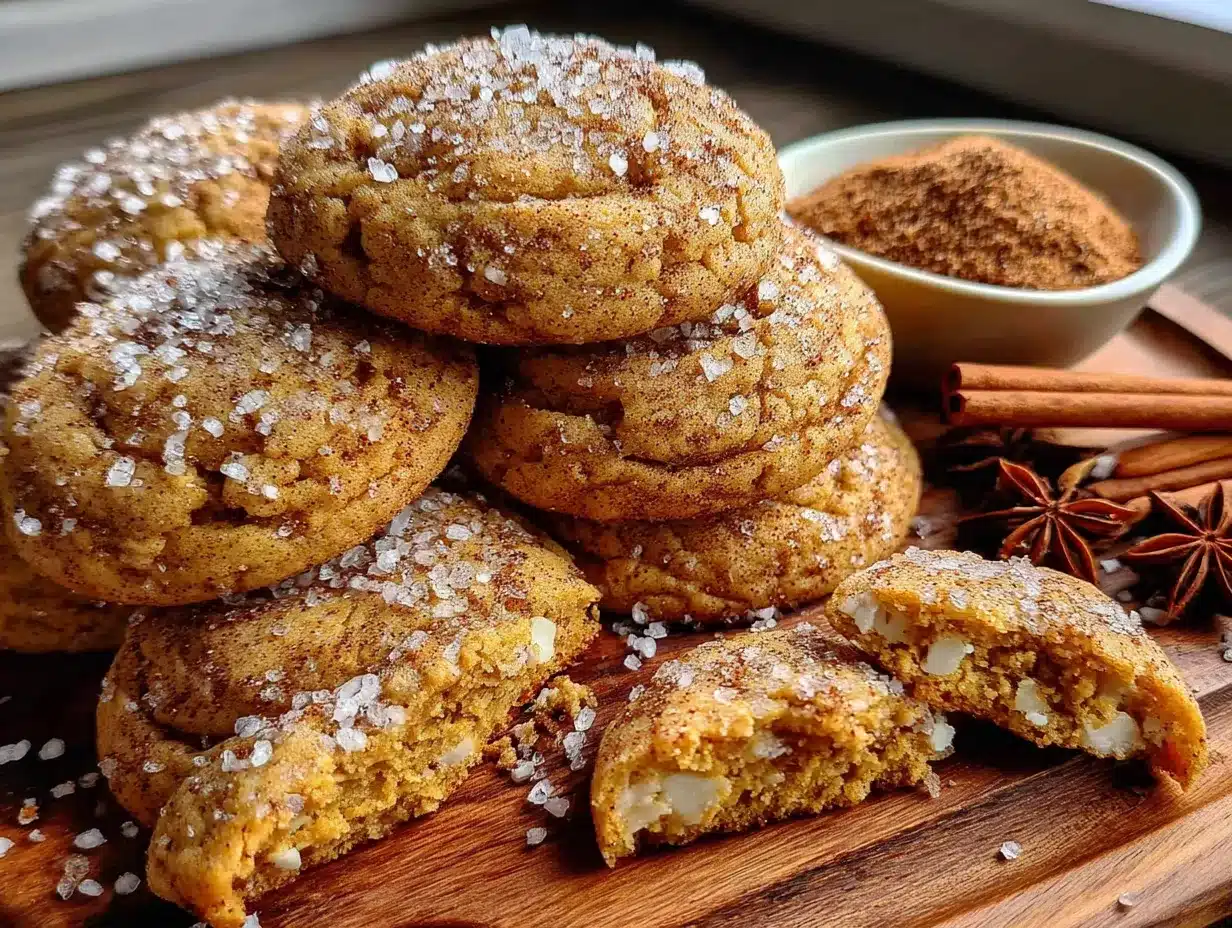
- 1/4 cup granulated sugar (for rolling)
- 2 teaspoons ground cinnamon (mix with the sugar for that classic snickerdoodle look)
You can substitute the pumpkin puree with sweet potato puree if that’s what you have—I’ve done it before and it works great. For a dairy-free version, use vegan butter, but note that the browning step might look slightly different. If you’re out of cream of tartar, you can use 2 teaspoons of lemon juice or white vinegar mixed with the pumpkin, but honestly, the cream of tartar gives the best texture. I’ve tried both and cream of tartar wins every time.
Equipment Needed
You don’t need fancy equipment for these cookies. Here’s what I use:
- Large skillet or saucepan (light-colored is best so you can see the butter browning)
- Mixing bowls (one medium, one large)
- Electric mixer (handheld or stand—I’ve used both and they work equally well)
- Whisk (for combining dry ingredients)
- Rubber spatula (for scraping every bit of that brown butter goodness)
- Baking sheets (I use light-colored metal sheets for even baking)
- Parchment paper (or silicone baking mats—both prevent sticking beautifully)
- Cookie scoop (a 1.5-tablespoon scoop gives consistent cookies, but two spoons work fine)
- Cooling rack (essential for getting that perfect texture)
If you don’t have a cookie scoop, just use two regular spoons to portion the dough. I actually used spoons for years before I got a scoop. And if you don’t have parchment paper, you can grease the baking sheets lightly—just watch the bottoms so they don’t get too dark.
Preparation Method
Here’s how to make these cookies, step by step. I’ve added some notes from my own trial and error so you don’t make the same mistakes I did.
- Brown the butter. Cut the butter into pieces and add it to a light-colored skillet or saucepan over medium heat. Stir constantly with a rubber spatula or wooden spoon. The butter will melt, then foam, then start to bubble. After about 5-7 minutes, you’ll see brown specks forming at the bottom and the butter will smell nutty and amazing. As soon as it turns golden brown, remove it from the heat and pour it into a heat-safe bowl to stop the cooking process. Let it cool for 10-15 minutes. Warning: Don’t walk away during this step—I burned my first batch because I answered the phone. Burnt butter smells sad, not nutty.
- Mix the wet ingredients. In a large bowl, combine the cooled brown butter, granulated sugar, and brown sugar. Beat with an electric mixer on medium speed for 2-3 minutes until well combined and slightly lighter in color. Add the pumpkin puree, egg, and vanilla extract. Mix on low until just combined—don’t overmix here. The mixture might look slightly separated, and that’s okay. Sensory cue: It should smell like fall in a bowl at this point.
- Whisk the dry ingredients. In a separate medium bowl, whisk together the flour, cream of tartar, baking soda, salt, cinnamon, nutmeg, ginger, and cloves. Make sure everything is evenly distributed. I like to use a whisk for this because it aerates the flour and breaks up any clumps.
- Combine wet and dry. Gradually add the dry ingredients to the wet mixture, mixing on low speed. Stop when the flour is just incorporated—you don’t want to overwork the dough. Scrape down the sides of the bowl with a rubber spatula to make sure everything is mixed in. The dough will be soft and slightly sticky, not stiff like regular cookie dough.
- Chill the dough. Cover the bowl with plastic wrap and refrigerate for at least 30 minutes. This step is crucial—the dough needs to firm up so the cookies don’t spread too much. I’ve skipped this step before and ended up with flat, sad cookies. Time-saver tip: You can chill the dough for up to 3 days, or freeze it for later.
- Preheat and prepare. Preheat your oven to 350°F (175°C). Line two baking sheets with parchment paper or silicone mats.
- Make the coating. In a small bowl, mix together the 1/4 cup granulated sugar and 2 teaspoons cinnamon. Stir until evenly combined.
- Shape and coat the cookies. Using a cookie scoop or two spoons, portion out about 1.5 tablespoons of dough. Roll each portion into a ball between your palms. Drop the ball into the cinnamon-sugar mixture and roll it around until completely coated. Place the coated balls on the prepared baking sheets, spacing them about 2 inches apart. My kids love helping with this step—it’s messy but fun.
- Bake. Bake for 10-12 minutes, or until the edges are set and lightly golden. The centers will look slightly underdone and puffy—that’s perfect. Sensory cue: Your kitchen will smell like a pumpkin spice candle, but better.
- Cool. Let the cookies cool on the baking sheets for 5 minutes. This allows them to set properly. Then transfer them to a cooling rack to cool completely. Resist the urge to eat them right away—they’re super soft and fragile when hot.
Cooking Tips & Techniques
After making these cookies more times than I can count, I’ve learned a few things the hard way. Here are my best tips:
Don’t skip browning the butter. I know it’s an extra step, but it’s what makes these cookies special. The nutty flavor from brown butter complements the pumpkin and spices perfectly. Just watch it carefully—butter goes from perfectly browned to burnt in about 30 seconds. I learned this the hard way when I was multitasking and ended up with charcoal butter. Not my finest moment.
Measure your flour correctly. Use the spoon-and-level method: fluff the flour with a spoon, spoon it into your measuring cup, and level it off with a knife. Scooping directly from the bag packs the flour down and gives you too much, which makes dry, dense cookies. I used to scoop straight from the bag and wondered why my cookies were always a little tough.
Chill the dough, seriously. I know it’s tempting to skip this when you’re in a hurry, but don’t. Chilled dough spreads less and gives you thicker, chewier cookies. If you’re really pressed for time, pop the dough in the freezer for 15 minutes instead. That’s my emergency hack when I forget to plan ahead—which happens more often than I’d like to admit.
Use a cookie scoop for even sizing. Consistent cookie sizes mean even baking. Some cookies will be done before others if the sizes vary too much. I learned this when I made giant cookies next to tiny ones and ended up with half burnt and half underdone.
Check your baking soda freshness. Old baking soda won’t give you the right lift. Drop a little into warm water—if it fizzes vigorously, it’s good. If not, buy a new box. It’s cheap and makes a huge difference.
Variations & Adaptations
One of the best things about this recipe is how flexible it is. Here are some ways I’ve adapted it over the years:
Gluten-Free Version
Swap the all-purpose flour with a 1:1 gluten-free baking flour blend. I use King Arthur’s measure-for-measure blend and it works perfectly. The texture is slightly different—a bit more tender—but still delicious. Just make sure your blend contains xanthan gum for structure.
Vegan Adaptation
Use vegan butter for the browning step (it works, though it doesn’t brown quite the same way—still tasty though). Replace the egg with a flax egg: mix 1 tablespoon ground flaxseed with 3 tablespoons water and let it sit for 5 minutes until gel-like. I’ve tested this and the cookies are a bit more delicate but still hold together well.
Spice It Up
If you like things spicier, add 1/4 teaspoon of cardamom or allspice to the dough. I tried this once when I was out of cloves and honestly, I might like it better now. You can also use pumpkin pie spice instead of the individual spices—just use 2 teaspoons total.
Add Mix-Ins
Fold in 1/2 cup of white chocolate chips or chopped pecans after the flour is incorporated. My sister adds butterscotch chips and swears by it. I’ve also done a version with dried cranberries and white chocolate that was pretty incredible.
Cookie Sandwiches
Make the cookies slightly smaller (use a 1-tablespoon scoop) and sandwich them with cream cheese frosting. It’s over-the-top in the best way and perfect for holiday cookie trays.
Serving & Storage Suggestions
These cookies are best served slightly warm, when the centers are still soft and the cinnamon-sugar coating is perfectly crunchy. I like to serve them with a cold glass of milk for the kids or a hot cup of coffee for the adults. They’re also fantastic crumbled over vanilla ice cream for an impromptu dessert.
Storage: Keep these cookies in an airtight container at room temperature for up to 5 days. Place a piece of bread in the container to help maintain moisture—the bread absorbs excess air and keeps the cookies soft. I learned this trick from my grandmother and it works like magic. Just replace the bread slice every couple of days.
Freezing: These cookies freeze beautifully. You can freeze the baked cookies for up to 3 months—just layer them between sheets of parchment paper in a freezer-safe container. Thaw at room temperature for about 30 minutes before serving. Or freeze the unbaked dough balls (without the cinnamon-sugar coating) for up to 3 months. When you’re ready to bake, roll the frozen dough balls in the coating and add 2-3 minutes to the baking time. This is my favorite method because I can have fresh cookies anytime without the full prep work.
Flavor development: Honestly, these cookies taste even better the next day. The flavors meld together and the pumpkin spice becomes more pronounced. So if you can wait, make them a day ahead. I’ve hidden a few from my family just to test this theory—and yes, day-two cookies are superior.
Nutritional Information & Benefits
Per cookie (based on 24 cookies): approximately 175 calories, 8g fat, 24g carbohydrates, 2g protein, 1g fiber, 14g sugar. These are estimates and will vary based on exact ingredients and portion sizes.
While these are definitely a treat, the pumpkin puree adds a surprising nutritional boost. Pumpkin is rich in vitamin A (great for eye health), fiber (helps with digestion), and antioxidants. Plus, it adds moisture without requiring extra fat, which means these cookies are a bit lighter than traditional snickerdoodles. The brown butter adds healthy fats (in moderation, of course) and that amazing flavor that makes you feel like you’re eating something truly special.
These cookies are vegetarian and can easily be adapted to be gluten-free or vegan as mentioned above. They contain dairy and gluten in the standard version, so keep that in mind for anyone with allergies. I’ve brought these to school events where I labeled them clearly for allergen concerns, and the gluten-free version was a hit with several parents.
From a wellness perspective, I believe in balance. These cookies are a celebration treat, not an everyday snack. But when you do have them, they’re worth every single bite. Life is too short for mediocre cookies, you know?
Conclusion
These brown butter pumpkin snickerdoodle cookies have become our family’s go-to for every occasion. School bake sales, holiday gatherings, lazy Sunday afternoons—they fit right in. The nutty brown butter, warm pumpkin spices, and that classic cinnamon-sugar coating come together in a way that feels both nostalgic and fresh. Every time I make them, someone asks for the recipe. That’s how you know a cookie is special.
I hope you give these a try, and I hope they become a tradition in your kitchen too. Don’t be afraid to make them your own—add your favorite mix-ins, adjust the spices to your taste, or double the batch because trust me, one batch is never enough. My only rule is that you share them with someone you love. Food tastes better that way.
If you make these cookies, I’d love to hear about it. Leave a comment below and let me know how they turned out. Did your kids love them? Did you try a fun variation? Share your cookie success stories—I read every single comment and they honestly make my day.
Happy baking, friends. Your kitchen is about to smell incredible.
Frequently Asked Questions
Can I use pumpkin pie filling instead of pumpkin puree?
No, please don’t. Pumpkin pie filling has added sugar and spices that will throw off the recipe completely. Stick with 100% pure pumpkin puree. I made this mistake once and ended up with cookies that were way too sweet and had a weird texture.
Why did my cookies turn out flat?
This usually happens for one of three reasons: the dough wasn’t chilled long enough, the butter was too warm when you mixed it, or your baking soda is old. Make sure you chill the dough for at least 30 minutes and let the brown butter cool before using it. Also, check that your baking soda is fresh.
Can I make the dough ahead of time?
Absolutely. The dough keeps in the refrigerator for up to 3 days. Just wrap it tightly in plastic wrap so it doesn’t dry out. You can also freeze the dough balls for up to 3 months—just bake them straight from frozen, adding a couple of minutes to the baking time.
How do I know when the cookies are done?
The edges should be set and lightly golden, but the centers will still look slightly underdone and puffy. They’ll continue to set as they cool on the baking sheet. If you wait until the centers look fully baked, they’ll be overdone and dry. Trust the edge test—it’s never failed me.
Can I use salted butter instead of unsalted?
You can, but reduce the added salt in the recipe to 1/4 teaspoon. Salted butter has varying amounts of salt depending on the brand, so it’s safer to use unsalted and control the salt yourself. I’ve used salted butter in a pinch and it worked fine, but the cookies were slightly saltier than usual.
Pin This Recipe!
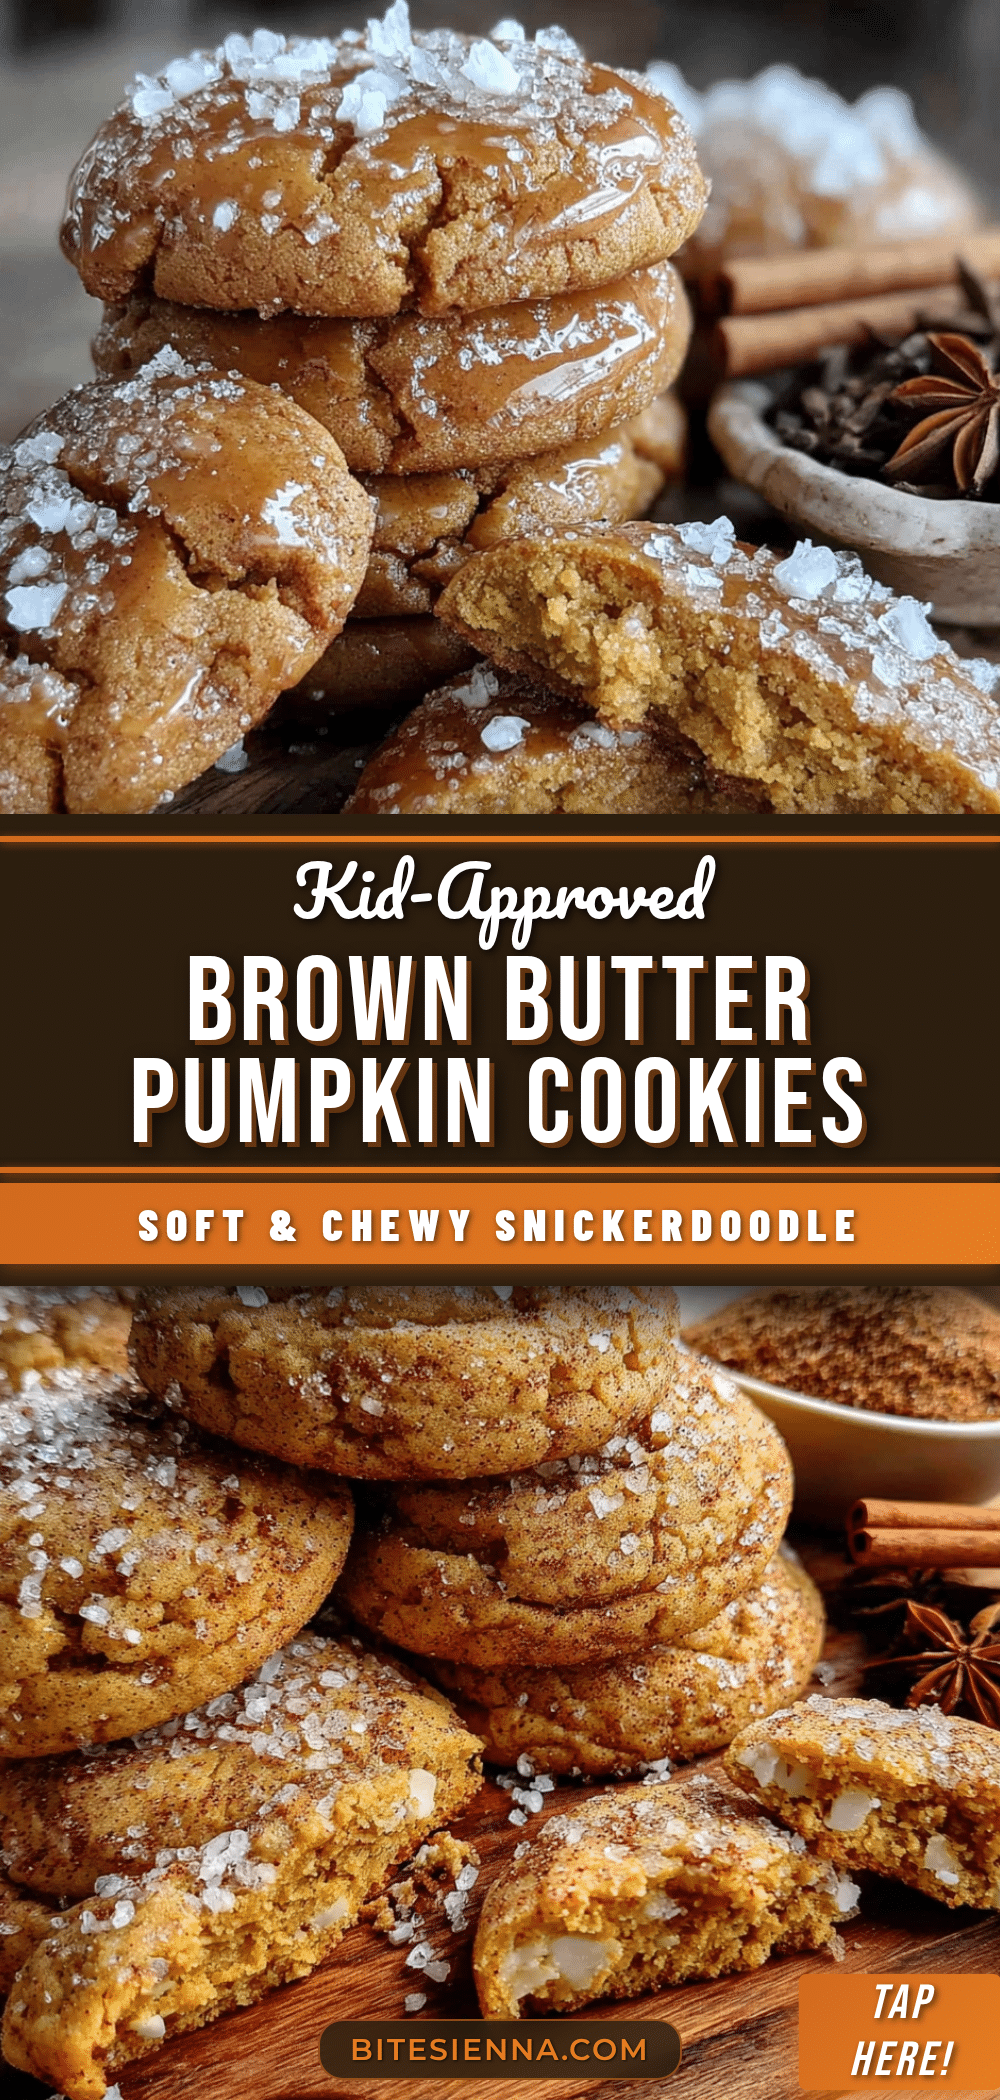
Perfect Kid-Approved Brown Butter Pumpkin Snickerdoodle Cookies
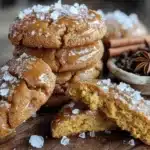
These brown butter pumpkin snickerdoodle cookies combine nutty brown butter, warm pumpkin spices, and a classic cinnamon-sugar coating for a soft, chewy treat that’s perfect for bake sales, family gatherings, or any occasion.
- Prep Time: 15 minutes
- Cook Time: 12 minutes
- Total Time: 1 hour 2 minutes (including 30 minutes chill time)
- Yield: 24 cookies 1x
- Category: Dessert
- Cuisine: American
Ingredients
- 1 cup unsalted butter (2 sticks, softened slightly before browning)
- 1 cup granulated sugar
- 1/2 cup packed brown sugar (light or dark)
- 1/2 cup canned pumpkin puree (100% pumpkin, not pie filling)
- 1 large egg (room temperature preferred)
- 2 teaspoons vanilla extract
- 2 3/4 cups all-purpose flour (spooned and leveled)
- 1 teaspoon cream of tartar
- 1 teaspoon baking soda
- 1/2 teaspoon fine sea salt
- 2 teaspoons ground cinnamon
- 1/2 teaspoon ground nutmeg
- 1/4 teaspoon ground ginger
- 1/4 teaspoon ground cloves (optional)
- 1/4 cup granulated sugar (for coating)
- 2 teaspoons ground cinnamon (for coating)
Instructions
- Brown the butter: Cut the butter into pieces and add to a light-colored skillet or saucepan over medium heat. Stir constantly with a rubber spatula or wooden spoon. The butter will melt, then foam, then start to bubble. After about 5-7 minutes, brown specks will form at the bottom and the butter will smell nutty. As soon as it turns golden brown, remove from heat and pour into a heat-safe bowl to stop cooking. Let cool for 10-15 minutes.
- Mix the wet ingredients: In a large bowl, combine the cooled brown butter, granulated sugar, and brown sugar. Beat with an electric mixer on medium speed for 2-3 minutes until well combined and slightly lighter in color. Add the pumpkin puree, egg, and vanilla extract. Mix on low until just combined (mixture may look slightly separated).
- Whisk the dry ingredients: In a separate medium bowl, whisk together the flour, cream of tartar, baking soda, salt, cinnamon, nutmeg, ginger, and cloves until evenly distributed.
- Combine wet and dry: Gradually add the dry ingredients to the wet mixture, mixing on low speed until just incorporated. Scrape down the sides of the bowl with a rubber spatula. The dough will be soft and slightly sticky.
- Chill the dough: Cover the bowl with plastic wrap and refrigerate for at least 30 minutes (up to 3 days).
- Preheat and prepare: Preheat oven to 350°F (175°C). Line two baking sheets with parchment paper or silicone mats.
- Make the coating: In a small bowl, mix together 1/4 cup granulated sugar and 2 teaspoons cinnamon until evenly combined.
- Shape and coat the cookies: Using a cookie scoop or two spoons, portion out about 1.5 tablespoons of dough. Roll each portion into a ball between your palms. Drop the ball into the cinnamon-sugar mixture and roll until completely coated. Place on prepared baking sheets, spacing about 2 inches apart.
- Bake: Bake for 10-12 minutes, or until edges are set and lightly golden (centers will look slightly underdone and puffy).
- Cool: Let cookies cool on baking sheets for 5 minutes, then transfer to a cooling rack to cool completely.
Notes
Don’t skip browning the butter—it’s key for flavor. Measure flour using the spoon-and-level method. Chill dough for at least 30 minutes to prevent spreading. Check baking soda freshness by dropping a little into warm water; it should fizz vigorously. For gluten-free, use a 1:1 gluten-free baking flour blend. For vegan, use vegan butter and a flax egg (1 tablespoon ground flaxseed + 3 tablespoons water). Cookies taste even better the next day.
Nutrition
- Serving Size: 1 cookie
- Calories: 175
- Sugar: 14
- Sodium: 120
- Fat: 8
- Saturated Fat: 5
- Carbohydrates: 24
- Fiber: 1
- Protein: 2
Keywords: pumpkin snickerdoodle, brown butter cookies, pumpkin cookies, snickerdoodle recipe, fall cookies, kid-approved cookies, bake sale cookies