I had refused to make anything peppermint-chocolate for basically my entire adult life. Years. Every December, while friends would be posting photos of their candy cane-studded brownies and peppermint mochas, I’d be over in my corner making, I don’t know, plain shortbread. It wasn’t that I disliked the combo—I just thought it was overdone, a little gimmicky, the kind of thing you grab from a tin at the drugstore. Then last Christmas Eve, my sister-in-law showed up at my door holding a plastic container and said, “I made these for the party tomorrow, but honestly, I might eat them all tonight.” She popped the lid off, and I caught myself staring at these gorgeous layered bars with a dark chocolate top that had little crushed candy canes catching the light. I took one bite—okay, three bites—and had to ask for the recipe before she left. So here we are.
The thing is, I wasn’t trying to be converted. I was perfectly happy with my anti-peppermint-bark stance. But these Cozy Peppermint Bark Cheesecake Bars have this way of sneaking up on you. The cheesecake layer is so creamy it practically melts, and the chocolate on top isn’t that waxy, overly sweet kind—it’s rich and just a little bit bitter to balance everything out. The peppermint gives it this cool, fresh finish that makes you want another bite immediately. I mean, I made a batch for a cookie swap last week and ended up hiding half of them in the back of my fridge just for myself. That’s the kind of effect we’re talking about here.
Maybe you’ve been in that same boat, rolling your eyes at yet another peppermint dessert showing up on your feed. I get it. But these bars? They’re different. They’re the kind of thing you make on a cold Sunday afternoon when you want the house to smell like the holidays without all the fuss of rolling out dough or piping frosting. And let me tell you, the first time you cut into that set, perfectly layered bar and see the crumb crust, the creamy middle, and that crackly chocolate top? That’s the moment you stop being a skeptic. That’s the moment you start planning who you’re going to make them for next.
Why You’ll Love This Recipe
These Cozy Peppermint Bark Cheesecake Bars aren’t just another holiday dessert—they’re the one that’ll end up requested year after year. I’ve tested this recipe four times to get the layers just right, and honestly, every single batch disappeared faster than I expected. Here’s why you’re going to love them as much as I do:
- Quick & Easy: No water bath, no complicated techniques. These bars come together in about 30 minutes of active prep time, then the oven and fridge do the rest of the work for you.
- Simple Ingredients: You probably have most of this in your pantry already. Cream cheese, butter, sugar, chocolate chips—all the usual suspects, just arranged in a way that feels special.
- Perfect for Holiday Gatherings: They slice cleanly, they travel well, and they look like you spent hours on them when really, you just followed a few straightforward steps.
- Crowd-Pleaser: I brought these to a family dinner where my uncle swore he “didn’t do dessert” and watched him go back for a second piece. Both kids and adults go crazy for them.
- Unbelievably Delicious: The combination of buttery crust, tangy cheesecake, rich chocolate, and cool peppermint is honestly next-level. It’s like a fancy bakery treat you can make in your own kitchen.
What makes these bars different from every other peppermint dessert out there? It’s the texture. The cheesecake layer is dense but silky, not too sweet, which lets the chocolate and peppermint really shine. I use a higher ratio of cream cheese to sugar than most recipes, and I add a tiny splash of vanilla extract that rounds everything out. The crust isn’t just an afterthought either—it’s a buttery, slightly salty base that holds everything together without getting soggy. This isn’t just another version of peppermint bark cheesecake bars. This is my best version, and I’m pretty proud of it.
Honestly, these bars are the kind of dessert that makes you close your eyes after the first bite. It’s comfort food reimagined for the holidays—rich and indulgent, but with that refreshing peppermint kick that keeps you coming back. Perfect for impressing guests without the stress, or just turning a quiet evening at home into something a little more special.
What Ingredients You Will Need
This recipe uses simple, wholesome ingredients that come together to create something truly special. Most of these are pantry staples, and I’ve included notes on substitutions where I’ve tested them successfully.
For the Crust:
- 1 ½ cups (180g) graham cracker crumbs (about 12 full sheets, crushed finely)
- ¼ cup (50g) granulated sugar
- 6 tablespoons (85g) unsalted butter, melted
- Pinch of salt (I use fine sea salt—it makes a difference in balancing the sweetness)
For the Cheesecake Layer:
- 16 ounces (450g) full-fat cream cheese, softened to room temperature (I recommend Philadelphia brand for the creamiest texture)
- ½ cup (100g) granulated sugar
- 2 large eggs, room temperature
- 1 teaspoon vanilla extract
- ¼ cup (60ml) sour cream, room temperature (adds richness and prevents cracking)
- ¼ teaspoon peppermint extract (use a good quality one—I like Nielsen-Massey)
For the Chocolate-Peppermint Topping:
- 1 ½ cups (255g) semi-sweet chocolate chips (I use Ghirardelli—they melt smoothly and taste rich without being too sweet)
- 3 tablespoons (45g) unsalted butter
- ½ teaspoon peppermint extract
- ½ cup (about 60g) crushed candy canes or peppermint candies (about 6-8 regular-sized candy canes)
Ingredient Tips & Substitutions:
For the graham cracker crust, you can substitute crushed ginger snaps or chocolate wafer cookies if you want a different flavor base. I’ve tried both, and they work beautifully—ginger snaps add a warm spice note that pairs well with the peppermint. If you’re gluten-free, use gluten-free graham crackers or crushed gluten-free shortbread cookies.
The full-fat cream cheese is non-negotiable here, honestly. I tried making this with reduced-fat cream cheese once, and the filling came out grainy and didn’t set properly. Save the low-fat stuff for spreading on bagels. For the sour cream, you can substitute plain full-fat Greek yogurt if that’s what you have on hand—just make sure it’s room temperature so it incorporates smoothly.
When it comes to the chocolate, semi-sweet is my go-to because it balances the sweetness of the cheesecake and the candy canes. If you prefer a darker, more intense chocolate flavor, use bittersweet chips (60-70% cacao). Milk chocolate will make these bars very sweet—I’d only recommend it if you have a serious sweet tooth.
For the peppermint extract, be careful not to overdo it. A little goes a long way, and too much can make the filling taste like toothpaste. I’ve learned this the hard way, trust me. Start with ¼ teaspoon in the cheesecake layer and another ½ teaspoon in the chocolate topping, and adjust from there if you want a stronger mint flavor.
The crushed candy canes on top are both decorative and functional—they add that signature peppermint crunch. If you can’t find candy canes, any hard peppermint candies work just fine. I’ve even used those little starlight mints in a pinch. Just crush them in a sealed plastic bag with a rolling pin or the bottom of a heavy skillet.
Equipment Needed
You don’t need a ton of fancy equipment for these Cozy Peppermint Bark Cheesecake Bars, which is part of why I love this recipe so much. Here’s what you’ll need:
- 9×9-inch baking pan: This is the perfect size for getting clean, thick bars. An 8×8-inch pan will work too, but your bars will be slightly taller and may need an extra 5 minutes of baking time. If you only have a 9×13-inch pan, you can double the recipe—just adjust the baking time accordingly.
- Electric hand mixer or stand mixer: You need this for the cheesecake filling. I’ve tried mixing by hand, and you just can’t get it smooth enough without overworking the cream cheese. A hand mixer works perfectly here.
- Mixing bowls: At least two medium-sized bowls—one for the crust ingredients and one for the cheesecake filling.
- Parchment paper: This is crucial for easy removal. Cut two strips that overlap in the pan, leaving overhang on all sides like slings. It makes lifting the bars out so much easier.
- Food processor or zip-top bag and rolling pin: For crushing the graham crackers and candy canes. I prefer the bag-and-rolling-pin method because it’s less cleanup, but a food processor gives you finer, more even crumbs.
- Small saucepan or microwave-safe bowl: For melting the chocolate and butter together.
- Spatula: A rubber spatula for scraping every last bit of cheesecake batter into the pan.
If you don’t have a 9×9-inch pan, don’t run out and buy one just for this recipe. A disposable aluminum pan from the grocery store works in a pinch—just make sure it’s the right size and place it on a baking sheet for stability. I’ve done this when traveling to a friend’s house for a holiday party, and the bars turned out perfectly.
Preparation Method
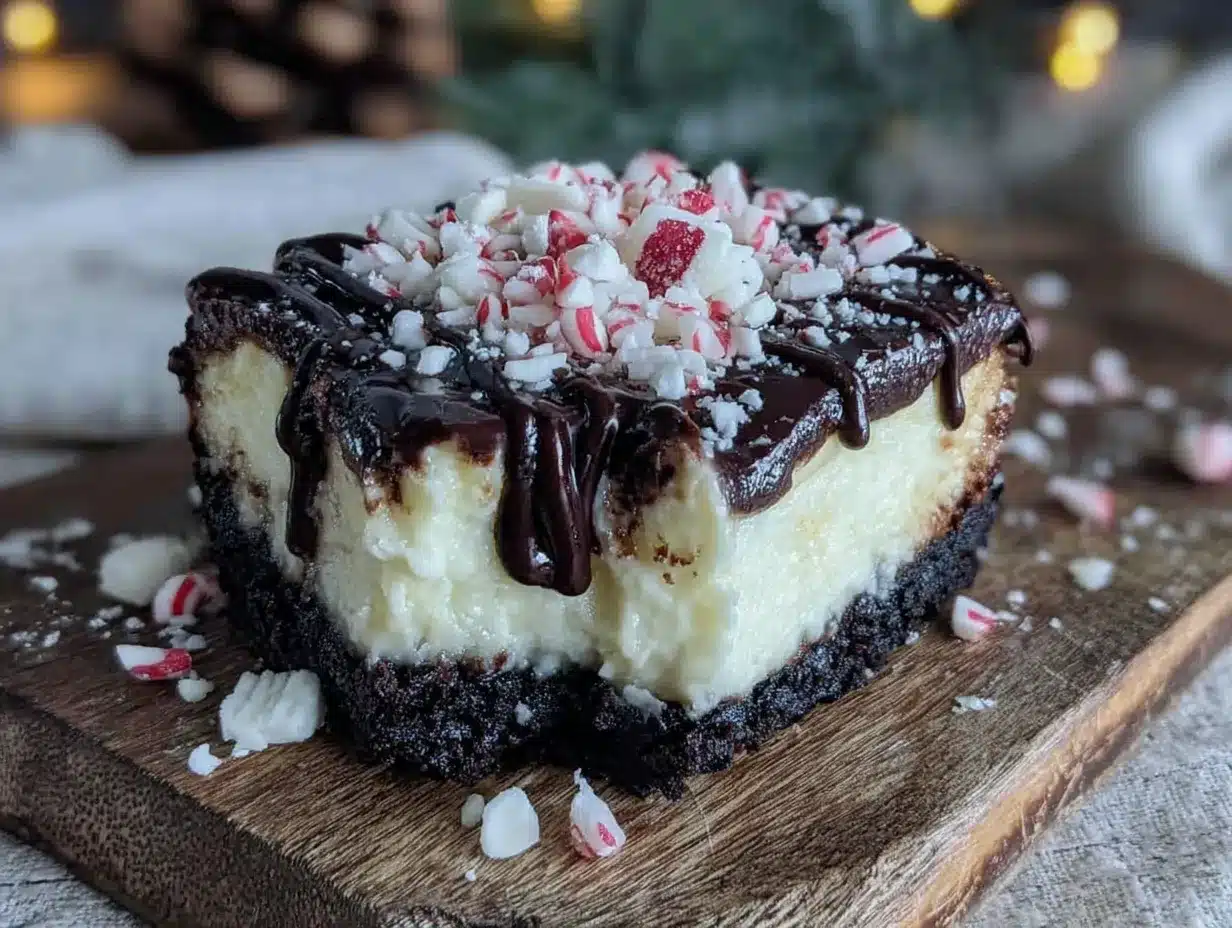
Let’s get into the actual making of these Cozy Peppermint Bark Cheesecake Bars. I’ve broken everything down step by step so you can follow along without any confusion. Take your time, and remember—the fridge does half the work here.
- Preheat and Prep: Preheat your oven to 325°F (160°C). Line your 9×9-inch baking pan with parchment paper, leaving overhang on two opposite sides. This will be your handles for lifting the bars out later.
- Make the Crust: In a medium bowl, combine 1 ½ cups graham cracker crumbs, ¼ cup sugar, and a pinch of salt. Pour in the 6 tablespoons of melted butter and stir with a fork until the mixture looks like wet sand and all the crumbs are evenly moistened. Press the mixture firmly into the bottom of your prepared pan. I use the bottom of a measuring cup to really pack it down—this prevents the crust from crumbling when you cut the bars later. Bake for 10 minutes, then set aside to cool slightly while you make the filling.
- Prepare the Cheesecake Filling: In a large bowl, beat the 16 ounces of softened cream cheese with an electric mixer on medium speed until smooth and creamy—about 2 minutes. Scrape down the sides and bottom of the bowl with a spatula. Add the ½ cup sugar and beat for another minute until well combined. Add the eggs one at a time, beating on low speed after each addition just until incorporated. You don’t want to whip too much air into the batter, or the cheesecake might puff up and crack. Add the vanilla extract, sour cream, and ¼ teaspoon peppermint extract, and mix on low until everything is smooth and uniform.
- Assemble the Bars: Pour the cheesecake filling over the pre-baked crust and spread it into an even layer with your spatula. Give the pan a gentle tap on the counter to release any air bubbles. Bake at 325°F (160°C) for 28-32 minutes, until the edges are set and the center is just slightly jiggly—like firm Jell-O. It will continue to set as it cools. Remove from the oven and let it cool completely on a wire rack, about 1 hour.
- Make the Chocolate Topping: Once the cheesecake layer is completely cool, make the topping. Combine the 1 ½ cups chocolate chips and 3 tablespoons butter in a small saucepan over low heat, stirring constantly until melted and smooth. You can also do this in the microwave in 30-second bursts, stirring between each. Remove from heat and stir in the ½ teaspoon peppermint extract. Let it cool for about 5 minutes—if you pour it on while it’s too hot, it might melt the top of the cheesecake layer.
- Top and Chill: Pour the melted chocolate over the cooled cheesecake layer and spread it evenly with a spatula. Immediately sprinkle the crushed candy canes over the top before the chocolate sets. Place the pan in the refrigerator and chill for at least 4 hours, but overnight is better. I know it’s hard to wait, but this step is crucial for clean slices.
- Slice and Serve: When you’re ready to serve, use the parchment overhang to lift the entire block out of the pan. Place it on a cutting board and use a sharp knife to slice into 16 squares. For the cleanest cuts, wipe the knife clean between each slice. I run my knife under hot water and dry it off before cutting—it makes a big difference.
A quick note on timing: The active prep time is about 30 minutes, but you need to factor in the cooling and chilling time. I usually make these the day before I plan to serve them. That way, they have all night to set up perfectly, and I have one less thing to worry about on the day of the party.
Cooking Tips & Techniques
After making these Cozy Peppermint Bark Cheesecake Bars more times than I care to admit, I’ve picked up a few tricks that make the process smoother and the results more consistent. Let me share what I’ve learned the hard way so you don’t have to.
Room temperature ingredients are not optional. I know it’s tempting to use cold cream cheese straight from the fridge, but it will give you a lumpy filling no matter how long you beat it. Take the cream cheese, eggs, and sour cream out of the fridge about an hour before you start baking. If you forget, you can microwave the cream cheese in 10-second bursts until it’s softened but not warm—just remove the foil wrapper first.
Don’t overmix the cheesecake batter. Once you add the eggs, mix on low speed and stop as soon as everything is combined. Overmixing incorporates too much air, which can cause the cheesecake to puff up in the oven and then sink, creating cracks on the surface. A few small cracks are fine—they’ll be hidden under the chocolate topping anyway—but a smooth, dense filling is what we’re after.
The jiggle test is your friend. When you’re baking the cheesecake layer, don’t rely solely on the timer. Gently shake the pan—the center should jiggle slightly while the edges are set. If the center is still liquidy, give it another 3-5 minutes. If the whole thing is firm, you’ve overbaked it. I’ve definitely pulled a few dry, cracked cheesecakes out of the oven in my time, and it’s heartbreaking every time.
Patience with the chilling step pays off. I made the mistake of cutting into these bars after only 2 hours in the fridge once, and it was a mess. The chocolate wasn’t fully set, the cheesecake was still soft, and the layers smeared together. Give it the full 4 hours minimum, and overnight is even better. The bars slice cleanly and hold their shape beautifully when they’re properly chilled.
Crush the candy canes just before using them. If you crush them too far in advance, they can absorb moisture from the air and get sticky or clumpy. I crush mine right after I pour the chocolate on top, so they’re fresh and crunchy. Also, leave some bigger pieces and some smaller crumbs—the variation in texture is nice.
Variations & Adaptations
One of the best things about these Cozy Peppermint Bark Cheesecake Bars is how adaptable they are. I’ve played around with different variations over the past couple of months, and here are a few that turned out especially well.
Dark Chocolate & Mint Version: If you’re a dark chocolate lover like my husband, swap the semi-sweet chips for dark chocolate (70% cacao or higher). The bitterness cuts through the sweetness of the cheesecake beautifully. I also add an extra ¼ teaspoon of peppermint extract to the chocolate layer to really punch up the mint flavor. This version feels a little more sophisticated, perfect for an adult holiday gathering.
Gluten-Free Adaptation: This one’s easy—just use gluten-free graham crackers or crushed gluten-free shortbread cookies for the crust. I’ve tested this with Schär brand gluten-free graham crackers, and honestly, nobody at the party could tell the difference. The rest of the ingredients are naturally gluten-free, so this is a safe option for anyone with celiac disease or gluten sensitivity.
White Chocolate Peppermint Bars: For a completely different look and flavor, replace the semi-sweet chocolate with white chocolate chips. The white chocolate gives the bars a creamy, vanilla-forward sweetness that pairs beautifully with the peppermint. I add a drop of pink or red food coloring to the white chocolate to make them look extra festive—just a tiny bit goes a long way. Top with crushed candy canes as usual, and you’ve got a pretty pink-and-white dessert that looks like it came from a fancy bakery.
No-Bake Version: If you don’t want to turn on the oven, you can make a no-bake version. Use the same crust recipe but skip the pre-baking step—just press it into the pan and refrigerate while you make the filling. For the filling, beat 16 ounces of cream cheese with ½ cup powdered sugar, then fold in 1 cup of whipped heavy cream and the peppermint extract. Pour over the crust and chill for at least 6 hours. The texture is lighter and fluffier than the baked version, but just as delicious. Top with the chocolate layer and candy canes as directed.
Chocolate Cookie Crust: For an even more decadent base, use crushed chocolate sandwich cookies (like Oreos) instead of graham crackers. Remove the cream filling first if you want a less sweet crust, or leave it in for extra richness. This version is dangerously good—I made it for a Christmas party and had three people ask for the recipe before the night was over.
Serving & Storage Suggestions
These Cozy Peppermint Bark Cheesecake Bars are best served cold, straight from the refrigerator. The firm texture makes them easy to handle, and the cool temperature really lets the peppermint flavor shine. I like to let them sit at room temperature for about 5 minutes before serving—just enough to take the chill off without losing their structure.
For presentation, I arrange the bars on a white platter or a festive holiday plate. The contrast between the dark chocolate, white cheesecake, and red-and-white candy cane pieces is really striking. If I’m feeling fancy, I’ll dust the tops with a little powdered sugar or add a few extra crushed candy canes right before serving. A sprig of fresh mint on the side of the platter adds a nice touch too.
These bars pair beautifully with a cup of hot coffee or a mug of rich hot chocolate. For an adult gathering, they’re wonderful with a glass of cold milk or even a peppermint martini. I’ve also served them alongside a simple vanilla ice cream—the warm-cold contrast is lovely, though honestly, they’re plenty indulgent on their own.
Storage Instructions: Store the bars in an airtight container in the refrigerator for up to 5 days. I layer them between sheets of parchment paper so the chocolate doesn’t get scratched. They actually taste even better on day two, after the flavors have had time to meld together in the fridge.
Freezing Instructions: These bars freeze beautifully. Once they’re fully set, slice them into individual bars and place them on a baking sheet lined with parchment paper. Freeze for about an hour, until the bars are firm, then transfer them to a freezer-safe container or zip-top bag. They’ll keep for up to 3 months. When you’re ready to serve, thaw them in the refrigerator overnight—don’t try to rush it at room temperature, or the chocolate might sweat.
I always keep a stash of these in my freezer during the holiday season. They’re perfect for unexpected guests, last-minute cookie swaps, or those evenings when you just need a little something sweet after dinner. Just make sure to label the container clearly, because they look suspiciously like the plain cheesecake bars your roommate might accidentally grab.
Nutritional Information & Benefits
Let’s be real—these Cozy Peppermint Bark Cheesecake Bars are a treat, not a health food. But that doesn’t mean they can’t fit into a balanced lifestyle, especially during the holidays when a little indulgence is part of the joy. Here’s the estimated nutritional breakdown for one bar (based on 16 servings):
- Calories: Approximately 320
- Total Fat: 22g
- Saturated Fat: 13g
- Cholesterol: 75mg
- Sodium: 200mg
- Total Carbohydrates: 28g
- Dietary Fiber: 1g
- Sugars: 21g
- Protein: 5g
These values are estimates and will vary based on the specific brands and ingredients you use. If you’re watching your sugar intake, you can reduce the sugar in the cheesecake layer to ⅓ cup without compromising the texture too much—I’ve tested this, and it works fine.
On the plus side, the cream cheese and eggs provide a decent amount of protein and calcium. The dark chocolate (if you use a good quality one) contains antioxidants called flavonoids, which have been linked to heart health benefits. And peppermint itself has been used for centuries to aid digestion and soothe upset stomachs—not that you’ll need it after eating these bars, but it’s a nice bonus.
From a wellness perspective, I believe in enjoying treats like these in moderation. One bar is plenty satisfying, and because they’re so rich, you don’t need more than that. I serve them as part of a larger dessert spread or as a special weekend treat rather than an everyday snack. That way, they stay special, and I don’t feel guilty about enjoying every single bite.
Conclusion
So there you have it—my complete guide to making Cozy Peppermint Bark Cheesecake Bars that will absolutely win over even the biggest peppermint skeptics (I should know, I was one of them). These bars have everything you want in a holiday dessert: a buttery crust, a creamy cheesecake center, a rich chocolate topping, and that satisfying peppermint crunch. They’re impressive enough for a party but simple enough for a quiet night in when you need a little comfort.
What I love most about this recipe is how it brings people together. Every time I’ve made these bars, they’ve sparked conversations—about favorite holiday traditions, about the best candy canes to use, about who’s going to sneak another piece before dinner. Food has a way of doing that, doesn’t it? And these bars, with their familiar flavors and cozy feel, are the perfect vehicle for that kind of connection.
I’d love to hear how these turn out for you. Did you try one of the variations? Did you add your own twist? Drop a comment below and let me know—I read every single one, and I’m always looking for new ideas to test in my kitchen. And if you loved these bars as much as I do, share this post with a friend who needs a little holiday cheer. Happy baking, and here’s to finding your own version of that perfect, cozy dessert.
Frequently Asked Questions
Can I use low-fat cream cheese for this recipe?
I don’t recommend it. Low-fat cream cheese has a higher water content, which can make the cheesecake layer grainy and prevent it from setting properly. Full-fat cream cheese gives you that rich, creamy texture that makes these bars so special. If you’re looking to lighten things up, you could try using Neufchâtel cheese, which has about a third less fat than regular cream cheese but still works well in baking.
How do I get clean, neat slices?
The key is patience and a sharp knife. Make sure the bars are fully chilled—at least 4 hours, preferably overnight. Use a large, sharp chef’s knife and wipe it clean with a damp paper towel between each cut. For extra clean slices, run the knife under hot water and dry it off before cutting. This helps the blade glide through the chocolate without dragging or cracking it.
Can I make these bars dairy-free?
Yes, with some adjustments. Use a dairy-free cream cheese alternative (I’ve had good results with Kite Hill brand), coconut cream instead of sour cream, and a vegan butter substitute for the crust. For the chocolate layer, use dairy-free chocolate chips—Enjoy Life makes a good one. Just be aware that the texture will be slightly different, and the bars may be a bit softer than the original version.
My chocolate topping is too thick to spread. What went wrong?
This usually happens if the chocolate mixture cools too much before you pour it, or if you used chocolate that’s higher in cocoa solids. To fix it, gently reheat the chocolate mixture in the microwave in 10-second bursts, stirring between each, until it’s pourable again. You can also add a teaspoon of coconut oil or vegetable oil to thin it out without affecting the flavor too much.
How far in advance can I make these bars?
You can make them up to 3 days ahead of time and store them in the refrigerator. They actually taste better after a day or two because the flavors have time to meld together. If you need to make them further in advance, freeze the fully assembled, unsliced block for up to 3 months. Thaw overnight in the refrigerator before slicing and serving.
Pin This Recipe!
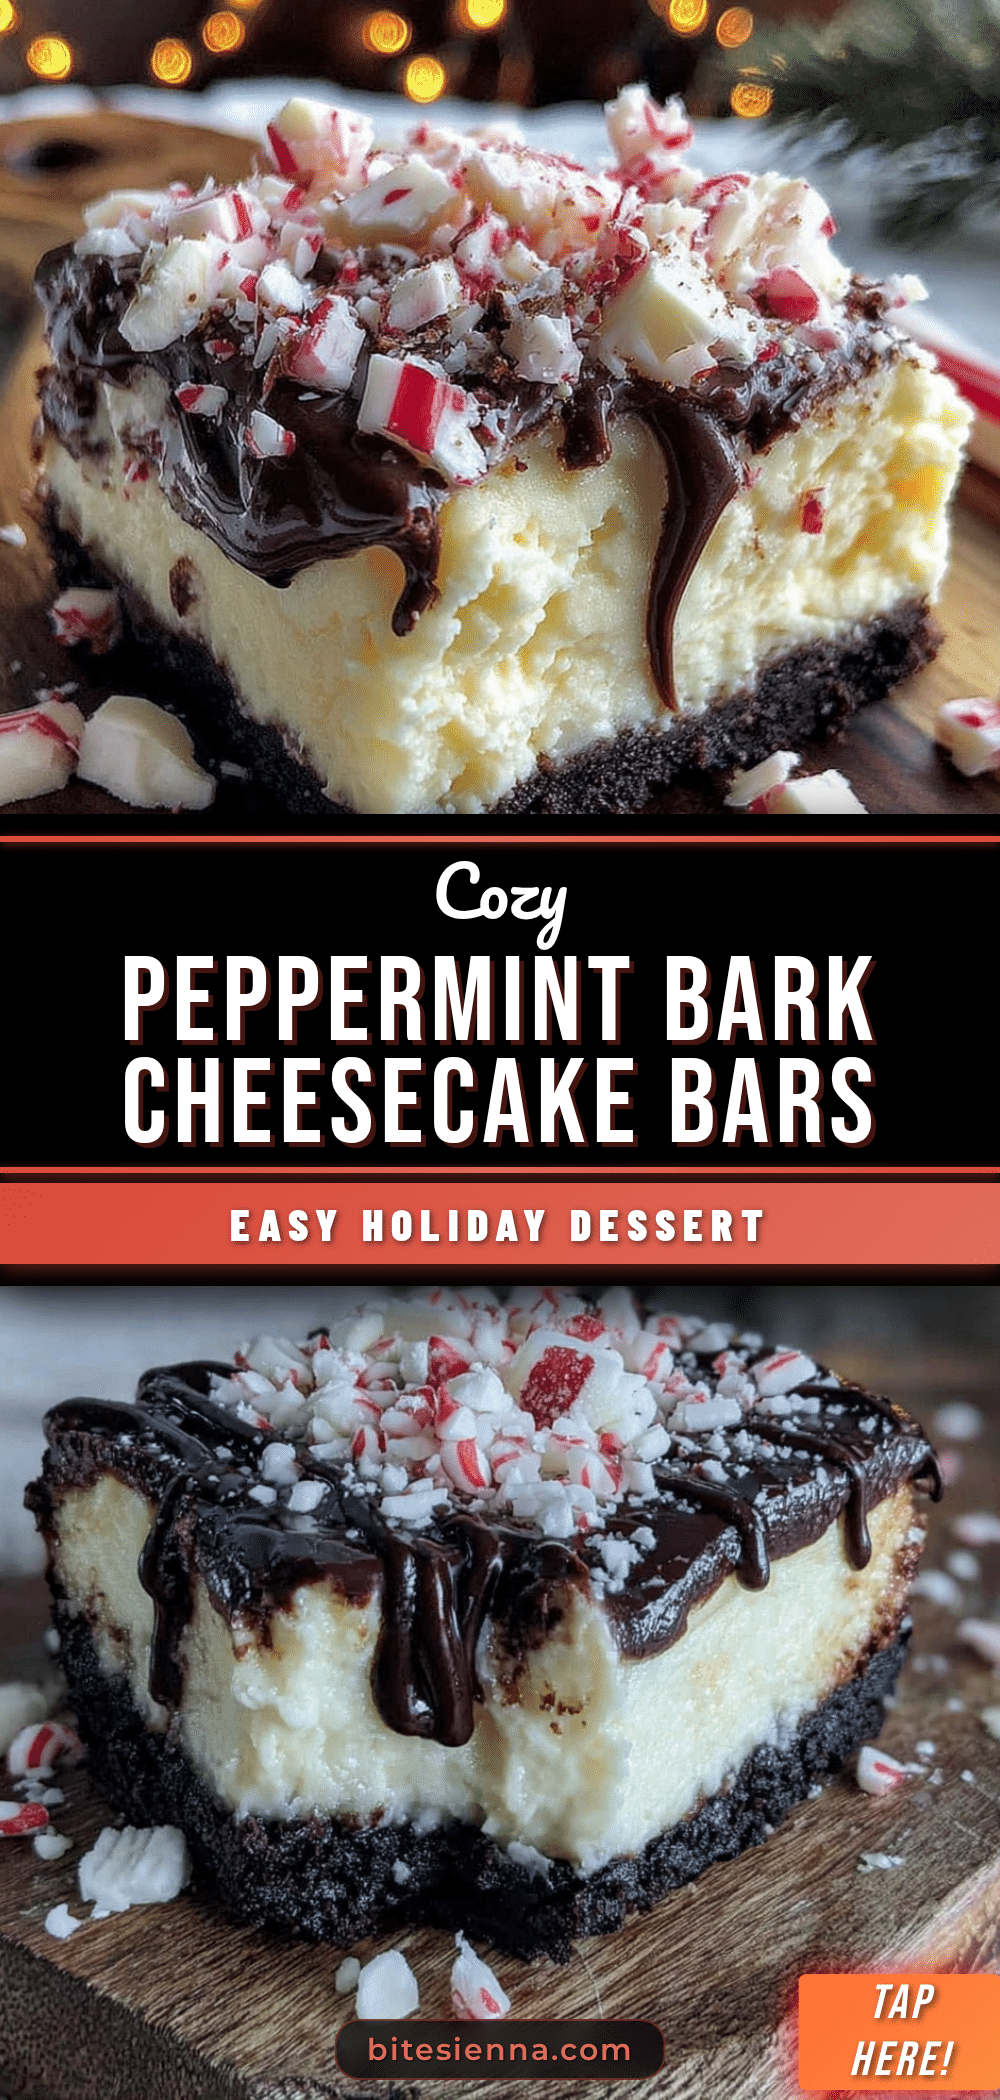
Cozy Peppermint Bark Cheesecake Bars: Easy Holiday Recipe
These creamy, decadent cheesecake bars feature a buttery graham cracker crust, a smooth peppermint cheesecake layer, and a rich chocolate topping studded with crushed candy canes. They’re the perfect easy holiday dessert that will win over even the biggest peppermint skeptics.
- Prep Time: 30 minutes
- Cook Time: 38-42 minutes
- Total Time: 5 hours 10 minutes (including cooling and chilling)
- Yield: 16 servings 1x
- Category: Dessert
- Cuisine: American
Ingredients
- 1 ½ cups (180g) graham cracker crumbs (about 12 full sheets, crushed finely)
- ¼ cup (50g) granulated sugar
- 6 tablespoons (85g) unsalted butter, melted
- Pinch of fine sea salt
- 16 ounces (450g) full-fat cream cheese, softened to room temperature
- ½ cup (100g) granulated sugar
- 2 large eggs, room temperature
- 1 teaspoon vanilla extract
- ¼ cup (60ml) sour cream, room temperature
- ¼ teaspoon peppermint extract
- 1 ½ cups (255g) semi-sweet chocolate chips
- 3 tablespoons (45g) unsalted butter
- ½ teaspoon peppermint extract
- ½ cup (about 60g) crushed candy canes or peppermint candies
Instructions
- Preheat your oven to 325°F (160°C). Line a 9×9-inch baking pan with parchment paper, leaving overhang on two opposite sides.
- In a medium bowl, combine graham cracker crumbs, ¼ cup sugar, and a pinch of salt. Pour in the melted butter and stir until the mixture looks like wet sand. Press firmly into the bottom of the prepared pan. Bake for 10 minutes, then set aside to cool slightly.
- In a large bowl, beat the softened cream cheese with an electric mixer on medium speed until smooth and creamy, about 2 minutes. Scrape down the sides. Add ½ cup sugar and beat for another minute. Add eggs one at a time, beating on low speed just until incorporated. Add vanilla extract, sour cream, and ¼ teaspoon peppermint extract, and mix on low until smooth.
- Pour the cheesecake filling over the pre-baked crust and spread evenly. Tap the pan gently on the counter to release air bubbles. Bake for 28-32 minutes, until the edges are set and the center is just slightly jiggly. Let cool completely on a wire rack, about 1 hour.
- Once the cheesecake layer is completely cool, combine chocolate chips and 3 tablespoons butter in a small saucepan over low heat, stirring constantly until melted and smooth. Remove from heat and stir in ½ teaspoon peppermint extract. Let cool for about 5 minutes.
- Pour the melted chocolate over the cooled cheesecake layer and spread evenly. Immediately sprinkle crushed candy canes over the top. Refrigerate for at least 4 hours, preferably overnight.
- Use the parchment overhang to lift the entire block out of the pan. Place on a cutting board and slice into 16 squares with a sharp knife, wiping the knife clean between cuts.
Notes
Room temperature ingredients are crucial for a smooth cheesecake layer. Don’t overmix the batter. The jiggle test is key for doneness. Patience with chilling is essential for clean slices. Crush candy canes just before using to prevent stickiness.
Nutrition
- Serving Size: 1 bar
- Calories: 320
- Sugar: 21
- Sodium: 200
- Fat: 22
- Saturated Fat: 13
- Carbohydrates: 28
- Fiber: 1
- Protein: 5
Keywords: peppermint bark cheesecake bars, holiday dessert, easy cheesecake bars, peppermint chocolate dessert, Christmas dessert