I was standing in the produce aisle last Tuesday, honestly just trying to grab a lemon for a fish recipe I had half-planned in my head, when this scent hit me. It wasn’t the lemons themselves—it was the faint, almost invisible spray from someone squeezing a tester lemon a few feet away. And just like that, I was seven years old, sitting on a cold metal folding chair in my Nonna Rosa’s basement in Brooklyn, watching her rub lemon peels against a microplane until her knuckles were raw. The whole room smelled like sunshine and something sharp and sweet all at once. She wasn’t my real grandmother—she was our next-door neighbor, a tiny Italian woman who wore floral aprons and never let you leave her house without eating something. I remember the way the sunlight caught the dust motes floating above her cutting board. I remember the little glass bottles lined up on her windowsill, glowing like liquid gold. I didn’t know it then, but she was making limoncello.
Nonna Rosa passed away when I was twelve, and for years, I didn’t even think about that afternoon. But that smell in the grocery store? It hit me like a wave. I bought six pounds of lemons that day—honestly, the cashier gave me a look—and I went home determined to figure out what she did. I messed up the first batch. Too bitter, like I had chewed on a lemon rind for an hour. The second batch? Too sweet, like lemon-flavored syrup. But the third time, I finally got it. And let me tell you, when I took that first sip, I almost cried. It wasn’t just the taste—it was the feeling of being back in that basement, watching her work, hearing her hum some old Italian song I never learned the words to.
Maybe you’ve been there. That feeling of chasing a memory through a recipe, trying to get it exactly right. This Easy Homemade Limoncello is my attempt to bottle that afternoon. It only takes about five minutes of active work—I know, that sounds crazy for something so special—and then you just let time do the rest. It’s not complicated. It’s not fancy. But it is, honestly, the best version I’ve ever tasted. And I think Nonna Rosa would approve.
Why You’ll Love This Recipe
Let’s be real for a second. Making your own limoncello sounds like one of those projects you see on Pinterest and think, Yeah, right, I’ll get to that someday. But this recipe is different. I’ve tested it more times than I care to admit, and I’ve tweaked it until it’s practically foolproof. Here’s why it works for real people with real schedules:
- Only 5 Minutes of Active Work : I’m not kidding. You peel the lemons, dump everything in a jar, and walk away. The hardest part is waiting the two weeks for it to steep, but your hands-on time is basically nothing.
- Just 4 Simple Ingredients : Lemons, vodka, sugar, and water. That’s it. No weird syrups, no special equipment, no trip to a specialty store. You probably already have the vodka if you’re the type who keeps a bottle for emergencies.
- Perfect for Gifting : This is the kind of homemade gift that makes people think you spent hours on it. Pour it into a pretty bottle with a ribbon, and you’re the most thoughtful person they know. Plus, it keeps for months.
- Better Than Store-Bought : I’m not trying to be dramatic, but homemade limoncello is in a completely different league. It’s brighter, fresher, and you can control exactly how sweet or strong you want it. Once you try it, you’ll never go back.
- Crowd-Pleaser : Served ice-cold after dinner, it’s the perfect digestif. Even people who don’t normally like liqueurs end up asking for a second glass.
What makes this version special? It’s the ratio. After a lot of trial and error—and a few too-sweet batches that went down the drain—I landed on a balance that lets the lemon flavor shine without being overpowered by sugar or alcohol. It’s also the peeling technique. I’ll show you exactly how to avoid the bitter white pith, which is the number one mistake people make. This isn’t just another limoncello recipe. It’s the one I’ve been making for years, the one my friends now request for every holiday gathering, and the one that finally made me feel like I captured that afternoon in Nonna Rosa’s basement.
What Ingredients You Will Need
This recipe uses the simplest ingredients you can imagine, but each one plays a crucial role. Don’t overthink it—just grab good quality stuff and you’re already halfway there.
- 10 Large Organic Lemons : This is non-negotiable. You’re going to be steeping the peels in alcohol for two weeks, so any pesticides or wax on the skin will end up in your final product. Organic lemons are worth the extra dollar here. Look for lemons that feel heavy for their size—that means they’re juicy. I prefer Meyer lemons when they’re in season because they’re sweeter and less acidic, but regular Eureka or Lisbon lemons work beautifully too.
- 1 (750 ml) Bottle of Vodka : You don’t need top-shelf vodka, but don’t use the cheapest plastic-bottle stuff either. You want something smooth and neutral, around 80 to 100 proof. I’ve had great results with Tito’s and Smirnoff. The higher the proof, the better it extracts the lemon oils, but 80 proof is perfectly fine. Avoid flavored vodkas—you want a blank canvas.
- 2 Cups Granulated Sugar : Regular white sugar is best here. It dissolves cleanly and doesn’t add any competing flavors. You can experiment with honey or agave if you want, but it will change the taste and texture. I’ve tried it with raw sugar once, and it left a slightly cloudy, molasses-y note that didn’t quite work.
- 2 Cups Filtered Water : Tap water can have chlorine or minerals that affect the taste. Filtered or bottled water is safer. You’re going to be making a simple syrup with this, so you want it as clean as possible.
A Note on the Lemons : I cannot stress this enough—wash your lemons thoroughly before you start. Even organic ones. I use a vegetable brush and warm water to scrub off any dirt or residue. Then I dry them completely. Any moisture on the peel can introduce bacteria into your infusion, and you don’t want that. Also, if you can only find non-organic lemons, you can try soaking them in a vinegar-water solution for a few minutes, then rinsing well. But honestly, organic is just easier and safer for this kind of project.
Substitution Guidance : If you want a gluten-free option, most vodkas are made from grains but the distillation process removes gluten proteins. However, if you’re highly sensitive, look for vodkas made from potatoes or grapes, like Cîroc or Chopin. For a lower-sugar version, you can reduce the sugar to 1 ½ cups, but keep in mind that the sugar acts as a preservative and affects the texture. I wouldn’t go below 1 cup. And if you’re feeling adventurous, you can swap out half the vodka for everclear (190 proof) for a stronger, more traditional Italian-style limoncello. Just be careful—that stuff is potent.
Equipment Needed
You don’t need much for this recipe, which is part of the beauty of it. Here’s what I use:
- A Vegetable Peeler or Sharp Paring Knife : I prefer a Y-shaped vegetable peeler because it gives me more control and I can get long, thin strips of peel without digging into the pith. A regular straight peeler works too. If you’re using a knife, just be patient and take thin strips.
- A Large Glass Jar or Bottle with a Tight-Fitting Lid : A half-gallon mason jar is perfect. You want something that can hold at least 1.5 liters. Make sure it’s thoroughly cleaned and dried before you start. I’ve used old pickle jars before—just wash them really well and let them air dry to get rid of any lingering smells.
- A Fine-Mesh Strainer or Cheesecloth : For straining the peels out after steeping. I use a fine-mesh strainer lined with a coffee filter for the clearest result. Cheesecloth works, but you might need a few layers to catch all the tiny bits.
- A Funnel : For pouring the finished limoncello into bottles without making a mess. A wide-mouth funnel is best.
- Bottles for Storage : Swing-top glass bottles are my favorite. They look nice, seal well, and you can find them at any craft store or online. You’ll need about 3 to 4 small bottles (8 to 12 ounces each) or one large one.
- A Measuring Cup and Kitchen Scale : For accuracy. I like using a scale for the sugar because it’s more precise, but measuring cups work fine.
Budget-Friendly Tip : Don’t go out and buy fancy equipment. A clean spaghetti sauce jar works for steeping. A coffee filter and a regular strainer work for filtering. You can even reuse wine bottles with corks for storage. The limoncello doesn’t care what it’s in.
Preparation Method
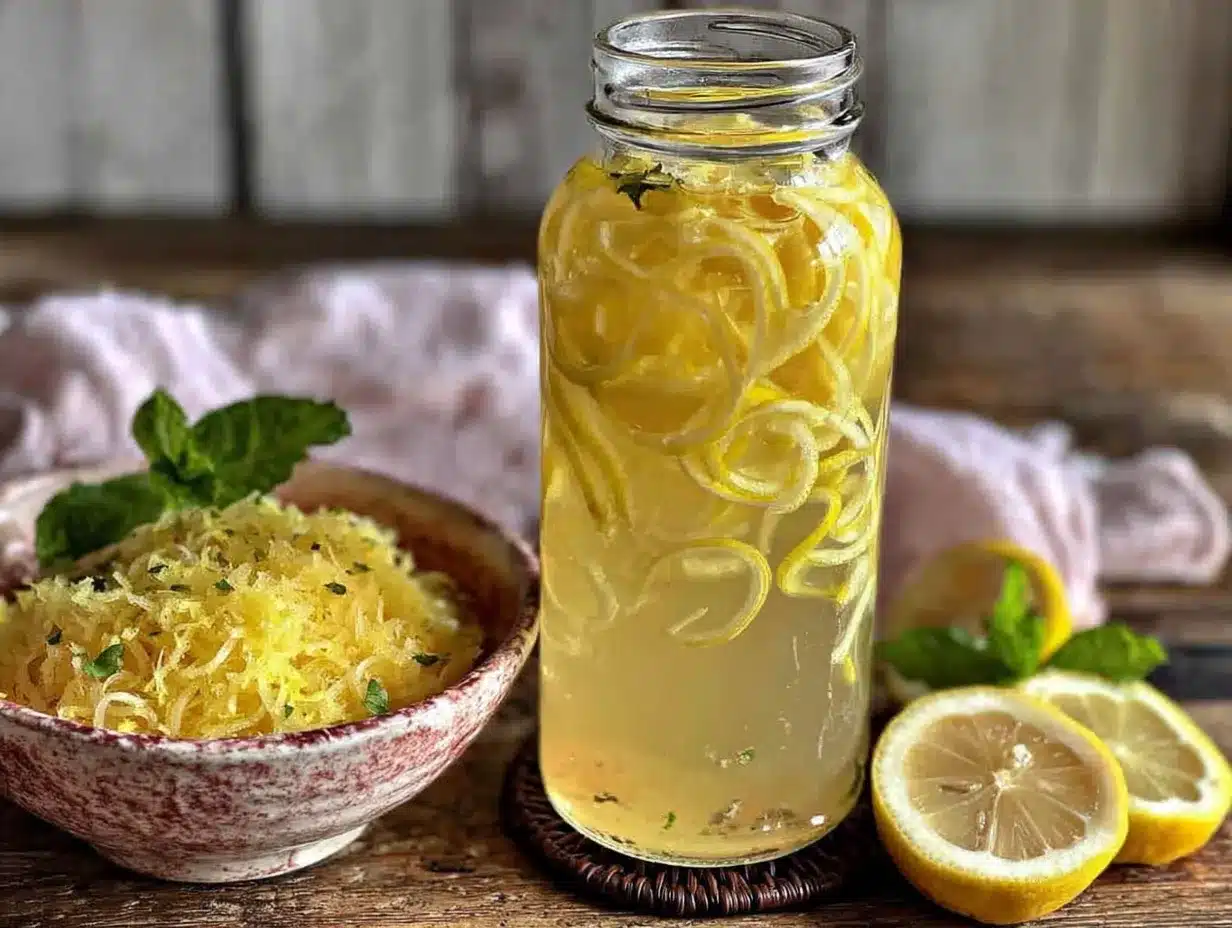
Alright, let’s get to it. This is the easy part—I promise.
- Wash and Dry Your Lemons : Scrub each lemon under warm water with a vegetable brush. Dry them thoroughly with a clean towel. This removes any dirt, wax, or residue.
- Peel the Lemons : Using your vegetable peeler, remove the yellow zest in long strips. The key here is to get as little of the white pith as possible. The pith is bitter, and it will ruin your limoncello if you include too much. Don’t worry if you get a tiny bit—just try to keep it minimal. You should end up with a big pile of beautiful yellow strips. Pro tip : If you accidentally get a lot of pith, you can use a small knife to scrape it off after peeling.
- Combine Peels and Vodka : Place all the lemon peels into your clean glass jar. Pour the entire bottle of vodka over the peels. Make sure all the peels are submerged. If they’re sticking out, you can push them down with a clean spoon. Seal the jar tightly.
- Steep for 10 to 14 Days : Store the jar in a cool, dark place—like a pantry or a cupboard. Not the refrigerator. Give it a gentle shake every few days to help the extraction process. You’ll start to see the vodka turn a beautiful golden yellow after a few days. The longer you steep, the more intense the lemon flavor will be. I usually go for 14 days, but 10 is fine if you’re impatient. Warning : Don’t steep for longer than 3 weeks, or it can start to taste a little bitter.
- Make the Simple Syrup : On day 10 or 14, combine the sugar and water in a medium saucepan. Heat over medium heat, stirring occasionally, until the sugar is completely dissolved. You don’t need to boil it—just get it hot enough that the sugar disappears. Let the syrup cool completely to room temperature. This usually takes about 30 minutes.
- Strain the Infused Vodka : Place your fine-mesh strainer (lined with a coffee filter if you have one) over a large bowl or another clean jar. Pour the vodka through the strainer to remove all the lemon peels. Discard the peels. You’ll be left with a clear, bright yellow liquid.
- Combine and Bottle : Pour the cooled simple syrup into the strained vodka. Stir gently to combine. At this point, you can taste it. If you want it sweeter, you can make a little more simple syrup and add it. If you want it stronger, add a splash more vodka. Once you’re happy, use your funnel to pour the limoncello into your storage bottles. Seal them tightly.
- Age (Optional but Recommended) : The limoncello will taste good right away, but it gets even better after a week or two in the refrigerator. The flavors meld and smooth out. I always try to wait at least a week before serving.
- Chill and Serve : Limoncello is traditionally served ice-cold. Store the bottles in the freezer for at least 4 hours before serving. The alcohol content is high enough that it won’t freeze solid—it will become thick and syrupy. Pour into small chilled glasses and enjoy!
Cooking Tips & Techniques
I’ve made this recipe probably thirty times by now, and I’ve learned a few things the hard way. Let me save you some trouble.
The Big Mistake: Too Much Pith : My very first batch tasted like I had brewed aspirin in vodka. It was awful. The culprit was the white pith. It’s intensely bitter, and once it’s in there, you can’t take it out. So be careful with your peeler. If you see a lot of white on your strips, take a moment to trim it off. It’s worth the extra minute.
Temperature Matters : The steeping process works best at cool room temperature—around 65 to 70°F. If your kitchen is super hot, it can extract flavors too quickly and might get bitter. If it’s too cold, it will take longer. Just find a stable spot and leave it alone.
Don’t Rush the Syrup : I know you’re excited, but pouring hot simple syrup into the vodka will make it cloudy. It won’t affect the taste, but it won’t look as pretty. Let the syrup cool completely. I usually make it the night before I plan to bottle.
The Shake Test : After you’ve combined everything and bottled it, give the bottle a shake. If it stays cloudy after a few hours, it might be because your syrup was too warm or your water had minerals. It’s still perfectly drinkable, just not as clear. For a crystal-clear limoncello, use filtered water and let everything cool down completely.
Multitasking Strategy : The beauty of this recipe is that you do almost nothing for two weeks. I like to start a batch on a Sunday afternoon when I have a few minutes. I set a reminder on my phone for day 14 to finish it. It’s the perfect low-effort project.
Variations & Adaptations
Once you’ve mastered the basic recipe, you can have some fun with it. Here are a few twists I’ve tried:
- Creamy Limoncello : After straining, stir in 1 cup of heavy cream or full-fat coconut milk. This creates a rich, creamy liqueur that’s amazing over ice or in coffee. It will separate slightly in the fridge, so give it a good shake before serving. It’s a completely different drink—less sharp, more dessert-like.
- Herb-Infused Limoncello : Add a few sprigs of fresh rosemary, thyme, or basil to the jar along with the lemon peels. The herbs infuse alongside the lemon, adding a lovely aromatic complexity. Rosemary and lemon is a classic combination. I made a batch with rosemary last summer and served it at a barbecue—it was a hit.
- Spiced Limoncello : Toss in a cinnamon stick, a few cloves, and a star anise with the peels. It gives the limoncello a warm, holiday feel. This is perfect for Christmas gifting. Just make sure to strain out the spices with the peels.
- Lower-Sugar Version : Reduce the sugar to 1 cup and use a higher-proof vodka (100 proof). The higher alcohol content gives a bit of sweetness on its own, and you get a stronger, more intense sip. This is closer to how they make it in some parts of Southern Italy.
- Citrus Medley : Swap out half the lemons for oranges, grapefruits, or limes. A mix of lemon and orange is particularly lovely—it’s brighter and a little less tart. I made a batch with lemon and blood orange once, and the color was stunning.
Serving & Storage Suggestions
Limoncello is a ritual. It’s not just a drink—it’s an experience. Here’s how to do it right.
Serving Temperature : Serve it straight from the freezer. It should be thick, almost syrupy, and intensely cold. Pour it into small, chilled cordial glasses or shot glasses. A proper serving is about 2 to 3 ounces. Sip it slowly after a meal as a digestif—it’s supposed to help settle your stomach.
Presentation : If you’re serving it to guests, pop the bottle into the freezer an hour before. You can also rim the glasses with a little sugar and a twist of lemon peel for a fancy touch. It looks beautiful on a tray with some biscotti or dark chocolate.
Storage : Keep your limoncello in the freezer or refrigerator. Because of the high sugar and alcohol content, it will keep for at least 6 months, and honestly, probably up to a year. I’ve never had a batch last that long because it gets drunk too quickly. The flavor actually improves after a month or two in the freezer—it gets smoother and more rounded.
Reheating (Not Applicable, But…) : You don’t reheat limoncello, but if you want to use it in cooking, it’s amazing drizzled over vanilla ice cream, mixed into lemon bars, or brushed over a lemon cake for extra moisture and flavor.
Flavor Development : The limoncello will taste a little sharp and boozy right after you make it. Give it time. After a week in the freezer, the flavors calm down and integrate. After a month, it’s perfect. This is one of those rare recipes that actually gets better with age.
Nutritional Information & Benefits
Let’s be honest—limoncello is a treat, not a health food. But here’s what you should know:
Estimated Nutritional Values (per 2-ounce serving) :
- Calories: 180
- Carbohydrates: 22g
- Sugar: 22g
- Alcohol: 14g
Health Considerations : The main ingredients are lemon zest (which contains some vitamin C and antioxidants) and alcohol. The sugar content is significant, so if you’re watching your sugar intake, this is definitely an occasional indulgence. The alcohol is also high, so enjoy responsibly.
Dietary Notes : This recipe is naturally gluten-free (as long as you use a gluten-free vodka), dairy-free (unless you make the creamy version), and vegan. It’s not low-carb or keto-friendly due to the sugar.
My Perspective : I think of limoncello as a little moment of joy. It’s not something you drink every day. It’s something you pull out when you want to celebrate, or when you have friends over, or when you need a little taste of sunshine in the middle of winter. A small glass after a good meal is one of life’s simple pleasures. I don’t stress about the sugar—I just enjoy it.
Conclusion
Making your own limoncello is one of those projects that feels almost too easy to be true. You peel some lemons, pour some vodka, and wait. But what comes out of that jar after two weeks is something special—bright, fragrant, and full of memories. It’s the taste of a summer afternoon, of a grandmother’s kitchen, of a moment you thought was lost.
I’ve made this recipe for birthday gifts, for Christmas presents, and just for myself on a quiet Sunday. Every time I open the freezer and see that golden bottle, I smile. It reminds me that the best things in life don’t have to be complicated. They just need a little time and a little love.
I’d love to hear how yours turns out. Did you try a variation? Did you serve it at a party? Did it bring back a memory for you? Drop a comment below and let me know. And if you share it on social media, tag me—I want to see your beautiful bottles of sunshine. Until next time, happy cooking (and sipping).
Frequently Asked Questions
Can I use bottled lemon juice instead of fresh lemons?
No, I really wouldn’t. The flavor comes from the oils in the lemon peel, not the juice. Bottled lemon juice won’t give you that bright, complex flavor, and it will taste flat and artificial. Fresh lemons are essential here.
My limoncello is cloudy. What did I do wrong?
Cloudiness usually happens when you add warm simple syrup to the vodka, or if your water had a lot of minerals. It’s completely safe to drink and tastes the same—it just isn’t as pretty. Next time, make sure your syrup is completely cool and use filtered water.
How long does homemade limoncello last?
Stored in the freezer or refrigerator in a sealed bottle, it will keep for at least 6 months. The flavor actually improves over the first month or two. After a year, it might start to lose a bit of its brightness, but it won’t go bad because of the high sugar and alcohol content.
Can I use a different alcohol besides vodka?
Yes, but it will change the flavor. Grain alcohol (like Everclear) makes a stronger, more traditional limoncello. You can also use a neutral white rum, but it will add a slight sweetness. I wouldn’t use whiskey or tequila—the flavors will clash with the lemon.
Do I have to steep it for the full 14 days?
You can steep it for as little as 4 to 5 days, but the flavor won’t be as deep or intense. 10 to 14 days is the sweet spot. If you go longer than 3 weeks, it can start to get bitter. Set a reminder and stick to the timeline for the best results.
Pin This Recipe!
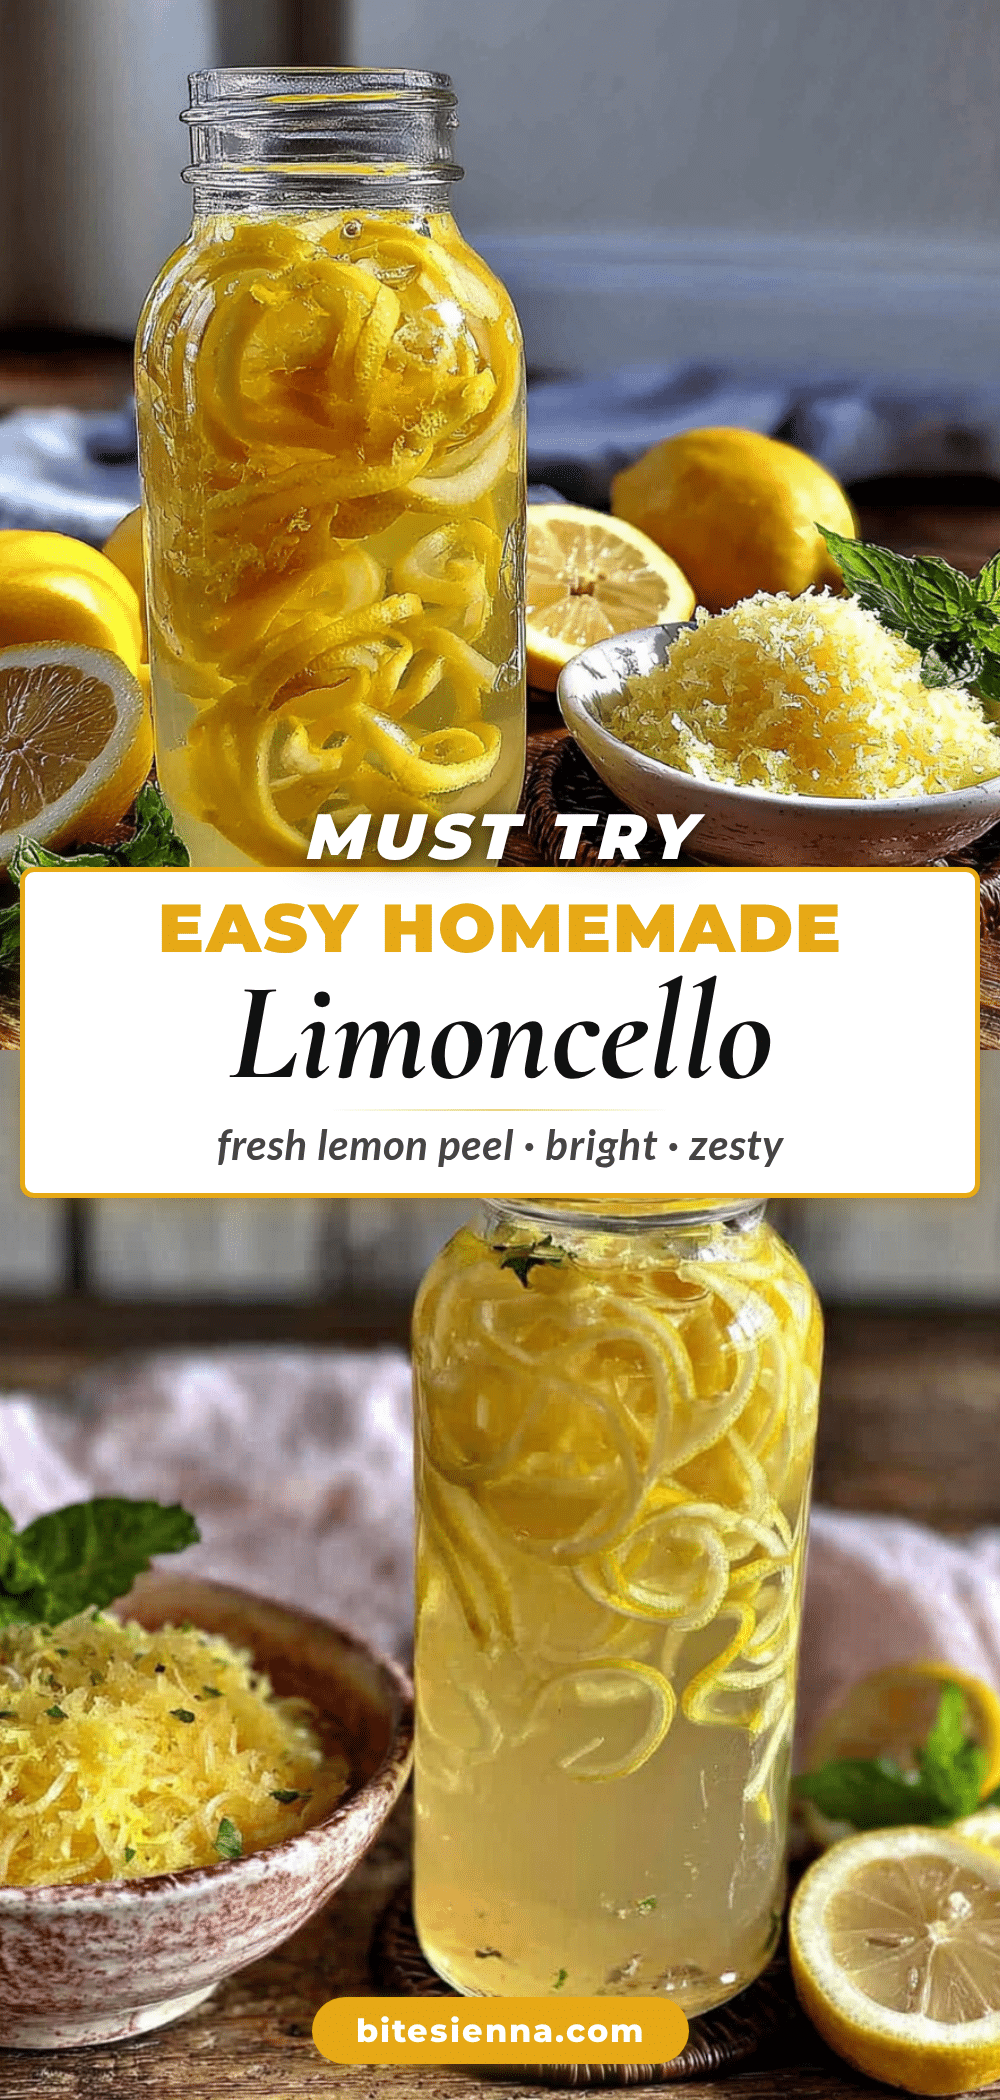
Easy Homemade Limoncello: Best 5-Minute Recipe
This easy homemade limoncello recipe requires only 5 minutes of active work and 4 simple ingredients. It’s perfect for gifting, better than store-bought, and captures the bright, fragrant taste of sunshine in a bottle.
- Prep Time: 5 minutes
- Cook Time: 10 minutes
- Total Time: 10 minutes (plus 10-14 days steeping and optional aging)
- Yield: 4 servings 1x
- Category: Beverage
- Cuisine: Italian
Ingredients
- 10 large organic lemons
- 1 (750 ml) bottle of vodka (80–100 proof)
- 2 cups granulated sugar
- 2 cups filtered water
Instructions
- Wash and dry the lemons thoroughly with a vegetable brush and clean towel.
- Using a vegetable peeler, remove the yellow zest in long strips, avoiding the white pith as much as possible.
- Place all lemon peels into a clean glass jar and pour the entire bottle of vodka over them. Ensure peels are submerged, seal tightly.
- Steep in a cool, dark place for 10 to 14 days, shaking gently every few days.
- On day 10 or 14, combine sugar and water in a saucepan. Heat over medium heat, stirring until sugar dissolves. Let cool completely to room temperature.
- Strain the infused vodka through a fine-mesh strainer lined with a coffee filter into a large bowl or jar. Discard peels.
- Pour the cooled simple syrup into the strained vodka and stir gently to combine. Taste and adjust sweetness or strength if desired.
- Use a funnel to pour the limoncello into storage bottles. Seal tightly.
- Optional: Age in the refrigerator for at least a week before serving for smoother flavor.
- Chill in the freezer for at least 4 hours before serving. Serve ice-cold in small chilled glasses.
Notes
Avoid the white pith to prevent bitterness. Use organic lemons to avoid pesticides. Let simple syrup cool completely before adding to vodka to prevent cloudiness. For a stronger limoncello, use higher-proof vodka or substitute half the vodka with Everclear. The limoncello improves with age; store in the freezer for up to 6 months.
Nutrition
- Serving Size: 2 ounces
- Calories: 180
- Sugar: 22
- Carbohydrates: 22
Keywords: limoncello, homemade limoncello, easy limoncello, lemon liqueur, Italian digestif, 5-minute recipe, gift idea


