I was at the hardware store last fall, of all places, waiting in line with a bag of mulch I didn’t really need, when the woman behind me—a retired schoolteacher named Margaret with dirt under her fingernails—started talking about pumpkin seeds. Not in a polite, weather-small-talk way either. She was genuinely annoyed. “Everyone bakes them too long or doesn’t wash them right,” she said, shaking her head. “And they never get that honey coating right. It’s a tragedy, honestly.” I mean, I’d only mentioned I was carving pumpkins with my kids that weekend, and suddenly I was getting a full lecture on seed prep from a complete stranger in the garden center aisle. But here’s the thing—she was right. I’d been making sad, chewy, barely-flavored pumpkin seeds for years. So I listened. And then I went home and tweaked her basic method into this quick crispy honey-roasted pumpkin seeds recipe that actually works on a busy Tuesday night. Let me tell you, if you’ve ever bitten into a batch of homemade seeds that tasted like burnt cardboard, you know exactly why this matters.
Why You’ll Love This Recipe
This isn’t just another pumpkin seed recipe. After testing this method about seven times (and burning two batches badly), I can tell you this version hits every single mark for a weeknight win.
- Quick & Easy: From pumpkin to plate in 30 minutes flat. No soaking overnight, no complicated steps. Perfect for those evenings when you need a snack now.
- Simple Ingredients: You need pumpkin seeds, honey, butter, salt, and maybe a pinch of cinnamon. That’s it. Nothing you have to special-order or hunt down at three different stores.
- Perfect for Fall Weeknights: Whether you’re carving jack-o’-lanterns with the kids or just want a warm, crunchy snack while you binge your favorite show, these seeds fit right in.
- Crowd-Pleaser: My kids usually turn their noses up at anything “healthy-looking,” but they fought over the last handful of these. Even my picky neighbor admitted they were “actually good.”
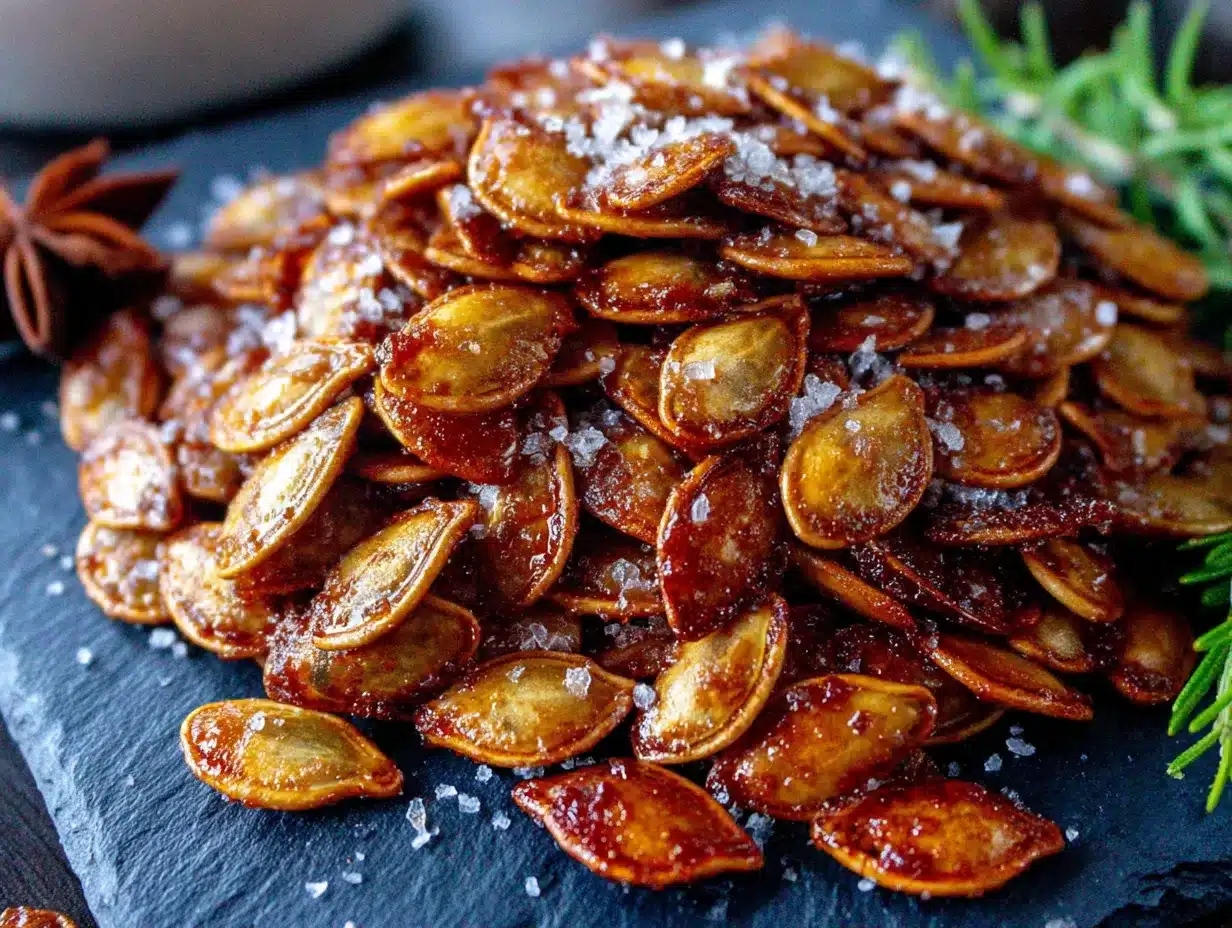
- Unbelievably Delicious: The honey caramelizes just enough to create a brittle, glass-like crunch without being sticky. The salt balances the sweetness perfectly. It’s the kind of snack that makes you close your eyes after the first bite—I’m not kidding.
This recipe is different because of the boiling trick. Most people skip it, but that quick blanch is what gives you that shatteringly crisp texture instead of the usual chewy disappointment. Plus, the honey-to-butter ratio is dialed in so the coating sticks without making a mess. It’s comfort food, faster and better.
What Ingredients You Will Need
This recipe uses simple, everyday ingredients to deliver big flavor without any fuss. You probably have most of this in your kitchen right now, which is exactly what you want on a busy weeknight.
- Fresh pumpkin seeds, rinsed and cleaned (about 1 ½ cups, or the seeds from one medium pumpkin)
- Water, for boiling (just enough to cover the seeds in a small pot)
- Salt, 1 teaspoon (plus extra for the boiling water—I use fine sea salt)
- Unsalted butter, 2 tablespoons, melted (I recommend Kerrygold for the richest flavor, but any brand works)
- Honey, 3 tablespoons (use a runny, mild honey like clover or orange blossom—avoid thick, crystallized honey for this)
- Ground cinnamon, ½ teaspoon (optional, but it adds a warm note that pairs beautifully with the honey)
- Vanilla extract, ½ teaspoon (pure extract, not imitation—trust me on this)
Ingredient Tips: Look for pumpkin seeds that are still slightly moist from the pumpkin, not dried-out ones from last season. If you’re using pre-packaged raw seeds from the store, they’ll work fine, but fresh seeds give a better texture. For a dairy-free version, swap the butter with coconut oil—it adds a subtle tropical note that’s actually pretty great with the honey. And if you want a spicy kick, skip the cinnamon and add ¼ teaspoon of cayenne pepper instead.
Equipment Needed
You don’t need fancy gear for this recipe, which is exactly what I love about it. Here’s what you’ll need:
- Small saucepan (for boiling the seeds—any 2-quart pot works)
- Colander (for draining and rinsing the seeds)
- Baking sheet (a rimmed half-sheet pan is ideal—the rim keeps the honey from dripping everywhere)
- Parchment paper (non-negotiable for easy cleanup—trust me, you don’t want to scrub burnt honey off a pan)
- Mixing bowl (medium-sized, for tossing the seeds with the honey mixture)
- Spatula (for spreading the seeds evenly on the baking sheet)
- Kitchen towel (for patting the seeds dry—paper towels work too, but a lint-free cloth is better)
If you don’t have parchment paper, you can use a silicone baking mat instead. I’ve used both, and the silicone mat actually works a little better for even browning. Also, a good pair of kitchen scissors helps if you need to trim any stubborn pumpkin strings off the seeds before cooking.
Preparation Method
- Preheat your oven to 350°F (175°C). Line a rimmed baking sheet with parchment paper. This step saves you from scrubbing later—trust me on this.
- Clean the pumpkin seeds thoroughly. Separate the seeds from the pumpkin guts (I use my fingers for this—it’s messy but satisfying). Place the seeds in a colander and rinse them under cold running water, picking out any remaining pumpkin strings. You want them mostly clean, but a few tiny bits of pumpkin fiber are fine—they’ll crisp up in the oven.
- Boil the seeds. Bring a small saucepan of water to a rolling boil. Add 1 teaspoon of salt to the water (this seasons the seeds from the inside out). Drop in the cleaned pumpkin seeds and boil for exactly 5 minutes. This step is the secret to crispy seeds—it softens the outer shell so they roast evenly instead of turning chewy. Don’t skip it, even if you’re in a hurry.
- Drain and dry the seeds. Pour the boiled seeds into the colander and shake off the excess water. Spread them out on a clean kitchen towel or paper towels and pat them as dry as you can get them. You don’t need them bone-dry, but remove the surface moisture so the honey mixture sticks properly.
- Mix the coating. In a medium mixing bowl, combine the melted butter, honey, cinnamon (if using), vanilla extract, and a pinch of salt. Whisk until smooth and well-blended. The mixture should look glossy and smell amazing—if it separates, just whisk a little more.
- Toss the seeds. Add the dried pumpkin seeds to the bowl with the honey mixture. Use a spatula to toss and coat every seed evenly. Make sure there are no dry spots—you want each seed glistening with that sweet, buttery coating.
- Spread on the baking sheet. Pour the coated seeds onto the prepared baking sheet. Spread them into a single, even layer. Don’t overcrowd them—if they’re piled on top of each other, they’ll steam instead of roast. Use the spatula to nudge any clumps apart.
- Roast for 12-15 minutes. Place the baking sheet in the preheated oven and roast for 12 minutes. At the 6-minute mark, pull the pan out and give the seeds a quick stir with the spatula. This ensures even browning. Keep an eye on them during the last 3 minutes—honey can burn fast. You’re looking for a deep golden-brown color and a fragrant, toasty smell.
- Cool completely. Remove the baking sheet from the oven and let the seeds cool right on the pan. They’ll continue to crisp up as they cool—don’t touch them for at least 10 minutes. I know it’s tempting, but warm seeds are soft seeds. Patience pays off here.
Cooking Tips & Techniques
I’ve made this recipe enough times to know where things go wrong. Here’s what I’ve learned the hard way so you don’t have to.
Don’t skip the boil. The first time I made these, I thought I could save time by skipping the boiling step. Big mistake. The seeds came out chewy and unevenly cooked, like eating little rubber pellets. That 5-minute boil is non-negotiable—it’s what gives you that shatteringly crisp texture.
Watch the oven like a hawk. Honey burns faster than you think. I once got distracted by a phone call and left the seeds in for two extra minutes. They came out blackened and bitter, and my whole kitchen smelled like a sugar fire. Set a timer for 12 minutes and check them early if your oven runs hot.
Dry those seeds well. If your seeds are still wet when you add the honey mixture, the coating will slide right off and pool on the baking sheet. You’ll end up with sticky, unevenly coated seeds and a mess to clean. Pat them dry with a towel until they feel just slightly damp to the touch.
Use a rimmed baking sheet. I learned this one the messy way. A flat cookie sheet without edges lets the honey mixture drip off and burn on the oven floor. That smoke alarm is not your friend. Always use a pan with raised sides.
Variations & Adaptations
This recipe is super flexible, so feel free to play around based on what you have or what you’re craving.
- Spicy Honey-Lime: Skip the cinnamon and vanilla. Instead, add the zest of one lime, ¼ teaspoon of cayenne pepper, and a pinch of smoked paprika to the honey-butter mixture. The citrus cuts through the sweetness beautifully, and the heat builds slowly. I made this version for a football party, and it disappeared in ten minutes.
- Maple-Bourbon: Swap the honey for pure maple syrup and add 1 tablespoon of bourbon (or whiskey, if that’s what you have). Reduce the butter to 1 tablespoon since the syrup is thinner. This version has a deeper, more grown-up flavor—perfect for holiday snacking or gifting in little jars.
- Savory Garlic-Parmesan: Omit the honey, cinnamon, and vanilla entirely. Instead, mix the melted butter with 2 minced garlic cloves, ½ teaspoon of dried rosemary, and ¼ cup of finely grated Parmesan cheese. Toss the boiled seeds in this mixture and roast as directed. The cheese gets crispy and golden—it’s dangerously addictive.
- Vegan Option: Replace the butter with melted coconut oil or vegan butter. Use agave syrup instead of honey. The texture comes out slightly different—a bit crunchier, less glossy—but still delicious. My vegan friend approved, and she’s a tough critic.
Serving & Storage Suggestions
These honey-roasted pumpkin seeds are best served at room temperature, right after they’ve cooled. The texture is at its peak within the first few hours—crispy, crunchy, and perfectly coated. I like to pile them into a wooden bowl for snacking, or sprinkle them over a simple green salad for a sweet-savory crunch.
For storage, let the seeds cool completely first (this is crucial—any residual warmth creates condensation in the container, which ruins the crunch). Transfer them to an airtight container or a resealable zip-top bag. They’ll stay fresh at room temperature for up to 5 days. After that, they start to soften slightly, but they’re still good for another 2-3 days.
If you want to keep them longer, you can freeze them. Place the cooled seeds in a freezer-safe bag, squeeze out as much air as possible, and freeze for up to 3 months. To refresh them, spread the frozen seeds on a baking sheet and warm them in a 300°F (150°C) oven for 5 minutes. They’ll crisp right back up.
These seeds also make fantastic toppings. Try them on oatmeal, yogurt parfaits, or even ice cream sundaes. The honey flavor pairs especially well with vanilla or caramel ice cream. And honestly, they’re great straight out of the jar while you’re standing in front of the pantry—no judgment here.
Nutritional Information & Benefits
Pumpkin seeds are packed with good stuff, so you can feel pretty great about snacking on these. Here’s the approximate nutritional breakdown per ¼-cup serving (about a handful):
- Calories: 180
- Total Fat: 14g (mostly healthy unsaturated fats)
- Protein: 7g
- Carbohydrates: 9g
- Fiber: 2g
- Sugar: 6g (from the honey)
- Sodium: 180mg
Pumpkin seeds are a great source of magnesium, zinc, and iron. Magnesium helps with muscle recovery and sleep (perfect for those stressful weeks), zinc supports your immune system, and iron keeps your energy levels up. The honey adds a touch of natural sweetness along with antioxidants, while the butter provides a little vitamin A for healthy skin and eyes.
If you’re watching your sugar intake, you can reduce the honey to 2 tablespoons—the seeds will still be sweet, just less sticky. This recipe is naturally gluten-free and nut-free, but always check your ingredient labels if you have allergies. The honey makes this not suitable for vegans unless you use the agave swap mentioned above.
Conclusion
Look, I’m not saying these honey-roasted pumpkin seeds will change your life. But they might change how you feel about making snacks from scratch on a busy weeknight. They’re fast, they’re forgiving, and they taste like something that took way more effort than it actually did. That’s the kind of win we all need on a Tuesday night, right?
I’d love to hear how these turn out for you. Did you try a variation? Burn a batch like I did that first time? Find a way to make them even better? Drop a comment below and let me know—I genuinely read every single one. And if you share a photo on Pinterest or Instagram, tag me so I can see your crispy, golden masterpiece. Happy snacking, friend!
Frequently Asked Questions
Can I use store-bought raw pumpkin seeds instead of fresh ones?
Absolutely. Pre-packaged raw pumpkin seeds (also called pepitas) work perfectly for this recipe. Just skip the cleaning step and go straight to boiling. The boiling time stays the same—5 minutes—since even store-bought seeds benefit from that pre-cook for better texture.
Why did my seeds turn out chewy instead of crispy?
This usually happens for one of three reasons: you skipped the boiling step, you didn’t dry the seeds well enough before coating them, or you pulled them out of the oven too early. Make sure to boil for the full 5 minutes, pat them thoroughly dry, and let them cool completely on the baking sheet before tasting. They crisp up as they cool, not while they’re hot.
Can I make these in an air fryer?
Yes! Preheat your air fryer to 325°F (160°C). Follow the recipe through step 6 (coating the seeds), then spread them in the air fryer basket in a single layer. Cook for 8-10 minutes, shaking the basket halfway through. Keep a close eye on them during the last 2 minutes—air fryers run hot and honey burns fast. Let them cool in the basket before transferring to a container.
How do I prevent the honey mixture from burning on the pan?
Parchment paper is your best friend here. It creates a non-stick barrier that keeps the caramelized honey from bonding to your baking sheet. If you don’t have parchment, a silicone baking mat works too. Avoid using greased foil—the honey can still stick and create a sticky mess. And don’t forget to stir the seeds halfway through roasting to distribute the heat evenly.
Can I double this recipe for a big batch?
Sure, but don’t overcrowd the baking sheet. If you double the recipe, use two separate baking sheets instead of one big one. Overcrowding traps steam and prevents the seeds from getting crispy. Also, the roasting time might increase by 2-3 minutes since there’s more moisture in the oven. Just watch for that golden-brown color and fragrant smell as your cue.
Pin This Recipe!
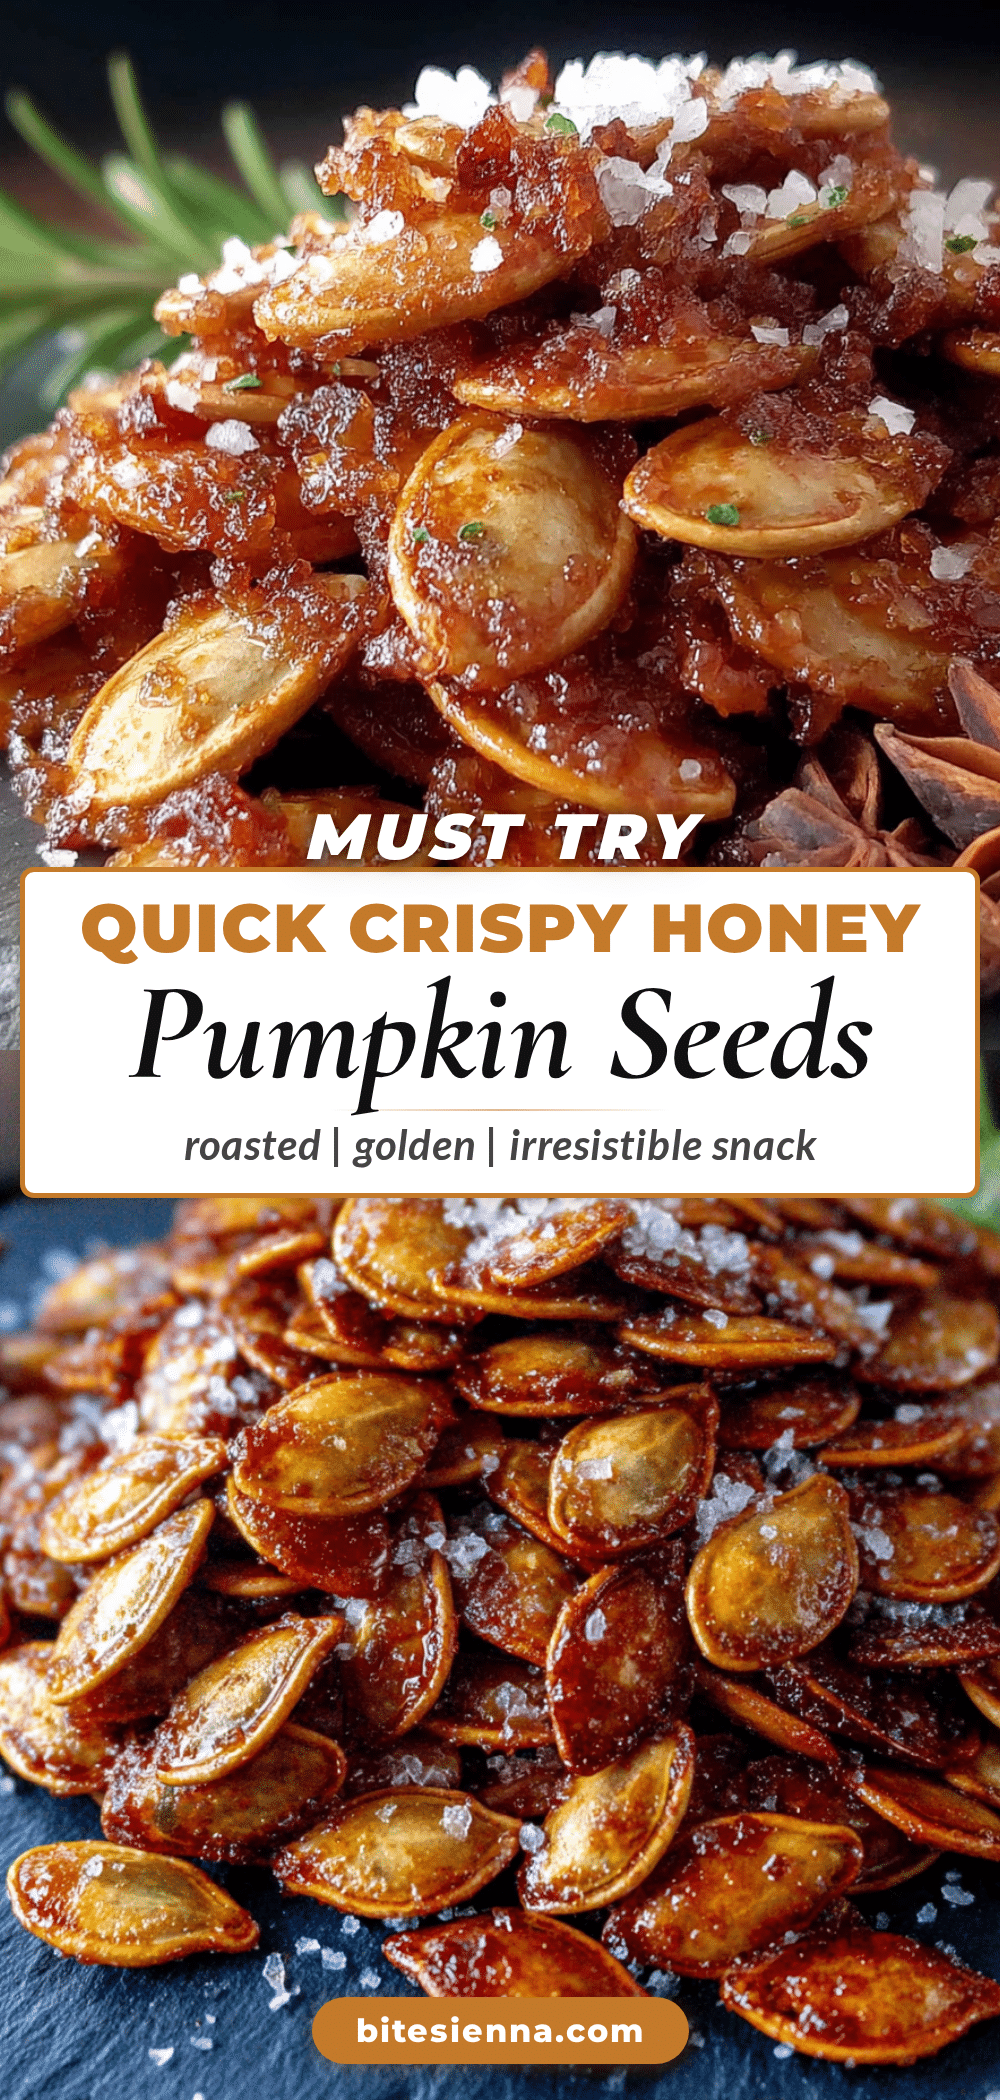
Quick Crispy Honey-Roasted Pumpkin Seeds: Easy 30-Minute Recipe
This quick and easy recipe delivers perfectly crispy, honey-roasted pumpkin seeds in just 30 minutes. The secret is a quick boil that ensures a shatteringly crunchy texture, with a sweet and salty honey-butter coating that’s absolutely addictive.
- Prep Time: 15 minutes
- Cook Time: 15 minutes
- Total Time: 30 minutes
- Yield: 4 servings 1x
- Category: Snack
- Cuisine: American
Ingredients
- 1 ½ cups fresh pumpkin seeds, rinsed and cleaned (seeds from one medium pumpkin)
- Water, for boiling
- 1 teaspoon salt (plus extra for boiling water)
- 2 tablespoons unsalted butter, melted
- 3 tablespoons honey (runny, mild honey like clover or orange blossom)
- ½ teaspoon ground cinnamon (optional)
- ½ teaspoon vanilla extract (pure extract)
Instructions
- Preheat your oven to 350°F (175°C). Line a rimmed baking sheet with parchment paper.
- Clean the pumpkin seeds thoroughly. Separate seeds from pumpkin guts, rinse in a colander under cold water, and remove any remaining pumpkin strings.
- Bring a small saucepan of water to a rolling boil. Add 1 teaspoon of salt to the water. Drop in the cleaned pumpkin seeds and boil for exactly 5 minutes.
- Drain the boiled seeds in a colander and shake off excess water. Spread them on a clean kitchen towel or paper towels and pat dry to remove surface moisture.
- In a medium mixing bowl, combine melted butter, honey, cinnamon (if using), vanilla extract, and a pinch of salt. Whisk until smooth and well-blended.
- Add the dried pumpkin seeds to the bowl with the honey mixture. Use a spatula to toss and coat every seed evenly.
- Pour the coated seeds onto the prepared baking sheet. Spread them into a single, even layer. Use the spatula to nudge any clumps apart.
- Roast for 12-15 minutes. At the 6-minute mark, pull the pan out and stir the seeds with the spatula. Watch closely during the last 3 minutes to prevent burning. Seeds are done when deep golden-brown and fragrant.
- Remove the baking sheet from the oven and let the seeds cool completely on the pan for at least 10 minutes. They will continue to crisp up as they cool.
Notes
Don’t skip the boiling step—it’s essential for crispy texture. Watch the oven closely as honey burns quickly. Dry seeds well before coating to ensure the honey mixture sticks. Use a rimmed baking sheet to prevent drips. For best texture, let seeds cool completely before serving.
Nutrition
- Serving Size: ¼ cup
- Calories: 180
- Sugar: 6
- Sodium: 180
- Fat: 14
- Saturated Fat: 4
- Carbohydrates: 9
- Fiber: 2
- Protein: 7
Keywords: honey roasted pumpkin seeds, crispy pumpkin seeds, easy pumpkin seed recipe, fall snack, quick snack, 30 minute recipe


