It was 11:47 PM on a random Wednesday, and I had a ridiculous craving for something warm, spicy, and sweet. Not a full dessert—just a little something to sip while I scrolled my phone in the dark. I wanted that specific gingerbread coffee creamer from Starbucks, the one that makes your kitchen smell like a holiday candle and your coffee taste like a hug. But here’s the thing: I didn’t have any, and I definitely wasn’t putting on pants to go get it. What I did have was a half-empty carton of heavy cream, some molasses that had been sitting in the back of the cabinet since last Christmas, and a wild idea that maybe—just maybe—I could make my own.
Honestly, I wasn’t expecting much. I figured I’d end up with something vaguely spiced and slightly sad, the kind of thing you drink because you made it and not because it’s good. But I was wrong. So wrong. That first sip hit me with this perfect wave of ginger, cinnamon, and molasses sweetness, and I actually laughed out loud in my empty kitchen. I mean, it was just me and the cat, and he didn’t care, but I was thrilled. It tasted exactly like the Starbucks version—maybe better? Let’s not get ahead of myself, but yeah, maybe better.
That late-night experiment turned into my go-to coffee ritual. Now I keep a jar of this stuff in the fridge at all times, especially during the holiday season when I’m hosting friends and family. There’s something about making your own creamer that feels a little bit like a secret weapon. You know that feeling when guests take a sip of their coffee and their eyes go wide? That’s what we’re after here. And the best part? It takes about five minutes to throw together, uses ingredients you probably already have, and costs a fraction of what you’d pay at the coffee shop. So whether you’re prepping for a big holiday brunch or just want to treat yourself on a quiet Tuesday night, this copycat Starbucks gingerbread coffee creamer is about to become your new best friend.
Why You’ll Love This Recipe
Let me tell you why this recipe has earned a permanent spot in my kitchen. I’ve tested it about a dozen times—tweaking the spice ratios, trying different sweeteners, even testing it with non-dairy milks for my lactose-intolerant friends. What I landed on is the version that hits that sweet spot between cozy and convenient. Here’s what makes it stand out:
- Quick & Easy : We’re talking five minutes of active time, maybe ten if you’re moving slow. You just whisk everything together and pour it into a jar. No simmering, no straining, no complicated steps.
- Simple Ingredients : Chances are you have most of these in your pantry right now. Molasses, cinnamon, ginger, vanilla—these are staples in any baker’s kitchen. No weird additives or preservatives, just real food.
- Perfect for Hosting : When you have guests over for brunch or a holiday gathering, setting out a pitcher of homemade creamer feels special. It’s a little touch that makes people feel taken care of, and you can make it days ahead of time.
- Crowd-Pleaser : I’ve served this to everyone from my spice-averse sister to my coffee-snob uncle, and every single person asked for the recipe. It’s got that universal appeal.
- Unbelievably Delicious : The flavor is deep and complex without being overpowering. The molasses gives it a rich, almost caramel-like sweetness, while the ginger and cinnamon add warmth without turning your coffee into a pumpkin spice situation.
What really sets this apart from other copycat recipes is the balance. A lot of versions go heavy on the molasses, which makes the creamer taste bitter or overly dark. I found that using a lighter hand with the molasses and letting the spices shine creates a creamer that blends beautifully into coffee without overwhelming it. It’s not just another version—it’s the version I keep coming back to, and I think you will too.
This is the kind of recipe that makes you feel like you’ve got a secret weapon in your hosting arsenal. When you set out a pitcher of this creamer alongside your coffee station, guests instantly know you put thought into the details. And honestly? It makes you look like a rockstar with almost zero effort. That’s my favorite kind of cooking.
What Ingredients You Will Need
This recipe uses simple, everyday ingredients to create something that tastes way more complicated than it is. The magic comes from the combination of warm spices and rich dairy, all working together to mimic that iconic Starbucks flavor. Here’s what you’ll need:
- 1 cup heavy cream (or half-and-half for a lighter version) — This gives the creamer its rich, silky texture. I prefer heavy cream for the full indulgent experience, especially when I’m serving guests. If you want something a little lighter, half-and-half works beautifully too.
- 1 cup whole milk (or oat milk for dairy-free) — Whole milk adds body without making it too thick. Oat milk is my go-to dairy-free option because it has a similar creaminess. Avoid skim milk—it makes the creamer too thin.
- 3 tablespoons molasses — This is the star of the show. Molasses gives that deep, slightly smoky sweetness that defines gingerbread flavor. I use unsulphured molasses (not blackstrap, which can be too bitter). Grandma’s brand is my usual pick, but any unsulphured variety works.
- 2 tablespoons brown sugar (packed) — Adds sweetness and a touch of caramel-like depth. Light or dark brown sugar both work; dark will give a slightly stronger molasses flavor.
- 1 teaspoon vanilla extract — Rounds out the flavors and adds warmth. Pure vanilla extract is worth it here—you can really taste the difference.
- 1 teaspoon ground cinnamon — The backbone of the spice blend. I use Ceylon cinnamon for a milder, more floral note, but regular cassia cinnamon works perfectly fine.
- 1/2 teaspoon ground ginger — Adds that signature gingerbread kick. Freshly ground ginger from a spice jar is fine, but if you have fresh ginger, you can grate a tiny bit for an extra punch.
- 1/4 teaspoon ground nutmeg — A little goes a long way. Freshly grated nutmeg is amazing if you have it, but pre-ground works.
- 1/4 teaspoon ground cloves — Adds that classic holiday spice warmth. Be careful not to overdo it—cloves can easily dominate.
- Pinch of salt — This might seem weird for a sweet creamer, but salt enhances all the other flavors and prevents it from tasting flat.
Ingredient Selection Tips: When shopping for molasses, look for jars that say “unsulphured” on the label. Sulphured molasses can have a chemical aftertaste that ruins the creamer. For the spices, I recommend buying small quantities from a store with high turnover—old spices lose their punch. If your cinnamon doesn’t smell like much, it won’t taste like much either.
Substitution Guidance: Need a dairy-free version? Swap the heavy cream for full-fat coconut cream and the milk for oat milk. The coconut flavor is subtle and actually complements the gingerbread spices nicely. For a lower-sugar option, you can reduce the brown sugar to 1 tablespoon and use a sugar-free vanilla syrup instead. Just know that the texture will be slightly thinner.
Equipment Needed
One of the best things about this recipe is that you don’t need any fancy equipment. Here’s what you’ll need:
- Medium mixing bowl or large liquid measuring cup — Something with a spout makes pouring easier. I use a 4-cup Pyrex measuring cup.
- Whisk — A standard wire whisk is perfect. If you don’t have one, you can shake everything in a jar with a tight-fitting lid.
- Fine-mesh strainer (optional but recommended) — This catches any clumps of spices that didn’t fully dissolve. Trust me, biting into a pocket of ground cloves is not fun.
- Glass jar or bottle with lid — For storing your creamer. A 16-ounce mason jar works perfectly. I like using swing-top bottles because they look pretty on the counter.
- Small saucepan (if you want to heat the creamer) — Not strictly necessary, but warming the creamer helps the sugar dissolve more completely. I use a small non-stick saucepan.
If you don’t have a fine-mesh strainer, don’t sweat it. You can let the creamer sit for a few minutes after mixing, then pour it carefully, leaving the last little bit in the bottom of the bowl. Most of the spice clumps will settle there. I learned this trick after my first batch had a few too many ginger surprises.
Preparation Method
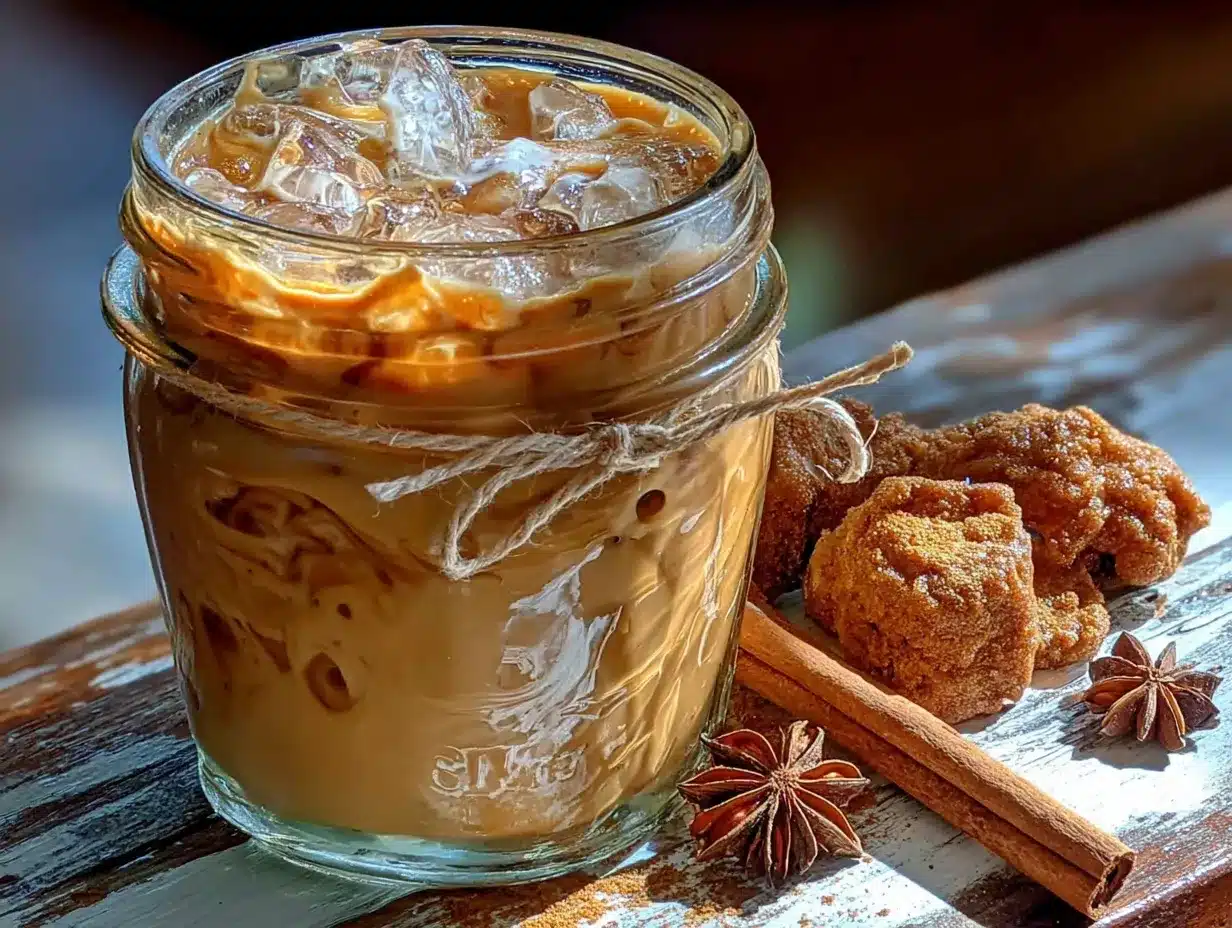
Alright, let’s make some magic. This is the kind of recipe where precision matters a little, but not too much. You can eyeball the spices if you’re feeling brave, but I recommend measuring the first time so you know what the baseline tastes like.
- Combine the dairy base. In your mixing bowl or liquid measuring cup, pour in the heavy cream and whole milk. Give it a quick whisk to combine. If you’re using a saucepan method (see step 4), you can do this directly in the pan.
- Add the sweeteners. Add the molasses and brown sugar to the cream mixture. Whisk vigorously until the brown sugar is mostly dissolved. You’ll still see some molasses streaks—that’s okay. Don’t worry about getting it perfectly smooth at this stage.
- Whisk in the spices. Add the cinnamon, ginger, nutmeg, cloves, vanilla extract, and that pinch of salt. Whisk like you mean it for about 30 seconds. You want the spices to be fully incorporated. This is where that fine-mesh strainer comes in handy—if you see any clumps forming, pour the mixture through the strainer into your storage jar.
- Heat it up (optional but recommended). If you’re using a saucepan, pour the mixture in and warm it over medium-low heat for 2-3 minutes, whisking constantly. Do not let it boil—you just want it warm enough to fully dissolve the sugar and meld the flavors. If you’re skipping the heat, just whisk a little longer and trust that the flavors will meld in the fridge overnight.
- Taste and adjust. Here’s where you get to play. Dip a spoon in and taste it. Want more ginger? Add another 1/4 teaspoon. Want it sweeter? Stir in another tablespoon of brown sugar. This is your creamer—make it exactly how you like it. I usually end up adding a tiny bit more cinnamon because I’m obsessed.
- Cool and store. Let the creamer cool to room temperature (about 15-20 minutes), then pour it into your storage jar. Seal it tightly and pop it in the fridge. It will thicken slightly as it chills, so don’t worry if it seems thin at first.
- Shake before using. This is important. The spices will settle at the bottom of the jar as it sits. Give it a good shake (or stir) before pouring it into your coffee. Otherwise, your first cup will be weak and your last cup will be a spice bomb.
Sensory Cues: When you first mix the creamer, it should smell like liquid gingerbread—warm, spicy, and sweet. After it sits in the fridge for a few hours, the color will deepen slightly to a warm caramel brown. The texture should be smooth and pourable, not thick like a syrup. If it seems too thin, don’t worry—it will coat your coffee beautifully.
Cooking Tips & Techniques
I’ve made this creamer more times than I can count, and I’ve definitely learned a few things the hard way. Here are my best tips to save you from my mistakes:
Don’t boil the creamer. I know it’s tempting to speed things up with high heat, but boiling can cause the dairy to curdle or develop a skin on top. Low and slow is the way to go. If you see tiny bubbles forming around the edges of the pan, you’re at the perfect temperature.
Let it rest overnight. The creamer is good right away, but it’s magical the next day. Giving it at least 8 hours in the fridge allows the spices to fully infuse into the dairy. The flavor becomes more rounded and cohesive—like the ingredients finally decided to become friends.
Shake, shake, shake. I cannot stress this enough. The spices settle fast. I learned this lesson when I poured a cup of coffee with barely any flavor, then got a mouthful of straight cloves on my second pour. Now I shake the jar like I’m mixing a cocktail before every use.
Make a double batch for parties. If you’re hosting, double or triple this recipe. It keeps for up to two weeks in the fridge, and guests will go through it faster than you expect. I made a single batch for Thanksgiving brunch last year and it was gone in 30 minutes.
Use it in more than coffee. This creamer is amazing in chai tea, hot chocolate, or even drizzled over oatmeal. I’ve also used it in pancake batter for gingerbread pancakes—just substitute the creamer for some of the milk. Total game changer.
Watch out for molasses stickiness. Molasses is notoriously messy. To make measuring easier, spray your measuring spoon with non-stick cooking spray before scooping. The molasses will slide right off. Alternatively, measure your oil first, then use the same spoon for molasses—the oil coating does the same trick.
Variations & Adaptations
One of the things I love about this recipe is how flexible it is. Here are some ways to make it your own:
- Vegan Gingerbread Creamer: Swap the heavy cream for full-fat coconut cream and the milk for oat milk. The coconut adds a subtle richness that pairs beautifully with the spices. Oat milk is my favorite because it’s creamy without being overpowering. Almond milk works but makes the creamer thinner.
- Sugar-Free Version: Replace the brown sugar with 2 tablespoons of your favorite sugar-free sweetener (I like monk fruit or erythritol blend). Use a sugar-free vanilla syrup instead of vanilla extract for extra sweetness. The molasses still has natural sugar, so it won’t be completely sugar-free, but it’ll be much lower.
- Extra Spicy: If you’re like me and want your gingerbread to have a little kick, add an extra 1/2 teaspoon of ginger and a pinch of cayenne pepper. The cayenne doesn’t make it spicy in a savory way—it just adds a warmth that lingers on your tongue. My brother-in-law calls this the “fireplace” version.
- Pumpkin Gingerbread Blend: Add 2 tablespoons of pumpkin puree and an extra 1/4 teaspoon of pumpkin pie spice. Whisk it in well—the pumpkin adds a velvety texture that’s incredible. This is my favorite fall variation.
- Chocolate Gingerbread: Stir in 1 tablespoon of unsweetened cocoa powder along with the other spices. It gives the creamer a subtle chocolate undertone that’s amazing with dark roast coffee. I discovered this by accident when I grabbed the wrong jar—best mistake I ever made.
Serving & Storage Suggestions
This creamer is best served cold, straight from the fridge, poured into a hot cup of coffee. The temperature contrast is part of the magic. For a truly decadent experience, fill your mug about three-quarters full with coffee, then add 2-3 tablespoons of creamer. Stir and watch the color swirl—it’s almost as satisfying as the taste.
For hosting: Set up a coffee bar with a pitcher of this creamer, some cinnamon sticks for stirring, and maybe a bowl of whipped cream. Guests love being able to customize their own cups. I like to label the pitcher with a cute tag that says “Gingerbread Creamer” and the date I made it. It feels special without being fussy.
Storage: Keep the creamer in an airtight jar in the refrigerator for up to 14 days. The flavor actually improves after the first day or two as the spices continue to infuse. After about a week, you might notice the spices settling more—just give it an extra good shake before using.
Freezing: You can freeze this creamer in ice cube trays for easy portioning. Pop out a cube or two and drop it directly into hot coffee. The creamer will melt and chill your coffee to the perfect drinking temperature. This is a great trick for busy mornings when you don’t want to measure.
Reheating: If you prefer warm creamer (some people do!), pour your portion into a small saucepan and warm it over low heat for 1-2 minutes. Do not microwave it—the dairy can separate and get weird. Trust me, I’ve made that mistake.
Flavor development note: The creamer will taste slightly different on day one versus day seven. On day one, the spices are bright and individual. By day seven, they’ve mellowed into a cohesive, almost caramel-like flavor. Both versions are delicious—just different. I personally love it after about three days.
Nutritional Information & Benefits
Let’s be real—this is a treat, not a health food. But knowing what’s in it can help you enjoy it mindfully. Here’s the approximate nutritional breakdown for a 2-tablespoon serving:
- Calories: 65-80 (depending on the milk you use)
- Fat: 5-7g (mostly from the heavy cream)
- Carbohydrates: 6-8g (from molasses and brown sugar)
- Sugar: 5-7g (naturally occurring and added)
- Protein: 1g
Health highlights: Molasses is actually a decent source of iron, calcium, and magnesium. Not that you’re drinking this for the nutrients, but it’s nice to know there’s a little something good in there. Cinnamon has anti-inflammatory properties, and ginger is great for digestion. So in a way, this creamer is practically a wellness shot. (I’m kidding. Mostly.)
Dietary considerations: This recipe is vegetarian and can easily be made vegan and dairy-free with the substitutions mentioned above. It’s not gluten-free in the traditional sense, but none of the ingredients contain gluten, so it should be safe for most gluten-sensitive folks. Always check your spice labels if you have celiac disease—some spice blends contain anti-caking agents with gluten.
Allergen note: Contains dairy. If you’re using oat milk, make sure it’s certified gluten-free if that’s a concern for you.
I personally see this creamer as a way to make my morning coffee feel like a special occasion without derailing my overall eating habits. A tablespoon or two is plenty—you don’t need to drown your coffee in it. A little goes a long way, and the flavor is so satisfying that you won’t feel like you’re missing out.
Conclusion
Look, I know making your own coffee creamer sounds like one of those Pinterest projects that sounds fun but never actually happens. But this one is different. It takes five minutes, uses stuff you probably already have, and tastes so much better than anything from a bottle. Plus, you get to control exactly what goes into it—no weird preservatives, no artificial flavors, just real ingredients that make your coffee taste incredible.
This recipe has become my little secret weapon for hosting. When friends come over for brunch and I set out a jar of homemade gingerbread creamer, they always do that double-take. “You made this?” they ask, and I get to nod casually like it’s no big deal. But we both know it is. It’s the kind of small detail that makes a gathering feel intentional and warm—exactly what we all want when we’re hosting the people we love.
So go ahead and give it a try. Make a batch tonight while you’re in your pajamas, pour it into a pretty jar, and wake up tomorrow to the best cup of coffee you’ve had all year. And when you do, come back and let me know how it turned out. Did you add extra ginger? Try it with oat milk? Drizzle it over your oatmeal? I want to hear about it. Drop a comment below or tag me in your photos—I love seeing your kitchen creations come to life.
Now go make your coffee something to look forward to. You deserve it.
Frequently Asked Questions
Can I use this creamer in iced coffee?
Absolutely! This creamer is perfect for iced coffee. Just pour it straight from the fridge into your cold brew—no need to warm it up. The cold creamer actually helps keep your iced coffee cold without diluting it with ice too quickly.
How long does homemade gingerbread creamer last?
Stored in an airtight jar in the refrigerator, this creamer stays fresh for up to 14 days. I recommend making a note on the jar with the date you made it so you don’t forget. After two weeks, the dairy may start to separate, so it’s best to use it up before then.
Can I use skim milk instead of whole milk?
You can, but the creamer will be much thinner and less creamy. Skim milk doesn’t have enough fat to give that rich, velvety texture that makes this creamer feel indulgent. If you’re watching calories, try using 2% milk or half-and-half instead—they strike a better balance.
Why did my creamer separate in the fridge?
Separation happens when the creamer gets too cold or sits for too long. It’s totally normal and doesn’t mean it’s gone bad. Just give it a good shake or stir before using, and it will come back together. If you see chunks or an off smell, that’s a sign it’s spoiled—toss it and make a fresh batch.
Can I double this recipe for a party?
Yes, and I highly recommend it! This recipe doubles and triples beautifully. Just make sure you have a large enough container to store it. A big pitcher or a couple of mason jars work great. The only thing to watch is the spice level—if you double the recipe, don’t quite double the cloves. They can get overpowering in large batches.
Pin This Recipe!
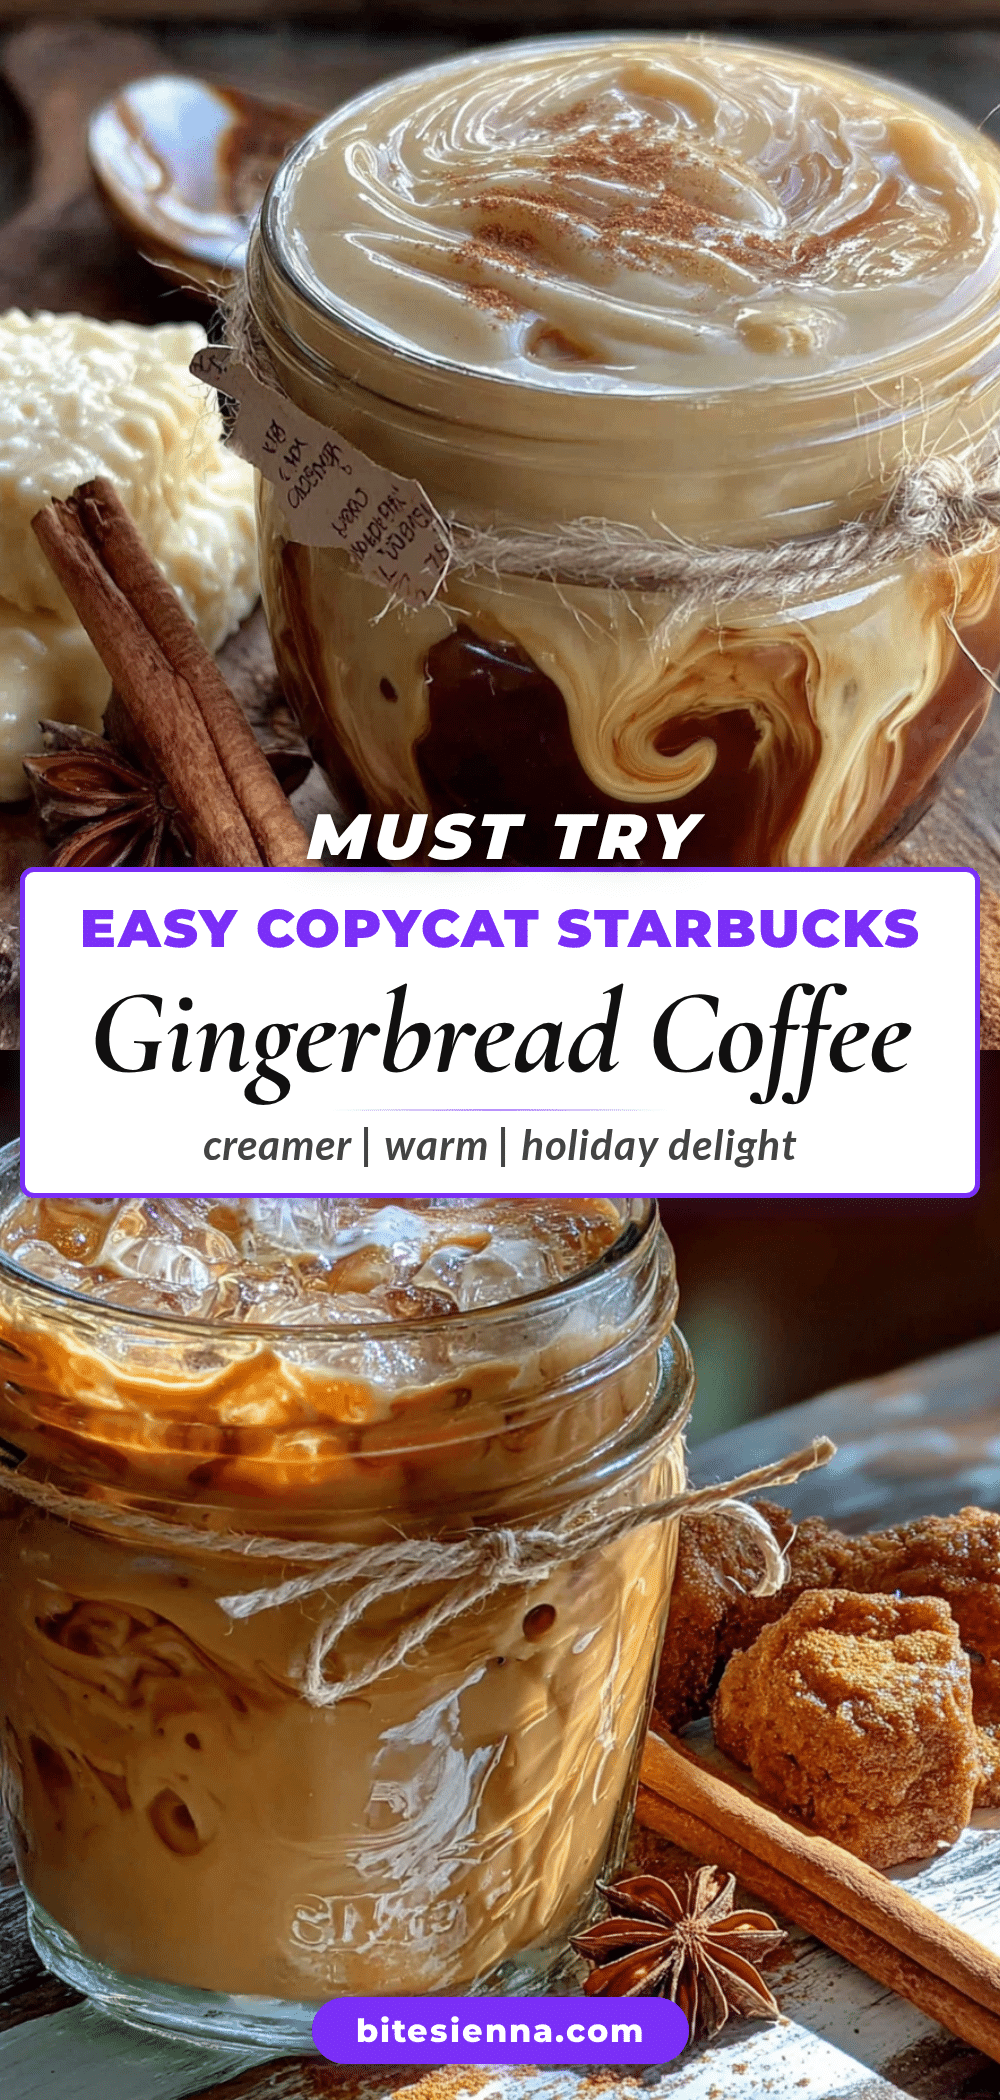
Easy Copycat Starbucks Gingerbread Coffee Creamer
This homemade gingerbread coffee creamer captures the warm, spicy-sweet flavor of Starbucks’ version in just five minutes. Made with simple pantry ingredients, it’s perfect for holiday hosting or a cozy morning treat.
- Prep Time: 5 minutes
- Cook Time: 3 minutes
- Total Time: 8 minutes
- Yield: 16 servings (2 tablespoons per serving) 1x
- Category: Beverage
- Cuisine: American
Ingredients
- 1 cup heavy cream (or half-and-half for a lighter version)
- 1 cup whole milk (or oat milk for dairy-free)
- 3 tablespoons molasses (unsulphured, not blackstrap)
- 2 tablespoons brown sugar (packed)
- 1 teaspoon vanilla extract
- 1 teaspoon ground cinnamon
- 1/2 teaspoon ground ginger
- 1/4 teaspoon ground nutmeg
- 1/4 teaspoon ground cloves
- Pinch of salt
Instructions
- Combine the dairy base: In a mixing bowl or liquid measuring cup, pour in the heavy cream and whole milk. Whisk to combine.
- Add the sweeteners: Add the molasses and brown sugar to the cream mixture. Whisk vigorously until the brown sugar is mostly dissolved.
- Whisk in the spices: Add the cinnamon, ginger, nutmeg, cloves, vanilla extract, and salt. Whisk for about 30 seconds until fully incorporated. If clumps form, pour through a fine-mesh strainer into your storage jar.
- Heat it up (optional but recommended): Pour the mixture into a small saucepan and warm over medium-low heat for 2-3 minutes, whisking constantly. Do not let it boil.
- Taste and adjust: Taste the creamer and adjust spices or sweetness to your preference.
- Cool and store: Let the creamer cool to room temperature (about 15-20 minutes), then pour into a storage jar. Seal tightly and refrigerate.
- Shake before using: Shake or stir the creamer well before each use, as spices settle at the bottom.
Notes
For best flavor, let the creamer rest overnight in the fridge. Shake well before each use. Do not boil the creamer to prevent curdling. Molasses can be messy—spray your measuring spoon with non-stick spray for easy cleanup.
Nutrition
- Serving Size: 2 tablespoons
- Calories: 70
- Sugar: 6
- Sodium: 15
- Fat: 6
- Saturated Fat: 3.5
- Carbohydrates: 7
- Protein: 1
Keywords: gingerbread coffee creamer, copycat Starbucks, homemade creamer, holiday coffee, gingerbread, coffee creamer recipe


