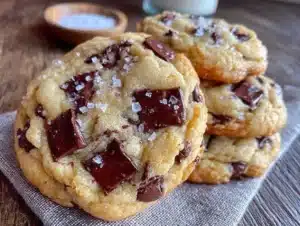
I was scrubbing dried oatmeal off a pot—Tuesday night, the tail end of a long day—when my plumber, a man named Leo who usually grunts about drain snakes and water pressure, started talking about cookies. He was fixing a leak under the sink, and I was half-listening, thinking about how expensive everything is these days, especially feeding three kids who change their minds about what they like faster than the weather. Leo, this quiet, practical guy, suddenly says, “You ever brown the butter for your chocolate chip cookies?” I looked at him like he’d suggested adding pickles. But he just shrugged, wiped his hands on his jeans, and told me his wife figured it out years ago as a way to make cheap butter taste like something fancy. He scribbled the method on a napkin—a greasy, crumpled thing—and handed it to me. Honestly, I almost threw it away. But something made me try it the next Saturday morning, and let me tell you, my kitchen smelled like a bakery that didn’t charge $6 for a single cookie. The kids didn’t even complain about the brown bits in the butter. They just ate them, asked for more, and I knew I’d stumbled onto something real. Maybe you’ve been there—needing a win in the kitchen that doesn’t cost a fortune or require a trip to a specialty store. This recipe is that win. It’s the one I keep coming back to, even when budgets are tight and moods are short. It’s simple, it’s cheap, and it’s ridiculously good.
Why You’ll Love This Recipe
These aren’t just cookies; they’re a little bit of magic on a budget. I’ve tested this recipe more times than I can count, tweaking the butter temperature and the chill time, and it never fails to deliver. Here’s why you’ll fall for them:
- Quick & Easy: From start to finish, you’re looking at about 30 minutes of active work. The dough needs a quick chill, but that’s hands-off time. Perfect for a Tuesday afternoon when homework is looming.
- Simple Ingredients: No fancy flours or exotic extracts. You probably have everything in your pantry right now—flour, sugar, eggs, chocolate chips, and butter. The brown butter trick is the only “special” step, and it uses the same butter you already have.
- Perfect for Family Meals: These cookies are the ultimate crowd-pleaser. They’re not too sweet, have a chewy center with crispy edges, and that nutty, toasty flavor from the brown butter makes them taste like you spent hours in the kitchen. Kids devour them, and adults sneak them after bedtime.
- Crowd-Pleaser: I’ve brought these to school bake sales, potlucks, and neighbor meet-and-greets. They disappear faster than anything else on the table. People always ask for the recipe, and they’re shocked when I tell them it’s just regular ingredients with a little extra love.
- Unbelievably Delicious: The brown butter adds a depth of flavor that regular chocolate chip cookies just can’t touch. It’s like the difference between a plain burger and one with caramelized onions. Same basic ingredients, but a whole new level of delicious.
What makes this recipe different from the rest? It’s the technique. Browning the butter is a simple step that transforms the flavor profile completely. It adds a toasty, nutty richness that makes these cookies taste gourmet without the gourmet price tag. And I’ve paired it with a specific ratio of brown to white sugar that gives you that perfect chewy texture. This isn’t just another cookie recipe—it’s my best version, honed through years of baking for a picky family on a sensible budget.
What Ingredients You Will Need
This recipe uses simple, wholesome ingredients to deliver bold flavor and satisfying texture without the fuss. Everything is a pantry staple, so you can whip these up any day of the week.
- Unsalted butter, 1 cup (2 sticks, 226 grams): This is the star. I use unsalted so I can control the salt level. Browning the butter is what gives the cookies that incredible nutty flavor. (Pro tip: If you only have salted butter, just skip the added salt in the recipe.)
- Granulated sugar, ½ cup (100 grams): Adds sweetness and helps with spreading. I’ve found that a little less granulated sugar gives a chewier cookie, which my kids prefer.
- Light brown sugar, ¾ cup (150 grams), packed: This is the key to soft, chewy cookies. The molasses in brown sugar adds moisture and a deeper flavor that pairs beautifully with the brown butter. (I like Domino brand for consistent quality.)
- Large eggs, 2 (room temperature): They bind everything together. Room temperature eggs mix in more evenly, creating a smoother dough. If you forget to take them out, just place them in a bowl of warm water for 5 minutes.
- Vanilla extract, 2 teaspoons: Pure vanilla is best, but imitation works fine on a budget. It boosts the overall flavor. (I always buy the big bottle from Costco—best value.)
- All-purpose flour, 2 ¼ cups (280 grams): The structure of the cookie. I use unbleached all-purpose flour. Don’t over-measure; spoon it into the cup and level it off for the best results.
- Baking soda, 1 teaspoon: Helps the cookies spread just a little and gives them a nice lift. Make sure it’s fresh—test it by dropping a bit in vinegar; it should fizz.
- Salt, ½ teaspoon: Balances the sweetness and enhances the flavors. I use fine sea salt. (If you’re using salted butter, reduce this to ¼ teaspoon.)
- Semi-sweet chocolate chips, 2 cups (340 grams): The classic choice. I use the store brand to save money—they melt beautifully and taste just as good as the name brands. (For a richer flavor, try dark chocolate chips.)
- Optional: Flaky sea salt, for sprinkling: A tiny pinch on top of each cookie before baking takes them to another level. It’s a small touch that makes a big difference.
Equipment Needed
You don’t need a professional bakery setup for these cookies. Here’s what you’ll need:
- Large skillet or saucepan: For browning the butter. A light-colored pan is best so you can see the butter change color. (I use my old stainless steel pan that’s seen better days—it works perfectly.)
- Mixing bowls: One large for the dry ingredients, one medium for the wet ingredients. Glass or metal is fine.
- Whisk: For combining the dry ingredients. A fork works in a pinch.
- Electric mixer or wooden spoon: I prefer a hand mixer for creaming the butter and sugars, but a wooden spoon and some elbow grease work just as well. My grandmother never used a mixer, and her cookies were legendary.
- Rubber spatula: For scraping down the bowl and folding in the chocolate chips. It’s worth having one to get every bit of dough.
- Baking sheets: I use two standard 13×18-inch sheets. No need to grease them if you use parchment paper.
- Parchment paper: This is a lifesaver. It prevents sticking and makes cleanup a breeze. (You can also use a silicone baking mat.)
- Cookie scoop or tablespoon: For uniform cookies. I use a #40 scoop (about 1.5 tablespoons) for consistent sizes. If you don’t have one, just use two spoons.
- Cooling rack: Helps the cookies cool evenly and stay crisp on the bottom. If you don’t have one, just let them cool on the baking sheet for a few minutes before moving them.
Preparation Method
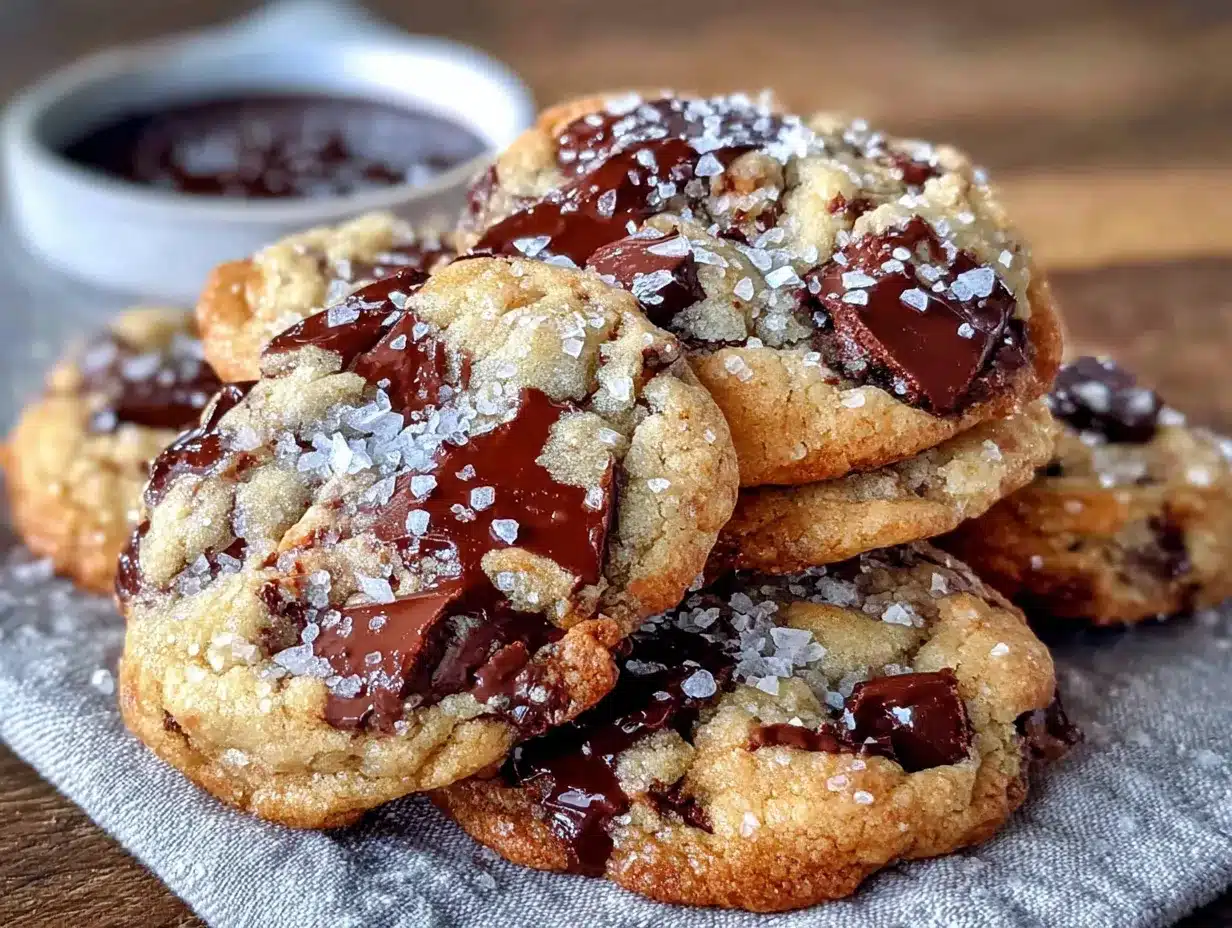
Let’s get baking! Follow these steps carefully, and you’ll have perfect cookies every time.
- Brown the butter: Place the 1 cup of unsalted butter in a light-colored skillet or saucepan over medium heat. Stir it occasionally with a rubber spatula or wooden spoon. After about 5–7 minutes, the butter will start to foam and then turn a golden amber color. You’ll see little brown specks forming at the bottom—that’s the milk solids toasting. It should smell nutty and amazing. Once it’s a deep golden brown (not dark brown, or it will burn), immediately remove it from the heat and pour it into a heatproof bowl. Let it cool for 10–15 minutes. It should be warm but not hot to the touch. (If it’s too hot, it will cook the eggs later.)
- Preheat the oven: While the butter cools, preheat your oven to 375°F (190°C). Line two baking sheets with parchment paper.
- Mix the dry ingredients: In a medium bowl, whisk together the 2 ¼ cups all-purpose flour, 1 teaspoon baking soda, and ½ teaspoon salt. Set aside.
- Cream the butter and sugars: In a large bowl, combine the cooled brown butter with the ½ cup granulated sugar and ¾ cup packed light brown sugar. Using an electric mixer on medium speed (or a wooden spoon), beat them together for about 2 minutes until the mixture looks light and fluffy. It will smell incredible.
- Add the eggs and vanilla: Add the 2 room-temperature eggs one at a time, beating well after each addition. Then add the 2 teaspoons of vanilla extract and mix until combined. The mixture should be smooth and glossy.
- Combine wet and dry ingredients: Gradually add the dry ingredient mixture to the wet ingredients, mixing on low speed (or stirring by hand) until just combined. Be careful not to overmix—stop as soon as you don’t see any more streaks of flour. Overmixing will make the cookies tough.
- Fold in the chocolate chips: Use a rubber spatula to gently fold in the 2 cups of semi-sweet chocolate chips. Make sure they’re evenly distributed throughout the dough.
- Chill the dough: This is a crucial step! Cover the bowl with plastic wrap and refrigerate the dough for at least 30 minutes, or up to 24 hours. Chilling solidifies the butter and prevents the cookies from spreading too much. It also deepens the flavor. (I often make the dough the night before and bake them the next day—the flavor is even better.)
- Scoop and bake: Once the dough is chilled, use a cookie scoop or tablespoon to portion out rounded balls of dough (about 1.5 tablespoons each). Place them on the prepared baking sheets about 2 inches apart. If you want, sprinkle a tiny pinch of flaky sea salt on top of each dough ball.
- Bake: Bake for 8–10 minutes, or until the edges are golden brown and the centers look just set and slightly puffy. They will look a little underdone in the middle—that’s perfect. (My oven runs hot, so I check at 8 minutes. You want them to be golden on the edges but still soft in the center.)
- Cool: Let the cookies cool on the baking sheet for 5 minutes. This allows them to set up without falling apart. Then transfer them to a wire rack to cool completely. Or, you know, eat one warm. I won’t judge.
Cooking Tips & Techniques
I’ve made these cookies a hundred times, and I’ve learned a few things the hard way. Here are my best tips:
- Don’t rush the browning: The butter can go from perfectly browned to burnt in seconds. Keep a close eye on it, and swirl the pan often. When it smells nutty and looks like the color of a penny, it’s done. I once got distracted by a phone call and ended up with black butter—the cookies tasted like ash. Learn from my mistake!
- Chill the dough, really: I know it’s tempting to skip this step when you’re in a hurry. But trust me, the 30-minute chill is non-negotiable. Without it, the cookies will spread into flat, greasy discs. The cold butter solidifies and gives you that perfect thick, chewy texture.
- Use a cookie scoop for even sizes: Uniform cookies bake evenly. A #40 scoop is my go-to. If you don’t have one, use a tablespoon and roll the dough into balls. It takes a little longer, but it’s worth it.
- Bake one sheet at a time: If you put both sheets in the oven at once, the heat won’t circulate evenly, and the cookies might not bake properly. I bake one sheet on the middle rack, then the next. It adds a few minutes, but the results are consistent.
- Check for doneness by the edges: The centers should look slightly soft and puffy when you pull them out. They will continue to cook on the hot baking sheet. Overbaked cookies are dry and crumbly. I always err on the side of underbaking—they’re so much better that way.
Variations & Adaptations
This recipe is a great base for experimenting. Here are some variations I’ve tried and loved:
- Chocolate Lover’s Version: Swap ½ cup of the semi-sweet chips for dark chocolate chunks or white chocolate chips. My oldest son loves this version—he says it’s “more chocolatey.”
- Nutty Addition: Add ½ cup of toasted chopped walnuts or pecans. Toast them in a dry skillet for 3–4 minutes until fragrant, then let them cool. This adds a wonderful crunch and pairs perfectly with the brown butter.
- Gluten-Free Option: Replace the all-purpose flour with a 1:1 gluten-free baking flour blend. I’ve tried this with Bob’s Red Mill brand, and it works well. Just make sure the blend contains xanthan gum for structure. The texture will be slightly more tender, but still delicious.
- Dairy-Free Adaptation: Use vegan butter (like Miyoko’s) and dairy-free chocolate chips. Browning vegan butter works the same way as regular butter, though the flavor is slightly different. My neighbor, who’s lactose-intolerant, swears by this version.
- Spiced Version: Add 1 teaspoon of cinnamon and ¼ teaspoon of nutmeg to the dry ingredients. This gives the cookies a warm, cozy flavor that’s perfect for fall. I made these for a Thanksgiving potluck, and they were a hit.
Serving & Storage Suggestions
These cookies are best served warm, when the chocolate is still melty and the edges are crisp. But they’re also fantastic at room temperature—if they last that long.
- Serving: I like to serve them on a simple plate with a glass of cold milk for the kids. For adults, they pair beautifully with a cup of coffee or a glass of red wine (honestly, the nutty notes in the cookie match well with a light-bodied red).
- Storage: Store the cookies in an airtight container at room temperature for up to 5 days. I use a glass container with a tight lid. To keep them soft, throw a slice of bread in the container—it absorbs excess air and keeps the cookies chewy. Replace the bread every couple of days.
- Freezing: You can freeze the baked cookies for up to 3 months. Place them in a single layer in a freezer-safe bag or container. To thaw, just leave them at room temperature for 15 minutes. Or, you can freeze the raw dough balls on a baking sheet, then transfer them to a freezer bag. Bake them straight from frozen, adding 2–3 minutes to the baking time.
- Reheating: For that fresh-from-the-oven experience, pop a cookie in the microwave for 10 seconds. Or, reheat them in a 300°F (150°C) oven for 5 minutes. The edges get crisp again, and the chocolate gets melty.
- Flavor development: These cookies actually taste better the next day. The flavors meld together, and the texture becomes even more chewy. So if you can resist eating them all on day one, you’re in for a treat on day two.
Nutritional Information & Benefits
Let’s be real: these are cookies, not health food. But they’re made with real ingredients, and that counts for something. Here’s a rough estimate per cookie (based on 36 cookies):
- Calories: Approximately 180
- Fat: 10g
- Carbohydrates: 22g
- Protein: 2g
- Sugar: 14g
The brown butter adds a bit of richness, but it also means you can use less sugar overall because the flavor is so deep. The semi-sweet chocolate chips provide a small amount of antioxidants (hey, every little bit helps). And the eggs add protein and healthy fats. From a wellness perspective, I think of these as a treat to enjoy in moderation—not something to feel guilty about. They’re made with love and simple ingredients, and that’s what matters. If you’re watching your sugar intake, you can reduce the granulated sugar by 2 tablespoons, but it will affect the texture slightly.
Allergen Note: This recipe contains wheat (gluten), dairy (butter), and eggs. It may also contain traces of soy (in chocolate chips).
Conclusion
These Kid-Approved Brown Butter Chocolate Chip Cookies are proof that you don’t need a fancy grocery list or a culinary degree to make something truly special. They’re born from a simple tip from a plumber, made with everyday ingredients, and perfected through years of feeding a family on a budget. The brown butter adds a magic touch that makes them taste like a million bucks, but they cost pennies to make. I love how they bring everyone to the kitchen—the kids hover around the oven, the neighbors stop by when they smell them baking, and I get to feel like a hero without breaking the bank.
I encourage you to make these your own. Add your favorite mix-ins, adjust the sweetness, or double the batch for a crowd. They’re forgiving and flexible, just like a good family recipe should be. And please, let me know how they turn out! Drop a comment below with your variations or tag me in your photos on social media. I’d love to see your creations. Until next time, happy baking—and remember, sometimes the best recipes come from the most unexpected places.
Frequently Asked Questions
Can I use salted butter instead of unsalted?
Yes, you can. If you use salted butter, just reduce the added salt in the recipe to ¼ teaspoon. The cookies will still be delicious, but keep in mind that the salt level might be slightly higher. I prefer unsalted so I have full control over the flavor.
Why did my cookies turn out flat?
Flat cookies are usually caused by one of three things: the dough wasn’t chilled long enough, the butter was too warm when you mixed it, or you over-measured the sugar. Make sure to chill the dough for at least 30 minutes, and let the brown butter cool to room temperature before using it. Also, be precise with your measurements—spoon the flour into the cup and level it off.
Can I make the dough ahead of time?
Absolutely! In fact, the dough gets better with time. You can refrigerate it for up to 24 hours. The flavors meld together, and the cookies will be even more flavorful and chewy. You can also freeze the dough balls for up to 3 months—just bake them straight from frozen, adding a couple of minutes to the baking time.
Can I use milk chocolate chips instead of semi-sweet?
You can, but the cookies will be much sweeter. Semi-sweet chips balance the sweetness from the brown sugar nicely. If you prefer milk chocolate, try reducing the granulated sugar by 2 tablespoons to keep the cookies from being overly sweet. My kids love milk chocolate, so I sometimes do a mix of both.
How do I know when the butter is properly browned?
Look for a deep golden amber color and a nutty aroma. The butter will foam up, then subside, and you’ll see brown specks at the bottom of the pan. It happens quickly, so keep an eye on it. When it smells like toasted nuts and looks like the color of a penny, it’s done. Immediately remove it from the heat to prevent burning.
Pin This Recipe!
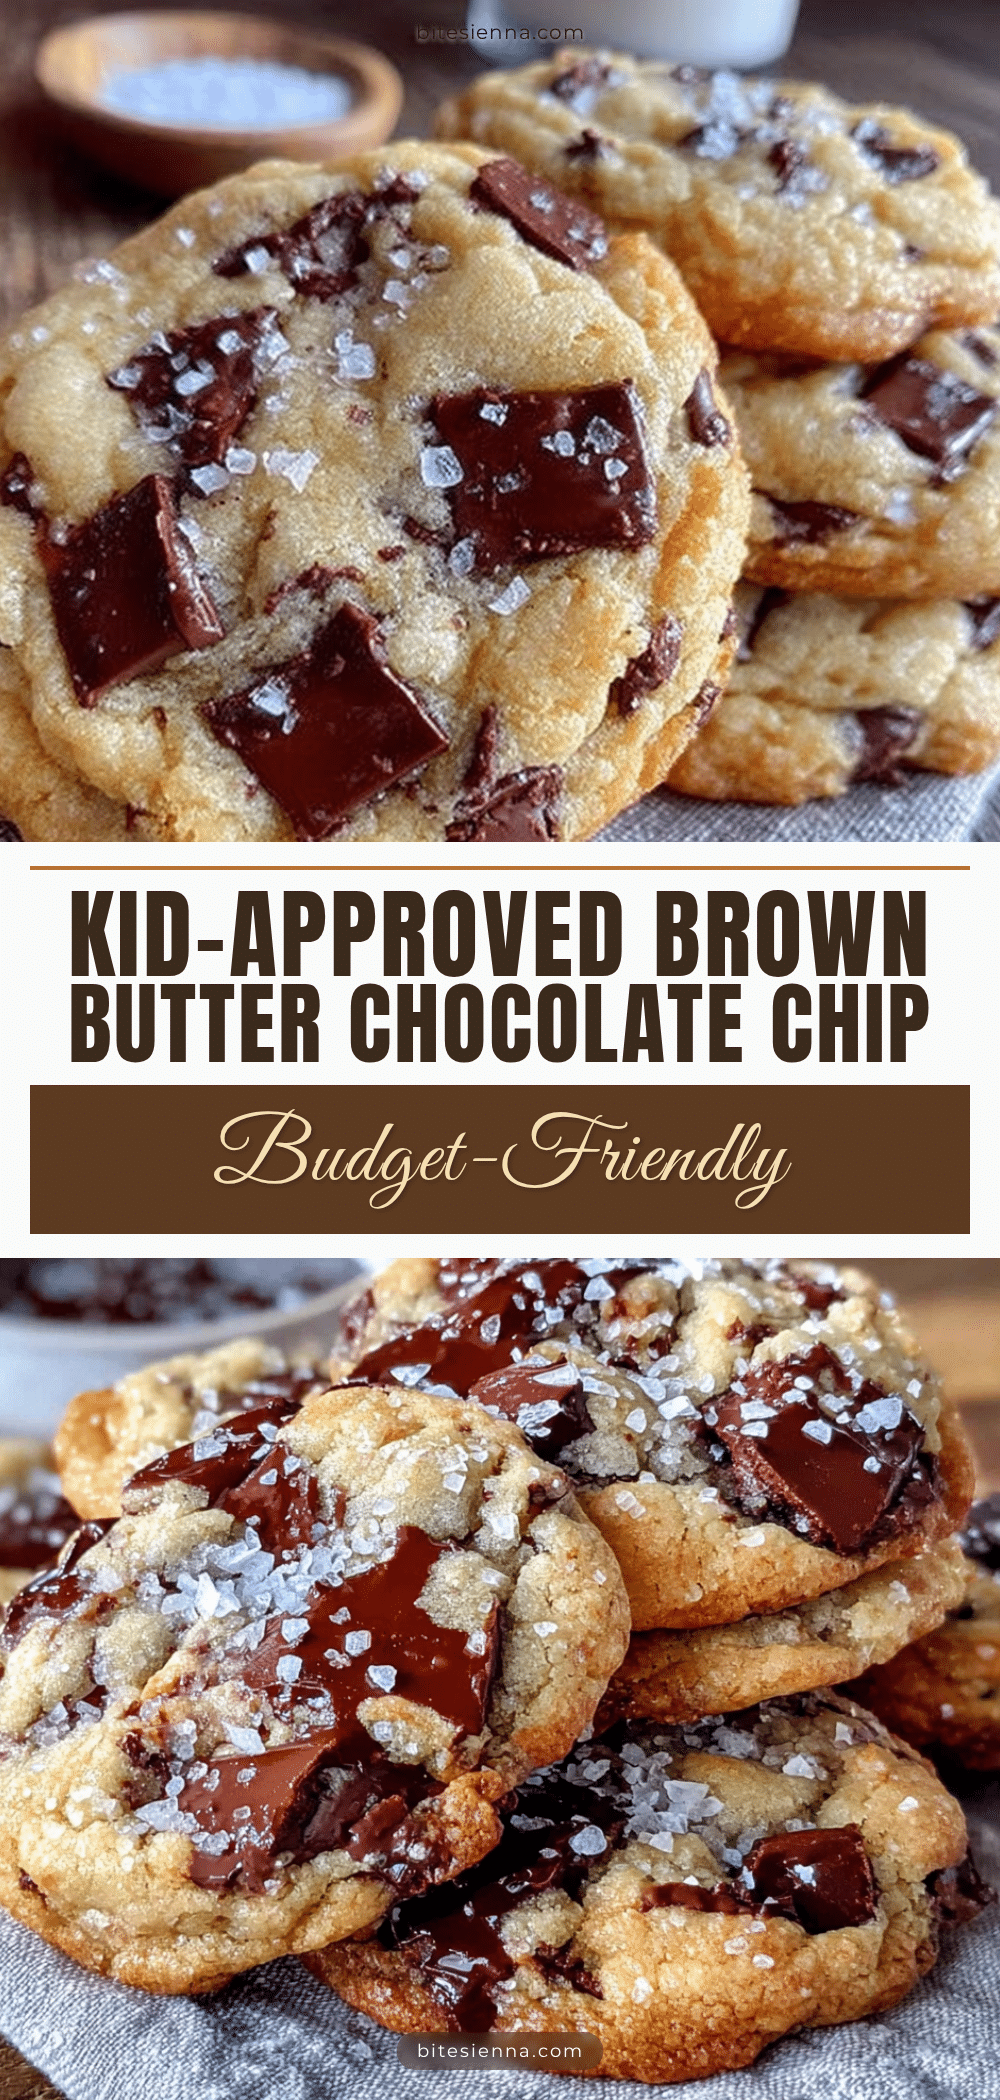
Best Easy Brown Butter Chocolate Chip Cookies Recipe
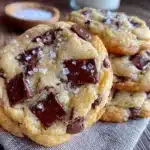
These brown butter chocolate chip cookies are a budget-friendly, crowd-pleasing treat with a nutty, toasty flavor and perfect chewy texture. Made with simple pantry ingredients, they’re quick to prepare and guaranteed to disappear fast.
- Prep Time: 15 minutes
- Cook Time: 10 minutes
- Total Time: 55 minutes (includes 30 minutes chilling)
- Yield: 36 cookies 1x
- Category: Dessert
- Cuisine: American
Ingredients
- 1 cup (2 sticks, 226 grams) unsalted butter
- ½ cup (100 grams) granulated sugar
- ¾ cup (150 grams) packed light brown sugar
- 2 large eggs, room temperature
- 2 teaspoons vanilla extract
- 2 ¼ cups (280 grams) all-purpose flour
- 1 teaspoon baking soda
- ½ teaspoon salt
- 2 cups (340 grams) semi-sweet chocolate chips
- Optional: flaky sea salt for sprinkling
Instructions
- Brown the butter: Place 1 cup unsalted butter in a light-colored skillet or saucepan over medium heat. Stir occasionally with a rubber spatula or wooden spoon. After about 5–7 minutes, the butter will foam and turn a golden amber color with brown specks at the bottom. Immediately remove from heat and pour into a heatproof bowl. Let cool for 10–15 minutes until warm but not hot.
- Preheat the oven to 375°F (190°C). Line two baking sheets with parchment paper.
- Mix dry ingredients: In a medium bowl, whisk together 2 ¼ cups all-purpose flour, 1 teaspoon baking soda, and ½ teaspoon salt. Set aside.
- Cream butter and sugars: In a large bowl, combine cooled brown butter with ½ cup granulated sugar and ¾ cup packed light brown sugar. Beat with an electric mixer on medium speed (or a wooden spoon) for about 2 minutes until light and fluffy.
- Add eggs and vanilla: Add 2 room-temperature eggs one at a time, beating well after each. Then add 2 teaspoons vanilla extract and mix until smooth and glossy.
- Combine wet and dry ingredients: Gradually add dry ingredients to wet ingredients, mixing on low speed (or by hand) until just combined. Do not overmix.
- Fold in chocolate chips: Use a rubber spatula to gently fold in 2 cups semi-sweet chocolate chips until evenly distributed.
- Chill the dough: Cover the bowl with plastic wrap and refrigerate for at least 30 minutes, or up to 24 hours.
- Scoop and bake: Using a cookie scoop or tablespoon, portion rounded balls of dough (about 1.5 tablespoons each) onto prepared baking sheets, 2 inches apart. Sprinkle with flaky sea salt if desired.
- Bake for 8–10 minutes, until edges are golden brown and centers look just set and slightly puffy.
- Cool: Let cookies cool on the baking sheet for 5 minutes, then transfer to a wire rack to cool completely.
Notes
Chilling the dough is crucial to prevent spreading. For best flavor, chill dough overnight. Cookies taste even better the next day. To keep cookies soft, store with a slice of bread in an airtight container.
Nutrition
- Serving Size: 1 cookie
- Calories: 180
- Sugar: 14
- Sodium: 95
- Fat: 10
- Saturated Fat: 6
- Carbohydrates: 22
- Fiber: 1
- Protein: 2
Keywords: brown butter chocolate chip cookies, easy cookie recipe, budget-friendly cookies, chewy chocolate chip cookies, kid-approved cookies