My neighbor Karen wasn’t trying to impress anyone. It was a Tuesday afternoon in late October, and I’d stopped by to return her slow cooker—the one she’d loaned me three weeks prior that I’d definitely kept way too long. The smell hit me before I even sat down. Not the usual scent of a house with two kids under seven, which is usually a mix of goldfish crackers and good intentions. No, this was buttery, warm, and unmistakably savory, with a hint of something Halloween-y in the air.
“What are you making?” I asked, probably drooling a little.
She didn’t even look up from the counter. “Oh, just the kids’ dinner. Hot dogs wrapped in crescent rolls.” She said it like it was nothing. Like she wasn’t standing there turning the most ordinary weeknight meal into something that made my stomach growl from the doorway. I mean, honestly, I’d seen those Pinterest-perfect mummy hot dogs a hundred times, but seeing them come together in real life—with flour on her jeans and a toddler tugging at her sleeve—was something else entirely.
She let me try one, still warm from the oven, the crescent dough flaky and golden, the little mustard eyes staring up at me. I think I made a sound that was not appropriate for a Tuesday afternoon playdate. And the best part? Her kids were devouring them. No whining, no negotiating, no “I don’t like this.” Just happy little faces and sticky fingers. Maybe you’ve been there, standing in someone’s kitchen, watching a mom do something so simple yet so brilliant, and thinking, I need that recipe in my life.
That’s how this recipe stayed with me. It’s not fancy. It’s not complicated. But it’s the kind of thing that makes a regular Tuesday feel a little bit special—and that’s exactly why I keep making it.
Why You’ll Love This Recipe
Let me tell you, as someone who has tested this recipe more times than I care to admit (and burned a few batches learning the hard way), these Kid-Approved Crescent Mummy Hot Dogs are a total game-changer for Halloween. They’re not just cute—they’re genuinely good, and they solve the age-old problem of feeding kids on a night when all they want is candy.
- Quick & Easy: We’re talking 20 minutes from fridge to table. No complicated steps, no fancy equipment. If you can wrap a piece of dough around a hot dog, you’ve got this.
- Simple Ingredients: You probably already have crescent rolls and hot dogs in your kitchen. The mustard for the eyes? That’s in your fridge door right now. No special grocery trips required.
- Perfect for Halloween: Whether it’s a school party, a trunk-or-treat event, or just a fun dinner before the sugar rush begins, these mummy hot dogs are the star of the show.
- Crowd-Pleaser: I’ve served these to kids, adults, and even a few picky eaters who “don’t like hot dogs.” They disappeared every single time. There’s something about the flaky, buttery crescent dough wrapped around a juicy hot dog that appeals to everyone.
- Unbelievably Delicious: The texture is what gets me. The dough gets perfectly golden and crispy on the edges while staying soft and pillowy around the hot dog. It’s comfort food at its finest—simple, satisfying, and just a little bit silly.
What makes this recipe different from the hundreds of other mummy hot dog recipes out there? It’s the little tricks I’ve picked up along the way. Like how to wrap the dough so it looks like real mummy bandages without falling apart. Or how to get the mustard eyes just right so they don’t look like sad, blurry messes. I’ve tested the timing, the temperature, and the technique so you don’t have to. This isn’t just another version—it’s the best version, perfected through trial and error (and a few very ugly mummies).
Honestly, this recipe is the kind that makes you close your eyes after the first bite. It’s Halloween fun without the Halloween stress—perfect for impressing your kids without spending hours in the kitchen.
What Ingredients You Will Need
This recipe uses simple, budget-friendly ingredients to deliver big flavor and maximum Halloween fun. Most of these are pantry staples or items you can grab for a few dollars at any grocery store. Here’s what you’ll need:
For the Mummy Hot Dogs
- 1 can (8 oz) refrigerated crescent rolls (I recommend Pillsbury for the flakiest texture—trust me on this one)
- 8 hot dogs (standard size works best; I prefer beef hot dogs for richer flavor, but any brand will do)
- Mustard (yellow mustard works best for the eyes—it’s the right color and consistency for little dots)
Optional Add-Ons
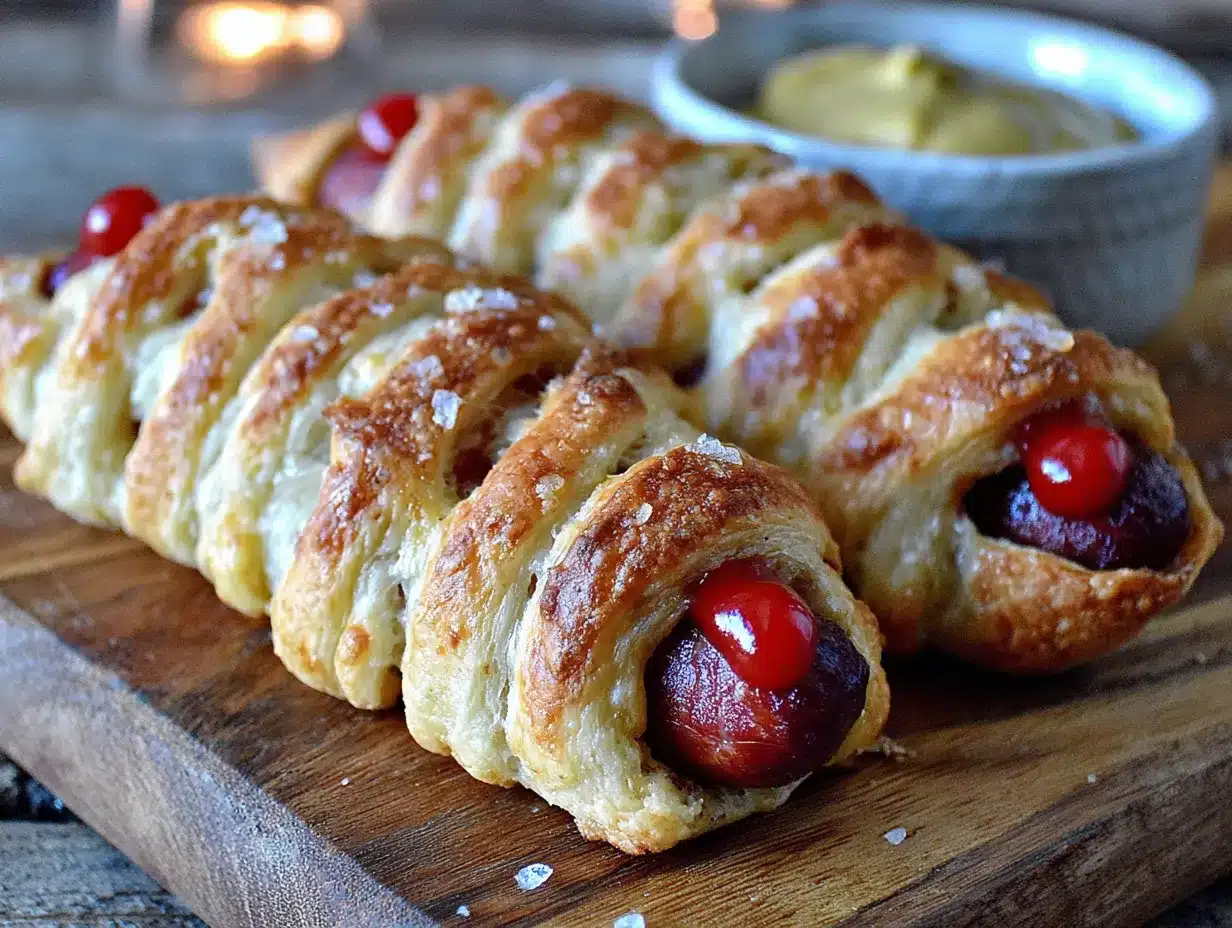
- Ketchup (for dipping—kids love this)
- Cheese slices (you can cut small strips to make scarf details on the mummies)
- Cooking spray (for greasing the baking sheet, though parchment paper works too)
A few notes on ingredient selection: I’ve tried this with both regular and jumbo hot dogs, and standard-size hot dogs work best because they fit neatly into the crescent dough strips. If you want to go the extra mile, look for uncured hot dogs with no added nitrates—they’re a little pricier but worth it if you’re feeding young kids. For the crescent rolls, stick with the original flavor. The butter-flavored ones are fine, but the original gives you the best balance of flakiness and structure for wrapping.
Substitution guidance: If you need a dairy-free option, most crescent rolls contain dairy, but you can find dairy-free versions at specialty grocery stores or make your own dough from scratch. For a gluten-free version, use gluten-free crescent roll dough (it’s available at many larger supermarkets now) and check that your hot dogs are gluten-free as well. And if you’re not a mustard fan, you can use small dots of ketchup or even black sesame seeds for the eyes—though I have to say, the mustard really does give them that classic mummy look.
One thing I’ve learned: don’t overthink the ingredients. This is a simple recipe that relies on the quality of a few key items. Good hot dogs, fresh crescent rolls, and a steady hand with the mustard—that’s really all you need.
Equipment Needed
You don’t need much for this recipe, which is part of the beauty. Here’s what you’ll want to have on hand:
- Baking sheet (a standard half-sheet pan works perfectly)
- Parchment paper (or a silicone baking mat—this makes cleanup so much easier)
- Sharp knife or pizza cutter (for cutting the crescent dough into strips)
- Small bowl (for the mustard, if you’re using a toothpick to dot the eyes)
- Toothpick (optional, but it makes applying the mustard eyes much more precise)
- Cooling rack (optional, but it helps the mummies stay crispy after baking)
If you don’t have a pizza cutter, a sharp knife works just fine—just be careful not to tear the dough. I’ve used both, and honestly, I prefer the knife because it gives me more control over the width of the strips. As for the baking sheet, any rimmed sheet pan will do. I’ve even used a cast iron skillet in a pinch (though the mummies came out a bit more crowded).
One tip: invest in a good quality baking sheet if you don’t already have one. Cheap ones can warp in the oven and cause uneven baking. I’ve had that happen, and let me tell you, there’s nothing sadder than lopsided mummy hot dogs. A sturdy sheet pan is worth the few extra dollars.
Preparation Method
Alright, let’s get to the fun part. Here’s how to make these Kid-Approved Crescent Mummy Hot Dogs step by step. I’ve included all the little details I wish someone had told me the first time I made these.
- Preheat your oven to 375°F (190°C). While it’s heating up, line your baking sheet with parchment paper. This isn’t strictly necessary, but it makes cleanup a breeze and prevents the bottoms from sticking. Trust me, you don’t want to peel a mummy off a bare pan.
- Open the can of crescent rolls. I know, I know—that pop sound is half the fun. Unroll the dough and separate it along the perforated lines so you have 8 triangles. If you’re using a sheet of dough that isn’t pre-perforated, just cut it into 8 equal triangles.
- Cut each triangle into thin strips. Using a sharp knife or pizza cutter, slice each triangle lengthwise into 3-4 thin strips. The strips should be about 1/4 inch (6 mm) wide. Don’t worry if they’re not perfectly even—mummies are supposed to look a little messy. I’ve made some that looked like they’d been wrapped by a toddler, and honestly, those were the cutest ones.
- Wrap the hot dogs. Take one hot dog and start wrapping the dough strips around it, slightly overlapping each strip as you go. Leave a small gap near the top of the hot dog for the face—about 1 inch (2.5 cm) should do it. The strips should look like bandages, so don’t worry about covering every inch of the hot dog. I like to leave a little bit of hot dog peeking through here and there for that authentic mummy look.
- Press the ends gently. As you wrap, press the ends of the dough strips lightly against the hot dog to secure them. They’ll stick better once they bake, but a little pressure now helps prevent unraveling. If a strip comes loose, just tuck the end underneath another strip.
- Place the mummies on the baking sheet. Arrange them about 1 inch (2.5 cm) apart. They won’t spread much, but a little space helps the heat circulate and ensures even browning. I usually fit 8 mummies on a standard half-sheet pan without any crowding.
- Bake for 12-15 minutes. Keep an eye on them starting at the 10-minute mark. You want the dough to be golden brown and puffy, with the hot dogs heated through. Every oven is different—mine runs a little hot, so I start checking at 11 minutes. The dough should look flaky and slightly crispy on the edges.
- Let them cool for 2-3 minutes. This is important. The dough will be very hot right out of the oven, and the mustard eyes will slide off if you apply them too soon. Give the mummies a few minutes to set. I usually use this time to clean up my workspace or pour a glass of milk for the kids.
- Add the eyes. Once the mummies are cool enough to handle, dip a toothpick into yellow mustard and dot two small eyes onto each mummy. You can also use a squeeze bottle if you have a steady hand. The eyes should be little dots, not big blobs. If you mess up, just wipe it off and try again—the mustard won’t stain the dough.
- Serve immediately. These are best enjoyed warm, when the dough is still flaky and the hot dog is juicy. Set them out with ketchup or extra mustard for dipping, and watch them disappear.
A few sensory cues to watch for: the dough should smell buttery and toasty when it’s done. The hot dogs will plump up slightly and release a little steam when you cut into them. The mustard eyes should look bright yellow and cheerful—not runny or smeared. If you’re unsure, cut one open to check that the hot dog is heated all the way through. Better safe than sorry, especially when feeding kids.
Cooking Tips & Techniques
I’ve made these mummy hot dogs more times than I can count, and I’ve learned a few things the hard way. Here are my best tips to make sure yours turn out perfect every time.
Don’t overwork the dough. Crescent roll dough is delicate, and if you handle it too much, it can become tough. Work quickly and gently when cutting and wrapping. If the dough starts to feel sticky or warm, pop it in the fridge for a few minutes to firm up. I learned this after a particularly disastrous batch where the dough turned into a sticky mess on my counter.
Leave enough space for the face. The first time I made these, I wrapped the dough all the way up to the top, and the mummies looked like they had no faces. Not cute. Leave about an inch of hot dog exposed at the top so you have room for the eyes. It makes a huge difference in the final look.
Use a toothpick for the eyes. I know it’s tempting to just squeeze a dot of mustard straight from the bottle, but trust me—it never looks as neat. A toothpick gives you perfect control and lets you make small, precise dots. If you’re making these with kids, let them do the eyes themselves. It’s a fun activity, and even if the eyes are a little wonky, that just adds to the charm.
Bake on the middle rack. This ensures even browning. If you bake them too close to the top, the dough will brown too quickly and the hot dog might not heat through. Too close to the bottom, and the bottoms might burn. Middle rack is the sweet spot.
Don’t skip the cooling time. I know you’re hungry. I know the kids are hovering. But if you add the mustard eyes while the mummies are still hot, the mustard will slide right off and you’ll end up with sad, empty faces. Give them 2-3 minutes to cool. It’s worth the wait.
One mistake I made early on: I tried to make these with reduced-fat crescent rolls. Don’t do it. The reduced-fat version doesn’t get as flaky and tends to tear more easily when wrapping. Stick with the full-fat original for the best texture and flavor.
Variations & Adaptations
One of the best things about this recipe is how customizable it is. Here are some of my favorite variations, all tested and approved by my own picky eaters.
Cheesy Mummy Hot Dogs: Before wrapping the hot dogs, cut a slit lengthwise down the center and stuff it with a thin strip of cheddar cheese. Wrap as usual and bake. The cheese melts into the hot dog and makes everything extra gooey and delicious. Just be careful—the cheese gets very hot, so let them cool a bit longer before serving.
Spicy Mummy Hot Dogs: For the grown-ups or adventurous kids, use spicy Italian sausages instead of standard hot dogs. The extra flavor pairs beautifully with the buttery crescent dough. I’ve also tried brushing the dough with a little garlic butter before baking, and that’s a game-changer.
Veggie Mummy Dogs: If you’re feeding vegetarians or just want a lighter option, use plant-based hot dogs. They work exactly the same way, and the crescent dough adds enough richness to make them satisfying. I’ve used both the tofu-based and pea protein-based brands, and both worked great.
Breakfast Mummies: This is a fun twist for Halloween morning. Swap the hot dogs for breakfast sausages or even cooked breakfast links. Serve with a side of scrambled eggs for a spooky but hearty breakfast. My kids went crazy for these.
Mini Mummies: For parties or appetizers, use cocktail sausages or mini hot dogs. Cut the crescent dough into smaller strips and wrap accordingly. Reduce the baking time to 8-10 minutes. These are perfect for Halloween parties and disappear faster than you’d believe.
I’ve also experimented with adding different seasonings to the dough. A sprinkle of everything bagel seasoning or a little garlic powder on top before baking adds a nice savory note. Just don’t overdo it—you don’t want to overpower the hot dog.
Serving & Storage Suggestions
These mummy hot dogs are best served warm, right out of the oven, when the dough is at its flakiest and the hot dog is perfectly juicy. I like to arrange them on a platter with a small bowl of ketchup and a small bowl of mustard for dipping. If you’re feeling fancy, you can add a few carrot sticks or apple slices on the side to balance out the indulgence.
For a Halloween party, I’ll sometimes serve them alongside other spooky snacks like “witch’s broomsticks” (pretzel sticks with cheese ends) or “pumpkin” cheese balls. But honestly, these mummies are usually the star of the show and don’t need much accompaniment.
Storage: If you have leftovers (which, let’s be honest, is rare), store them in an airtight container in the refrigerator for up to 3 days. The dough will soften a bit, but they’re still tasty. I wouldn’t recommend freezing them—the texture of the dough changes too much after thawing.
Reheating: The best way to reheat these is in the oven or a toaster oven at 350°F (175°C) for 5-7 minutes. This helps the dough crisp back up. The microwave works in a pinch, but the dough will be soft and a little chewy. If you’re reheating for a crowd, pop them in the oven for 10 minutes and they’ll be almost as good as fresh.
One thing I’ve noticed: the flavors actually develop a little overnight. The mustard eyes kind of soak into the dough and add a subtle tang that’s really nice. So don’t be afraid to make these a day ahead if you’re planning a party. Just reheat them before serving.
Nutritional Information & Benefits
Let’s be real—these are not health food. But they’re a fun treat for a special occasion, and there are a few silver linings nutrition-wise. Here’s the estimated breakdown per mummy hot dog (based on standard ingredients):
| Nutrient | Amount per serving |
|---|---|
| Calories | 220 |
| Total Fat | 14g |
| Saturated Fat | 5g |
| Cholesterol | 25mg |
| Sodium | 620mg |
| Total Carbohydrates | 18g |
| Protein | 7g |
Hot dogs do provide a decent amount of protein, and the crescent dough offers some carbohydrates for energy. If you’re concerned about sodium, look for low-sodium hot dogs or turkey dogs. And if you want to sneak in a little more nutrition, serve these with a side of veggie sticks or a small salad.
For dietary considerations: As I mentioned earlier, you can make these gluten-free with the right dough, and dairy-free options are available too. Just check labels carefully. These are not suitable for vegans unless you use plant-based hot dogs and dairy-free crescent dough.
My personal take? Everything in moderation. Halloween is one night a year, and these mummy hot dogs are part of the fun. I don’t stress about the nutritional profile—I focus on the joy of making something special with my kids. That’s worth more than any number on a nutrition label.
Conclusion
These Kid-Approved Crescent Mummy Hot Dogs are everything I want in a Halloween recipe: simple, fun, and absolutely delicious. They’re the kind of thing that makes kids light up and adults secretly reach for seconds. And honestly, they’re so easy that you can make them even on the busiest Halloween night.
I love how customizable they are—you can make them cheesy, spicy, or even breakfast-style. You can serve them at parties, school events, or just a cozy family dinner. And the best part? They actually taste good. Not just “cute for Halloween” good, but genuinely, crave-worthy good.
So go ahead and give these a try. Get the kids involved in wrapping the dough and dotting the eyes. Make a mess. Laugh at the wonky ones. And when you take that first bite of warm, flaky, buttery mummy goodness, you’ll understand why this recipe has become a Halloween tradition in my house.
I’d love to hear how yours turn out! Drop a comment below and let me know if your kids loved them, if you tried any fun variations, or if you have any questions. And if you share a photo on Pinterest, tag me—I can’t get enough of seeing those adorable little mummy faces. Happy Halloween, and happy cooking!
Frequently Asked Questions
Can I make these mummy hot dogs ahead of time?
Absolutely! You can assemble them up to 24 hours in advance. Just wrap the hot dogs with the dough strips, place them on a parchment-lined baking sheet, cover tightly with plastic wrap, and refrigerate. When you’re ready to bake, pop them in the oven straight from the fridge—just add an extra 2-3 minutes to the baking time.
Can I use a different type of dough?
Yes, you can! While crescent roll dough gives the best flaky texture, you can also use puff pastry (cut into thin strips) or even homemade pizza dough rolled thin. Puff pastry will be extra buttery and crispy, while pizza dough will give a chewier texture. Just adjust the baking time as needed.
How do I keep the dough from unraveling during baking?
The key is to overlap the strips slightly as you wrap and press the ends gently against the hot dog. If you’re really worried, you can brush a little water or egg wash on the end of each strip to help it stick. But honestly, once they bake, the dough puffs up and holds everything in place nicely.
Can I freeze these mummy hot dogs?
I don’t recommend freezing them after baking because the dough loses its flakiness. However, you can freeze them before baking. Assemble the mummies, place them on a baking sheet, and freeze until solid. Then transfer them to a freezer bag. When you’re ready to bake, add 5-7 minutes to the baking time—no need to thaw first.
What can I use instead of mustard for the eyes?
If you or your kids aren’t mustard fans, there are plenty of alternatives. Small dots of ketchup work well, though they’re a little harder to see. Black sesame seeds are a fun option—just press them gently into the dough after baking. You can also use small pieces of black olive or even a dot of sriracha for a spicy kick.
Pin This Recipe!
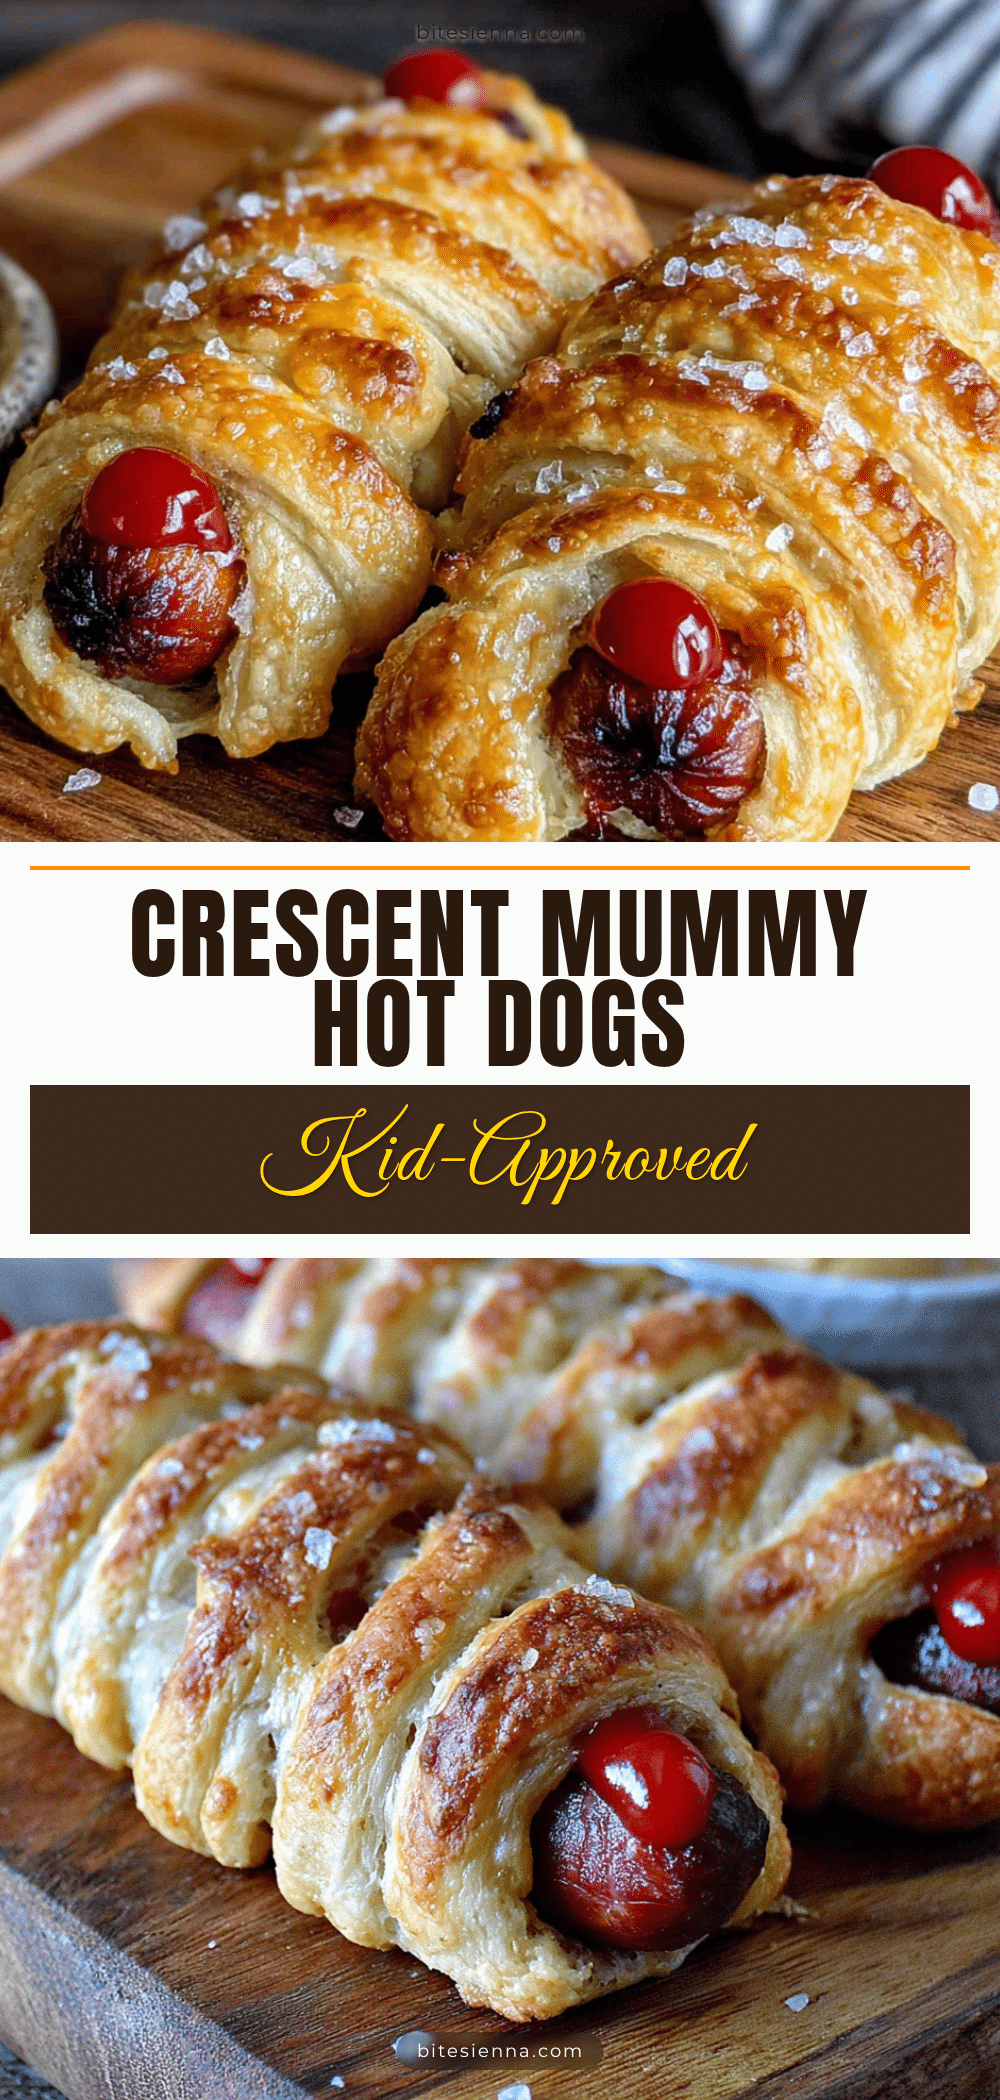
Easy Kid-Approved Crescent Mummy Hot Dogs for Halloween
These Kid-Approved Crescent Mummy Hot Dogs are a quick and easy Halloween dinner that kids love. Made with simple ingredients like crescent rolls and hot dogs, they’re perfect for parties or a fun weeknight meal.
- Prep Time: 10 minutes
- Cook Time: 15 minutes
- Total Time: 25 minutes
- Yield: 8 servings 1x
- Category: Main Course
- Cuisine: American
Ingredients
- 1 can (8 oz) refrigerated crescent rolls (recommended: Pillsbury)
- 8 hot dogs (standard size, preferably beef)
- Mustard (yellow, for eyes)
- Ketchup (for dipping, optional)
- Cheese slices (for scarf details, optional)
- Cooking spray (for greasing baking sheet, optional)
Instructions
- Preheat your oven to 375°F (190°C). Line a baking sheet with parchment paper.
- Open the can of crescent rolls. Unroll the dough and separate it along the perforated lines to get 8 triangles.
- Using a sharp knife or pizza cutter, cut each triangle lengthwise into 3-4 thin strips, about 1/4 inch (6 mm) wide.
- Take one hot dog and wrap the dough strips around it, slightly overlapping each strip. Leave a small gap near the top (about 1 inch / 2.5 cm) for the face.
- Press the ends of the dough strips gently against the hot dog to secure them.
- Place the wrapped mummies on the prepared baking sheet, about 1 inch (2.5 cm) apart.
- Bake for 12-15 minutes, until the dough is golden brown and puffy. Check at 10 minutes.
- Let the mummies cool for 2-3 minutes before adding the eyes.
- Dip a toothpick into yellow mustard and dot two small eyes onto each mummy.
- Serve immediately with ketchup or extra mustard for dipping.
Notes
For best results, use full-fat crescent rolls. Don’t overwork the dough. Leave enough space for the face. Use a toothpick for precise mustard eyes. Bake on the middle rack. Let cool before adding eyes. Can be assembled up to 24 hours ahead and refrigerated. Reheat in oven at 350°F for 5-7 minutes.
Nutrition
- Serving Size: 1 mummy hot dog
- Calories: 220
- Sugar: 3
- Sodium: 620
- Fat: 14
- Saturated Fat: 5
- Carbohydrates: 18
- Protein: 7
Keywords: Halloween, hot dogs, crescent rolls, mummy, kid-friendly, easy, party food


