I was standing in my kitchen last Tuesday, staring at a half-used can of pumpkin puree and feeling that familiar fall restlessness, when the smell of browning butter hit me from a nearby apartment. And suddenly I was twenty-two, in my first tiny rental, burning butter on purpose because a blog post told me it would change my life. That first batch of brown butter cookies had been a disaster — too flat, too greasy, too ambitious for my shaky confidence. But that scent, that nutty, almost-caramel aroma, it unlocked something I’d been chasing ever since: the feeling that I could actually make something that tasted like it came from a real bakery, not just my sad little oven.
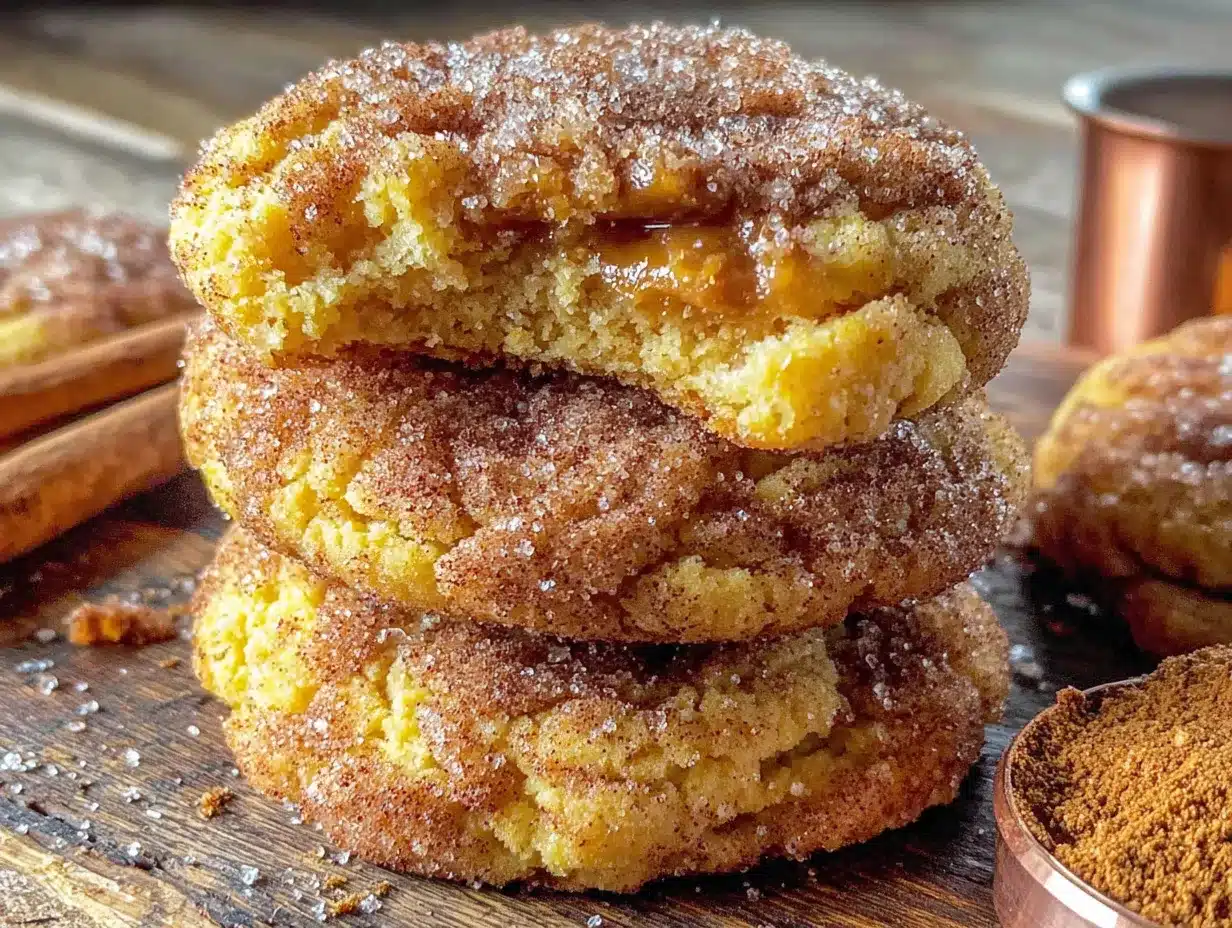
This recipe, honestly, is the result of about seven years of tinkering. I tried every combination you can imagine. Too much pumpkin and they turned into sad, gummy pucks. Too much spice and they tasted like a candle. But this version, with brown butter and pumpkin and that perfect snickerdoodle tang, it finally clicked. I mean, I actually squeaked when I pulled the first batch out of the oven. The kitchen smelled like a fall festival, and the cookies had these gorgeous, crackly tops with just the right amount of chew.
Let me tell you, there’s something about the way brown butter and pumpkin work together. It’s not just about flavor — though that’s obviously the star of the show. It’s about texture, too. The brown butter adds this richness that makes the cookies feel almost decadent, while the pumpkin keeps them soft and pillowy. You know that feeling when you bite into a cookie and it’s somehow both crispy on the edges and tender in the middle? That’s what we’re going for here. And the cinnamon-sugar coating? It adds this little crunch that makes every bite exciting. Maybe you’ve been there, standing over a cooling rack, trying to convince yourself you don’t need another one. Spoiler: you do.
Why You’ll Love This Recipe
I’ve tested this recipe more times than I care to admit. I’ve made it with different flours, different sugars, different ratios of pumpkin to butter. I’ve burned the butter too dark and had to start over (twice). I’ve forgotten the cream of tartar and ended up with flat, sad discs. But through all those trials, I landed on a version that I genuinely believe is the best brown butter pumpkin snickerdoodle cookie you’ll make this fall.
- Quick & Easy: From start to finish, you’re looking at about 30 minutes of active time. The dough needs a quick chill (30 minutes, not overnight), so you can have warm cookies in just over an hour.
- Simple Ingredients: No trips to specialty stores. You probably have most of these in your pantry right now — flour, sugar, butter, eggs, pumpkin puree, and a few warm spices.
- Perfect for Fall Baking: These are the cookies you bring to a potluck, share with neighbors, or hide in your freezer for those cozy nights when you need something sweet.
- Crowd-Pleaser: I’ve brought these to three different gatherings this fall, and every single time, someone asks for the recipe. They’re that good.
- Unbelievably Delicious: The combination of nutty brown butter, earthy pumpkin, and warm cinnamon-sugar coating is pure comfort. It’s like autumn in cookie form.
What makes this recipe different from all the other pumpkin snickerdoodle recipes out there? It’s the brown butter. That one extra step transforms the entire cookie. It adds a depth of flavor that you just can’t get from regular melted butter. And I’ve perfected the ratio of pumpkin to flour so the cookies stay soft and puffy, not gummy or flat. This isn’t just another version — it’s the version I make every single fall, and I’m pretty sure you’ll feel the same way.
Honestly, these cookies are the kind that make you close your eyes after the first bite. They’re comfort food reimagined — a little bit healthier thanks to the pumpkin, but with all the soul-soothing satisfaction of a classic snickerdoodle. Perfect for impressing guests without stress, or turning a simple Tuesday into something memorable.
What Ingredients You Will Need
This recipe uses simple, wholesome ingredients that come together to create something truly special. The brown butter is the hero here, but each component plays a crucial role in building flavor and texture.
- Unsalted butter: 1 cup (2 sticks), cut into tablespoons. I use unsalted so I can control the salt level. European-style butter like Plugrà works beautifully here — it has a higher fat content, which means richer flavor and better texture.
- Pumpkin puree: ½ cup, not pumpkin pie filling. Libby’s is my go-to brand because it’s consistently thick and not watery. Make sure to blot it with paper towels to remove excess moisture — this is the secret to puffy cookies.
- Granulated sugar: 1 cup, for the cookie dough. It adds sweetness and helps create that tender crumb.
- Light brown sugar: ½ cup, packed. This adds moisture and a hint of molasses flavor that pairs perfectly with the brown butter. Dark brown sugar works too, but it will make the cookies slightly darker and more molasses-forward.
- Large egg: 1, at room temperature. A room-temperature egg incorporates more easily into the creamed butter and sugar, creating a smoother dough.
- Vanilla extract: 1 teaspoon. Pure vanilla extract is worth the splurge here. The flavor is noticeably better than imitation.
- All-purpose flour: 2 cups, spooned and leveled. Don’t scoop directly from the bag — you’ll end up with too much flour and dry cookies.
- Cream of tartar: 1 teaspoon. This is non-negotiable for snickerdoodles. It gives them that signature tangy flavor and helps create the perfect chewy texture.
- Baking soda: ½ teaspoon. It helps the cookies spread just enough and adds a little lift.
- Salt: ½ teaspoon. I use fine sea salt. It balances the sweetness and enhances all the other flavors.
- Ground cinnamon: 1 teaspoon, for the dough. It adds warmth and depth.
- Ground ginger: ½ teaspoon. It adds a subtle kick that complements the pumpkin beautifully.
- Ground nutmeg: ¼ teaspoon. Freshly grated is amazing if you have it, but pre-ground works perfectly fine.
- Ground cloves: ⅛ teaspoon. Just a pinch — it’s potent stuff.
For the cinnamon-sugar coating:
- Granulated sugar: ¼ cup
- Ground cinnamon: 1 tablespoon
Equipment Needed
You don’t need a fancy kitchen to make these cookies. Here’s what you’ll need:
- Large skillet or saucepan: For browning the butter. I prefer a light-colored pan so I can see the color change. A stainless steel or enameled cast iron works great.
- Mixing bowls: One medium, one large. Glass or stainless steel is ideal — plastic can absorb odors.
- Hand mixer or stand mixer: A hand mixer works perfectly. I’ve made these with a wooden spoon too, but it takes some elbow grease.
- Whisk: For combining dry ingredients.
- Spatula: A flexible silicone spatula is my favorite for scraping every last bit of brown butter out of the pan.
- Baking sheets: Two large, light-colored baking sheets. Dark pans can cause cookies to brown too quickly on the bottom.
- Parchment paper or silicone baking mats: Parchment is my preference — it’s easy to clean up and helps cookies bake evenly.
- Cooling rack: For letting cookies cool properly.
- Small bowl: For the cinnamon-sugar mixture.
- Cookie scoop: A 1.5-tablespoon scoop is perfect for uniform cookies. If you don’t have one, use a spoon and roll the dough into balls by hand.
Preparation Method
- Brown the butter: Place the butter in a large skillet or saucepan over medium heat. Stir constantly with a spatula as it melts. The butter will foam and crackle — that’s the water evaporating. Keep stirring. After about 5-7 minutes, the foam will subside and you’ll see golden-brown specks forming at the bottom. The butter will smell nutty and amazing. As soon as it turns a deep amber color, remove it from the heat immediately and pour it into a heatproof bowl. Don’t walk away — it can go from perfect to burnt in seconds. Let it cool for 10-15 minutes.
- Prepare the pumpkin: While the butter cools, place the pumpkin puree on a plate lined with a few paper towels. Spread it out and press another paper towel on top to absorb excess moisture. Let it sit while you prepare the rest of the ingredients. This step is crucial — too much moisture will make your cookies flat and gummy.
- Mix the dry ingredients: In a medium bowl, whisk together the flour, cream of tartar, baking soda, salt, cinnamon, ginger, nutmeg, and cloves. Set aside.
- Cream the butter and sugars: In a large bowl, combine the cooled brown butter, granulated sugar, and brown sugar. Beat with a hand mixer on medium speed for 2-3 minutes until the mixture is light and fluffy. It should look like wet sand. Scrape down the sides of the bowl.
- Add the egg, pumpkin, and vanilla: Add the egg, the blotted pumpkin puree, and the vanilla extract. Beat on medium speed until just combined. The mixture might look a little curdled — that’s okay. It will come together once you add the flour.
- Combine wet and dry: Gradually add the dry ingredients to the wet mixture, mixing on low speed until just combined. Don’t overmix — stop as soon as you don’t see any more streaks of flour. The dough will be soft and slightly sticky.
- Chill the dough: Cover the bowl with plastic wrap and refrigerate for at least 30 minutes, or up to 24 hours. Chilling is important — it prevents the cookies from spreading too much and allows the flavors to meld. I’ve baked them after 30 minutes and after 24 hours, and the longer chill definitely produces a more flavorful cookie.
- Preheat and prepare: When you’re ready to bake, preheat your oven to 350°F (175°C). Line two baking sheets with parchment paper. In a small bowl, mix together the ¼ cup granulated sugar and 1 tablespoon cinnamon for the coating.
- Shape and coat: Using a 1.5-tablespoon cookie scoop or a spoon, scoop portions of dough and roll them into balls. Roll each ball in the cinnamon-sugar mixture until fully coated. Place them on the prepared baking sheets, spacing them about 2 inches apart. I fit 12 cookies per sheet.
- Bake: Bake one sheet at a time for 10-12 minutes. The cookies should look puffed and slightly cracked on top, and the edges should be set but the centers will still look soft. They’ll continue to set as they cool. For softer cookies, bake for 10 minutes. For slightly crispier edges, go for 12 minutes.
- Cool: Let the cookies cool on the baking sheet for 5 minutes. This allows them to firm up enough to transfer without breaking. Then move them to a wire rack to cool completely. If you can resist, let them cool for at least 10 minutes before diving in — the flavor is even better when they’re not piping hot.
Cooking Tips & Techniques
Let me save you from my mistakes. I’ve made plenty, so you don’t have to.
Don’t skip the brown butter step. I know it seems like an extra hassle, but it’s what makes these cookies special. The nutty flavor is irreplaceable. Just make sure you watch it carefully — I once got distracted by a phone call and ended up with black butter that smelled like burnt popcorn. Not a good look.
Blot that pumpkin. This is the single most important tip for puffy cookies. Pumpkin puree contains a lot of water, and if you don’t remove some of it, your cookies will spread into thin, sad discs. I learned this the hard way after three batches of disappointing cookies. Now I always blot, and the difference is night and day.
Chill the dough. I know you’re excited, but trust me on this. Chilling solidifies the butter, which means the cookies will spread less and stay thicker. It also gives the flavors time to develop. If you’re in a hurry, 30 minutes is the minimum. But if you can plan ahead, overnight is even better.
Use a cookie scoop. It’s not just about convenience — it ensures all your cookies are the same size, so they bake evenly. I use a 1.5-tablespoon scoop, and my cookies come out perfectly uniform every time.
Rotate your pans. If you’re baking multiple sheets, swap them halfway through. Ovens can have hot spots, and rotating ensures even baking. I usually bake one sheet at a time for the best results, but if you’re in a rush, rotating helps.
Don’t overbake. The cookies will look underdone when you pull them out — that’s exactly what you want. They’ll continue to cook on the hot baking sheet. Overbaked cookies are dry and crumbly. Underbaked cookies are soft and chewy. Aim for the latter.
Variations & Adaptations
One of the best things about this recipe is how flexible it is. Here are some variations I’ve tried and loved:
- Gluten-Free: Swap the all-purpose flour with a 1:1 gluten-free baking flour blend. I’ve used Bob’s Red Mill with great success. The texture is slightly more delicate, but the flavor is spot on.
- Dairy-Free: Use vegan butter for the brown butter step. I’ve tried Miyoko’s and it works beautifully. Just be aware that vegan butter browns a little differently — watch it carefully.
- Extra Spicy: Double the ginger and add a pinch of cayenne pepper for a warm, spicy kick. It’s unexpected but so good on a chilly fall day.
- Chocolate Lover’s: Fold in ½ cup of white chocolate chips or dark chocolate chunks after mixing the dough. The sweetness of white chocolate pairs beautifully with the pumpkin and spices.
- Maple Glaze: Drizzle a simple maple glaze over the cooled cookies. Mix 1 cup powdered sugar with 2 tablespoons maple syrup and 1 tablespoon milk. It adds a lovely sweetness and a beautiful finish.
- Pumpkin Seed Topping: Before baking, press a few pumpkin seeds into the top of each cookie. It adds a nice crunch and makes them look extra pretty.
Serving & Storage Suggestions
These cookies are best served warm, when the edges are still slightly crisp and the centers are soft and tender. I like to serve them with a cold glass of milk or a warm cup of chai tea. They’re also amazing crumbled over vanilla ice cream for a quick fall dessert.
Storage: Store the cookies in an airtight container at room temperature for up to 5 days. I like to layer them between sheets of parchment paper so they don’t stick together. After day 3, they’ll start to lose some of their softness, but they’re still delicious.
Freezing: You can freeze the baked cookies for up to 3 months. Let them cool completely, then place them in a freezer-safe bag or container. To thaw, let them sit at room temperature for about 30 minutes. You can also freeze the unbaked dough balls. Roll them, coat them in cinnamon-sugar, and place them on a baking sheet lined with parchment. Freeze until solid, then transfer to a freezer bag. Bake from frozen, adding 1-2 minutes to the baking time.
Reheating: Pop a cookie in the microwave for 10-15 seconds to bring back that fresh-from-the-oven softness. Or warm them in a 300°F oven for 5 minutes if you’re reheating a whole batch.
One thing I love about these cookies is that the flavors actually get better after a day or two. The spices meld together, and the brown butter flavor becomes even more pronounced. So if you can resist eating them all in one sitting, you’re in for a treat.
Nutritional Information & Benefits
Here’s the estimated nutritional information for one cookie (based on 24 cookies per batch):
- Calories: 145
- Fat: 7g
- Carbohydrates: 20g
- Protein: 2g
- Fiber: 1g
- Sugar: 12g
These cookies are a treat, no doubt, but they do have some redeeming qualities. Pumpkin is packed with vitamin A, which is great for your eyes and immune system. It’s also a good source of fiber, which helps with digestion. The cinnamon in these cookies has anti-inflammatory properties and can help regulate blood sugar levels. And while brown butter isn’t exactly a health food, it does add a richness that means you’re satisfied with one or two cookies instead of a whole plate.
From a wellness perspective, I believe in balance. These cookies are a celebration of fall, of cozy evenings, of sharing something delicious with the people you love. They’re not an everyday food, but they’re absolutely worth making for special occasions — or for any Tuesday that needs a little extra warmth.
Conclusion
These brown butter pumpkin snickerdoodle cookies are everything I love about fall baking. They’re warm, spiced, and comforting, with a depth of flavor that comes from that one extra step of browning the butter. They’re the cookies I make for potlucks, for neighbors, for myself on a quiet Sunday afternoon when the leaves are turning and the air is crisp.
I hope you’ll give them a try. Don’t be intimidated by the brown butter — it’s easier than you think, and the payoff is huge. And feel free to customize them to your liking. Add chocolate, skip the pumpkin, double the cinnamon — make them your own. That’s the beauty of baking.
I’d love to hear how they turn out for you. Leave a comment below and let me know if you tried any variations, or just share your favorite fall baking memory. And if you loved these cookies, share this recipe with a friend who needs a little cozy in their life. Happy baking!
Frequently Asked Questions
Can I use pumpkin pie spice instead of individual spices?
Absolutely! Substitute the cinnamon, ginger, nutmeg, and cloves with 2 teaspoons of pumpkin pie spice. The flavor will be slightly different, but still delicious.
Why did my cookies turn out flat?
Flat cookies are usually caused by one of three things: the butter was too warm, the pumpkin wasn’t blotted, or the dough wasn’t chilled long enough. Make sure your brown butter is cooled to room temperature before mixing, blot the pumpkin thoroughly, and chill the dough for at least 30 minutes.
Can I make these cookies ahead of time?
Yes! You can make the dough up to 24 hours in advance and keep it in the refrigerator. You can also freeze the baked cookies or unbaked dough balls for up to 3 months.
Do I have to use cream of tartar?
Yes, for the classic snickerdoodle flavor and texture. Cream of tartar gives snickerdoodles their signature tangy taste and helps create a chewy texture. If you don’t have it, you can substitute with 1 teaspoon of lemon juice or white vinegar, but the flavor won’t be quite the same.
Can I use fresh pumpkin puree instead of canned?
You can, but it’s not ideal. Fresh pumpkin puree tends to be more watery than canned, which can lead to flat cookies. If you use fresh, make sure to strain it through a cheesecloth or fine-mesh sieve to remove as much moisture as possible.
Pin This Recipe!
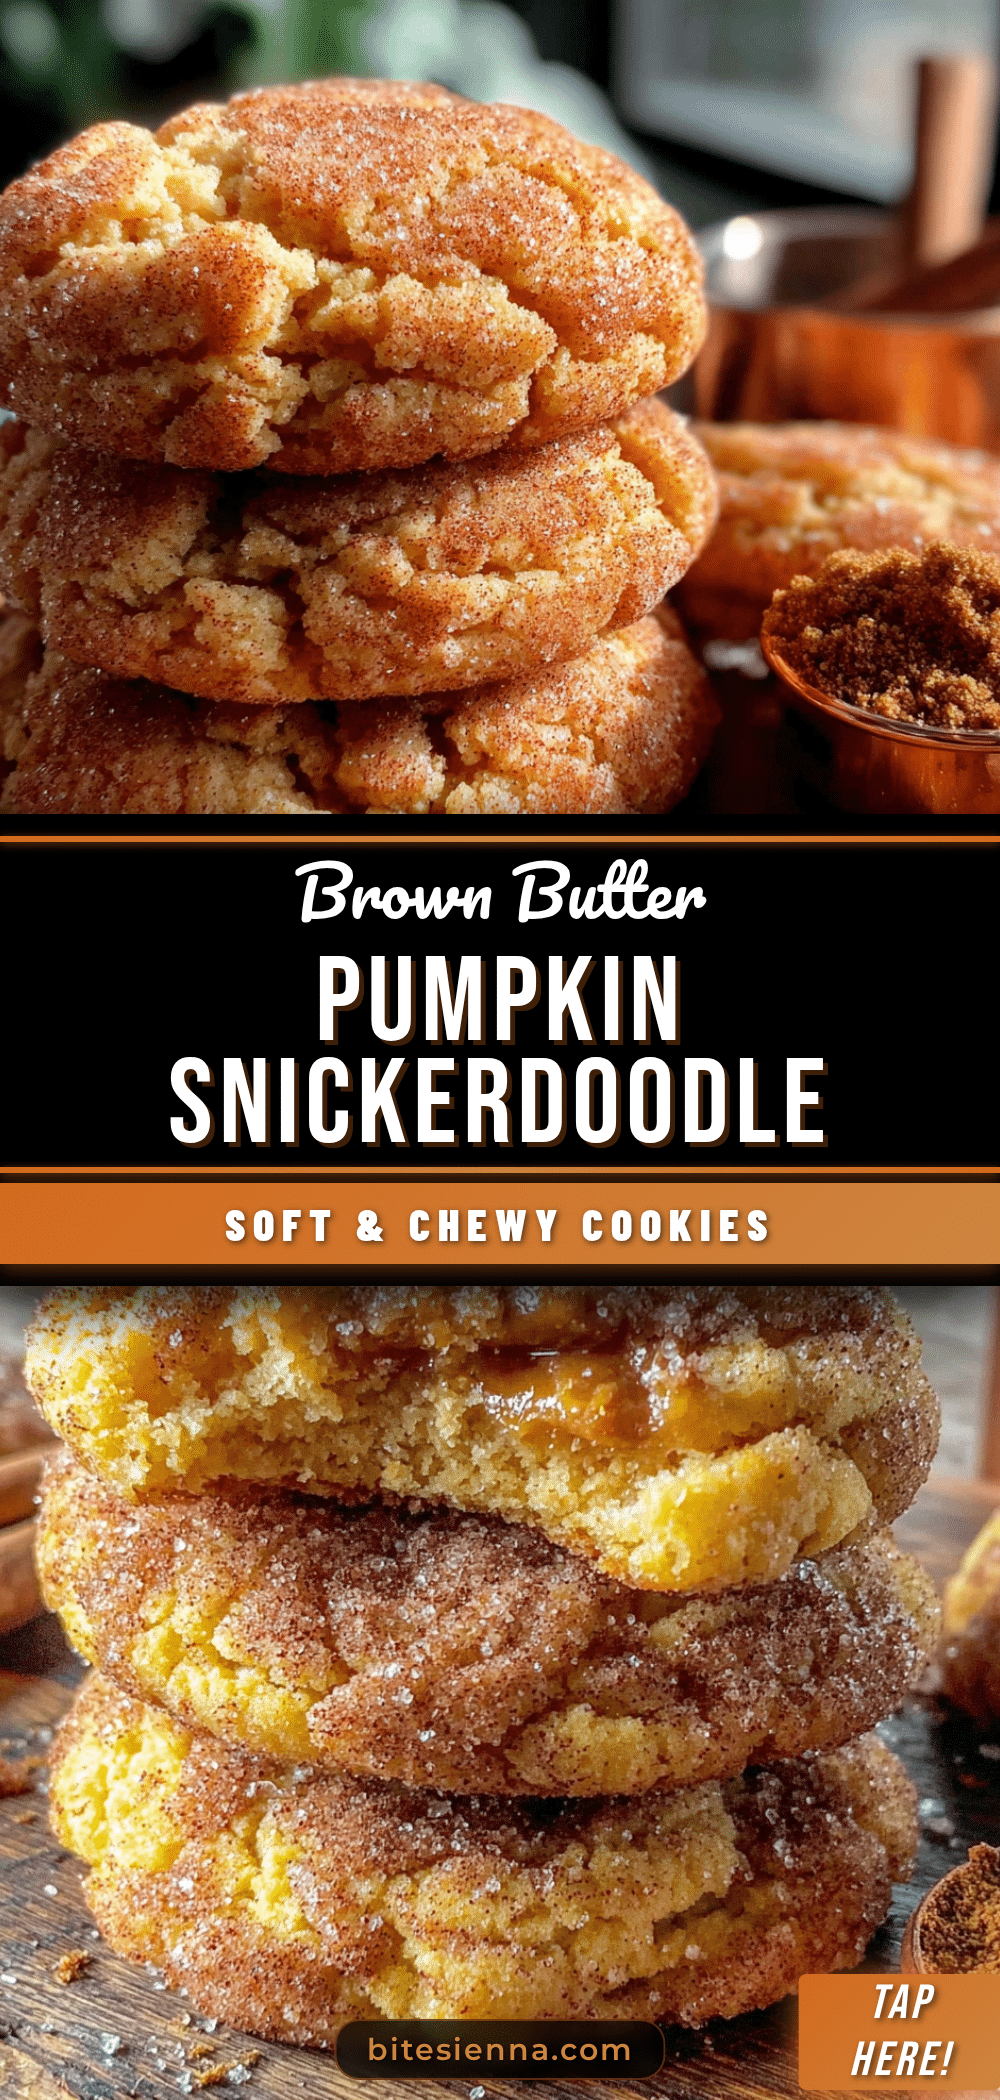
Best Brown Butter Pumpkin Snickerdoodle Cookies
These brown butter pumpkin snickerdoodle cookies are soft, chewy, and packed with warm fall spices. The nutty brown butter and pumpkin create a rich, comforting flavor that’s perfect for autumn baking.
- Prep Time: 30 minutes
- Cook Time: 12 minutes
- Total Time: 1 hour 12 minutes (includes 30 minutes chilling)
- Yield: 24 cookies 1x
- Category: Dessert
- Cuisine: American
Ingredients
- 1 cup (2 sticks) unsalted butter, cut into tablespoons
- ½ cup pumpkin puree (not pumpkin pie filling), blotted dry
- 1 cup granulated sugar
- ½ cup light brown sugar, packed
- 1 large egg, at room temperature
- 1 teaspoon vanilla extract
- 2 cups all-purpose flour, spooned and leveled
- 1 teaspoon cream of tartar
- ½ teaspoon baking soda
- ½ teaspoon fine sea salt
- 1 teaspoon ground cinnamon
- ½ teaspoon ground ginger
- ¼ teaspoon ground nutmeg
- ⅛ teaspoon ground cloves
- ¼ cup granulated sugar (for coating)
- 1 tablespoon ground cinnamon (for coating)
Instructions
- Brown the butter: Place the butter in a large skillet or saucepan over medium heat. Stir constantly with a spatula as it melts. The butter will foam and crackle. Keep stirring. After about 5-7 minutes, the foam will subside and you’ll see golden-brown specks forming at the bottom. The butter will smell nutty. As soon as it turns a deep amber color, remove it from the heat immediately and pour it into a heatproof bowl. Let it cool for 10-15 minutes.
- Prepare the pumpkin: While the butter cools, place the pumpkin puree on a plate lined with a few paper towels. Spread it out and press another paper towel on top to absorb excess moisture. Let it sit while you prepare the rest of the ingredients.
- Mix the dry ingredients: In a medium bowl, whisk together the flour, cream of tartar, baking soda, salt, cinnamon, ginger, nutmeg, and cloves. Set aside.
- Cream the butter and sugars: In a large bowl, combine the cooled brown butter, granulated sugar, and brown sugar. Beat with a hand mixer on medium speed for 2-3 minutes until the mixture is light and fluffy. Scrape down the sides of the bowl.
- Add the egg, pumpkin, and vanilla: Add the egg, the blotted pumpkin puree, and the vanilla extract. Beat on medium speed until just combined. The mixture might look a little curdled.
- Combine wet and dry: Gradually add the dry ingredients to the wet mixture, mixing on low speed until just combined. Do not overmix. The dough will be soft and slightly sticky.
- Chill the dough: Cover the bowl with plastic wrap and refrigerate for at least 30 minutes, or up to 24 hours.
- Preheat and prepare: When ready to bake, preheat oven to 350°F (175°C). Line two baking sheets with parchment paper. In a small bowl, mix together the ¼ cup granulated sugar and 1 tablespoon cinnamon for the coating.
- Shape and coat: Using a 1.5-tablespoon cookie scoop or a spoon, scoop portions of dough and roll them into balls. Roll each ball in the cinnamon-sugar mixture until fully coated. Place them on the prepared baking sheets, spacing them about 2 inches apart.
- Bake: Bake one sheet at a time for 10-12 minutes. The cookies should look puffed and slightly cracked on top, and the edges should be set but the centers will still look soft.
- Cool: Let the cookies cool on the baking sheet for 5 minutes, then move them to a wire rack to cool completely.
Notes
Don’t skip the brown butter step; it’s what makes these cookies special. Blot the pumpkin thoroughly to remove excess moisture for puffy cookies. Chill the dough for at least 30 minutes to prevent spreading. For softer cookies, bake for 10 minutes; for slightly crispier edges, bake for 12 minutes. The cookies will continue to set as they cool.
Nutrition
- Serving Size: 1 cookie
- Calories: 145
- Sugar: 12
- Sodium: 95
- Fat: 7
- Saturated Fat: 4
- Carbohydrates: 20
- Fiber: 1
- Protein: 2
Keywords: brown butter, pumpkin, snickerdoodle, cookies, fall baking, cinnamon sugar


