I was standing in the baking aisle of a big-box store last October, staring at a display of Halloween sprinkles I had absolutely no business buying, when a woman behind me sighed. “I just want something that looks impressive but doesn’t make me cry in my kitchen,” she said, mostly to herself. I laughed and turned around, and she gestured at the chaos in her cart—three bags of candy corn, a pumpkin carving kit, and what looked like a half-melted bag of chocolate chips. “I’m hosting sixteen people tomorrow night,” she added, “and I’ve got nothing that says ‘I tried’ without actually trying.”
And right there, in that fluorescent-lit aisle, I remembered them. The spider web deviled eggs my aunt Dottie used to make for the block party every single year. She lived two streets over from us, and every October 30th, she’d show up at our door with a platter covered in wax paper, grinning like she’d pulled off a magic trick. I was maybe nine, and I remember thinking she’d somehow trapped actual spiderwebs on the eggs. I mean, I knew she hadn’t—I wasn’t that gullible—but the effect was so clean, so perfectly spooky, that it felt like a little piece of Halloween magic sitting there on our kitchen counter. She passed away a few years ago, and honestly, I haven’t thought about those eggs in ages. But standing there in that aisle, I could almost smell the paprika and mustard mixing with the crisp fall air coming through the open door of her kitchen.
So I bought the eggs. A whole flat of them. And I spent that night figuring out exactly how she did it—because, let me tell you, getting that web pattern right takes a little finesse. I messed up the first batch (too much food coloring, and suddenly my webs looked like a toddler’s art project), but by the second try, I had it. That satisfying zing of black lines against creamy yellow filling. The way the platter looked like something out of a gothic bakery. And when I brought them to my neighbor’s party the next night, they disappeared in fifteen minutes. Someone actually asked if I’d “ordered them from a caterer,” which, honestly, made my whole month.
This is that recipe. The one that looks like you spent hours piping intricate webs but actually comes together in about thirty minutes of active work. It’s the kind of dish that makes people stop and say, “Wait, you made these?” And the best part? It tastes exactly like the classic deviled eggs everyone already loves—just with a Halloween makeover that’s genuinely fun to create. You know that feeling when a recipe just works, and you feel like a kitchen wizard for a second? That’s what we’re going for here.
Why You’ll Love This Recipe
Let me be honest with you—I’ve tested a lot of Halloween appetizers over the years. Some were cute but took forever. Others were quick but looked, well, sad. These spooky spider web deviled eggs hit that sweet spot where presentation meets practicality, and here’s why they’ve become my go-to for every fall gathering:
- Looks Complicated, Isn’t : The spider web design looks like something a pastry chef dreamed up, but I promise you, it’s just a steady hand and a toothpick. No special tools, no artistic talent required. I’ve watched my cousin, who once burned toast, nail these on her first try.
- Perfect for Crowds : This recipe scales beautifully. I’ve made them for a party of six and a Halloween bash of thirty. The formula stays the same—just double or triple the ingredients, and you’re golden. Prep them the morning of, and you’ll have one less thing to worry about when guests arrive.
- Kid-Friendly Fun : If you’ve got little ones helping in the kitchen, this is the recipe to pull out. The web-drawing step is like edible art class. My niece, who’s six, calls it “making egg spiderwebs” and takes her job very seriously. Just supervise the food coloring part—trust me on that.
- Classic Taste, Spooky Vibe : Here’s the thing—nobody wants a Halloween appetizer that sacrifices flavor for looks. These taste like the perfect deviled eggs: creamy, tangy, with just the right amount of mustard and paprika. The web is purely visual, so picky eaters have zero excuses.
- Stress-Free Hosting : You can make the filling and boil the eggs up to two days ahead. Assemble everything a few hours before serving, and you’re free to actually enjoy your own party. That’s the kind of hosting win I live for.
What makes this version different from the dozens of deviled egg recipes out there? It’s the technique. Most spooky deviled eggs use black dye on the whites, which can look messy and sometimes stain your fingers. My aunt’s method—and the one I’ve refined over several batches—uses a simple food coloring mixture applied with a toothpick to create clean, crisp web lines that don’t bleed or smear. Plus, I’ve figured out the exact ratio of filling to egg white so the web has a perfect canvas to shine.
This isn’t just another appetizer for your Halloween spread. It’s the one that gets photographed, the one people ask about, the one that makes you look like you put in way more effort than you actually did. And honestly, isn’t that the best kind of recipe to have in your back pocket?
What Ingredients You Will Need
This recipe keeps things simple—you probably already have most of these in your kitchen. The magic is in how you put them together. Here’s what you’ll need and why each ingredient matters:
For the Deviled Eggs
- 12 large eggs – Go for fresh eggs if you can, but honestly, eggs that are a week or two old actually peel more easily after boiling. I’ve learned this the hard way after losing half an egg to a stubborn shell. Room temperature eggs work best for even cooking, but cold is fine if you’re in a rush.
- 1/3 cup mayonnaise – I prefer full-fat mayo for the creamiest texture. Duke’s or Hellmann’s are my go-tos. If you’re using a lighter version, add an extra tablespoon to compensate for the thinner consistency. Miracle Whip works too, but it’ll give the filling a tangier, slightly sweeter edge.
- 1 tablespoon yellow mustard – This adds that classic deviled egg zing. You can swap in Dijon for a more sophisticated flavor, but yellow mustard gives the nostalgic taste most people expect.
- 1 tablespoon white vinegar – A little acidity brightens everything up. Apple cider vinegar works too, but it’ll darken the filling slightly.
- 1/2 teaspoon salt – Fine sea salt dissolves better than kosher salt here. Adjust to taste—some like their filling saltier, especially if you’re serving with salty snacks.
- 1/4 teaspoon black pepper – Freshly ground makes a difference, but pre-ground is fine. I’ve used both, and honestly, nobody’s ever complained.
- 1/4 teaspoon paprika – This is for garnish and a subtle smoky note. Smoked paprika adds a deeper flavor if you want to get fancy, but sweet paprika gives that classic red speckle look.
For the Spider Web Design
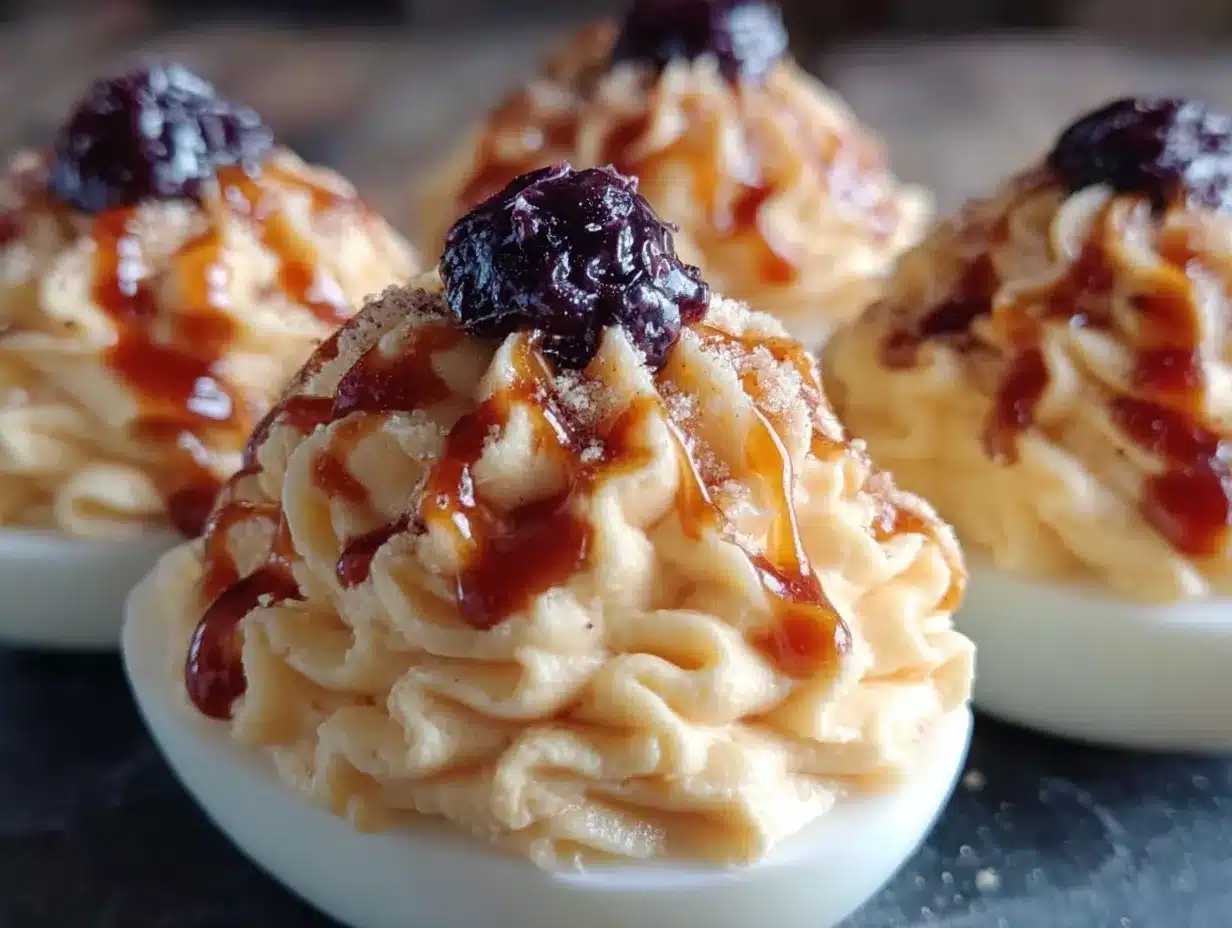
- 1/2 teaspoon black food coloring gel – Liquid food coloring won’t give you the intensity you need. Gel or paste is the way to go—it’s concentrated and dries quickly. I use Americolor or Wilton brands. A little goes a long way, so don’t overdo it.
- 1 teaspoon water – This thins the gel just enough to draw clean lines. Too much water, and the web will bleed. Too little, and it’ll be too thick to flow from a toothpick. We’re aiming for the consistency of slightly runny ink.
- Toothpicks – Regular wooden toothpicks are perfect. You’ll use one for mixing the coloring and a fresh one for each egg to avoid smearing. I keep a small cup of them nearby when I’m working.
Optional Garnishes
- Fresh chives or dill – A few tiny snips add color contrast and a fresh pop of flavor. I sometimes add them just before serving for that “I thought of everything” look.
- Edible glitter or black sesame seeds – For extra spooky flair. I’ve used black sesame seeds on top of the web, and they look like tiny spiders. It’s a fun touch if you’re feeling creative.
- Mini plastic spiders – These are purely for presentation. Place one on top of each egg or around the platter. Just warn guests before they bite—nobody wants a mouthful of plastic.
Ingredient Tip: For the best texture, let your eggs come to room temperature before boiling. Cold eggs crack more easily in hot water, and you’ll end up with whites that look like a map of the London Underground. I learned this after a particularly disastrous batch where I lost three eggs to cracks and ended up with egg white floaters everywhere.
Equipment Needed
You don’t need a fancy kitchen to pull these off. Here’s what I use and what you can substitute if you’re improvising:
- Large pot – Big enough to hold your eggs in a single layer. I use a 4-quart pot, but anything with a lid works. Avoid overcrowding—eggs that bump into each other crack more easily.
- Mixing bowls – One medium bowl for the filling, one small bowl for the food coloring mixture. Glass or stainless steel is best because plastic can stain from the black dye.
- Hand mixer or fork – A hand mixer gives you the smoothest, creamiest filling in about thirty seconds. But honestly, a fork and some elbow grease work just fine. I’ve done both, and the difference is minimal—mostly just time saved.
- Piping bag or zip-top bag – For filling the eggs neatly. A piping bag with a star tip looks fancy, but a zip-top bag with a corner snipped off does the exact same job. I use the zip-top method 90% of the time because it’s less cleanup.
- Toothpicks – At least 12, plus a few extras. You’ll use one for mixing the coloring and a fresh one for each egg. Trust me, reusing a toothpick will smear your webs into a gray mess.
- Egg platter or serving dish – Something with a little rim to keep the eggs from sliding around. I have a rectangular white platter that makes the black webs pop beautifully. A dark plate works too—it’s all about contrast.
- Slotted spoon – For lowering eggs into boiling water and removing them. A spider strainer works too, but a slotted spoon is gentler on the shells.
Budget-Friendly Tip: Don’t have a piping bag? No problem. A sandwich bag with a tiny corner cut off works perfectly. Just don’t cut too much off, or you’ll end up with a gush of filling instead of a controlled squeeze. I speak from experience—my first attempt looked like a filling explosion.
Preparation Method
Alright, let’s get into the nitty-gritty. Follow these steps, and you’ll have a platter of spooky spider web deviled eggs that’ll steal the show. I’ve broken it down so even first-timers can nail it.
Step 1: Boil the Eggs (15 minutes)
Place your 12 eggs in a single layer in a large pot. Add enough cold water to cover the eggs by about an inch. Don’t skip this—starting with cold water helps the eggs cook evenly and reduces cracking. Bring the water to a rolling boil over high heat. Once it’s boiling hard, cover the pot with a lid, turn off the heat completely, and let the eggs sit for exactly 12 minutes. Set a timer—I’ve lost count of how many times I’ve guessed and ended up with green-ringed yolks. While they’re sitting, fill a large bowl with ice water. After 12 minutes, use your slotted spoon to transfer the eggs to the ice bath. Let them cool for at least 10 minutes. This shock stops the cooking and makes peeling a breeze.
Step 2: Peel and Halve the Eggs (5 minutes)
Gently tap each egg on a hard surface to crack the shell all over, then roll it between your palms to loosen the shell. Start peeling from the wider end—there’s usually an air pocket there that makes it easier to get under the membrane. Rinse each peeled egg under cool water to remove any tiny shell fragments. Pat them dry with a paper towel. Slice each egg in half lengthwise with a sharp knife. Gently pop out the yolks into a medium bowl. Arrange the egg white halves on your serving platter, cut side up. If some whites tear a little, don’t panic—just hide the damage on the bottom of the platter. I’ve done this more times than I’d like to admit.
Step 3: Make the Filling (5 minutes)
Add the 1/3 cup mayonnaise, 1 tablespoon yellow mustard, 1 tablespoon white vinegar, 1/2 teaspoon salt, and 1/4 teaspoon black pepper to the bowl with the egg yolks. Mash everything together with a fork until it’s mostly combined, then switch to a hand mixer on low speed for about 30 seconds. You’re looking for a smooth, creamy consistency with no lumps. Taste it and adjust the seasoning—I sometimes add an extra pinch of salt or a dash more mustard depending on my mood. If the filling seems too thick, add a teaspoon of water or pickle juice (trust me, it’s delicious). If it’s too thin, add another yolk if you have one, or just chill it for 15 minutes to firm up.
Step 4: Fill the Egg Whites (10 minutes)
Spoon the filling into your piping bag or zip-top bag. If using a zip-top bag, press the filling into one corner, then snip off about 1/4 inch of the tip. Pipe the filling into each egg white half, mounding it slightly above the rim. You want a nice dome—this gives the spider web a good surface to show off. Don’t worry if it’s not perfectly smooth; the web will cover any imperfections. You should get about 24 filled halves. If you run out of filling, you can always make a half batch of extra—I’ve done this when I accidentally overfilled a few eggs.
Step 5: Create the Spider Web Design (15 minutes)
In a small bowl, mix 1/2 teaspoon black food coloring gel with 1 teaspoon water. Stir until the gel is completely dissolved and you have a smooth, ink-like liquid. Dip a clean toothpick into the mixture, letting the excess drip off. Starting from the center of a filled egg, draw a small circle about the size of a dime. Then, from that circle, draw 4 to 6 straight lines radiating outward to the edges of the egg white, like spokes on a wheel. Finally, connect the spokes with curved lines, starting from the center and working your way out. Think of it like drawing a spider web—each curved line gets a little wider as you move outward. Wipe your toothpick clean on a paper towel after each egg, or use a fresh one to avoid smearing. Repeat for all 24 eggs. If you mess up, just wipe the filling clean with a damp paper towel and start over. I’ve done this at least five times per batch when I first started.
Step 6: Garnish and Serve (2 minutes)
Sprinkle a tiny pinch of paprika over each egg for color contrast. If you’re using chives or dill, snip a few pieces and place them near the web lines. Arrange any mini plastic spiders on top or around the platter. Serve immediately, or cover loosely with plastic wrap and refrigerate for up to 4 hours before serving. The webs will hold their shape beautifully if you handle them gently.
Cooking Tips & Techniques
I’ve made these eggs more times than I can count, and I’ve picked up a few tricks along the way that make the process smoother and the results more impressive. Here’s what I’ve learned—sometimes the hard way.
Perfect Hard-Boiled Eggs Every Time : The 12-minute steam method I mentioned is foolproof, but here’s the key—don’t skip the ice bath. I once thought I could just run them under cold water and call it a day. The result? Overcooked yolks with that unappetizing green ring and shells that stuck like glue. The ice bath isn’t optional; it’s the difference between creamy yellow yolks and sad gray ones.
Peeling Without the Tears : Older eggs peel easier than fresh ones. If your eggs are super fresh, add a teaspoon of baking soda to the boiling water. It raises the pH and helps loosen the shells. I’ve also found that cracking the eggs gently all over before peeling—not just in one spot—makes a huge difference. Roll them between your palms like you’re making a tiny snowball, and the shell practically falls off.
Food Coloring Consistency : This is the make-or-break step for the spider web. If your coloring mixture is too watery, it’ll bleed into the filling and look like a gray blob. If it’s too thick, it’ll clump on the toothpick and leave uneven lines. Aim for the consistency of thin paint—it should flow smoothly off the toothpick but not drip uncontrollably. Test it on a paper towel first. If the line is crisp and clean, you’re good to go.
Timing Your Prep : Here’s my hosting strategy: boil and peel the eggs up to two days ahead. Store them in an airtight container in the fridge. Make the filling the day before and keep it in a piping bag in the fridge. Then, on party day, all you have to do is pipe, draw webs, and garnish. It takes about 20 minutes total, and you’re not stressed or rushed. I’ve done this for every Halloween party for the last three years, and it’s a game-changer.
Common Mistake to Avoid : Don’t overmix the food coloring. If you stir it too vigorously, you’ll incorporate air bubbles that show up as tiny white spots in your web lines. Gently stir until combined, then let it sit for a minute to settle. Also, don’t press too hard with the toothpick—you’re drawing on the filling, not carving into it. Light, confident strokes give the best results.
Variations & Adaptations
One of the best things about this recipe is how flexible it is. You can tweak it for dietary needs, flavor preferences, or just because you’re feeling creative. Here are some variations I’ve tried and loved:
Spicy Southwest Version : Add 1 tablespoon of finely chopped pickled jalapeños and a pinch of cumin to the filling. Replace the paprika with a sprinkle of chili powder. The heat cuts through the creamy filling beautifully, and the green flecks from the jalapeños add visual interest. I made this for a friend who loves spicy food, and she ate six eggs before anyone else got a chance.
Bacon Lover’s Twist : Crumble 4 strips of crispy bacon and mix half into the filling. Sprinkle the remaining bacon on top of the finished eggs. The smoky, salty crunch pairs perfectly with the creamy filling. Just be careful—the bacon can overwhelm the web design visually, so I keep the pieces small and place them around the edges of the web, not on top of it.
Vegan Adaptation : Use 12 ounces of firm tofu (pressed and crumbled) instead of eggs. Mix with 1/4 cup vegan mayonnaise, 1 tablespoon mustard, 1 tablespoon vinegar, and 1/4 teaspoon black salt (kala namak) for that eggy flavor. The texture won’t be identical, but it’s surprisingly close. I tested this for a vegan friend’s Halloween party, and even the non-vegans went back for seconds. The spider web design works just the same on the tofu filling.
Gluten-Free Note : This recipe is naturally gluten-free, which is a huge win for guests with celiac disease or gluten sensitivity. Just double-check your mustard and mayonnaise labels—some brands add gluten-containing ingredients. I’ve used Hellmann’s and French’s with no issues.
Flavor Swap: Dill Pickle : Replace the white vinegar with 1 tablespoon of dill pickle juice and add 2 tablespoons of finely chopped dill pickles to the filling. The tangy, briny flavor is incredible, and the pickle bits add a nice texture contrast. This is my personal favorite variation for summer parties, even if Halloween is technically fall.
Serving & Storage Suggestions
These spider web deviled eggs are best served chilled or at room temperature, but a few tips will ensure they look and taste their best when you’re ready to impress your guests.
Serving Temperature : Take the eggs out of the fridge about 15 minutes before serving. Ice-cold eggs numb the flavors a bit, and letting them warm up slightly allows the filling’s tanginess to shine. If you’re serving outdoors at a Halloween party, keep the platter in a shaded spot or on ice to prevent any food safety issues—eggs shouldn’t sit out for more than two hours.
Presentation Ideas : Arrange the eggs on a dark platter or black slate board for maximum contrast. The black webs pop beautifully against a dark background. I like to scatter a few fake spiderwebs (the stretchy kind from the dollar store) around the platter and place a couple of plastic spiders on the webs. It’s a simple touch that makes the whole spread feel cohesive. If you’re feeling extra, add a small sign that says “Spider Web Deviled Eggs” or “Beware of the Webs.”
What to Serve Alongside : These eggs pair perfectly with other finger foods. I often serve them alongside a charcuterie board with dark cheeses, grapes, and black olives for a monochromatic Halloween theme. They also work great with mini sliders, veggie sticks with dip, or a big bowl of popcorn tossed with black pepper and nutritional yeast. For drinks, a crisp white wine or a dark beer complements the creamy, tangy filling.
Storage Instructions : Store leftover deviled eggs in an airtight container in the refrigerator for up to 2 days. The filling may soften slightly, and the web lines might blur a bit, but they’ll still taste great. I don’t recommend freezing them—the texture of the filling becomes grainy and watery when thawed. If you’re meal-prepping, store the boiled egg whites and filling separately, then assemble and draw webs the day of your event.
How Flavors Develop : Deviled eggs actually taste better after a few hours in the fridge. The flavors meld together, and the filling becomes more cohesive. I’ve made these the night before a party, and they were even better the next day. Just wait to draw the webs until right before serving—the lines stay crisper that way.
Nutritional Information & Benefits
Here’s the nutritional breakdown for one spider web deviled egg (based on 24 servings):
| Nutrient | Amount per Serving |
|---|---|
| Calories | 65 |
| Protein | 5g |
| Fat | 4.5g |
| Saturated Fat | 1g |
| Carbohydrates | 1g |
| Fiber | 0g |
| Sugar | 0.5g |
| Sodium | 120mg |
| Cholesterol | 95mg |
Eggs are a fantastic source of high-quality protein, vitamin D, and choline, which supports brain health. The mayonnaise adds healthy fats that help your body absorb fat-soluble vitamins from other foods you’re eating. If you’re watching your cholesterol, you can use egg whites only and a light mayonnaise, but the filling won’t be as rich and creamy. I personally believe that enjoying a few of these as part of a balanced diet is perfectly fine—Halloween is about indulgence, after all.
Dietary Considerations : This recipe is naturally gluten-free, nut-free, and low-carb (less than 1g per serving). It’s suitable for keto and paleo diets if you use a clean mayonnaise. For dairy-free, just check your mayo label—most brands are dairy-free. The main allergens are eggs and soy (in some mayonnaises), so be sure to label your platter if you’re serving a mixed crowd.
Conclusion
These spider web deviled eggs are the kind of recipe that makes you look like a Halloween hero without spending your whole day in the kitchen. They’re fun to make, impressive to serve, and absolutely delicious to eat. Whether you’re hosting a big costume party, bringing a dish to a potluck, or just want to surprise your family with something spooky, this recipe delivers every single time.
What I love most about these eggs is how they bring people together. There’s something about that moment when someone picks one up, notices the web, and says, “Wait, you made these?” It’s a little bit of magic, just like my aunt Dottie used to create. And honestly, that’s what cooking is all about—sharing something that makes people smile.
I’d love to hear how yours turn out! Did you try a fun variation? Did your kids help with the webs? Drop a comment below and let me know. And if you’re looking for more crowd-pleasing appetizers, check out my spooky Halloween dip recipes that pair perfectly with these eggs. Happy Halloween, and happy cooking!
Frequently Asked Questions
Can I make spider web deviled eggs ahead of time?
Yes! You can boil and peel the eggs up to two days ahead. Store the whites and filling separately in the fridge, then assemble and draw the webs the day of your event. The webs stay crispiest when drawn fresh.
What if I can’t find black food coloring gel?
You can use black liquid food coloring, but you’ll need more drops to get the same intensity, and it may be thinner. Mix it with a tiny bit of cornstarch to thicken it slightly. Alternatively, use dark purple or blue food coloring for a different spooky look.
How do I keep the spider webs from smearing?
Use a fresh toothpick for each egg, and let the coloring dry for about 30 seconds before moving the eggs. Don’t stack them or cover them tightly with plastic wrap until the webs are completely dry—about 10 minutes at room temperature.
Can I use a different filling recipe?
Absolutely! Any deviled egg filling works—just make sure it’s smooth and firm enough to hold the web lines. Avoid fillings that are too runny or oily, as the food coloring won’t stick well. My classic recipe with mayo, mustard, and vinegar is a safe bet.
How long do these eggs last at a party?
Deviled eggs should not sit out at room temperature for more than 2 hours. If your party runs longer, set the platter on a bed of ice or serve them in batches from the fridge. They’ll stay fresh and safe to eat all night with proper temperature control.
Pin This Recipe!
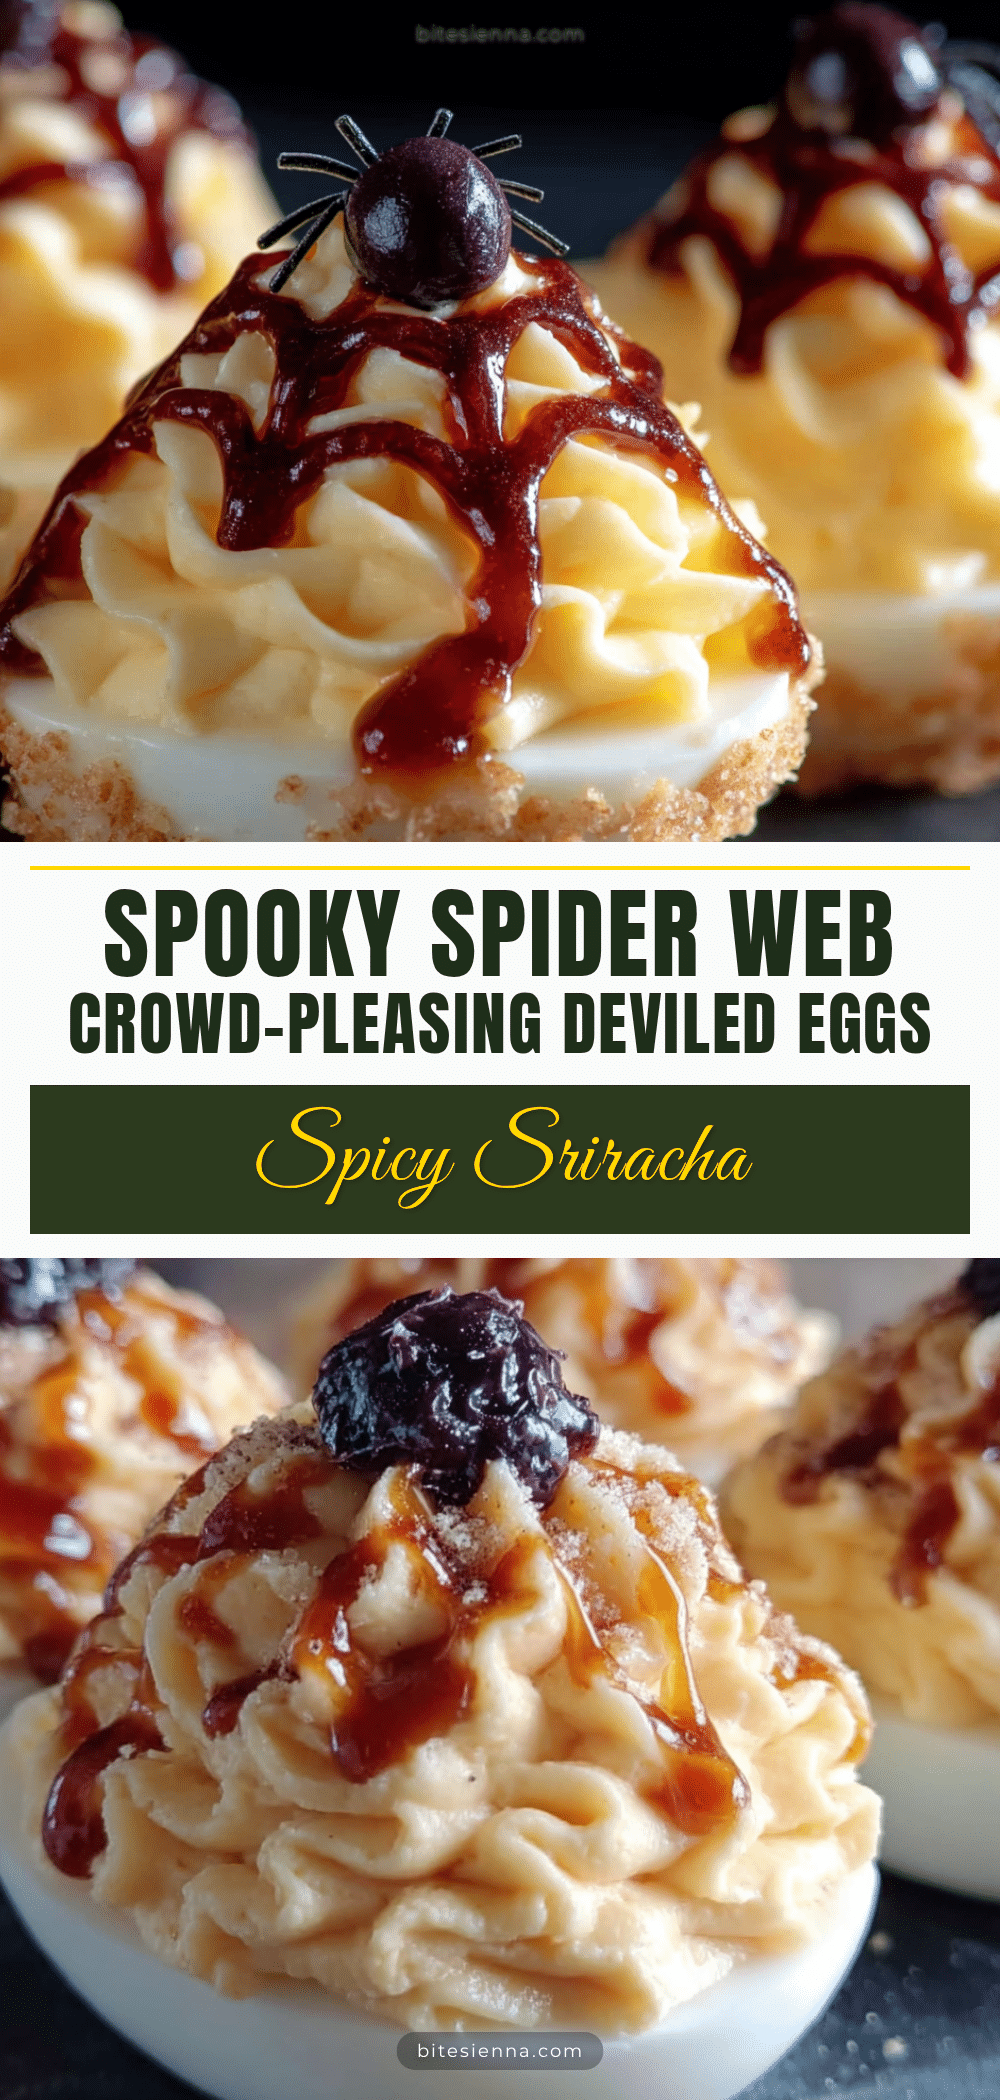
Best Easy Spooky Spider Web Deviled Eggs Recipe

These spooky spider web deviled eggs look like you spent hours piping intricate webs but actually come together in about thirty minutes of active work. They taste exactly like classic deviled eggs everyone already loves—just with a Halloween makeover that’s genuinely fun to create.
- Prep Time: 30 minutes
- Cook Time: 15 minutes
- Total Time: 45 minutes
- Yield: 24 servings 1x
- Category: Appetizer
- Cuisine: American
Ingredients
- 12 large eggs
- 1/3 cup mayonnaise
- 1 tablespoon yellow mustard
- 1 tablespoon white vinegar
- 1/2 teaspoon salt
- 1/4 teaspoon black pepper
- 1/4 teaspoon paprika
- 1/2 teaspoon black food coloring gel
- 1 teaspoon water
- Toothpicks
- Fresh chives or dill (optional)
- Edible glitter or black sesame seeds (optional)
- Mini plastic spiders (optional)
Instructions
- Place 12 eggs in a single layer in a large pot. Add enough cold water to cover by about an inch. Bring to a rolling boil over high heat. Cover, turn off heat, and let sit for exactly 12 minutes. Transfer to an ice bath and cool for at least 10 minutes.
- Gently tap each egg to crack the shell, roll between palms, and peel starting from the wider end. Rinse under cool water and pat dry. Slice each egg in half lengthwise, pop out yolks into a medium bowl, and arrange whites on a serving platter cut side up.
- Add mayonnaise, mustard, vinegar, salt, and pepper to the yolks. Mash with a fork, then use a hand mixer on low for 30 seconds until smooth and creamy. Adjust seasoning to taste.
- Spoon filling into a piping bag or zip-top bag. Snip off 1/4 inch of the tip. Pipe filling into each egg white half, mounding slightly above the rim.
- In a small bowl, mix black food coloring gel with water until smooth. Dip a clean toothpick into the mixture. Starting from the center of a filled egg, draw a small circle. Draw 4-6 straight lines radiating outward. Connect spokes with curved lines from center outward. Wipe toothpick clean after each egg or use a fresh one.
- Sprinkle paprika over each egg. Add chives, dill, or other garnishes if desired. Arrange plastic spiders on or around the platter. Serve immediately or refrigerate for up to 4 hours.
Notes
For best texture, let eggs come to room temperature before boiling. Older eggs peel more easily. The food coloring mixture should be the consistency of thin paint. You can boil and peel eggs up to two days ahead; store whites and filling separately. Draw webs the day of serving for crispest lines.
Nutrition
- Serving Size: 1 deviled egg
- Calories: 65
- Sugar: 0.5
- Sodium: 120
- Fat: 4.5
- Saturated Fat: 1
- Carbohydrates: 1
- Protein: 5
Keywords: Halloween deviled eggs, spider web deviled eggs, spooky appetizer, easy Halloween recipe, deviled eggs with web design


