My neighbor Carmen wasn’t trying to impress anyone. I’d stopped by to return her tupperware container—the one she’d sent me home with after a block party months earlier—and the smell hit me before I even got through her screen door. It was warm, floral, and sweet in a way that made my stomach actually growl out loud. She was pulling these golden, round loaves off the counter, their surfaces marked with crossed “bones” made from the same dough. She shrugged when I asked what she was making. “Oh, it’s just Pan de Muerto. For the ofrenda tomorrow.” Just. Like it was nothing. Like she hadn’t created something that smelled like heaven and memory all at once.
I stood there, honestly a little stunned, watching her work. She wasn’t measuring anything precisely—a handful of flour here, a splash of orange blossom water there. Her hands moved like they’d done this a thousand times before, which they probably had. She let me taste a warm scrap from the edge of one loaf, and let me tell you, I almost cried right there in her kitchen. The bread was soft, almost pillowy, with this delicate citrus perfume that made me think of sunshine and old family recipes all at once. Maybe you’ve been there—that moment when a single bite makes you realize you’ve been missing something you didn’t even know existed.
I asked her for the recipe, and she wrote it on the back of a grocery receipt. It was stained with butter and smelled like vanilla for weeks. That scrap of paper is still in my recipe box, and every year around this time, I pull it out and make a mess of my own kitchen. It’s not just bread. It’s the kind of recipe that connects you to something bigger—a tradition, a celebration, a community. And honestly? It’s the best thing I’ve ever baked.
Why You’ll Love This Recipe
This Homemade Pan de Muerto with Orange Blossom Glaze is the real deal—not some simplified version that loses all the magic. I’ve tested this recipe at least six times to get it just right, tweaking the hydration, the rising times, and the glaze consistency. It’s the kind of bread that makes you look like a hero without actually being complicated.
- Surprisingly Simple Dough: Despite its beautiful appearance, this dough is forgiving and straightforward. No complicated lamination or folding techniques here.
- Pantry-Friendly Ingredients: Flour, sugar, eggs, butter, yeast—everything you probably already have. The only special item is orange blossom water, which is cheap and lasts forever.
- Perfect for Day of the Dead: Whether you’re building an ofrenda or just want to honor the tradition, this bread is the centerpiece. It’s also gorgeous on a fall brunch table.
- Crowd-Pleasing Flavor: The orange blossom glaze takes it over the top—floral, sweet, and just a little bit fancy. Kids love the soft texture, and adults appreciate the sophisticated flavor.
- Freezes Beautifully: Make a double batch and freeze one for later. It thaws like a dream and tastes just as fresh.
What makes this recipe different from all the others? It’s the balance. Some versions are too dry, others are too sweet, and many skip the orange blossom glaze entirely (which is a tragedy). This version gives you that authentic, bakery-quality texture with a glaze that soaks into the warm bread just enough to make every bite memorable. It’s comfort food with a story—the kind that makes you close your eyes after the first bite and remember why you love cooking.
What Ingredients You Will Need
This recipe uses simple, wholesome ingredients to deliver that signature soft, aromatic bread. Most of these are pantry staples, and the few specialty items are easy to find and worth every penny.
For the Dough
- 4 cups (500g) all-purpose flour – I prefer Gold Medal or King Arthur for consistent results. Spoon and level your flour for accuracy.
- 1/2 cup (100g) granulated sugar – Adds sweetness and helps feed the yeast for a good rise.
- 1 packet (2 1/4 tsp) active dry yeast – I use Red Star or Fleischmann’s. Make sure it’s fresh—check the expiration date.
- 1/2 teaspoon salt – Just fine sea salt. Don’t skip it—it balances the sweetness.
- 1/2 cup (120ml) whole milk, warmed – Warm to about 110°F (just slightly warmer than your finger). Too hot will kill the yeast.
- 1/4 cup (60ml) orange juice, freshly squeezed – Fresh is noticeably better here. Bottled juice has a flat taste.
- 1 tablespoon orange blossom water – This is the secret ingredient. Find it in the international aisle or online. A little goes a long way.
- 3 large eggs, room temperature – Cold eggs will slow down your dough. Set them out an hour before starting.
- 1/3 cup (75g) unsalted butter, softened – Use good quality butter. It makes a difference in the final texture.
- 1 teaspoon vanilla extract – Pure vanilla, not imitation. Trust me on this.
- Zest of 1 orange – Adds brightness and depth to the citrus flavor.
For the Orange Blossom Glaze
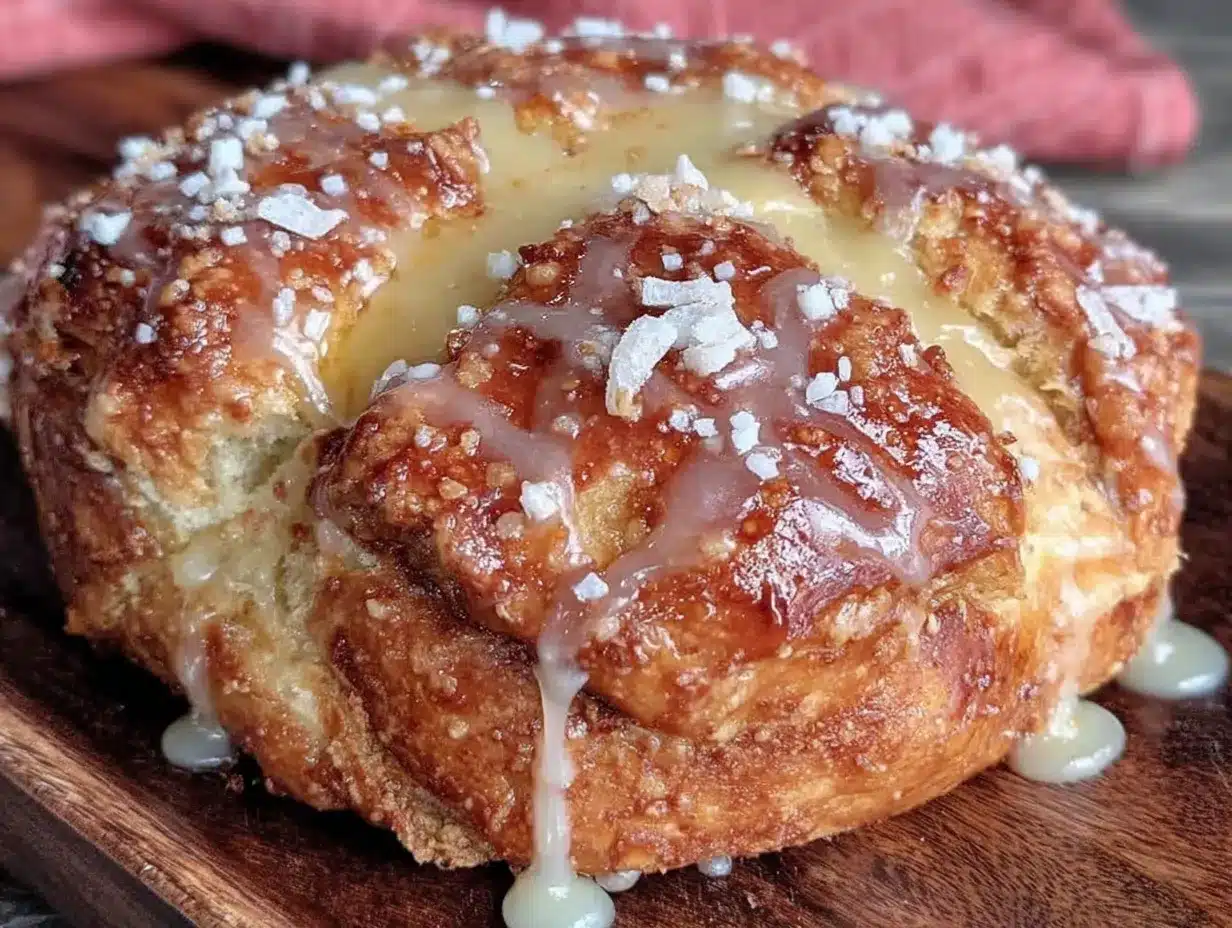
- 1 cup (120g) powdered sugar – Sift it first to avoid lumps.
- 2 tablespoons orange juice, freshly squeezed – Adjust for consistency.
- 1 teaspoon orange blossom water – For that floral, aromatic finish.
- 1 tablespoon melted butter – Adds richness and shine.
For Decoration
- Additional granulated sugar – For sprinkling on top after glazing. Coarse sugar looks beautiful if you have it.
- Orange zest – Optional but pretty for garnish.
Equipment Needed
- Stand mixer with dough hook – Makes kneading effortless, but you can absolutely do this by hand. It’ll take about 10-12 minutes of elbow grease.
- Large mixing bowl – Glass or stainless steel works best.
- Baking sheets – Two, lined with parchment paper.
- Plastic wrap or a clean kitchen towel – For covering the dough while it rises.
- Pastry brush – For applying the glaze. A silicone one is easiest to clean.
- Ruler or tape measure – Not strictly necessary, but helpful for getting those bone shapes even.
- Cooling rack – Essential for letting the glaze set without getting soggy bottoms.
I’ve made this recipe with a cheap hand mixer and a wooden spoon when my stand mixer broke. It worked fine. Don’t let missing equipment stop you—it’s more about the technique than the tools.
Preparation Method
This recipe takes about 3 hours total, including rising time. Most of that is hands-off, so plan accordingly. The active work is only about 30 minutes.
- Activate the yeast. In a small bowl, combine the warmed milk, 1 tablespoon of the sugar, and the yeast. Stir gently and let it sit for 5-10 minutes until it’s foamy and smells like bread. If it doesn’t foam, your yeast is dead—start over with fresh yeast.
- Mix the dry ingredients. In the bowl of your stand mixer, whisk together the flour, remaining sugar, and salt. Make a well in the center.
- Combine the wet ingredients. In a separate bowl, whisk together the orange juice, orange blossom water, eggs, vanilla extract, and orange zest. Pour this mixture into the well of dry ingredients, then add the foamy yeast mixture.
- Knead the dough. Using the dough hook, mix on low speed until a shaggy dough forms, about 2 minutes. Add the softened butter, one tablespoon at a time, while the mixer runs. Increase to medium speed and knead for 8-10 minutes. The dough should be smooth, elastic, and slightly tacky but not sticky. If it’s too wet, add a tablespoon of flour. Too dry? Add a splash of milk.
- First rise. Shape the dough into a ball and place it in a lightly oiled bowl, turning to coat. Cover with plastic wrap and let it rise in a warm, draft-free spot for 1.5 to 2 hours, until doubled in size. I put mine in the microwave with a cup of hot water—works like a charm.
- Shape the loaves. Punch down the dough and turn it out onto a lightly floured surface. Divide it into two equal pieces for two loaves. Set aside a small piece (about 1/4 cup) from each half for the bone decorations. Shape the main dough into a smooth round ball and place it on a parchment-lined baking sheet.
- Create the bone decorations. Divide the reserved dough into small pieces. Roll each into a thin rope about 6 inches long. Cut each rope into pieces: two longer pieces for the crossed bones and four smaller pieces for the knobs. Place the bones on top of the loaf in an “X” shape, pressing gently to attach. Add the small knobs where the bones meet and at the top center. It should look like a skull and crossbones made of dough.
- Second rise. Cover the shaped loaves loosely with plastic wrap and let them rise for another 45 minutes to 1 hour, until puffy and nearly doubled. They should feel light and airy when gently pressed.
- Bake. Preheat your oven to 350°F (175°C). Bake the loaves for 20-25 minutes, until they’re golden brown on top and sound hollow when tapped on the bottom. If the tops brown too quickly, tent loosely with foil for the last 5 minutes.
- Cool slightly. Let the loaves cool on the baking sheet for 5 minutes, then transfer them to a cooling rack. They should still be warm when you glaze them—not hot, but warm to the touch.
- Make the glaze. While the bread cools, whisk together the powdered sugar, orange juice, orange blossom water, and melted butter until smooth. It should be thick but pourable—like heavy cream. Add more juice if it’s too thick, more sugar if it’s too thin.
- Glaze and decorate. Brush the warm loaves generously with the glaze. It will soak in slightly and create a beautiful sheen. Immediately sprinkle with granulated sugar and orange zest if using. Let the glaze set for at least 15 minutes before slicing.
Cooking Tips & Techniques
I’ve made this recipe more times than I can count, and I’ve learned a few things the hard way. Here’s what I wish someone had told me the first time.
Don’t rush the first rise. I know it’s tempting to cut it short, but that long, slow rise is what gives Pan de Muerto its signature soft, airy crumb. If your kitchen is cold, put the dough in the oven with just the light on—it creates a perfect warm environment. I once tried to speed things up by putting it in a warm oven, and the bottom cooked before the rest rose. Learn from my mistake.
Watch your hydration. Different flours absorb liquid differently. If your dough feels stiff and dry after kneading, add a tablespoon of milk. If it’s a sticky mess, add a tablespoon of flour. The dough should feel soft and supple, like a baby’s cheek. That’s the texture you’re aiming for.
Orange blossom water is potent. A little goes a long way. I once added an extra tablespoon because I thought “more is better,” and the bread tasted like perfume. Stick to the measurements—the flavor should be subtle and floral, not overwhelming.
Glaze while warm. This is crucial. If the bread is too hot, the glaze will slide right off. Too cold, and it won’t absorb at all. Wait about 10-15 minutes after baking, then brush it on. The warm bread soaks up just enough glaze to be sweet without being soggy.
Bone placement matters. Press the dough decorations firmly onto the loaf before the second rise. If they’re loose, they’ll fall off during baking. I lost a few my first time and ended up with sad, naked loaves. Not a good look.
Variations & Adaptations
This recipe is wonderfully adaptable. Here are a few ways I’ve played with it over the years.
Dairy-Free Version: Swap the whole milk for oat milk or almond milk, and use vegan butter. The texture will be slightly less tender, but it’s still delicious. I tested this for a friend with dairy allergies, and she said it was the best Pan de Muerto she’d ever had.
Lemon-Anise Twist: Replace the orange blossom water with anise extract and the orange zest with lemon zest. The licorice flavor pairs beautifully with the soft bread. It’s a less traditional version, but my neighbor Carmen actually asked for this recipe after I brought it over.
Chocolate Pan de Muerto: Add 1/4 cup of unsweetened cocoa powder to the flour mixture and reduce the flour by 2 tablespoons. The chocolate version is rich and decadent—perfect for kids who might find the floral flavor too subtle. I drizzle a simple chocolate glaze on top instead of the orange version.
Gluten-Free Adaptation: Use a 1:1 gluten-free flour blend that contains xanthan gum. The dough will be stickier and harder to shape, but it works. I recommend chilling the dough for 30 minutes before shaping to make it more manageable. The texture won’t be exactly the same, but it’s close enough to satisfy a craving.
Savory Version: I know this sounds weird, but hear me out. Omit the sugar and orange blossom water, add 2 teaspoons of dried herbs (rosemary and thyme work well), and use the glaze as a savory butter wash. It’s not traditional at all, but it makes amazing sandwich buns.
Serving & Storage Suggestions
Pan de Muerto is best served warm, within a few hours of baking. The glaze is still slightly soft, and the bread is at its most tender. I like to serve it alongside a cup of Mexican hot chocolate or strong coffee. The bitterness of the coffee balances the sweetness of the glaze perfectly.
For a traditional Day of the Dead spread, arrange the loaves on a platter with marigolds, sugar skulls, and candles. It’s as much about the presentation as the taste. But honestly, it’s just as good eaten over the sink at midnight when no one’s watching.
Storage: Store leftover Pan de Muerto in an airtight container at room temperature for up to 3 days. The glaze will soften over time, but the bread stays moist. Do not refrigerate—it will dry out the bread and make it stale.
Freezing: This bread freezes beautifully. Wrap the cooled, unglazed loaves tightly in plastic wrap, then foil, and freeze for up to 3 months. When you’re ready to serve, thaw at room temperature, then warm in a 300°F oven for 5-10 minutes. Glaze after warming. I always freeze one loaf for emergencies—like when I need a last-minute contribution to a potluck.
Reheating: The best way to reheat individual slices is in a toaster oven or air fryer at 300°F for 3-4 minutes. It brings back that fresh-from-the-oven texture. Microwaving works in a pinch but makes the bread a bit chewy.
Nutritional Information & Benefits
This recipe makes two loaves, with each loaf serving about 8 people. Per serving (1 slice, about 1/16 of a loaf):
- Calories: 285
- Fat: 8g
- Carbohydrates: 47g
- Protein: 6g
- Sugar: 22g
- Fiber: 1g
While this isn’t health food, it’s not as indulgent as you might think. The orange juice and zest provide a small dose of vitamin C, and the eggs add protein. The orange blossom water has been used in traditional medicine for its calming properties—though I can’t vouch for that scientifically. What I can say is that the act of making this bread, kneading the dough and watching it rise, is a form of mindfulness that’s good for the soul.
If you’re watching your sugar intake, you can reduce the glaze sugar by half or skip the glaze entirely. The bread is still delicious on its own, just less sweet. For a lower-carb option, this isn’t the recipe for you—it’s a celebration bread, meant to be enjoyed in moderation.
Conclusion
This Homemade Pan de Muerto with Orange Blossom Glaze is more than just a recipe. It’s a connection to tradition, a way to honor those who came before us, and a genuinely delicious bread that belongs on your table whether it’s Day of the Dead or just a regular Tuesday. The soft, tender crumb, the floral citrus notes, the beautiful glaze—every element comes together to create something that feels special without being fussy.
I’ve made this bread for friends, family, and even a few strangers who happened to be at the right place at the right time. Every single time, someone asks for the recipe. And every time, I think about Carmen standing in her kitchen, shrugging like it was nothing. That’s the magic of this bread—it makes you feel like you’ve discovered a secret, and you get to share it with everyone you love.
So go ahead. Make a mess of your kitchen. Get flour on your nose. And when you pull those golden loaves out of the oven, take a moment to breathe in that orange blossom scent. Then share it with someone you love. That’s what this bread is all about.
I’d love to hear how yours turns out! Drop a comment below and let me know if you tried any of the variations, or if you came up with your own twist. Happy baking, friend.
Frequently Asked Questions
Can I make Pan de Muerto without a stand mixer?
Absolutely! You can knead the dough by hand on a floured surface. It takes about 10-12 minutes of steady work, but it’s a great arm workout. The dough should be smooth and elastic when you’re done.
Where can I find orange blossom water?
Look in the international aisle of your grocery store, near the Middle Eastern or Mexican ingredients. You can also find it online or at specialty baking shops. A bottle costs around $5 and lasts for dozens of batches.
Can I skip the orange blossom glaze?
You can, but you’ll be missing out. The glaze adds sweetness, moisture, and that signature floral flavor. If you really want to skip it, brush the warm bread with melted butter and sprinkle with cinnamon sugar instead.
Why did my dough not rise?
Several possibilities: your yeast was expired, your milk was too hot (killed the yeast) or too cold (didn’t activate it), or your kitchen was too drafty. Always proof your yeast first to make sure it’s active, and find a warm, draft-free spot for rising.
Can I make this recipe vegan?
Yes, with some adjustments. Use a flax egg (1 tablespoon ground flaxseed + 3 tablespoons water per egg), plant-based milk, and vegan butter. The texture will be slightly denser, but it’s still delicious. I’ve tested it with oat milk and it worked great.
Pin This Recipe!
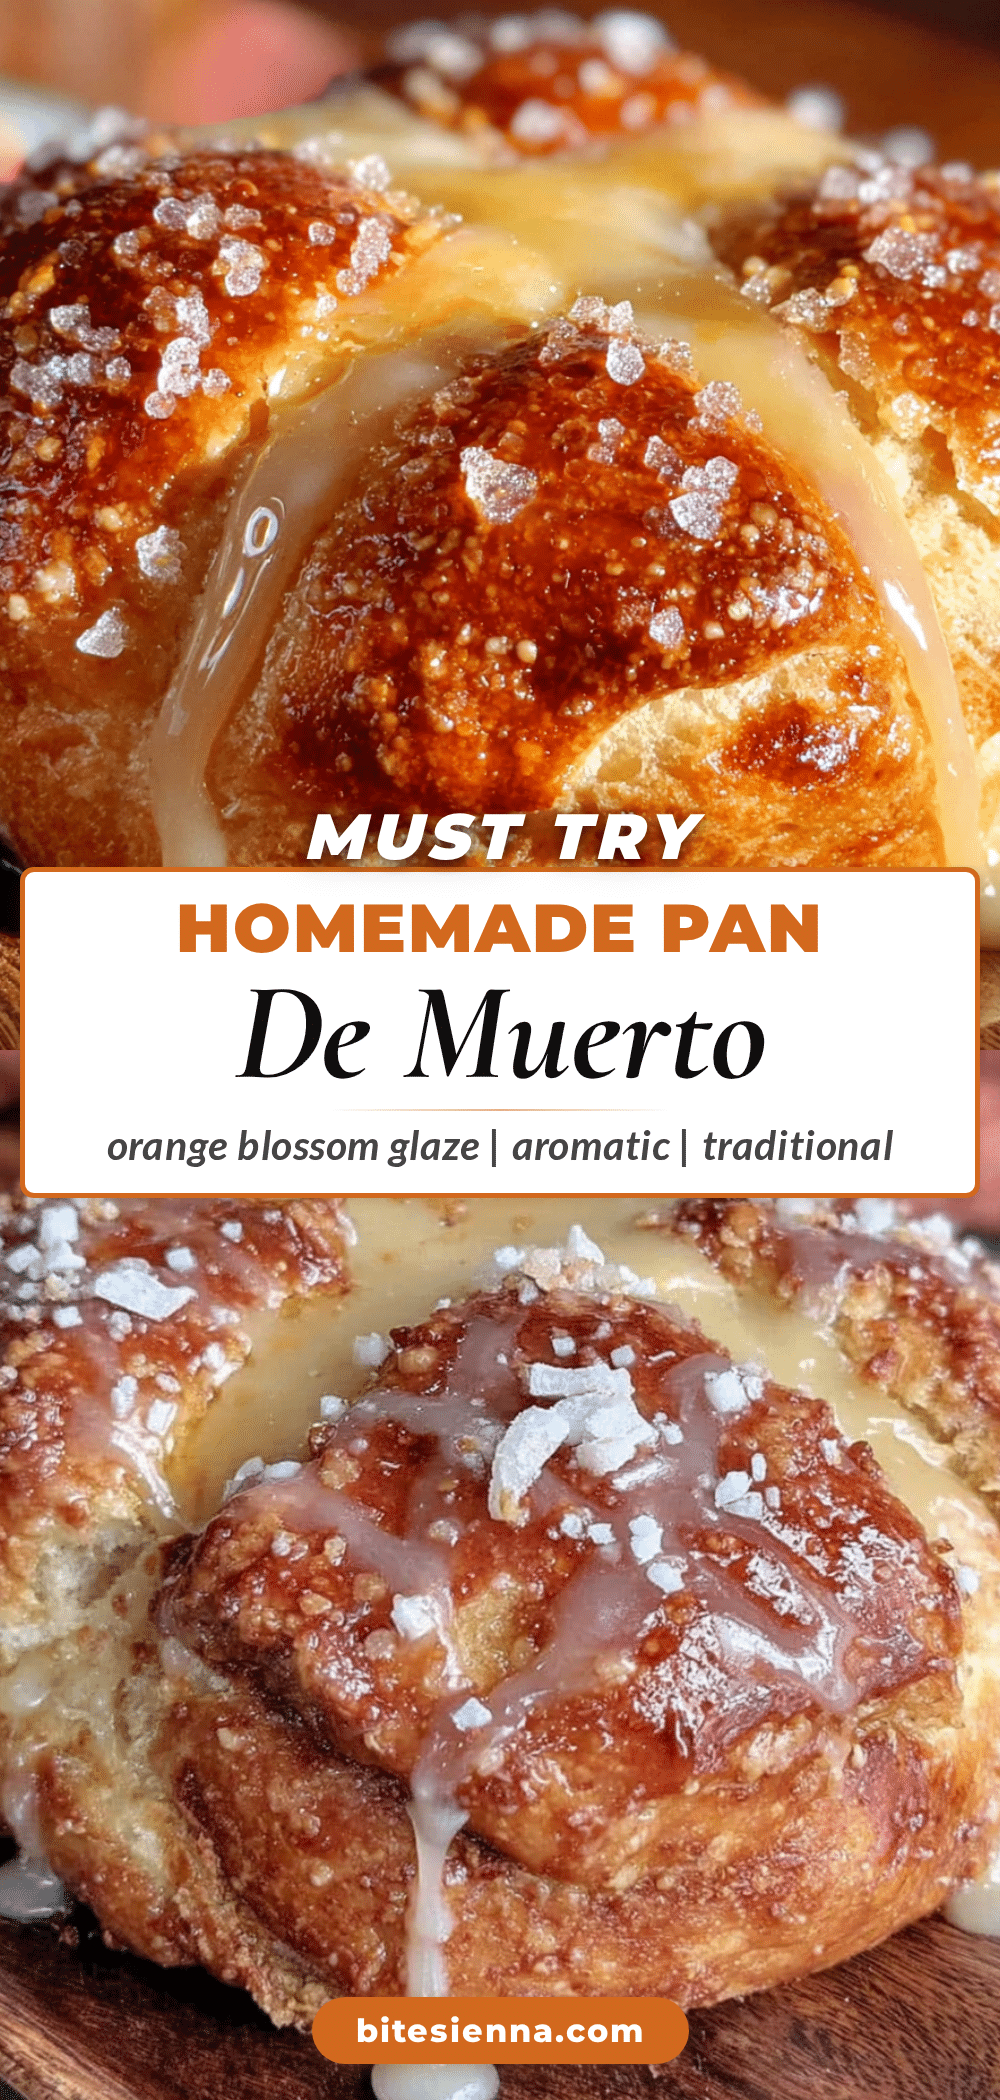
Best Homemade Pan de Muerto with Easy Orange Glaze
This Homemade Pan de Muerto with Orange Blossom Glaze is the real deal—soft, pillowy bread with a delicate citrus perfume, topped with a floral sweet glaze. It’s the kind of bread that makes you look like a hero without being complicated, perfect for Day of the Dead or any fall celebration.
- Prep Time: 30 minutes
- Cook Time: 25 minutes
- Total Time: 3 hours (including rising time)
- Yield: 16 servings (2 loaves, 8 servings each) 1x
- Category: Bread
- Cuisine: Mexican
Ingredients
- 4 cups (500g) all-purpose flour
- 1/2 cup (100g) granulated sugar
- 1 packet (2 1/4 tsp) active dry yeast
- 1/2 teaspoon salt
- 1/2 cup (120ml) whole milk, warmed
- 1/4 cup (60ml) orange juice, freshly squeezed
- 1 tablespoon orange blossom water
- 3 large eggs, room temperature
- 1/3 cup (75g) unsalted butter, softened
- 1 teaspoon vanilla extract
- Zest of 1 orange
- 1 cup (120g) powdered sugar
- 2 tablespoons orange juice, freshly squeezed
- 1 teaspoon orange blossom water
- 1 tablespoon melted butter
- Additional granulated sugar for sprinkling
- Orange zest for garnish (optional)
Instructions
- Activate the yeast: In a small bowl, combine the warmed milk, 1 tablespoon of the sugar, and the yeast. Stir gently and let it sit for 5-10 minutes until foamy.
- Mix the dry ingredients: In the bowl of a stand mixer, whisk together the flour, remaining sugar, and salt. Make a well in the center.
- Combine the wet ingredients: In a separate bowl, whisk together the orange juice, orange blossom water, eggs, vanilla extract, and orange zest. Pour into the well of dry ingredients, then add the foamy yeast mixture.
- Knead the dough: Using the dough hook, mix on low speed until a shaggy dough forms, about 2 minutes. Add the softened butter, one tablespoon at a time, while the mixer runs. Increase to medium speed and knead for 8-10 minutes until smooth, elastic, and slightly tacky.
- First rise: Shape the dough into a ball and place it in a lightly oiled bowl, turning to coat. Cover with plastic wrap and let it rise in a warm, draft-free spot for 1.5 to 2 hours, until doubled in size.
- Shape the loaves: Punch down the dough and divide it into two equal pieces. Set aside a small piece (about 1/4 cup) from each half for decorations. Shape the main dough into smooth round balls and place on parchment-lined baking sheets.
- Create the bone decorations: Divide the reserved dough into small pieces. Roll each into a thin rope about 6 inches long. Cut into pieces: two longer for crossed bones and four smaller for knobs. Place on top of the loaf in an ‘X’ shape, pressing gently to attach. Add knobs where bones meet and at the top center.
- Second rise: Cover the shaped loaves loosely with plastic wrap and let rise for 45 minutes to 1 hour, until puffy and nearly doubled.
- Bake: Preheat oven to 350°F (175°C). Bake loaves for 20-25 minutes until golden brown and hollow when tapped. Tent with foil if browning too quickly.
- Cool slightly: Let loaves cool on baking sheet for 5 minutes, then transfer to a cooling rack. They should be warm but not hot when glazed.
- Make the glaze: Whisk together powdered sugar, orange juice, orange blossom water, and melted butter until smooth and pourable like heavy cream.
- Glaze and decorate: Brush warm loaves generously with glaze. Immediately sprinkle with granulated sugar and orange zest if using. Let glaze set for at least 15 minutes before slicing.
Notes
Don’t rush the first rise—it gives the bread its soft, airy crumb. Orange blossom water is potent; stick to the measurements. Glaze while the bread is warm (about 10-15 minutes after baking) for best absorption. Press bone decorations firmly onto the loaf before the second rise to prevent them from falling off during baking. For dairy-free, use oat milk and vegan butter. For gluten-free, use a 1:1 gluten-free flour blend with xanthan gum and chill dough before shaping.
Nutrition
- Serving Size: 1 slice (1/16 of rec
- Calories: 285
- Sugar: 22
- Sodium: 150
- Fat: 8
- Saturated Fat: 4
- Carbohydrates: 47
- Fiber: 1
- Protein: 6
Keywords: Pan de Muerto, Day of the Dead bread, orange blossom glaze, Mexican sweet bread, traditional bread, fall baking, holiday bread


