My daughter asked why I couldn’t just use the bag of bread cubes from the store and toss in some apples. I started to explain why that wouldn’t work — then stopped. She was eight, and she’d just watched me haul out three different loaves of bread, a cutting board the size of a small surfboard, and enough fresh herbs to perfume the entire neighborhood. I was about to launch into my usual spiel about texture and moisture ratios and the importance of day-old bread. But honestly? I was tired. The Thanksgiving prep list had gotten away from me, and the idea of skipping a step sounded like pure magic. So I grabbed a bag of decent-quality seasoned bread cubes from the pantry, a couple of Honeycrisp apples from the fruit bowl, and said, “Fine. Let’s try it your way.”
The result was, and I’m not exaggerating, the best stuffing I’ve ever made. My daughter looked at me with that smug, knowing grin kids get when they’ve just outsmarted you. And she was right. That bagged bread soaked up the broth and butter perfectly, the apples stayed tender but not mushy, and the dried cranberries added these little bursts of tartness that made everyone at the table go back for seconds. I mean, I’ve spent years perfecting my from-scratch stuffing, and this shortcut version was somehow better. Let’s just say I learned a valuable lesson that day: sometimes the best recipes come from letting someone else — even a second-grader — take the lead. This Kid-Approved Apple Cranberry Stuffing with Fresh Herbs has been on our holiday table ever since, and it always gets the same reaction. You know that feeling when a dish just works, and you can’t quite explain why? This is that recipe.
Why You’ll Love This Recipe
This isn’t just another stuffing recipe. It’s the one that solves the eternal holiday dilemma: how do you make a side dish that pleases the adults who want something sophisticated and the kids who just want something tasty? I’ve tested this version across three different Thanksgiving dinners, two Friendsgivings, and one very memorable potluck where it disappeared in fifteen minutes. Here’s why it works:
- Kid-Approved, Parent-Approved: The sweetness from the apples and cranberries naturally appeals to younger palates, while the fresh herbs and savory broth keep adults happy. It’s a genuine crowd-pleaser, not a compromise.
- Simple Ingredients: No hunting for specialty bread or obscure spices. You can find everything at a regular grocery store, and most of it is probably already in your kitchen. This is practical cooking for real families.
- Perfect for Busy Holidays: This stuffing comes together in about 15 minutes of active prep time. While the turkey rests, you can pop this in the oven. It frees up your stove and your sanity.
- Budget-Friendly: Using quality bagged bread cubes instead of making your own from scratch saves both time and money. The fresh herbs add that homemade flavor without the homemade price tag.
- Unbelievably Delicious: The texture is spot-on — crispy on top, tender and moist underneath. The combination of sweet apples, tart cranberries, and savory herbs is honestly addictive. I’ve seen people eat this as a main course.
What makes this recipe different from all the others is the approach. I’m not asking you to spend hours drying out bread or meticulously chopping herbs. Instead, we’re working smarter, not harder. The trick is in how we layer the flavors: sautéing the aromatics first, toasting the bread cubes slightly before adding liquid, and letting the whole thing rest before baking. These small steps make a massive difference. And honestly, this recipe is the kind that makes you close your eyes after the first bite. It’s comfort food, pure and simple — the kind that reminds you why family dinners matter.
What Ingredients You Will Need
This recipe relies on simple, affordable ingredients that work together to create something genuinely special. Most of these are pantry staples or easy holiday finds. I’ve included notes on what to look for and what to swap if needed.
- 1 (14-ounce) bag seasoned bread cubes (I prefer Pepperidge Farm or a store brand with similar quality — look for ones with herbs already mixed in for extra flavor)
- 1/2 cup unsalted butter (plus more for greasing the dish; salted butter works too, just reduce added salt slightly)
- 1 large yellow onion, diced (about 1 1/2 cups; sweet onions like Vidalia also work well)
- 3 celery stalks, diced (about 1 cup; include the leaves if they’re still attached — they add flavor)
- 2 medium Honeycrisp or Fuji apples, peeled and diced (about 2 cups; Granny Smith works for a tarter flavor, but kids tend to prefer sweeter varieties)
- 1 cup dried cranberries (look for unsweetened or reduced-sugar if you want to cut down on sweetness; Craisins work fine)
- 2 tablespoons fresh sage, finely chopped (about 8-10 large leaves; dried sage won’t give the same bright flavor)
- 1 tablespoon fresh rosemary, finely chopped (about 2 sprigs; strip the leaves from the woody stem)
- 1 tablespoon fresh thyme leaves (about 4-5 sprigs; run your fingers down the stem to remove the leaves easily)
- 2 1/2 cups low-sodium chicken or vegetable broth (warm it slightly before adding — cold broth will make the stuffing take longer to bake)
- 1 large egg, lightly beaten (this helps bind the stuffing and gives it a better texture; omit for a vegan version)
- 1/2 teaspoon salt (plus more to taste; remember the bread cubes and broth already contain salt)
- 1/2 teaspoon black pepper (freshly ground is best, but pre-ground works in a pinch)
Ingredient Tips from My Kitchen: I’ve made this recipe with both fresh and dried herbs, and honestly, fresh is non-negotiable here. The dried herbs get lost among the other flavors. If you’re in a pinch, use about one-third the amount of dried herbs, but the result won’t be quite as bright. For the apples, I’ve tried Gala, Pink Lady, and even Red Delicious — Honeycrisp holds its shape best and adds the right amount of sweetness. And please, don’t skip the egg. It makes the stuffing hold together beautifully instead of crumbling into a sad pile on the plate.
Equipment Needed
You don’t need a lot of fancy equipment for this recipe. Here’s what you’ll need to have on hand:
- Large skillet or sauté pan (12-inch is ideal; you need room to cook the vegetables without overcrowding)
- 9×13-inch baking dish (a 3-quart casserole dish works too; just make sure it’s oven-safe)
- Large mixing bowl (for combining the bread cubes with the vegetable mixture)
- Chef’s knife and cutting board (a sharp knife makes dicing the apples and vegetables much easier)
- Wooden spoon or silicone spatula (for stirring; avoid metal utensils if using a nonstick pan)
- Measuring cups and spoons (dry and liquid measuring cups are both helpful here)
- Aluminum foil (for covering the dish during the first part of baking)
If you don’t have a 9×13-inch dish, you can use a 10-inch cast-iron skillet instead — it gives the stuffing a nice crispy edge. I’ve also used a disposable aluminum pan when bringing this to potlucks, and it works perfectly. For the skillet, any large pan will do as long as it can hold all the vegetables. And honestly, if you’re missing a specific tool, just adapt. I once made this using a butter knife to chop the herbs because my chef’s knife was in the dishwasher. It took longer, but the stuffing turned out just fine.
Preparation Method
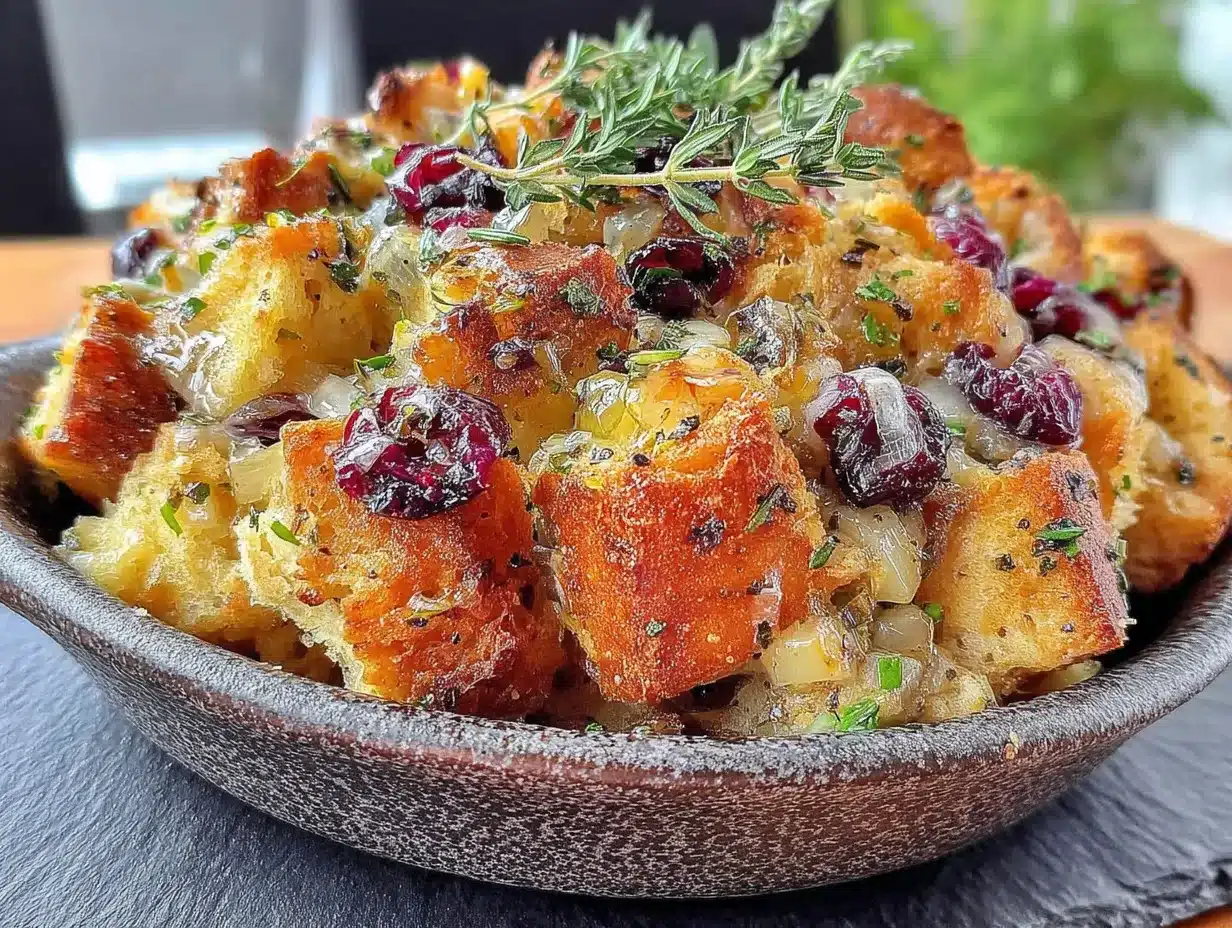
This recipe comes together in a few simple steps. I’ve broken it down so you can follow along easily, even if you’re juggling other dishes at the same time.
- Preheat your oven to 375°F (190°C). Grease a 9×13-inch baking dish with butter or nonstick spray. Set it aside while you prepare the rest.
- Melt the butter in a large skillet over medium heat. Add the diced onion and celery. Cook for 5-7 minutes, stirring occasionally, until the vegetables are soft and translucent. The onions should look glossy and smell sweet — that’s your cue that they’re ready.
- Add the diced apples to the skillet. Cook for another 3-4 minutes, stirring gently. You want the apples to soften slightly but still hold their shape. They should not turn into applesauce. If they start to break apart, you’ve cooked them too long.
- Stir in the fresh herbs: sage, rosemary, and thyme. Cook for 1 minute until fragrant. This step is important — it wakes up the herbs and releases their essential oils. Your kitchen will smell incredible at this point.
- Remove the skillet from heat. In a large mixing bowl, combine the bagged bread cubes, the cooked vegetable-apple mixture, and the dried cranberries. Toss gently with your hands or a large spoon until everything is evenly distributed.
- In a separate bowl or measuring cup, whisk together the warm broth, beaten egg, salt, and pepper. Pour this mixture over the bread cube mixture. Stir gently until all the bread cubes are moistened. Don’t overmix — you want some texture, not mush. Let it sit for 5 minutes so the bread can absorb the liquid.
- Transfer the stuffing to the prepared baking dish. Spread it into an even layer. If you like a crispy top, don’t press it down too firmly. For a more compact stuffing (which some kids prefer), press it gently with the back of a spoon.
- Cover the dish with aluminum foil and bake for 25 minutes. This steams the stuffing and ensures the inside is cooked through and moist.
- Remove the foil and bake for an additional 15-20 minutes. The top should be golden brown and slightly crispy. If you want extra crunch, broil for 2-3 minutes at the end — but watch it carefully so it doesn’t burn.
- Let the stuffing rest for 5-10 minutes before serving. This allows the texture to set. Digging in immediately will result in a messy, soupy stuffing. Trust me on this — I’ve learned the hard way.
A Note on Timing: If you’re making this alongside a turkey, you can prepare the stuffing up to step 7 and refrigerate it for up to 24 hours. Just add 10-15 minutes to the covered baking time. This is a lifesaver on Thanksgiving morning.
Cooking Tips & Techniques
Over the years, I’ve made this stuffing more times than I can count. Here are the lessons I’ve learned — some through success, others through spectacular failure.
Don’t Overcook the Apples: This was my biggest mistake the first few times. I thought the apples needed to be fully softened before baking, so I cooked them until they were practically falling apart. The result was a stuffing with mushy apple bits that disappeared into the bread. Now I cook them just until they start to soften — about 3-4 minutes. They’ll continue cooking in the oven, and you’ll get these lovely little apple pieces that retain their shape and add a subtle sweetness.
Toast the Bread Cubes (Optional but Recommended): If you have an extra 5 minutes, spread the bread cubes on a baking sheet and toast them in the 375°F oven while you cook the vegetables. This gives them a head start on crispiness and prevents them from turning into a soggy mess. I don’t always do this, but when I do, the texture is noticeably better.
Warm Your Broth: Cold broth can shock the bread cubes and create uneven moisture distribution. I microwave my broth for about 60 seconds before adding it to the mixture. It doesn’t need to be hot — just warm to the touch. This small step makes a big difference in how evenly the bread absorbs the liquid.
Use Your Hands: When combining the bread cubes with the vegetable mixture and broth, using your hands (clean, of course) gives you better control than a spoon. You can feel when the bread is evenly moistened without overmixing. Plus, it’s oddly satisfying.
Make Ahead Strategy: This stuffing reheats beautifully. I often make it a day ahead, refrigerate it unbaked, and then bake it while the turkey rests. If you’re reheating leftovers, add a splash of broth before warming to restore moisture. The microwave works in a pinch, but the oven gives you back that crispy top.
Variations & Adaptations
This recipe is wonderfully flexible. Here are some ways I’ve adapted it over the years:
Gluten-Free Version: Substitute the seasoned bread cubes with a good-quality gluten-free bread cube mix. I’ve used the one from Aleia’s with great results. You may need to adjust the broth slightly — gluten-free bread absorbs liquid differently, so start with 2 cups and add more if needed.
Vegan Version: Replace the butter with a plant-based alternative (I like Miyoko’s for its rich flavor) and use vegetable broth instead of chicken. Omit the egg — the stuffing will be a bit looser, but it still holds together well. Add an extra tablespoon of olive oil to help with binding.
Add Some Protein: For a main-dish stuffing, stir in 1 1/2 cups of cooked, crumbled sausage (sweet or spicy Italian works beautifully) or diced cooked bacon. Cook the sausage first and drain the fat before adding it to the mixture. This turns the stuffing into a hearty meal that even the hungriest teenager will love.
Nutty Twist: Add 1/2 cup of toasted pecans or walnuts along with the dried cranberries. Toast them in a dry skillet over medium heat for 3-4 minutes until fragrant — this brings out their flavor. My sister-in-law adds pecans every year, and now her version has its own fan club.
Seasonal Fruit Swap: In the fall, I sometimes swap half the apples for diced pears. In the summer, fresh peaches work surprisingly well. Just make sure whatever fruit you use is firm enough to hold its shape during cooking. And if you’re out of dried cranberries, dried cherries or chopped dried apricots make excellent substitutes.
Serving & Storage Suggestions
Serving: This stuffing is best served warm, straight from the oven. I like to garnish it with a few fresh herb sprigs — it makes the dish look beautiful with almost no effort. Spoon it alongside roast turkey, chicken, or even a simple roasted pork loin. It also pairs wonderfully with mashed potatoes and green bean casserole for a classic holiday plate.
Storage: Leftover stuffing keeps well in an airtight container in the refrigerator for up to 4 days. The flavors actually meld together and deepen overnight, so leftovers often taste even better. I’ve been known to eat this cold straight from the fridge — don’t judge me until you’ve tried it.
Freezing: You can freeze this stuffing for up to 3 months. Bake it completely, let it cool, then wrap it tightly in plastic wrap and aluminum foil. To reheat, thaw overnight in the refrigerator, then warm in a 350°F oven covered with foil for about 20 minutes, removing the foil for the last 5 minutes to crisp the top.
Reheating: For individual portions, the microwave works fine — just cover the plate with a damp paper towel to add moisture. For larger amounts, the oven is better. Add a tablespoon or two of broth to the dish before reheating to prevent drying out. I’ve found that reheating at 325°F for 15-20 minutes gives the best results.
Flavor Development: Here’s something interesting — this stuffing actually gets better after a day or two in the fridge. The herbs have time to meld with the bread, and the apple flavor becomes more pronounced. So don’t worry if you have leftovers. They’re a feature, not a bug.
Nutritional Information & Benefits
Per serving (about 1 cup, based on 10 servings): Approximately 280 calories, 12g fat, 38g carbohydrates, 5g protein, 4g fiber, 480mg sodium. These values are estimates and will vary based on specific ingredients and portion sizes.
Health Highlights: This stuffing includes fresh apples, which provide fiber and vitamin C, and celery, which is a good source of antioxidants. The fresh herbs — sage, rosemary, and thyme — are rich in anti-inflammatory compounds. Using low-sodium broth helps keep the sodium in check without sacrificing flavor. And the dried cranberries add a dose of polyphenols, which are beneficial plant compounds.
Dietary Considerations: This recipe can be made gluten-free and vegan with the substitutions mentioned above. It contains dairy (butter) and eggs in its standard form. For nut-free preparation, simply omit any optional nuts. As always, check your specific ingredient labels if you’re cooking for someone with allergies.
I’m not a nutritionist, but I believe in cooking with whole ingredients and enjoying food without guilt. This stuffing fits that philosophy — it’s made with real food, it’s satisfying, and it brings people together. That’s a kind of wellness that goes beyond numbers on a page.
Conclusion
This Kid-Approved Apple Cranberry Stuffing with Fresh Herbs has earned its place on our holiday table through sheer deliciousness and practicality. It’s the recipe that taught me to let go of my perfectionism and listen to an eight-year-old who just wanted to help. And honestly, it’s become the dish I look forward to most every Thanksgiving.
I hope you’ll try it — and more importantly, I hope you’ll make it your own. Maybe your kids will suggest a different fruit, or you’ll add your own secret ingredient. That’s the beauty of cooking. The best recipes aren’t the ones we follow perfectly; they’re the ones we adapt and make our own. So grab a bag of bread cubes, chop some apples, and let the people around you inspire you. You might just end up with a new family favorite.
If you make this stuffing, I’d love to hear about it. Leave a comment below and tell me how it turned out — or better yet, tell me what your kids suggested that ended up working even better than you expected. Happy cooking, friends!
Frequently Asked Questions
Can I make this stuffing ahead of time?
Absolutely! You can prepare the stuffing up to the point of baking, cover it, and refrigerate for up to 24 hours. When you’re ready to bake, add about 10-15 minutes to the covered baking time. This is actually my preferred method for Thanksgiving — it frees up oven space and reduces stress.
Can I use dried herbs instead of fresh?
You can, but the flavor won’t be as bright. If you need to use dried herbs, use about one-third of the amount called for fresh. So instead of 2 tablespoons of fresh sage, use about 2 teaspoons of dried. That said, fresh herbs really do make a difference here, especially since this recipe relies on them for its signature flavor.
My stuffing came out too dry. What went wrong?
This usually happens when the bread cubes absorb too much liquid during baking or when the dish is baked uncovered for too long. Next time, make sure your broth is warm when you add it, and don’t skip covering the dish with foil for the first part of baking. If you’re reheating leftovers, add a splash of broth before warming to restore moisture.
Can I cook this stuffing inside the turkey?
I don’t recommend it for food safety reasons. Stuffing cooked inside the turkey needs to reach 165°F, which often results in overcooked turkey or undercooked stuffing. Baking it separately gives you better control and a crispier top. Plus, it’s one less thing to worry about on a busy cooking day.
How do I make this stuffing less sweet for picky adults?
If you’re serving adults who prefer less sweetness, use Granny Smith apples instead of Honeycrisp — they’re much tarter. You can also reduce the dried cranberries to 1/2 cup or use unsweetened dried cranberries. Adding a bit more black pepper and an extra tablespoon of fresh sage will also help balance the sweetness.
Pin This Recipe!
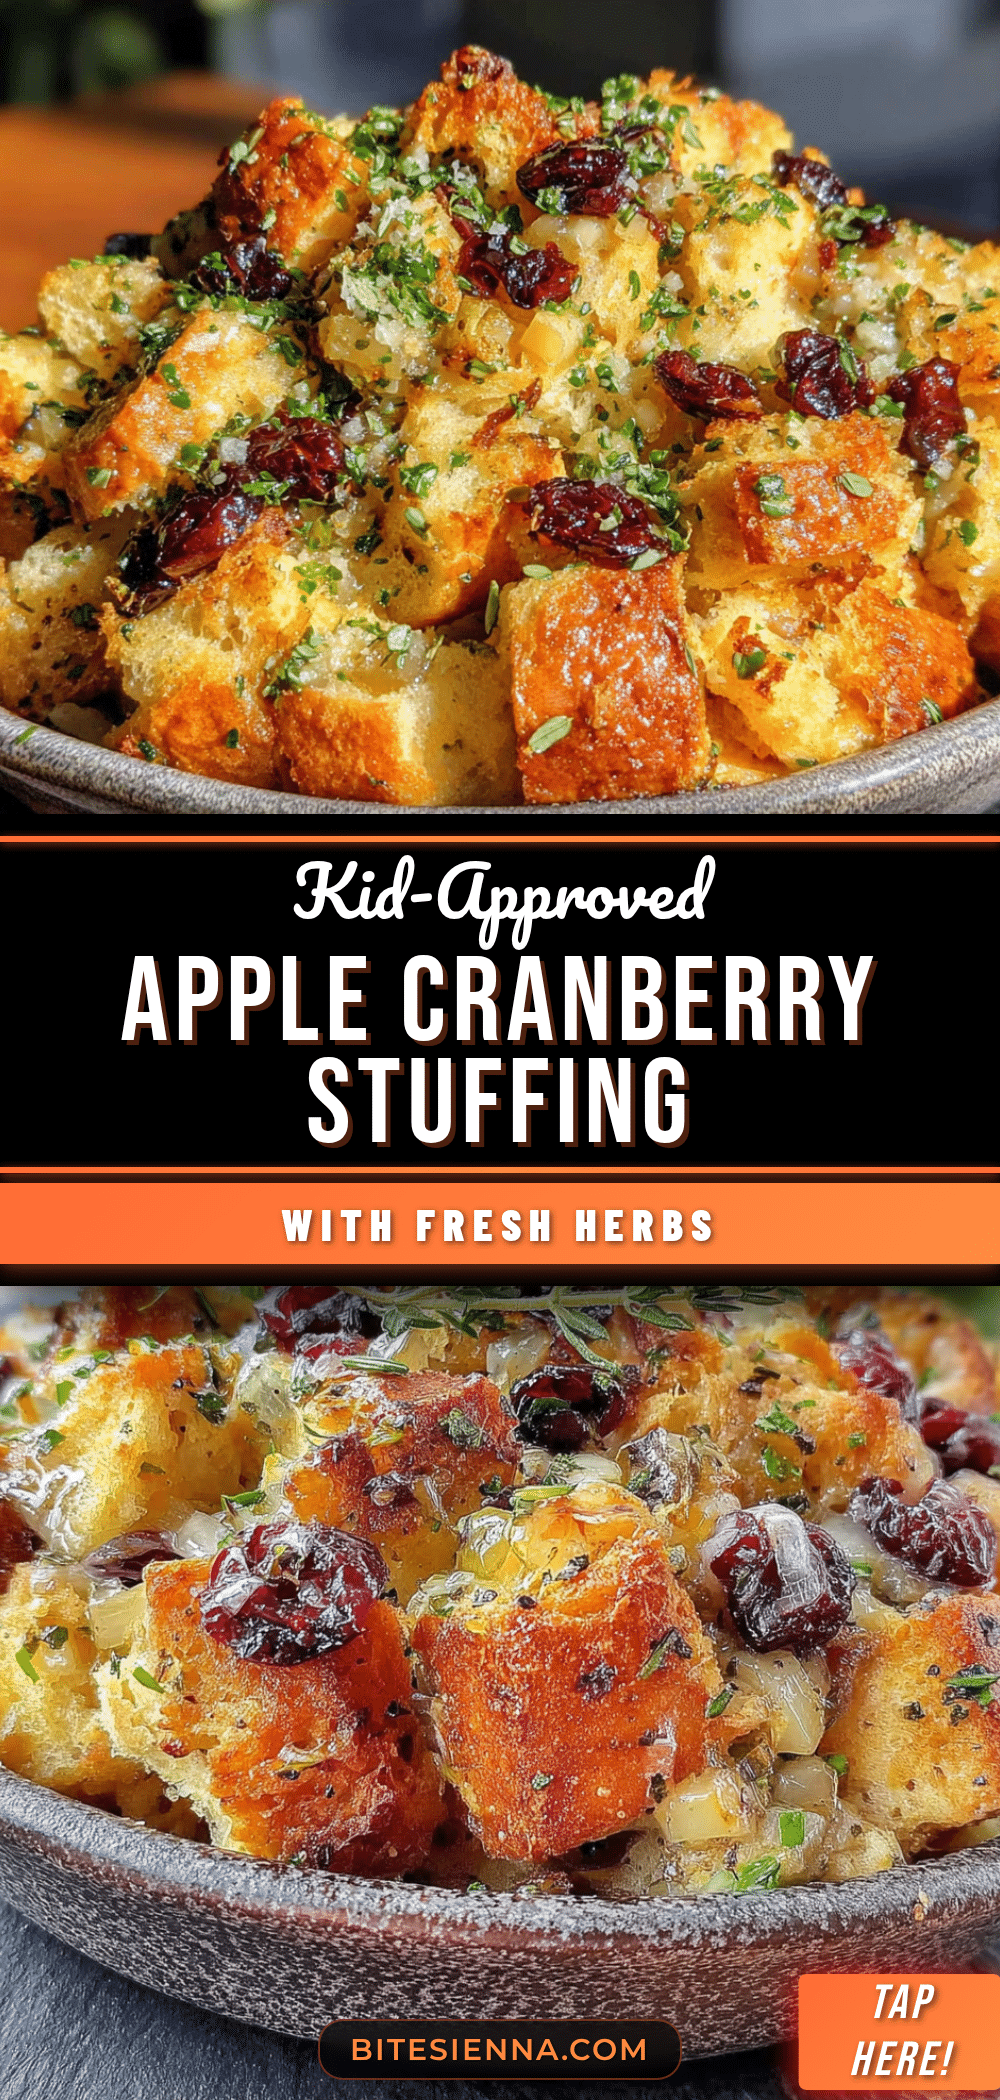
Best Kid-Approved Apple Cranberry Stuffing with Fresh Herbs

This kid-approved apple cranberry stuffing uses shortcut ingredients like bagged bread cubes for a quick, delicious side dish that pleases both kids and adults. Sweet apples, tart cranberries, and fresh herbs create a crowd-pleasing holiday favorite.
- Prep Time: 15 minutes
- Cook Time: 45 minutes
- Total Time: 1 hour
- Yield: 10 servings 1x
- Category: Side Dish
- Cuisine: American
Ingredients
- 1 (14-ounce) bag seasoned bread cubes
- 1/2 cup unsalted butter (plus more for greasing)
- 1 large yellow onion, diced (about 1 1/2 cups)
- 3 celery stalks, diced (about 1 cup)
- 2 medium Honeycrisp or Fuji apples, peeled and diced (about 2 cups)
- 1 cup dried cranberries
- 2 tablespoons fresh sage, finely chopped
- 1 tablespoon fresh rosemary, finely chopped
- 1 tablespoon fresh thyme leaves
- 2 1/2 cups low-sodium chicken or vegetable broth (warmed)
- 1 large egg, lightly beaten
- 1/2 teaspoon salt
- 1/2 teaspoon black pepper
Instructions
- Preheat your oven to 375°F (190°C). Grease a 9×13-inch baking dish with butter or nonstick spray.
- Melt the butter in a large skillet over medium heat. Add the diced onion and celery. Cook for 5-7 minutes, stirring occasionally, until soft and translucent.
- Add the diced apples to the skillet. Cook for another 3-4 minutes, stirring gently, until slightly softened but still holding shape.
- Stir in the fresh herbs: sage, rosemary, and thyme. Cook for 1 minute until fragrant.
- Remove the skillet from heat. In a large mixing bowl, combine the bagged bread cubes, cooked vegetable-apple mixture, and dried cranberries. Toss gently until evenly distributed.
- In a separate bowl or measuring cup, whisk together the warm broth, beaten egg, salt, and pepper. Pour over the bread cube mixture and stir gently until all bread cubes are moistened. Let sit for 5 minutes.
- Transfer the stuffing to the prepared baking dish and spread into an even layer.
- Cover the dish with aluminum foil and bake for 25 minutes.
- Remove the foil and bake for an additional 15-20 minutes, until the top is golden brown and slightly crispy.
- Let the stuffing rest for 5-10 minutes before serving.
Notes
For a crispier top, broil for 2-3 minutes at the end. To make ahead, prepare up to step 7 and refrigerate for up to 24 hours; add 10-15 minutes to covered baking time. Fresh herbs are non-negotiable for best flavor. Don’t skip the egg—it helps bind the stuffing.
Nutrition
- Serving Size: 1 cup
- Calories: 280
- Sugar: 14
- Sodium: 480
- Fat: 12
- Saturated Fat: 7
- Carbohydrates: 38
- Fiber: 4
- Protein: 5
Keywords: stuffing, apple cranberry stuffing, Thanksgiving stuffing, kid-friendly stuffing, holiday side dish, fresh herbs stuffing


