It was 11:47 PM on a random Tuesday in October, and I had this sudden, fierce craving for the soft, orange-scented pan de muerto my abuela used to make for Día de Muertos. The problem? It was way past my bedtime, the stores were closed, and I definitely didn’t have the anise seed or the expensive orange blossom water that her traditional recipe called for. But I did have a bag of all-purpose flour, a stick of butter, and a lonely orange sitting in the fruit bowl. And then the idea hit me—what if I just… faked it? I mean, honestly, my kids were going to wake up in seven hours, and I wanted them to experience that same cozy, nostalgic breakfast without me having to spend a fortune or make a special trip to the Mexican market.
So there I was, standing in my slippers at 11:47 PM, covered in flour and muttering to myself about yeast activation. I swapped the orange blossom water for regular orange zest and juice—way cheaper, and honestly, it works like a charm. I skipped the anise because, let’s face it, my picky eaters would probably turn their noses up at that licorice-like flavor anyway. The dough came together in my tired, slightly clumsy hands, and by midnight, I had a warm, golden loaf rising on the counter. It was a mess. It was improvised. And it was absolutely perfect.
Maybe you’ve been there—wanting to share a piece of your heritage with your family but feeling like the “authentic” version is just too much work or too expensive. That’s exactly why this budget-friendly, kid-approved pan de muerto exists. It’s not the fancy bakery version. It’s the real, messy, made-at-midnight version that actually gets eaten. And that’s the version I keep making, year after year.
Why You’ll Love This Recipe
Let me tell you, I’ve tested this recipe about six times now, and every single time, my kids fight over the last piece. That’s not something I say lightly—I have a three-year-old who once threw a tantrum because his toast was cut into triangles instead of squares. So when I tell you this pan de muerto is kid-approved, I mean it has survived the toughest taste testers on the planet.
- Budget-Friendly Ingredients: No fancy orange blossom water, no anise seed, no expensive specialty flours. You probably have 90% of these items in your pantry right now.
- Quick & Easy: While traditional pan de muerto can take all day, this version comes together in about 2.5 hours total—including rising time. Perfect for a weekend baking project or a late-night whim.
- Simple Ingredients: All-purpose flour, yeast, butter, sugar, eggs, and an orange. That’s it. No grocery store scavenger hunt required.
- Perfect for Día de Muertos: Whether you’re celebrating the holiday or just want a fun, cultural baking experience with your kids, this bread delivers the tradition without the stress.
- Crowd-Pleaser: The soft, brioche-like texture and subtle orange flavor make it a hit with kids and adults alike. It’s sweet but not too sweet—perfect for breakfast or an afternoon snack.
What makes this recipe different from the dozens of other pan de muerto recipes out there? It’s the technique. I figured out that using room-temperature butter and a generous amount of orange zest gives you that authentic flavor without the expensive extracts. Plus, the dough is forgiving—if you over-knead a little, it’s still soft. If you under-proof it, it’s still delicious. This is not a fussy bread. It’s a “let’s just get this on the table” bread.
Honestly, this recipe isn’t just good—it’s the kind that makes you close your eyes after the first bite. The orange hits your nose before the sweetness settles in, and the texture is so pillowy soft, you’ll swear you’re eating a cloud. It’s comfort food reimagined—budget-friendly, fast, but with the same soul-soothing satisfaction as the original.
What Ingredients You Will Need
This recipe uses simple, wholesome ingredients to deliver that classic pan de muerto flavor without the fuss. Most of these are pantry staples, which is exactly what you want when you’re feeding a family on a budget.
For the Dough
- 4 cups (500g) all-purpose flour (I use Gold Medal or store brand—both work fine)
- 1/2 cup (100g) granulated sugar (adds sweetness and helps the yeast activate)
- 1 packet (2 1/4 tsp) active dry yeast (I prefer Fleischmann’s for consistent results)
- 1/2 teaspoon salt (balances the sweetness; don’t skip it)
- 3 large eggs, room temperature (cold eggs will shock the yeast and make the dough stiff)
- 1/2 cup (120ml) whole milk, warm (about 110°F—if it’s too hot, it’ll kill the yeast)
- 1/3 cup (75g) unsalted butter, softened (not melted! Softened butter incorporates better into the dough)
- Zest of 1 large orange (this is where all the flavor comes from—use a microplane for best results)
- 1/4 cup (60ml) fresh orange juice (from that same orange—no need to waste it)
- 1 teaspoon vanilla extract (adds warmth and depth to the flavor)
For the Topping & Decoration
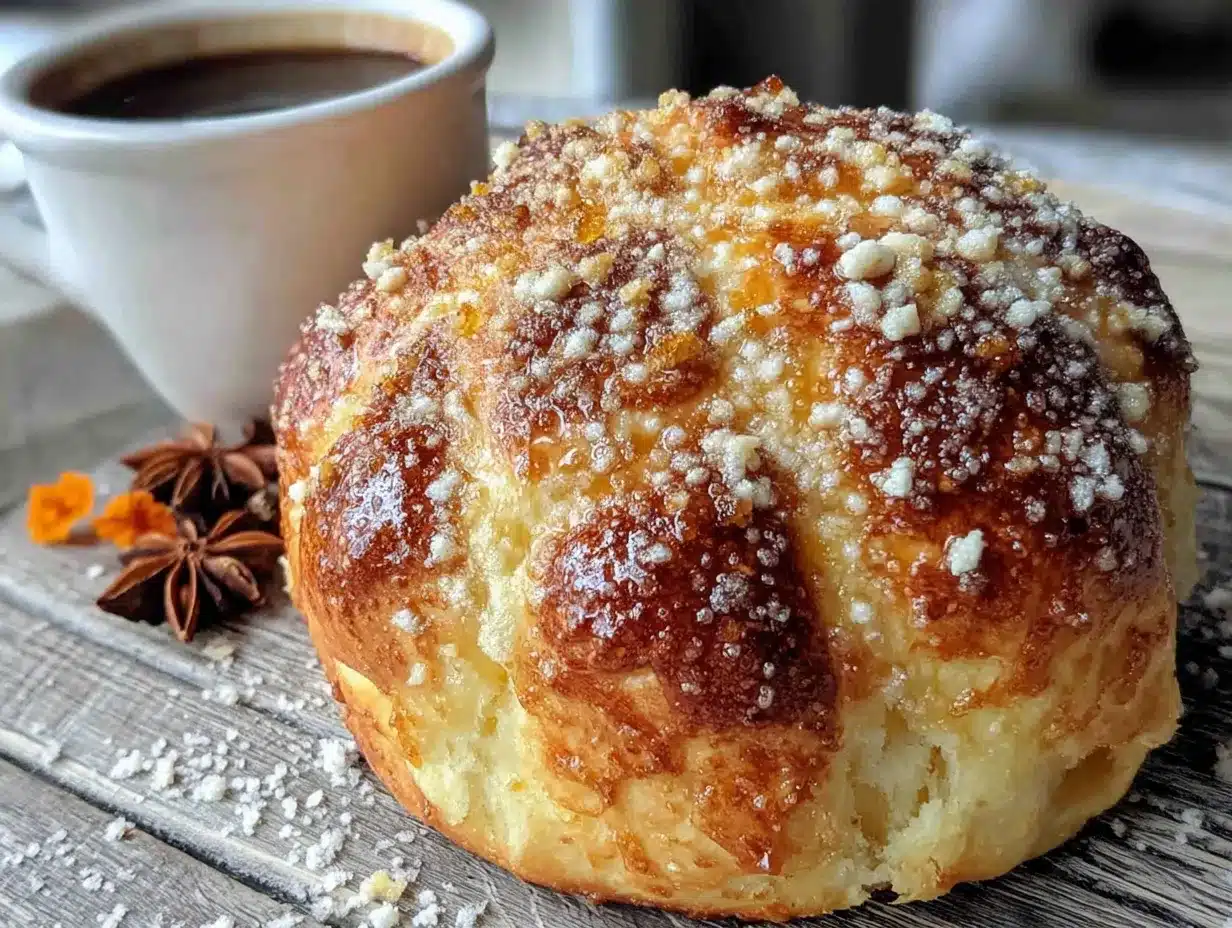
- 1 egg, beaten (for the egg wash—gives that beautiful golden shine)
- 2 tablespoons melted butter (for brushing after baking)
- 2 tablespoons granulated sugar (for sprinkling on top)
- Optional: orange zest or sprinkles (my kids love adding colorful sprinkles for a fun twist)
Ingredient Tips from My Kitchen
I’ve learned a few things the hard way. First, always use room-temperature eggs. I once tried to rush it and used cold eggs straight from the fridge—the dough was stiff and took forever to rise. Now I set my eggs out on the counter about an hour before I start baking. If you forget, just put them in a bowl of warm water for 5 minutes.
Second, don’t skip the orange zest. That’s where the real magic is. The orange juice adds moisture and a hint of tang, but the zest gives you that intense, aromatic orange flavor that makes pan de muerto so special. I recommend using a microplane zester—it gets the fine zest without the bitter white pith.
For a dairy-free version, you can substitute the butter with vegan butter (I like Earth Balance) and use almond milk instead of whole milk. The texture will be slightly different—a bit less rich—but it still works beautifully. I’ve tested it for a friend whose kid has a dairy allergy, and they couldn’t tell the difference.
Equipment Needed
You don’t need a fancy kitchen to make this bread. Here’s what I use:
- Large mixing bowl (glass or stainless steel works best—plastic can hold onto odors)
- Stand mixer with dough hook (optional but highly recommended; it saves your arms from all that kneading)
- Measuring cups and spoons (I prefer metal ones for dry ingredients and glass for liquids)
- Microplane or fine grater (for zesting the orange—trust me, a regular grater won’t give you the same result)
- Baking sheet (lined with parchment paper or a silicone baking mat)
- Pastry brush (for the egg wash; a silicone one is easier to clean)
- Plastic wrap or a clean kitchen towel (for covering the dough while it rises)
- Wire cooling rack (so the bottom doesn’t get soggy)
If you don’t have a stand mixer, don’t worry. You can absolutely knead this dough by hand. It takes about 10 minutes of steady kneading, and honestly, it’s kind of therapeutic. I’ve done it both ways, and the hand-kneaded version always feels a little more special—like I actually earned that bread.
For a budget-friendly option, skip the expensive silicone baking mat and just use parchment paper. It’s cheap, disposable, and works just as well. I buy mine in bulk at the dollar store.
Preparation Method
Alright, let’s get to the good part. Here’s how I make this bread, step by step, with all the little tricks I’ve picked up along the way.
Step 1: Activate the Yeast (5 minutes)
In a small bowl, combine the warm milk (about 110°F—it should feel like warm bath water on your wrist) with 1 tablespoon of the sugar and the packet of yeast. Give it a gentle stir and let it sit for 5-10 minutes until it becomes foamy and bubbly. If it doesn’t foam, your yeast might be dead—toss it and start over with fresh yeast. I learned this the hard way when I tried to use a packet that had been sitting in my pantry for two years. The bread turned out like a brick.
Step 2: Mix the Dry Ingredients (3 minutes)
In your large mixing bowl (or the bowl of your stand mixer), whisk together the remaining sugar, the flour, and the salt. Make a well in the center—this is where the wet ingredients will go. I like to do this step by hand because it’s quick and I can feel if there are any lumps in the flour.
Step 3: Combine the Wet Ingredients (5 minutes)
Add the activated yeast mixture, the room-temperature eggs, the orange zest, orange juice, and vanilla extract to the well in the flour. If you’re using a stand mixer, use the paddle attachment on low speed to combine everything until a shaggy dough forms. If you’re mixing by hand, use a wooden spoon—it’ll be sticky, but that’s normal.
Step 4: Add the Butter (5 minutes)
Now comes the important part. Add the softened butter, one tablespoon at a time, while the mixer is running on low. If you’re kneading by hand, just dump it all in and start squishing it through the dough with your fingers. It will feel greasy and messy at first, but keep working it. The dough will come together into a smooth, elastic ball after about 5 minutes of kneading. I remember the first time I did this, I thought I’d ruined it because the butter was everywhere. But trust the process—it all comes together.
Step 5: Knead the Dough (8-10 minutes)
Switch to the dough hook attachment if you’re using a stand mixer, and knead on medium-low speed for about 8 minutes. The dough should be smooth, soft, and slightly tacky to the touch—it should stick to your finger but not leave a residue. If it’s too sticky, add a tablespoon of flour at a time. If it’s too dry, add a teaspoon of milk. By hand, knead on a lightly floured surface for about 10 minutes. You’ll know it’s ready when you can stretch a small piece of dough into a thin “windowpane” without it tearing.
Step 6: First Rise (1 hour)
Form the dough into a smooth ball and place it in a lightly greased bowl. Cover with plastic wrap or a clean kitchen towel, and let it rise in a warm, draft-free place for about 1 hour, or until it has doubled in size. I usually put mine in the microwave (turned off) with a cup of hot water next to it—the steam and warmth create the perfect environment. My kids love peeking through the microwave door to watch it grow. It’s like magic to them.
Step 7: Shape the Dough (10 minutes)
Once the dough has risen, punch it down gently to release the air. Turn it out onto a lightly floured surface. Divide the dough into two pieces—one larger piece (about two-thirds of the dough) for the base, and one smaller piece (about one-third) for the decorations.
Shape the larger piece into a round loaf and place it on your prepared baking sheet. Now, for the traditional pan de muerto look, you’ll make the “bones” and the “skull” on top. Roll the smaller piece of dough into a long rope, then cut it into 4 equal pieces. Roll each piece into a thin log, about 6 inches long. Place two logs crossed over the center of the loaf (like an X), and the other two crossed the other way (like a +). Then, roll a small ball of dough for the “skull” and place it right in the center where the logs cross.
I’ll be honest—my first attempt at shaping looked like a sad, lumpy octopus. But my kids didn’t care. They called it “the monster bread” and ate it with even more enthusiasm. So don’t stress about making it perfect. The tradition is in the flavor, not the Instagram-worthy shape.
Step 8: Second Rise (30-40 minutes)
Cover the shaped loaf loosely with plastic wrap and let it rise again for about 30-40 minutes, until it’s puffy and almost doubled. It should feel light and airy when you gently poke it.
Step 9: Bake (25-30 minutes)
Preheat your oven to 350°F (175°C). Brush the risen loaf with the beaten egg wash—be gentle so you don’t deflate the dough. Bake for 25-30 minutes, until the top is deep golden brown and the loaf sounds hollow when you tap the bottom. If the top is browning too quickly, tent it with aluminum foil halfway through.
Step 10: Finish and Cool (10 minutes)
As soon as the bread comes out of the oven, brush it with the melted butter and sprinkle generously with granulated sugar. Let it cool on the baking sheet for 5 minutes, then transfer to a wire rack to cool completely. I know it’s tempting to tear into it right away, but let it cool for at least 20 minutes—the texture sets as it cools, and you’ll get a much better crumb.
Cooking Tips & Techniques
I’ve made this bread about a dozen times now, and I’ve definitely had my share of failures. Here are the biggest lessons I’ve learned so you don’t have to repeat them.
Don’t overheat the milk. This is the number one mistake I see. If the milk is too hot (over 120°F), it will kill the yeast instantly. I use a kitchen thermometer now, but before I had one, I would test the milk on the inside of my wrist—if it felt comfortably warm, like a baby’s bath water, it was good. If it felt hot, I let it cool down for a few minutes.
Knead until the dough is smooth, not until it’s perfect. I used to obsess over getting the dough exactly right, but honestly, this recipe is forgiving. Even if you under-knead slightly, the bread will still be soft and delicious. The key is to stop when the dough is smooth and elastic, not when it’s perfectly non-sticky. A little tackiness is fine.
Use a digital scale for the flour. I know, I know—measuring cups are easier. But flour can be packed differently depending on how you scoop it, and that can throw off the whole recipe. I started using a $15 kitchen scale from Amazon, and my baking has been way more consistent ever since. If you don’t have a scale, spoon the flour into your measuring cup and level it off with a knife—don’t scoop directly from the bag.
Let the bread cool completely before storing. I made the mistake of wrapping it up while it was still warm once, and the next morning, the crust was soggy and sad. Now I let it cool on a wire rack for at least an hour before storing it in an airtight container.
Variations & Adaptations
One of the best things about this recipe is how easy it is to adapt. Here are some variations I’ve tried and loved:
Chocolate Pan de Muerto: For my chocolate-loving kids, I added 1/4 cup of unsweetened cocoa powder to the flour mixture and increased the sugar by 2 tablespoons. The orange flavor pairs beautifully with chocolate—it’s like a chocolate orange bread. My daughter asked for this version for her birthday breakfast.
Dairy-Free Version: As I mentioned earlier, swap the butter for vegan butter and use almond milk instead of whole milk. The texture is slightly less rich, but it’s still incredibly soft and flavorful. I tested this for a friend’s son who has a dairy allergy, and he ate three slices in one sitting.
Gluten-Free Version: I’ve tested this with a 1:1 gluten-free flour blend (I like Bob’s Red Mill), and it works surprisingly well. The dough is a bit stickier, so you’ll need to add an extra tablespoon or two of flour. The texture is slightly more crumbly, but the flavor is spot on. Just don’t over-knead—gluten-free dough doesn’t need as much work.
Savory Pan de Muerto: This might sound weird, but hear me out. Omit the sugar and orange zest, add 1 teaspoon of garlic powder and 1/2 cup of shredded cheese (cheddar or Monterey Jack), and shape it the same way. It’s not traditional at all, but my kids love it as a dinner roll. We call it “skeleton bread” and serve it with soup.
Mini Pan de Muerto: Instead of making one large loaf, divide the dough into 8-10 small balls and shape each one with a tiny “skull” on top. They bake in about 15-18 minutes, and they’re perfect for lunchboxes or party favors. My toddler loves having his own personal bread.
Serving & Storage Suggestions
This bread is best served warm, right out of the oven, with a pat of butter and a cup of hot chocolate or coffee. For Día de Muertos, I like to serve it alongside a cup of Mexican hot chocolate (the kind with cinnamon and a touch of chili) for a truly authentic experience. But honestly, it’s just as good with a glass of cold milk for the kids.
For storage, keep the bread in an airtight container at room temperature for up to 3 days. The texture stays soft and moist thanks to the butter and eggs. If you live in a humid climate (like I do in the summer), you might want to leave the lid slightly cracked to prevent mold. I learned this the hard way when a loaf went fuzzy on day two.
To freeze, wrap the cooled loaf tightly in plastic wrap, then in aluminum foil, and freeze for up to 3 months. When you’re ready to eat it, thaw it at room temperature (still wrapped) for about 4 hours, then warm it in a 300°F oven for 10 minutes. The crust will crisp back up, and the inside will be just as soft as the day you made it.
One thing I love about this bread is that the flavors actually get better on day two. The orange zest and vanilla meld together overnight, and the texture becomes even more tender. So if you can resist eating it all on day one, you’re in for a treat on day two.
Nutritional Information & Benefits
Here’s the honest truth: this is a treat, not a health food. But it’s made with real, recognizable ingredients, and that counts for something. One slice (about 1/12 of the loaf) contains approximately:
- Calories: 220
- Carbohydrates: 35g
- Protein: 5g
- Fat: 7g
- Sugar: 12g
- Fiber: 1g
The eggs provide a good amount of protein and choline, which is great for brain health—especially for growing kids. The orange zest is packed with vitamin C and antioxidants, even if it’s just a small amount. And the butter, while not exactly a health food, provides fat-soluble vitamins A, D, E, and K.
If you’re watching your sugar intake, you can reduce the sugar to 1/3 cup without affecting the texture too much. The bread will be less sweet, but the orange flavor will shine through even more. I’ve done this for my own family when I wanted a less sugary breakfast option.
Potential allergens: This recipe contains wheat (gluten), dairy (butter and milk), and eggs. For allergen-friendly alternatives, see the variations section above.
Conclusion
This budget-friendly, kid-approved pan de muerto has become a staple in our home, not just for Día de Muertos, but for any day we want a little taste of tradition without the stress. It’s the bread I make when I’m tired, when I’m craving something comforting, and when I want my kids to feel connected to their heritage in a way that’s fun and accessible.
I hope you give this recipe a try. Don’t worry if your “bones” look a little wonky or if your kids decide to add sprinkles where they don’t belong. That’s the beauty of cooking with family—it’s never perfect, but it’s always memorable. And honestly, the imperfect loaves are the ones we talk about the most.
If you make this bread, I’d love to hear about it. Drop a comment below and tell me how your family liked it. Did your kids help shape the dough? Did you try one of the variations? Let me know! And if you’re looking for more easy, budget-friendly recipes the whole family will love, check out my easy Mexican hot chocolate recipe—it’s the perfect pairing for this bread.
Happy baking, and remember: the best bread is the one you actually make.
Frequently Asked Questions
Can I make this pan de muerto ahead of time?
Absolutely! You can prepare the dough through the first rise, then punch it down, wrap it tightly in plastic wrap, and refrigerate it for up to 24 hours. When you’re ready to bake, let it come to room temperature (about 1 hour), then shape and proceed with the second rise. This is actually my preferred method when I’m making it for a holiday—it spreads the work out over two days.
Why didn’t my dough rise?
There are a few common culprits. First, your yeast might be expired—always check the expiration date. Second, your milk might have been too hot and killed the yeast. Third, your kitchen might be too cold. Try placing the bowl in a warm spot (like the microwave with a cup of hot water) and give it more time. If it still doesn’t rise after 2 hours, your yeast is probably dead, and you’ll need to start over with fresh yeast.
Can I use bread flour instead of all-purpose flour?
Yes, you can. Bread flour has a higher protein content, which will give you a chewier, more structured bread. I’ve tested it, and it works fine—the texture is just slightly different. If you use bread flour, you might need to add an extra tablespoon or two of milk because bread flour absorbs more liquid. For the softest, most traditional texture, I recommend sticking with all-purpose flour.
How do I store leftover pan de muerto?
Store it in an airtight container at room temperature for up to 3 days. If you live in a humid climate, leave the lid slightly cracked to prevent moisture buildup. You can also freeze it for up to 3 months—just wrap it tightly in plastic wrap and then aluminum foil. To reheat, thaw at room temperature and warm in a 300°F oven for 10 minutes.
Can my kids help make this bread?
Yes, and I highly encourage it! This is a great recipe for kids because the dough is forgiving and fun to work with. My three-year-old loves helping me add the ingredients to the bowl and watching the yeast foam up. My six-year-old is great at shaping the “bones” on top. Just be careful with the hot oven and the mixing—those steps are best left to adults. The messy, flour-covered memories are totally worth it.
Pin This Recipe!
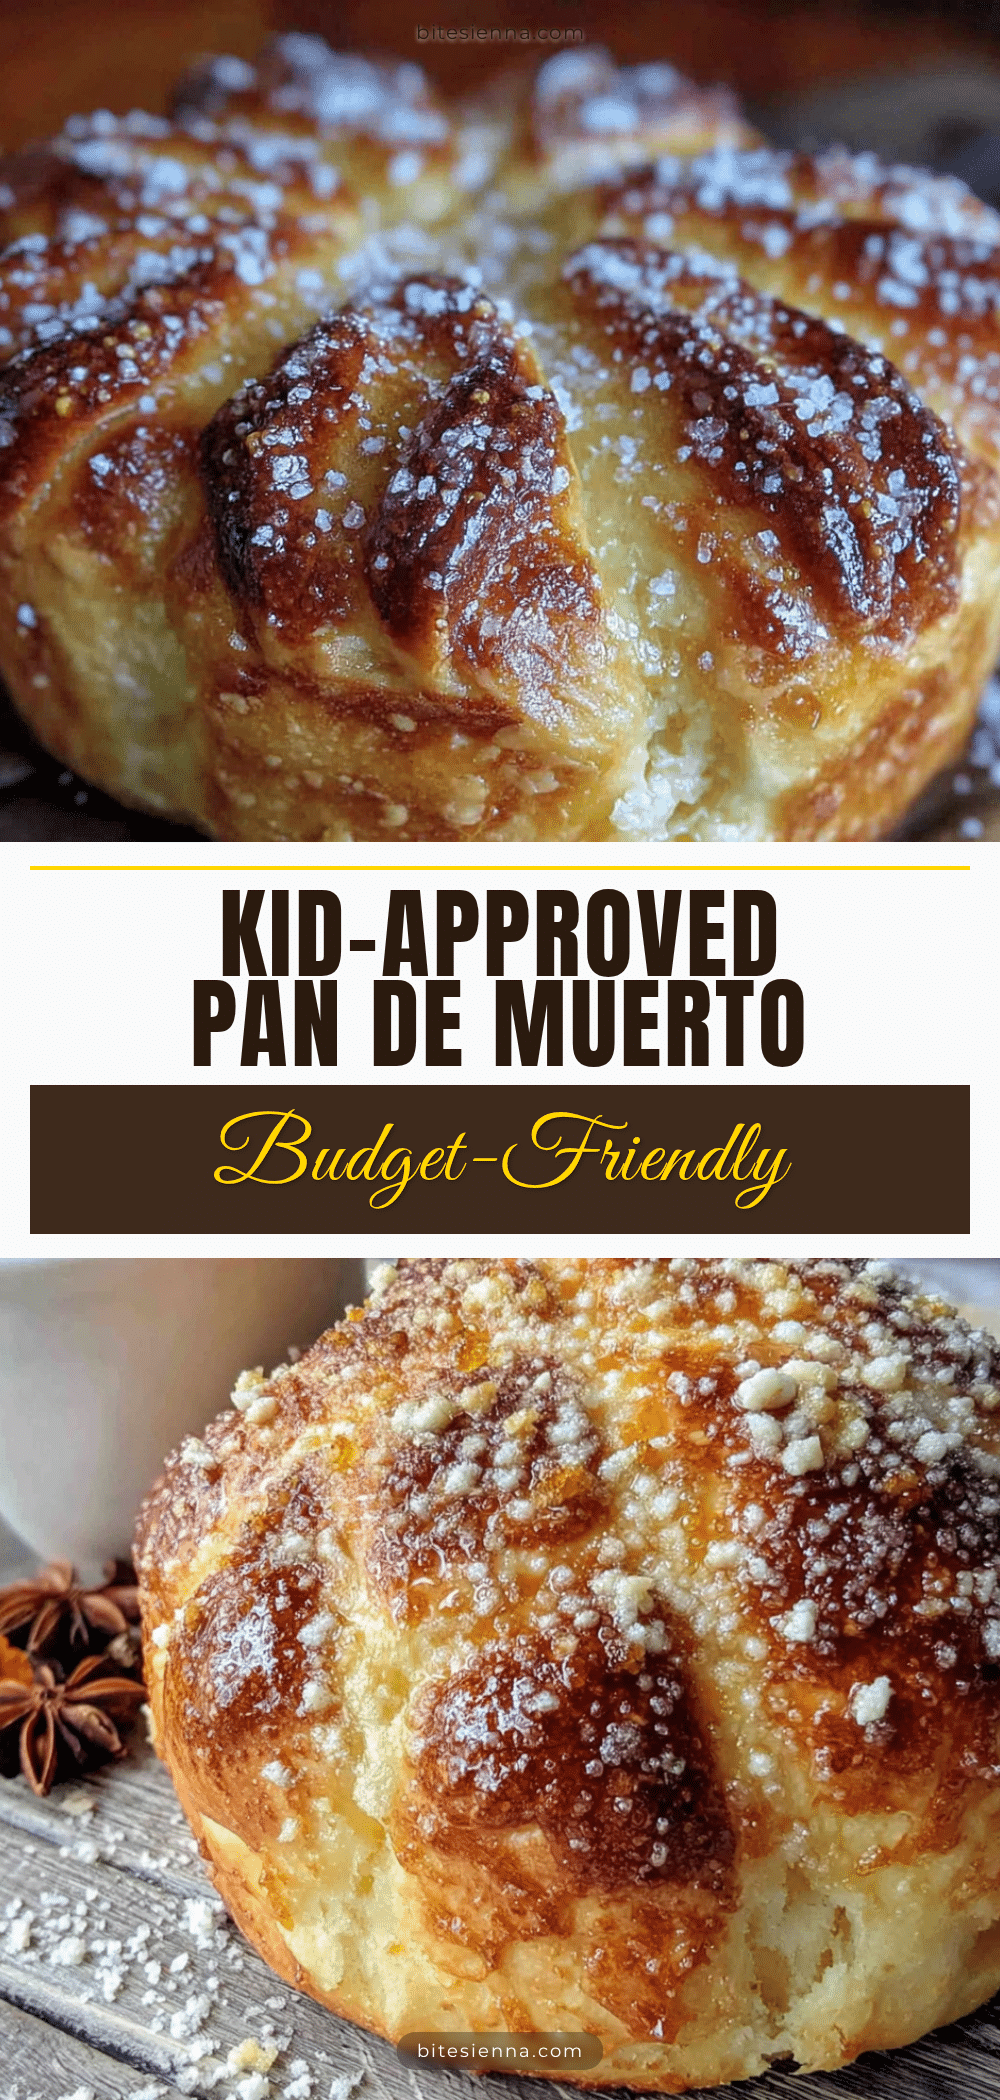
Best Kid-Approved Pan de Muerto: Budget-Friendly Sweet Bread

A budget-friendly, kid-approved version of the traditional Mexican pan de muerto, made with simple pantry ingredients like all-purpose flour, butter, and orange zest. This soft, orange-scented sweet bread is perfect for Día de Muertos or any day you crave a comforting, nostalgic treat.
- Prep Time: 20 minutes
- Cook Time: 30 minutes
- Total Time: 2 hours 30 minutes (including rising time)
- Yield: 12 servings 1x
- Category: Bread
- Cuisine: Mexican
Ingredients
- 4 cups (500g) all-purpose flour
- 1/2 cup (100g) granulated sugar
- 1 packet (2 1/4 tsp) active dry yeast
- 1/2 teaspoon salt
- 3 large eggs, room temperature
- 1/2 cup (120ml) whole milk, warm (about 110°F)
- 1/3 cup (75g) unsalted butter, softened
- Zest of 1 large orange
- 1/4 cup (60ml) fresh orange juice
- 1 teaspoon vanilla extract
- 1 egg, beaten (for egg wash)
- 2 tablespoons melted butter (for brushing after baking)
- 2 tablespoons granulated sugar (for sprinkling on top)
- Optional: orange zest or sprinkles for decoration
Instructions
- Activate the yeast: In a small bowl, combine warm milk (about 110°F) with 1 tablespoon of sugar and the yeast. Let sit for 5-10 minutes until foamy.
- Mix dry ingredients: In a large bowl, whisk together remaining sugar, flour, and salt. Make a well in the center.
- Combine wet ingredients: Add activated yeast mixture, eggs, orange zest, orange juice, and vanilla extract to the well. Mix until a shaggy dough forms.
- Add butter: Add softened butter one tablespoon at a time, mixing until fully incorporated. The dough will be sticky but will come together.
- Knead the dough: Knead on a lightly floured surface (or with a dough hook) for 8-10 minutes until smooth, elastic, and slightly tacky.
- First rise: Place dough in a greased bowl, cover, and let rise in a warm place for about 1 hour until doubled in size.
- Shape the dough: Punch down dough. Divide into two pieces (2/3 for base, 1/3 for decorations). Shape the larger piece into a round loaf on a parchment-lined baking sheet. Roll the smaller piece into a rope, cut into 4 pieces, roll into thin logs, and arrange in a cross pattern on top. Place a small ball of dough in the center for the ‘skull’.
- Second rise: Cover shaped loaf and let rise for 30-40 minutes until puffy.
- Bake: Preheat oven to 350°F (175°C). Brush with beaten egg wash. Bake for 25-30 minutes until deep golden brown and hollow when tapped. Tent with foil if browning too quickly.
- Finish: Brush hot bread with melted butter and sprinkle with granulated sugar. Cool on baking sheet for 5 minutes, then transfer to a wire rack. Let cool at least 20 minutes before slicing.
Notes
Use room-temperature eggs for best results. Don’t overheat the milk (over 120°F kills yeast). The dough is forgiving—even if slightly under-kneaded, the bread will be soft. For a dairy-free version, substitute vegan butter and almond milk. For gluten-free, use a 1:1 gluten-free flour blend. The bread keeps at room temperature for up to 3 days or frozen for up to 3 months.
Nutrition
- Serving Size: 1 slice (1/12 of loa
- Calories: 220
- Sugar: 12
- Sodium: 120
- Fat: 7
- Saturated Fat: 4
- Carbohydrates: 35
- Fiber: 1
- Protein: 5
Keywords: pan de muerto, sweet bread, Día de Muertos, budget-friendly, kid-approved, orange bread, Mexican bread


