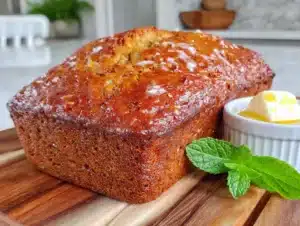
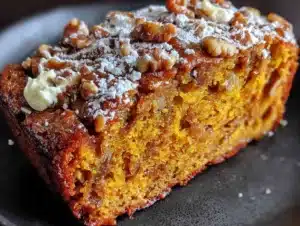
My brother-in-law Mark asked why I couldn’t just mash the bananas in the same bowl I was going to mix the batter in. I started to explain why that wouldn’t work—something about over-mixing and the order of wet and dry ingredients. Then I stopped. Honestly, I had no good reason. I’d just always done it the other way, dirtying a second bowl out of habit. So I handed him the fork and said, “Fine. You do it.” He mashed those bananas right in the big mixing bowl, and I added everything else on top. The batter came together in about ninety seconds, and I was certain I’d be scraping a dense, rubbery loaf out of the pan. Let me tell you, I have never been happier to be wrong. That loaf was the most tender, perfectly moist banana bread I’d made in years. It came out of the oven on a rainy Tuesday afternoon, and the whole house smelled like a bakery. My neighbor, Carol, who has a notoriously picky palate, knocked on the door to ask what I was baking. I sliced her a warm piece with butter melting into the crumb, and she literally closed her eyes for a second before taking a second slice. That moment—watching someone genuinely surprised by how good something so simple could be—is why this recipe stuck. It’s not fancy. It’s not fussy. It’s just good, honest banana bread that comes together in one bowl with no mixer. Maybe you’ve been there, standing over a sink full of dishes, wondering why a simple recipe needs so much equipment. This one doesn’t. And that’s the whole point.
Why You’ll Love This Recipe
This one-bowl banana bread is the kind of recipe that makes you look like a hero with almost no effort. I’ve tested it at least a dozen times—over-ripe bananas, under-ripe bananas, with melted butter, with oil—and every single time, it delivers that perfect, tender crumb with a crackly top. Here’s why it works so well, especially when you’re hosting:
- No Mixer Needed: You don’t need a stand mixer, hand mixer, or even a whisk if you’re in a pinch. A fork and a spatula are all you need. Less cleanup means more time with your guests.
- Simple Ingredients: Chances are, you already have everything in your pantry. No specialty flours or hard-to-find extracts. Just butter, sugar, eggs, flour, and those sad bananas sitting on your counter.
- Perfect for Hosting: This bread is a crowd-pleaser at brunches, potlucks, and casual dinner parties. It’s forgiving enough to make the night before, and it actually tastes better the next day. You can prep it while your guests are mingling, and no one will hear a mixer running.
- Unbelievably Moist: The secret is using very ripe bananas and a touch of melted butter. The texture is almost pudding-like in the center, with a golden, slightly crisp crust. It’s the kind of bread that makes people ask for the recipe before they finish their first slice.
- Crowd-Pleaser: I’ve served this to toddlers, teenagers, and my grandmother’s bridge club. It disappears every time. There’s something about the simplicity of banana bread that feels nostalgic and comforting, and this version nails that feeling without any fuss.
This isn’t just another banana bread recipe. It’s the one I turn to when I want to impress without stress. It’s the one I make when I have five minutes before guests arrive and need something that smells like I’ve been baking all day. It’s comfort food reimagined—simpler, faster, but with the same soul-soothing satisfaction.
What Ingredients You Will Need
This recipe uses simple, wholesome ingredients to deliver bold flavor and satisfying texture without the fuss. Most of these are pantry staples, which makes this bread perfect for last-minute hosting.
For the Banana Bread
- 3 large ripe bananas, mashed (about 1 ½ cups / 360 ml). The riper, the better. Look for bananas with lots of brown spots—they’re sweeter and easier to mash. I’ve used frozen and thawed bananas in a pinch, and they work fine.
- ⅓ cup (75 g) unsalted butter, melted (or ⅓ cup neutral oil like avocado or vegetable). Melted butter gives a richer flavor, but oil makes the bread slightly more moist. I prefer butter for taste, but both work.
- ¾ cup (150 g) granulated sugar (or ½ cup brown sugar + ¼ cup white for a deeper flavor). I’ve used coconut sugar before, and it works but makes the bread denser.
- 1 large egg, at room temperature (adds structure and richness). If you’re out of eggs, you can use a flax egg (1 tbsp ground flax + 3 tbsp water, let sit for 5 minutes).
- 1 teaspoon vanilla extract (pure vanilla is best, but imitation works too).
- 1 ½ cups (190 g) all-purpose flour (spooned and leveled). I’ve used whole wheat pastry flour for a nuttier flavor—just add 2 tablespoons more milk or yogurt to keep it moist.
- 1 teaspoon baking soda (not baking powder—baking soda reacts with the acidity of the bananas).
- ¼ teaspoon salt (I use fine sea salt).
- Optional: ½ cup (60 g) chopped walnuts or pecans, or ½ cup (90 g) chocolate chips. I usually add chocolate chips because my niece demands them.
Ingredient Tips
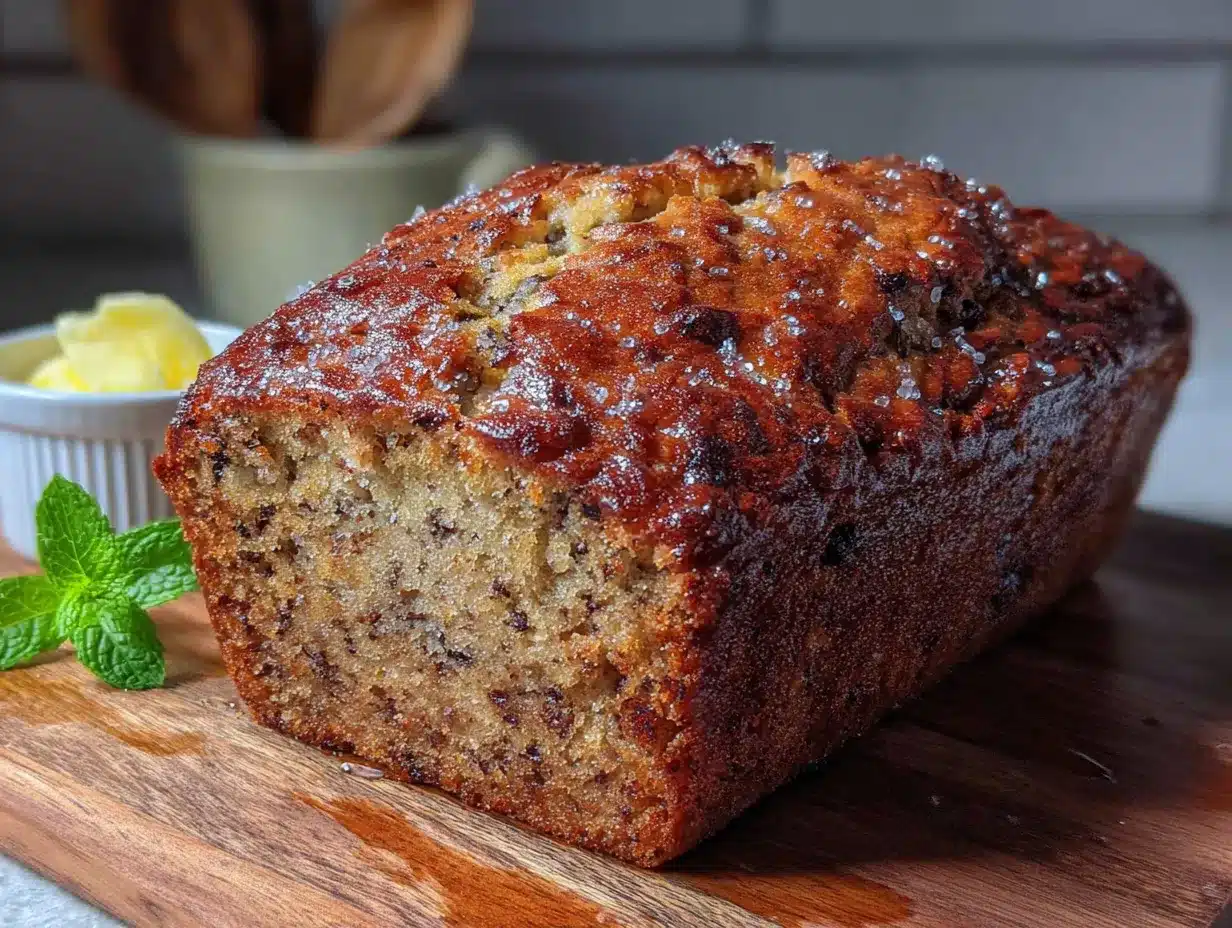
I recommend using King Arthur Flour for consistent results, but any all-purpose flour works. For the butter, I prefer Kerrygold because it’s higher in fat and adds a lovely richness. If you’re using frozen bananas, let them thaw completely and drain off any excess liquid before mashing—otherwise, the bread can become soggy.
Equipment Needed
- One large mixing bowl (any size works, but a 4-quart bowl gives you room to mix without splashing).
- A fork or potato masher for the bananas.
- A rubber spatula or wooden spoon for folding.
- A 9×5-inch (23×13 cm) loaf pan. If you only have an 8×4-inch pan, the bread will take about 10 minutes longer to bake.
- Parchment paper (optional but helpful for easy removal).
- Cooling rack.
I’ve made this bread with a cheap metal loaf pan and a fancy ceramic one. The metal pan gives a darker, crisper crust. The ceramic takes longer to heat up, so the crust is lighter. Both work—just adjust your bake time by 5-10 minutes if using ceramic. Also, if you don’t have parchment paper, just grease the pan well with butter or non-stick spray.
Preparation Method
- Preheat your oven to 350°F (175°C). Grease your loaf pan or line it with parchment paper, leaving a little overhang on the sides for easy lifting. I like to use a bit of butter and a dusting of flour, but parchment is foolproof.
- Mash the bananas in your large mixing bowl. Use a fork or potato masher until they’re mostly smooth with a few small lumps. You want some texture—it adds character to the final bread. This should take about 30 seconds.
- Add the melted butter and sugar. Stir with your spatula until combined. The mixture will look a little grainy—that’s normal. Don’t worry if it separates slightly.
- Add the egg and vanilla extract. Stir until the egg is fully incorporated. The batter should look smooth and glossy at this point. If your egg was cold, the butter might seize up a little—just keep stirring; it will come together.
- Sprinkle the flour, baking soda, and salt over the wet ingredients. Do not dump them all in one pile—spread them out a bit so the baking soda distributes evenly. This is the step where people usually over-mix. Use a gentle hand. Fold the dry ingredients into the wet with a spatula, using a cutting motion through the center of the bowl. Stop as soon as you no longer see streaks of flour. A few lumps are fine. Over-mixing develops gluten, which makes the bread tough.
- Fold in your mix-ins. If you’re using nuts or chocolate chips, add them now. Fold about 5-6 times until they’re evenly distributed. Don’t overdo it.
- Pour the batter into your prepared loaf pan. Use your spatula to spread it evenly. Tap the pan on the counter a couple of times to release any air bubbles.
- Bake for 55-65 minutes. Start checking at 50 minutes. The bread is done when a toothpick inserted into the center comes out clean or with a few moist crumbs. If the top is browning too quickly (after about 40 minutes), tent the pan loosely with aluminum foil.
- Let the bread cool in the pan for 10 minutes. Then transfer it to a wire rack to cool completely. I know it’s tempting to slice it warm, but it will crumble. Wait at least 20 minutes if you can’t wait an hour.
Cooking Tips & Techniques
I’ve made every mistake in the book with banana bread. I’ve used under-ripe bananas (tough and bland). I’ve over-mixed the batter (tough and dense). I’ve forgotten the baking soda (flat as a pancake). Here’s what I’ve learned:
- Use very ripe bananas. If your bananas aren’t spotty enough, you can speed up the process by roasting them in the oven at 300°F (150°C) for 15-20 minutes until the skins turn black. Let them cool before mashing.
- Measure flour correctly. Scooping flour directly with the measuring cup packs it down, adding too much flour and making the bread dry. Instead, spoon the flour into the cup and level it off with a knife.
- Don’t over-mix. This is the number one mistake. Mix just until the flour disappears. A few streaks are fine. The batter should look thick and slightly lumpy.
- Check for doneness with a thermometer. If you have an instant-read thermometer, the internal temperature should be about 200-205°F (93-96°C) when done. This is more reliable than a toothpick test.
- Let it rest overnight. Banana bread actually tastes better the next day. The flavors meld, and the texture becomes even more moist. Wrap it tightly in plastic wrap once it’s completely cool.
Variations & Adaptations
- Gluten-Free: Substitute the all-purpose flour with a 1:1 gluten-free baking blend. I’ve used Bob’s Red Mill 1:1 Baking Flour, and it works perfectly. Add 1 tablespoon of milk or yogurt to keep it moist.
- Vegan: Use a flax egg (1 tbsp ground flax + 3 tbsp water) and replace the butter with coconut oil or a neutral vegetable oil. The texture will be slightly denser but still delicious.
- Chocolate Swirl: Melt ¼ cup (60 g) of dark chocolate chips and swirl it into the batter before baking. It creates a beautiful marbled effect and adds richness.
- Spiced Version: Add 1 teaspoon of cinnamon, ½ teaspoon of nutmeg, and ¼ teaspoon of ground ginger to the flour mixture. This gives the bread a chai-like warmth that’s perfect for fall.
- Lower Sugar: Reduce the sugar to ½ cup (100 g) and add 2 tablespoons of maple syrup or honey. The bread will be less sweet but still moist.
Serving & Storage Suggestions
This banana bread is best served slightly warm with a pat of butter or a drizzle of honey. For a more decadent treat, toast a slice and top it with a scoop of vanilla ice cream or a dollop of mascarpone. It’s also fantastic alongside a cup of coffee or a glass of cold milk.
Storage: Wrap the cooled loaf tightly in plastic wrap or store it in an airtight container at room temperature for up to 4 days. The bread actually gets more moist as it sits. For longer storage, wrap it in plastic wrap and then aluminum foil, and freeze for up to 3 months. Thaw overnight in the refrigerator or at room temperature for a few hours.
Reheating: To revive a slice, microwave it for 15-20 seconds or toast it in a toaster oven at 350°F (175°C) for 5 minutes. The crust becomes crisp, and the inside stays soft.
Nutritional Information & Benefits
Per slice (based on 10 slices): Approximately 220 calories, 8g fat, 35g carbohydrates, 3g protein, 2g fiber, 18g sugar. This is an estimate and will vary based on your ingredients and mix-ins.
Bananas are rich in potassium and vitamin B6, which support heart health and energy metabolism. Using whole wheat pastry flour adds extra fiber, and walnuts provide omega-3 fatty acids. This bread is relatively low in added sugar compared to many store-bought versions, and you can easily reduce the sugar further without sacrificing texture.
If you’re watching your intake, this recipe is a great way to satisfy a sweet craving without overindulging. Plus, the one-bowl method means less cleanup, which is always a win.
Conclusion
This one-bowl banana bread is the recipe I keep coming back to, time and time again. It’s forgiving, it’s quick, and it always delivers. Whether you’re hosting a brunch, need a last-minute dessert, or just want to use up those spotty bananas on your counter, this bread is your answer. It’s the kind of recipe that makes you look like a pro, even when you’re barely trying.
I’d love to hear how it turns out for you. Did you add chocolate chips or nuts? Did you make it for a party? Drop a comment below and let me know. And if you loved it, share it with a friend who needs a little baking confidence. Happy baking!
Frequently Asked Questions
Can I use frozen bananas?
Yes, absolutely. Thaw them completely and drain off any excess liquid before mashing. The texture will be slightly softer, but the flavor is just as good.
Why did my banana bread sink in the middle?
This usually happens if the bread is underbaked or if you opened the oven door too early. Make sure your oven is at the right temperature (use an oven thermometer if you have one) and don’t peek until at least 50 minutes have passed.
Can I make this into muffins?
Yes! Grease a 12-cup muffin tin and fill each cup about ¾ full. Bake at 350°F (175°C) for 18-22 minutes, or until a toothpick comes out clean. This makes about 12 muffins.
Can I use whole wheat flour?
You can substitute up to half the all-purpose flour with whole wheat flour. Using all whole wheat will make the bread denser and drier, so add 2 tablespoons of milk or yogurt to compensate.
How do I know when the bread is done?
Insert a toothpick into the center. If it comes out clean or with a few moist crumbs, it’s done. The internal temperature should be 200-205°F (93-96°C). The top should be golden brown and cracked.
Pin This Recipe!
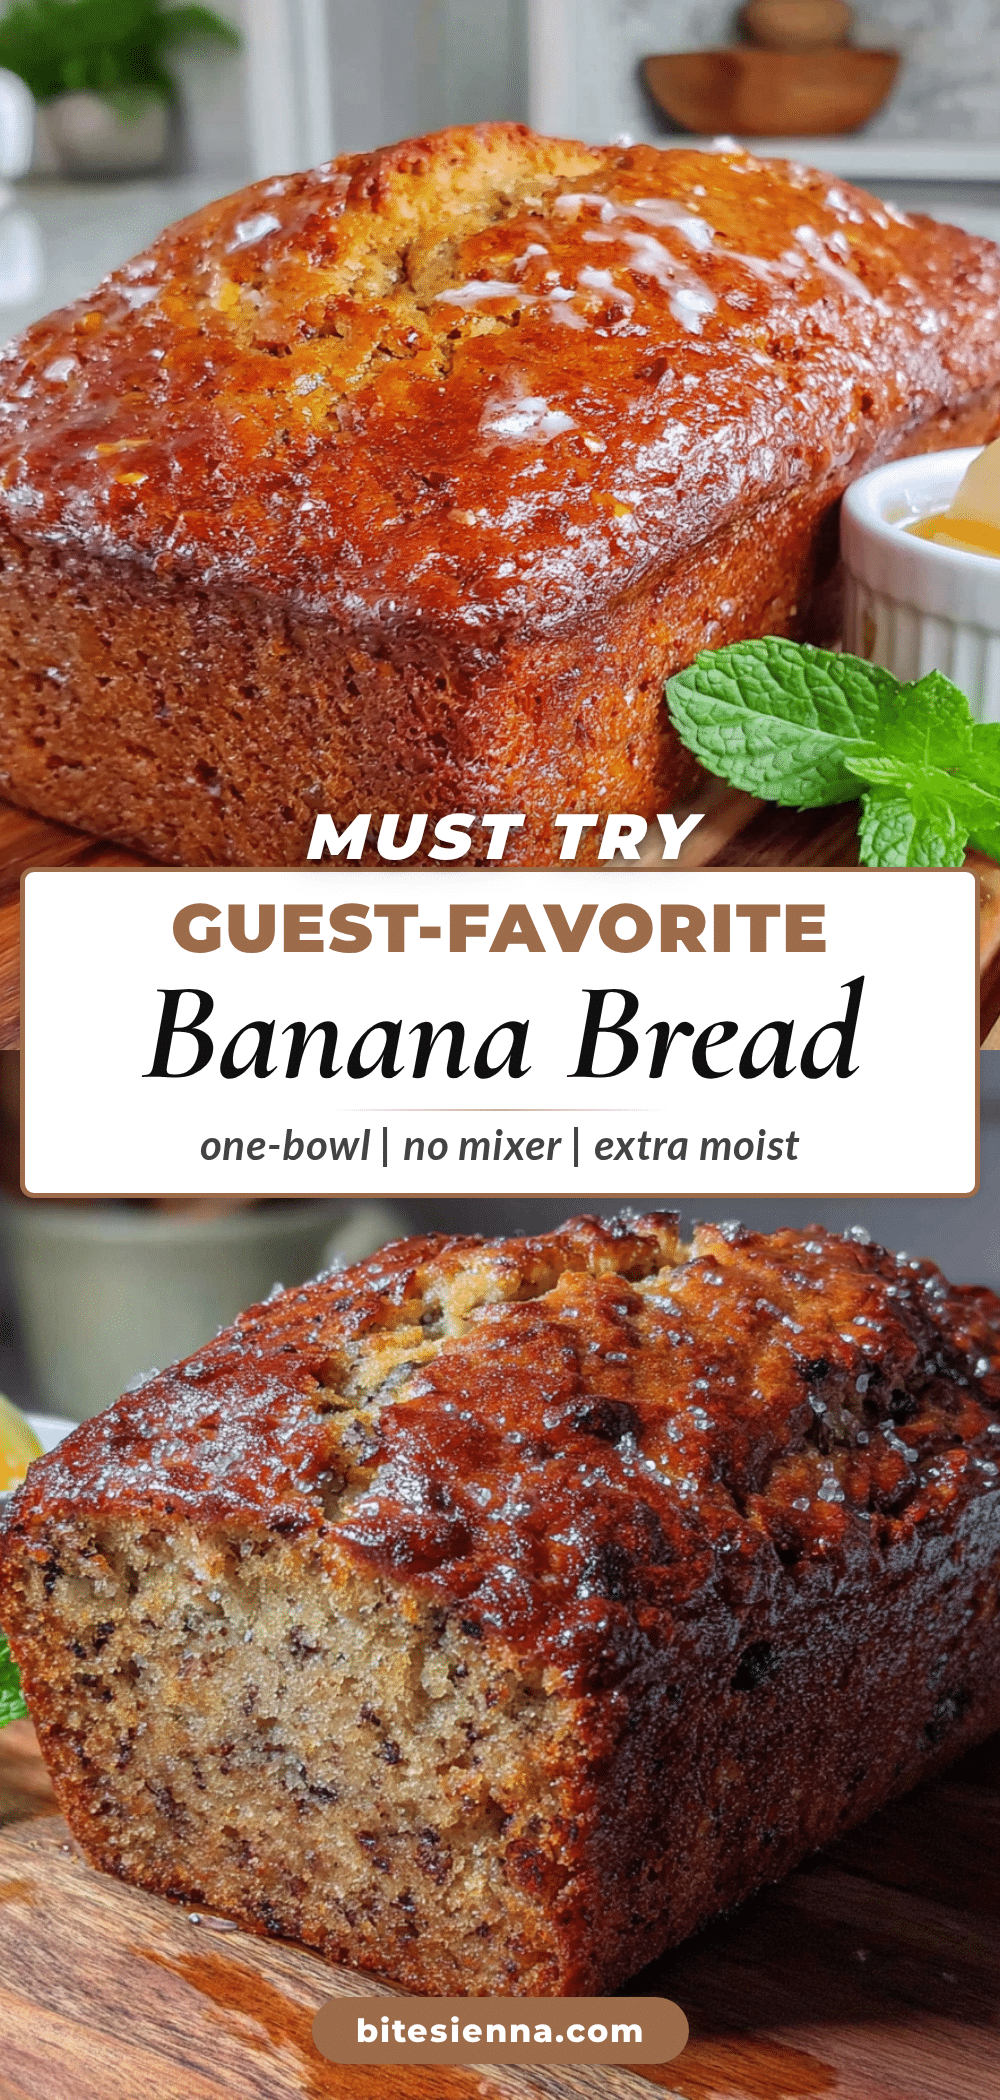
Best One-Bowl Banana Bread Recipe (No Mixer Needed)
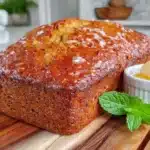
This one-bowl banana bread is incredibly moist and tender, with a crackly top. It comes together in one bowl with no mixer, making it perfect for last-minute hosting or a simple weeknight treat.
- Prep Time: 10 minutes
- Cook Time: 55-65 minutes
- Total Time: 1 hour 15 minutes
- Yield: 10 servings 1x
- Category: Dessert
- Cuisine: American
Ingredients
- 3 large ripe bananas, mashed (about 1 ½ cups / 360 ml)
- ⅓ cup (75 g) unsalted butter, melted (or ⅓ cup neutral oil like avocado or vegetable)
- ¾ cup (150 g) granulated sugar (or ½ cup brown sugar + ¼ cup white for a deeper flavor)
- 1 large egg, at room temperature
- 1 teaspoon vanilla extract
- 1 ½ cups (190 g) all-purpose flour (spooned and leveled)
- 1 teaspoon baking soda
- ¼ teaspoon salt (fine sea salt)
- Optional: ½ cup (60 g) chopped walnuts or pecans, or ½ cup (90 g) chocolate chips
Instructions
- Preheat your oven to 350°F (175°C). Grease your loaf pan or line it with parchment paper, leaving a little overhang on the sides for easy lifting.
- Mash the bananas in your large mixing bowl using a fork or potato masher until mostly smooth with a few small lumps.
- Add the melted butter and sugar. Stir with your spatula until combined. The mixture will look a little grainy—that’s normal.
- Add the egg and vanilla extract. Stir until the egg is fully incorporated. The batter should look smooth and glossy.
- Sprinkle the flour, baking soda, and salt over the wet ingredients. Spread them out a bit so the baking soda distributes evenly. Fold the dry ingredients into the wet with a spatula, using a cutting motion through the center of the bowl. Stop as soon as you no longer see streaks of flour. A few lumps are fine.
- Fold in your mix-ins (nuts or chocolate chips) if using. Fold about 5-6 times until evenly distributed.
- Pour the batter into your prepared loaf pan. Use your spatula to spread it evenly. Tap the pan on the counter a couple of times to release any air bubbles.
- Bake for 55-65 minutes. Start checking at 50 minutes. The bread is done when a toothpick inserted into the center comes out clean or with a few moist crumbs. If the top is browning too quickly (after about 40 minutes), tent the pan loosely with aluminum foil.
- Let the bread cool in the pan for 10 minutes. Then transfer it to a wire rack to cool completely. Wait at least 20 minutes before slicing.
Notes
Use very ripe bananas with lots of brown spots for best sweetness and moisture. Measure flour correctly by spooning it into the cup and leveling off. Do not over-mix the batter. The bread tastes even better the next day. For gluten-free, use a 1:1 gluten-free baking blend. For vegan, use a flax egg and replace butter with coconut oil or vegetable oil.
Nutrition
- Serving Size: 1 slice
- Calories: 220
- Sugar: 18
- Sodium: 180
- Fat: 8
- Saturated Fat: 4
- Carbohydrates: 35
- Fiber: 2
- Protein: 3
Keywords: banana bread, one-bowl banana bread, easy banana bread, no mixer banana bread, moist banana bread