This was supposed to be a straightforward, no-fuss apple crisp for a casual Friday night. I had my Granny Smiths lined up, the oatmeal streusel recipe I’d used a hundred times, and a smug confidence that I’d be eating warm dessert by 8 PM. But somewhere between melting the butter and answering a text from my sister about Thanksgiving plans, I grabbed the wrong jar. Instead of the vanilla extract, I snagged a bottle of salted caramel sauce my neighbor had pressed on me after her bakery shift. I poured it in before I even realized what I was doing—and honestly, my heart sank. I thought I’d ruined a perfectly good batch of apples. The streusel turned a darker shade of amber than usual, and the whole thing looked suspiciously sticky. I almost scraped it into the trash. But my husband, bless him, said, “Just bake it. What’s the worst that could happen?” So I did. And let me tell you, when that scent started filling the kitchen—buttery oats mixing with that deep, salted caramel—I knew something magical was happening. The top came out shatteringly crisp, the apples were jammy and rich, and that first bite had me staring at the pan in disbelief. It was better than my original plan. Way better. That happy little mistake turned into a recipe I’ve now made for every potluck, every dinner party, and every “I need to impress someone” moment. Maybe you’ve been there—when a kitchen blunder turns into your most requested dish. This is that recipe for me.
Why You’ll Love This Recipe
Let’s face it—there are a million apple crisp recipes out there. But this one? It’s different. It’s the one that makes people close their eyes after the first bite and let out that little “mmm” sound. It’s the one that has your friends asking for the recipe before they’ve even finished their serving. Here’s why you’ll fall for it too:
- Unbelievably Easy: You don’t need any fancy pastry skills or a stand mixer. This comes together in about 15 minutes of active work. Seriously.
- Pantry-Friendly Ingredients: No weird specialty items. You probably have most of this stuff already—apples, oats, flour, butter, sugar. The caramel sauce is the only “extra,” and I’ll tell you exactly which kind to grab.
- Perfect for a Crowd: This is my go-to for dinner parties and family gatherings. It’s forgiving, it scales beautifully, and it looks stunning served straight from the baking dish with a scoop of vanilla ice cream melting on top.
- That Salted Caramel Twist: The caramel adds a richness and depth that plain sugar just can’t touch. And the flaky salt on top? It cuts through the sweetness and makes every bite balanced and crave-worthy.
- Always Reliable: I’ve tested this recipe at least a dozen times—with different apple varieties, different oats, even different pans. It works every single time.
This isn’t just another crisp. It’s the kind of dessert that makes you look like a hero with almost no effort. The caramel does all the heavy lifting, and you get all the credit.
What Ingredients You Will Need
This recipe uses simple, wholesome ingredients that come together to create something truly special. The salted caramel is the star, but each component plays a crucial role in texture and flavor.
For the Apple Filling
- 6 cups apples, peeled, cored, and sliced (about 5-6 medium apples; I recommend a mix of Granny Smith and Honeycrisp for tartness and sweetness)
- 1/2 cup granulated sugar
- 2 tablespoons all-purpose flour (helps thicken the juices)
- 1 teaspoon ground cinnamon
- 1/4 teaspoon ground nutmeg (freshly grated if possible—it makes a difference)
- 1/2 cup salted caramel sauce (store-bought is fine; I personally love the Stonewall Kitchen brand for its thick, buttery consistency)
- 1 tablespoon lemon juice (keeps the apples from browning and brightens the flavor)
For the Crisp Topping
- 1 cup old-fashioned rolled oats (not quick oats—they get mushy)
- 3/4 cup all-purpose flour
- 1/2 cup packed light brown sugar
- 1/2 cup unsalted butter, cold and cut into small cubes
- 1/2 teaspoon salt
- 1/4 teaspoon ground cinnamon
For Finishing
- 2 tablespoons salted caramel sauce, for drizzling
- 1/2 teaspoon flaky sea salt (like Maldon—don’t skip this, it’s what makes the “salted” part sing)
Ingredient Tips: For the caramel sauce, look for one that’s thick and rich, not watery. If you’re feeling ambitious, you can make your own, but a good-quality jarred sauce works perfectly. For the apples, avoid Red Delicious—they turn to mush. Stick with firm, tart-sweet varieties. And yes, you can swap in gluten-free flour and certified gluten-free oats if needed.
Equipment Needed
You don’t need a fully stocked kitchen to nail this recipe. Here’s what I use:
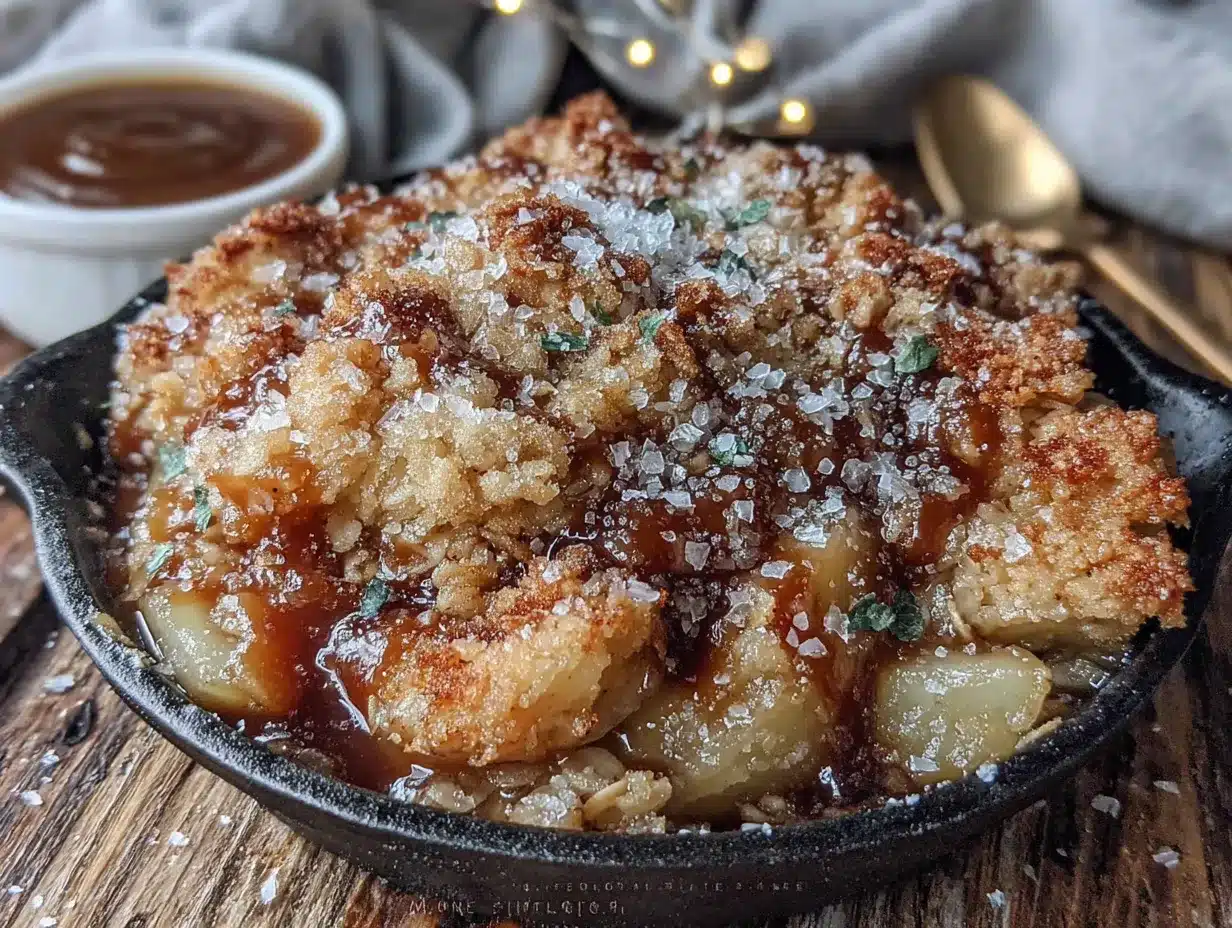
- 9×13-inch baking dish (or a 10-inch cast iron skillet for a prettier presentation)
- Large mixing bowl (for the apples)
- Medium mixing bowl (for the topping)
- Sharp knife and cutting board (for prepping the apples)
- Pastry cutter or two forks (to cut the butter into the topping; you can also use your fingertips)
- Measuring cups and spoons
- Rubber spatula
If you don’t have a pastry cutter, don’t sweat it. I’ve used a fork in a pinch, and once I even used a potato masher. It all works. The key is getting the butter into pea-sized pieces—don’t overwork it.
Preparation Method
Alright, let’s get to it. This is straightforward, but I’ll walk you through every step so you feel confident.
- Preheat your oven to 350°F (175°C). Position a rack in the center of the oven. Lightly grease your baking dish with butter or non-stick spray.
- Prepare the apples. Peel, core, and slice your apples into roughly 1/4-inch thick slices. You want them uniform so they cook evenly. Toss them in a large bowl with the lemon juice right away to prevent browning.
- Make the filling. Add the granulated sugar, 2 tablespoons flour, cinnamon, and nutmeg to the apples. Toss well until every slice is coated. Then pour in the 1/2 cup of salted caramel sauce and stir gently. The mixture will look a little wet—that’s fine. Spread the apple mixture evenly into your prepared baking dish.
- Make the crisp topping. In a medium bowl, combine the oats, 3/4 cup flour, brown sugar, 1/2 teaspoon salt, and 1/4 teaspoon cinnamon. Whisk to break up any lumps. Add the cold butter cubes. Using a pastry cutter or your fingers, work the butter into the dry ingredients until the mixture looks like coarse crumbs with some pea-sized butter pieces remaining. Don’t overmix—those little butter bits create flakiness in the topping.
- Assemble the crisp. Sprinkle the topping evenly over the apples. Don’t press it down—just let it sit loosely on top. This helps it get crispy.
- Bake. Place the dish on a baking sheet to catch any drips (trust me on this). Bake for 40-45 minutes, until the filling is bubbling around the edges and the topping is golden brown and firm to the touch. If the topping is browning too quickly around the 30-minute mark, tent loosely with foil.
- Add the finishing touches. Remove from the oven and let it cool for about 10 minutes. Drizzle the remaining 2 tablespoons of salted caramel sauce over the top, then sprinkle with the flaky sea salt. The salt will melt slightly into the warm caramel—it’s beautiful.
- Serve warm. Scoop into bowls and top with vanilla ice cream or whipped cream. The contrast of hot, bubbly apples and cold, creamy ice cream is absolutely perfect.
Cooking Tips & Techniques
I’ve made this recipe more times than I can count, and I’ve learned a few things along the way. Here’s what I want you to know:
- Don’t skip the lemon juice. I once did, thinking it wouldn’t matter. My apples turned an unappetizing brownish-gray. The lemon keeps them looking fresh and bright.
- Cold butter is non-negotiable. If your butter is soft, the topping will turn into a paste instead of a crumble. Pop it in the freezer for 10 minutes if your kitchen is warm.
- Let it rest after baking. I know it’s tempting to dig in right away, but letting it sit for 10 minutes allows the juices to thicken slightly. Otherwise, you’ll end up with a soupy mess.
- Use the right pan. A glass or ceramic dish works best. Metal pans can cause the bottom to burn before the topping is done.
- Watch the topping. Every oven is different. If your topping looks dark at 30 minutes but the apples aren’t bubbling yet, cover loosely with foil and keep baking. Better safe than burnt.
One time, I forgot to add the flour to the apple filling. The result was a watery, sad crisp that tasted fine but looked like apple soup. Learn from my mistake—that flour is what gives the filling body.
Variations & Adaptations
This recipe is flexible, and I love playing around with it. Here are some of my favorite twists:
- Gluten-Free Version: Swap the all-purpose flour for a 1:1 gluten-free baking flour blend, and use certified gluten-free oats. The texture is nearly identical.
- Nutty Crunch: Add 1/2 cup of chopped pecans or walnuts to the topping. Toast them lightly first for extra flavor. I did this for a Thanksgiving potluck and it was gone in 10 minutes.
- Spiced-Up Filling: Add 1/4 teaspoon of cardamom or ginger to the apple mixture. It gives the crisp a warm, almost chai-like flavor that’s gorgeous in the fall.
- Berry-Apple Combo: Swap 1 cup of the apples for fresh or frozen cranberries or raspberries. The tartness plays beautifully with the sweet caramel.
- Dairy-Free Option: Use a plant-based butter stick (I like Miyoko’s) and a dairy-free caramel sauce. It works perfectly—just make sure the butter is cold.
My personal favorite variation? Adding a handful of fresh ginger, finely grated, to the apple filling. It gives this little zing that cuts through the sweetness. Try it once and you’ll be hooked.
Serving & Storage Suggestions
This crisp is best served warm, straight from the oven, with a generous scoop of vanilla bean ice cream. The way the ice cream melts into the warm caramel and apples? Pure magic.
For a dinner party: Bake the crisp before your guests arrive, then let it rest on the counter. When you’re ready for dessert, pop it back in a 300°F oven for 10 minutes to warm through. It’ll taste freshly baked.
Storage: Cover the baking dish tightly with foil or plastic wrap and refrigerate for up to 4 days. The topping will soften a bit, but the flavor actually gets better as the caramel soaks into the apples.
Reheating: Spoon individual portions into a microwave-safe bowl and heat for 30-45 seconds. For a crispier topping, reheat in a 350°F oven for 10-15 minutes. I actually prefer it the next day—the flavors meld together beautifully.
Freezing: You can freeze the unbaked crisp for up to 3 months. Assemble everything in a freezer-safe dish, wrap tightly in plastic wrap and foil, and freeze. Bake directly from frozen, adding about 15-20 minutes to the baking time. I always keep one in the freezer for unexpected guests.
Nutritional Information & Benefits
Let’s be real—this is a dessert, and it’s meant to be indulgent. But there are a few bright spots worth mentioning. Apples are packed with fiber and vitamin C, and oats are a great source of soluble fiber, which can help with heart health. The cinnamon adds antioxidants, and the flaky sea salt provides trace minerals.
Estimated per serving (based on 8 servings):
- Calories: 380
- Fat: 14g
- Carbohydrates: 62g
- Fiber: 4g
- Sugar: 42g
- Protein: 3g
If you’re watching your sugar intake, you can reduce the granulated sugar to 1/3 cup and use a sugar-free caramel sauce. The flavor will be slightly less rich, but still delicious. And honestly, a smaller portion with a big scoop of ice cream is the way I usually go. Balance, right?
Conclusion
This salted caramel apple crisp has become my signature dessert, and I’m so glad that accidental swap happened that Friday night. It taught me that sometimes the best recipes come from the moments we almost give up. It’s forgiving, it’s impressive, and it tastes like a warm hug on a cold day.
I really hope you give this one a try. Don’t be afraid to make it your own—swap in your favorite apples, add some nuts, or double the caramel drizzle. The recipe is a starting point, but your kitchen is where the magic happens. And when you take that first bite and hear your friends say, “Wow, this is amazing,” you’ll know exactly what I mean.
If you make this, I’d love to hear about it. Leave a comment below and tell me how it turned out, or share a photo on social media and tag me. Let’s spread the joy of this happy accident far and wide!
Frequently Asked Questions
Can I use quick oats instead of old-fashioned oats?
I wouldn’t recommend it. Quick oats are more finely processed and will turn mushy during baking. Old-fashioned rolled oats hold their texture and give you that perfect crunchy topping.
What’s the best apple for this crisp?
A mix of Granny Smith and Honeycrisp is my go-to. The Granny Smiths hold their shape and add tartness, while the Honeycrisps bring natural sweetness. But honestly, any firm, tart-sweet apple will work.
Can I make this ahead of time?
Absolutely! You can assemble the entire crisp (without baking) up to 24 hours in advance. Cover and refrigerate, then bake as directed when you’re ready. You may need to add 5-10 minutes to the baking time since it’s starting cold.
How do I prevent the topping from getting soggy?
Make sure your butter is very cold, and don’t press the topping into the apples. Let it sit loosely on top. Also, don’t skip the flour in the apple filling—it absorbs excess liquid and prevents the topping from sinking.
Can I use homemade caramel sauce?
Yes, and it’s amazing if you have the time. Just make sure your homemade sauce is thick enough—if it’s too thin, it can make the filling watery. A good rule of thumb is that it should coat the back of a spoon.
Pin This Recipe!
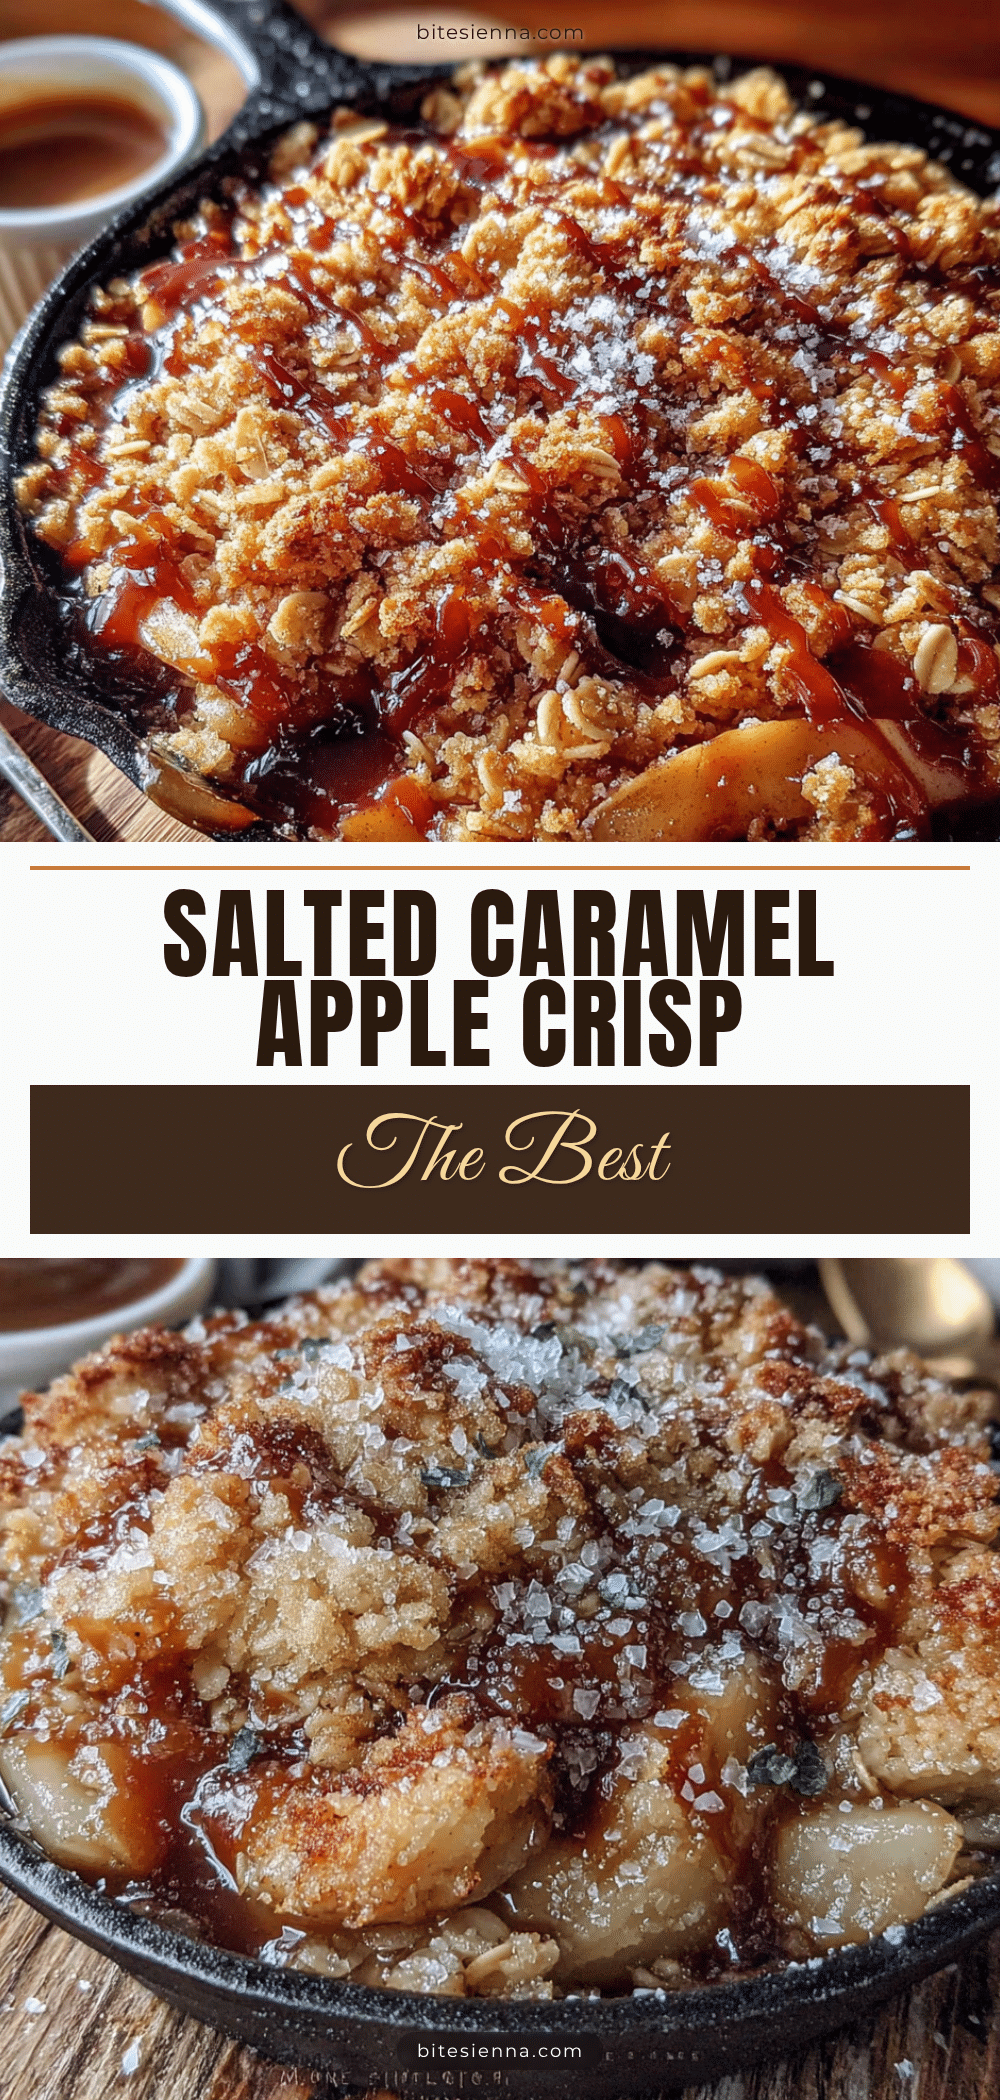
Best Salted Caramel Apple Crisp: Easy Homemade Recipe

This salted caramel apple crisp is a happy accident turned signature dessert. With a shatteringly crisp oat topping, jammy apples, and a rich salted caramel twist, it’s the perfect easy dessert for any occasion.
- Prep Time: 15 minutes
- Cook Time: 45 minutes
- Total Time: 1 hour
- Yield: 8 servings 1x
- Category: Dessert
- Cuisine: American
Ingredients
- 6 cups apples, peeled, cored, and sliced (about 5–6 medium apples; a mix of Granny Smith and Honeycrisp recommended)
- 1/2 cup granulated sugar
- 2 tablespoons all-purpose flour
- 1 teaspoon ground cinnamon
- 1/4 teaspoon ground nutmeg (freshly grated if possible)
- 1/2 cup salted caramel sauce (store-bought, thick and rich)
- 1 tablespoon lemon juice
- 1 cup old-fashioned rolled oats (not quick oats)
- 3/4 cup all-purpose flour
- 1/2 cup packed light brown sugar
- 1/2 cup unsalted butter, cold and cut into small cubes
- 1/2 teaspoon salt
- 1/4 teaspoon ground cinnamon
- 2 tablespoons salted caramel sauce, for drizzling
- 1/2 teaspoon flaky sea salt (like Maldon)
Instructions
- Preheat your oven to 350°F (175°C). Position a rack in the center of the oven. Lightly grease a 9×13-inch baking dish with butter or non-stick spray.
- Prepare the apples: Peel, core, and slice apples into roughly 1/4-inch thick slices. Toss them in a large bowl with the lemon juice to prevent browning.
- Make the filling: Add granulated sugar, 2 tablespoons flour, cinnamon, and nutmeg to the apples. Toss well until coated. Pour in 1/2 cup salted caramel sauce and stir gently. Spread the mixture evenly into the prepared baking dish.
- Make the crisp topping: In a medium bowl, combine oats, 3/4 cup flour, brown sugar, 1/2 teaspoon salt, and 1/4 teaspoon cinnamon. Whisk to break up lumps. Add cold butter cubes. Using a pastry cutter or your fingers, work the butter into the dry ingredients until the mixture resembles coarse crumbs with some pea-sized butter pieces remaining. Do not overmix.
- Assemble the crisp: Sprinkle the topping evenly over the apples. Do not press it down.
- Bake: Place the dish on a baking sheet to catch drips. Bake for 40-45 minutes, until the filling is bubbling around the edges and the topping is golden brown and firm. If the topping browns too quickly, tent loosely with foil around the 30-minute mark.
- Add finishing touches: Remove from oven and let cool for about 10 minutes. Drizzle remaining 2 tablespoons salted caramel sauce over the top, then sprinkle with flaky sea salt.
- Serve warm: Scoop into bowls and top with vanilla ice cream or whipped cream.
Notes
For the caramel sauce, look for one that’s thick and rich, not watery. Avoid Red Delicious apples—they turn to mush. Stick with firm, tart-sweet varieties. You can swap in gluten-free flour and certified gluten-free oats if needed. Cold butter is non-negotiable for a crispy topping. Let the crisp rest for 10 minutes after baking to allow juices to thicken. Store covered in the refrigerator for up to 4 days. Reheat in a 350°F oven for 10-15 minutes for a crispier topping. Freeze unbaked for up to 3 months.
Nutrition
- Serving Size: 1 serving
- Calories: 380
- Sugar: 42
- Sodium: 320
- Fat: 14
- Saturated Fat: 8
- Carbohydrates: 62
- Fiber: 4
- Protein: 3
Keywords: salted caramel apple crisp, apple crisp, easy apple dessert, fall dessert, apple crisp recipe, salted caramel dessert