My brother-in-law, Mike, had a strict rule about game day food. “No casseroles,” he’d announce every year, waving a buffalo wing in the air for emphasis. “Casseroles are for funerals and potlucks, not for football.” For five seasons, I respected this bizarre decree. I made sliders, I made dips, I made enough pulled pork to feed a small army. Then, last November, with the score tied and everyone glued to the screen, I brought out this Ultimate Chili Cheese Fries Casserole. I just set it on the coffee table and walked away. Ten minutes later, I caught him—spoon in hand, scraping the crispy, cheesy edges from the baking dish, not even pretending to watch the game. He didn’t say a word. He just pointed at the dish and nodded. Honestly, that silence was louder than any touchdown cheer.
This isn’t just another chili cheese fries recipe. It’s a full-on, fork-required casserole that layers crispy frozen fries with a rich, homemade chili, a blanket of melted cheddar and Monterey Jack, and all the fixings you’d pile on a loaded spud. I wanted something that could hold its own on a crowded coffee table, something that didn’t get soggy after fifteen minutes, and something that would make people forget about the store-bought snacks. Maybe you’ve been there—standing in the kitchen, trying to keep a platter of nachos from turning into a sad, wet mess. This casserole solves that problem. It stays crunchy on the bottom, gooey in the middle, and perfectly scoopable from start to finish. It’s the kind of dish that gets devoured before halftime, and honestly, that’s the highest compliment a game day recipe can get.
The first time I made this, I forgot to thaw the frozen fries. I just dumped them in frozen, crossed my fingers, and hoped for the best. The edges got a little extra crispy, and the center stayed perfectly tender—a happy accident I now replicate on purpose. That’s the kind of recipe this is. It’s forgiving, it’s flexible, and it’s unapologetically indulgent. Whether you’re hosting a Super Bowl party, a March Madness watch party, or just a Tuesday that needs a serious upgrade, this casserole delivers. It’s the dish that made a casserole-hater eat his words—and every last bite from the pan.
Why You’ll Love This Recipe
Game Day Hero: This casserole is built for the big game. It serves a crowd, stays warm for ages, and requires nothing more than a spoon and a napkin. No forks required, no plates needed—just grab a bowl and dig in.
Crunchy, Gooey, Perfect: The magic is in the layering. The bottom fries get crispy from the hot baking dish, the middle stays soft and soaks up the chili, and the top is a blanket of melted cheese that pulls into glorious, golden strands. Every bite has a different texture.
Simple Ingredients: You don’t need a specialty grocery store for this one. Frozen fries, canned beans, ground beef, and block cheese are all you need. Everything is probably in your kitchen right now.
Customizable Heat: This recipe is mild enough for kids but easy to spice up for the adults. Add jalapeños, hot sauce, or a sprinkle of cayenne to the chili. You control the heat level.
Crowd-Pleaser Guaranteed: I’ve served this at parties, family dinners, and even a casual poker night. It disappears every single time. People who claim they “don’t like casseroles” suddenly change their minds.
What makes this different from a standard plate of chili cheese fries is the structure. Instead of soggy fries swimming in chili, the fries stay crisp because they bake first. The chili is thick—not soupy—so it clings to the fries instead of drowning them. And the cheese? It’s not pre-shredded bagged stuff. Grate your own block cheese, and you’ll get a melt that’s creamy, stretchy, and far superior. This isn’t just a recipe; it’s a technique upgrade. It’s the kind of dish that makes you close your eyes after the first bite, because it tastes exactly like what you wanted but never quite got from the bar version. It’s comfort food reimagined—faster, easier, and with the same soul-soothing satisfaction.
What Ingredients You Will Need
This recipe uses simple, hearty ingredients to deliver that classic chili cheese fries flavor without any complicated steps. Most of these are pantry staples or easy to find at any grocery store.
- Ground beef (1 ½ pounds, 80/20 blend): The fat content here is important. Lean ground beef (like 93/7) will result in a dry chili. The 80/20 blend gives you enough fat for flavor and moisture. If you prefer, you can substitute ground turkey or plant-based crumbles.
- Yellow onion (1 large, diced): Onion adds sweetness and depth to the chili base. Dice it small so it melts into the sauce. White or red onion works in a pinch.
- Garlic (4 cloves, minced): Fresh garlic is non-negotiable here. The jarred stuff has a different flavor. Use a microplane or a sharp knife to get it fine.
- Chili powder (3 tablespoons): This is the backbone of the chili flavor. I prefer the blend from Spice Islands or Morton & Bassett for its balance of heat and smokiness. Adjust based on your brand’s intensity.
- Ground cumin (2 teaspoons): Cumin adds that warm, earthy note that makes chili taste like chili. Toast it in the pan for 30 seconds before adding liquid to wake up the flavor.
- Smoked paprika (1 teaspoon): This is my secret weapon. It adds a subtle smokiness that mimics the flavor of slow-cooked chili. Regular paprika works, but smoked is better.
- Dried oregano (1 teaspoon): Oregano adds a slightly bitter, herbal note that balances the richness of the beef and cheese.
- Crushed tomatoes (1 can, 15 ounces): Use the fire-roasted variety if you can find them. They add a deeper flavor than plain crushed tomatoes. Avoid diced tomatoes here—they don’t break down enough.
- Tomato paste (2 tablespoons): Tomato paste adds concentrated umami and thickness. Cook it with the spices for a minute before adding liquid to remove the raw, tinny taste.
- Beef broth (½ cup): Use low-sodium broth so you can control the salt level. Chicken broth or vegetable broth works too.
- Canned kidney beans (1 can, 15 ounces, drained and rinsed): Kidney beans are classic chili beans. Black beans or pinto beans also work. Drain and rinse them well to remove excess sodium and starch.
- Frozen french fries (1 bag, 28 ounces): Use a thicker cut fry like steak fries or crinkle cuts. Shoestring fries will get too crispy and may burn. I recommend Ore-ida Golden Crinkles or any brand of extra-crispy fries. Do not thaw them before baking.
- Sharp cheddar cheese (8 ounces, freshly grated): Pre-shredded cheese contains anti-caking agents that prevent smooth melting. Grate your own from a block. It takes five minutes and makes a huge difference.
- Monterey Jack cheese (8 ounces, freshly grated): Monterey Jack adds creaminess and mild flavor. Pepper Jack is a great substitute if you want extra heat.
- Green onions (4-5, sliced): For garnish. They add freshness and color. Chives work too.
- Sour cream (½ cup, for serving): The cool, tangy sour cream balances the spicy, rich chili. Greek yogurt is a fine substitute.
- Jalapeños (2-3, sliced, optional): Fresh jalapeños add crunch and heat. Pickled jalapeños are milder and tangier.
Equipment Needed
You don’t need much fancy gear for this recipe. A few basic kitchen tools will get the job done.
- Large skillet or Dutch oven (12-inch): You need a wide, heavy-bottomed pan to brown the beef and simmer the chili. A Dutch oven works perfectly because it holds heat evenly. If you only have a non-stick skillet, that’s fine, but you won’t get as much browning on the beef.
- 9×13-inch baking dish: This is the standard size for a casserole. A slightly larger dish will work, but the layers will be thinner. A smaller dish will make the casserole too deep and the fries may not crisp up.
- Box grater or food processor: For grating the cheese. A box grater is cheap and effective. A food processor with a grating disc makes quick work of it.
- Cutting board and sharp knife: For dicing the onion, mincing the garlic, and slicing the green onions and jalapeños.
- Wooden spoon or spatula: For breaking up the ground beef and stirring the chili.
- Measuring cups and spoons: For accurate spice measurements. I keep a set of magnetic measuring spoons on my fridge for quick access.
- Baking sheet (optional): If you want to pre-crisp the fries before assembling the casserole, a baking sheet is useful. But the recipe works without it.
One tip: if you don’t have a 9×13-inch dish, you can use two 8×8-inch dishes and make a smaller batch, or freeze one for later. I’ve also made this in a cast-iron skillet for a more rustic presentation. Just make sure the skillet is at least 12 inches wide.
Preparation Method
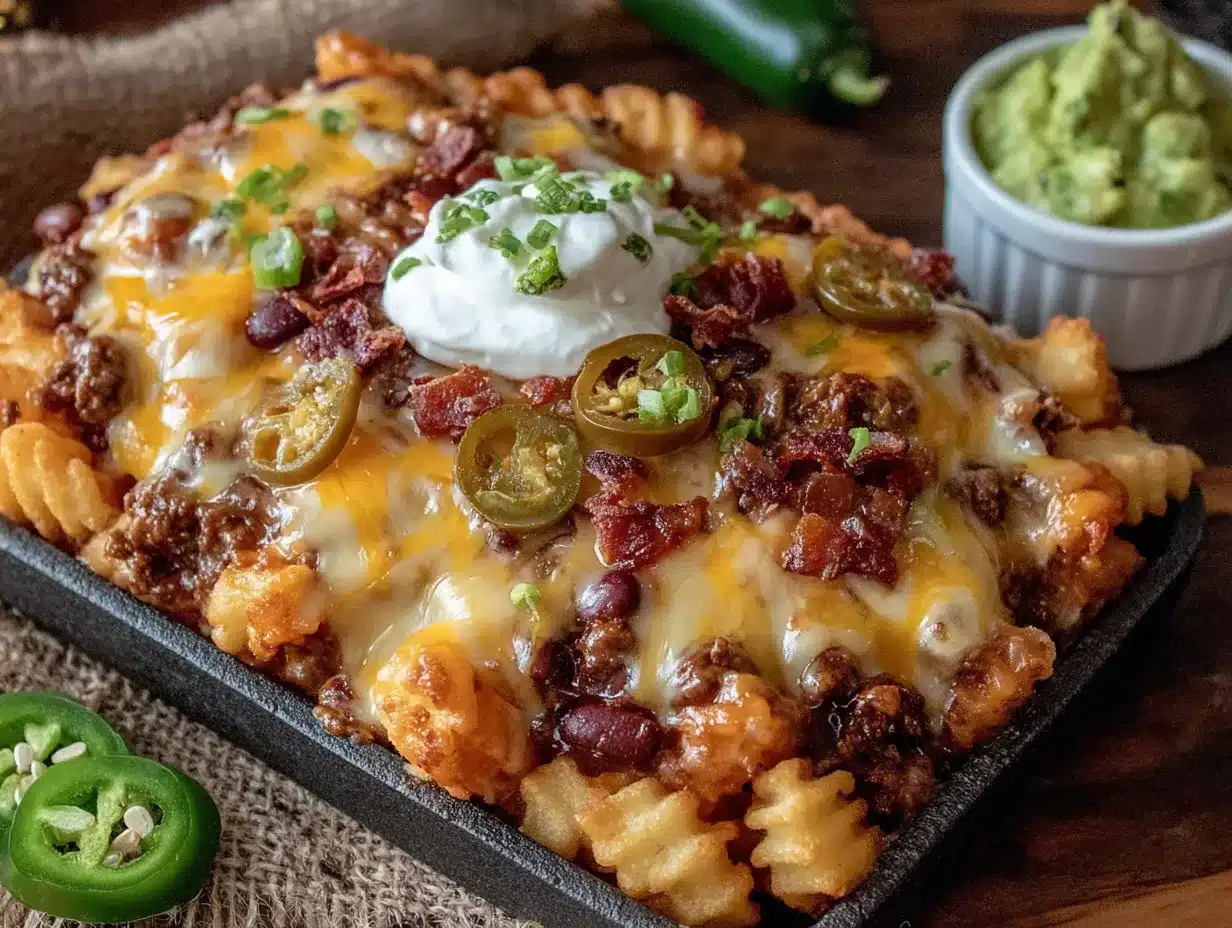
This casserole comes together in about an hour, with about 20 minutes of active prep. The rest is oven time, which means you can clean up or prep the toppings while it bakes.
Step 1: Preheat and Prep
Preheat your oven to 425°F (220°C). Place your 9×13-inch baking dish on a baking sheet to catch any drips from the chili or cheese. This step is optional but saves you from scrubbing burnt cheese off the bottom of your oven later. I learned that lesson the hard way.
Step 2: Make the Chili
Heat a large skillet or Dutch oven over medium-high heat. Add the ground beef and cook, breaking it apart with a wooden spoon, until it’s browned and no longer pink, about 6-8 minutes. Don’t drain all the fat—leave about 1 tablespoon in the pan for flavor. Add the diced onion and cook for 3-4 minutes until it softens. Add the minced garlic and cook for 30 seconds until fragrant. You’ll smell it when it’s ready.
Reduce the heat to medium. Add the chili powder, cumin, smoked paprika, and oregano. Stir constantly for 1 minute to toast the spices. This step wakes up the flavors and removes the raw taste. Add the tomato paste and stir for another minute. The paste will darken slightly.
Pour in the crushed tomatoes and beef broth. Stir to combine, scraping any browned bits from the bottom of the pan. Bring the chili to a simmer, then reduce the heat to low. Let it simmer uncovered for 10 minutes, stirring occasionally. The chili should thicken slightly. If it looks too thin, let it simmer another 5 minutes. Stir in the drained kidney beans and remove from heat. Taste and adjust salt and pepper. Remember, the cheese and fries add salt too, so go easy.
Step 3: Bake the Fries
Spread the frozen french fries in an even layer in your 9×13-inch baking dish. Do not thaw them first. Bake for 15 minutes at 425°F (220°C). They should be starting to crisp on the edges but not fully golden. This par-baking step ensures the bottom layer stays crunchy after the chili is added.
Step 4: Assemble the Casserole
Remove the baking dish from the oven. Reduce the oven temperature to 375°F (190°C). Spoon the chili evenly over the par-baked fries. Use a spatula to spread it gently—you don’t want to disturb the fries too much. Sprinkle the grated cheddar and Monterey Jack cheese evenly over the top. Don’t pile it all in one spot; spread it edge to edge for even melting.
Step 5: Bake the Casserole
Return the dish to the oven and bake for 15-18 minutes at 375°F (190°C). The cheese should be melted, bubbly, and starting to brown in spots. If you want a deeper golden crust, switch the oven to broil for the last 2 minutes. Watch it closely—broiling can go from perfect to burnt in seconds.
Step 6: Rest and Garnish
Remove the casserole from the oven and let it rest for 5 minutes. This resting time allows the chili to set slightly so it doesn’t turn into a soupy mess when you scoop it. Sprinkle sliced green onions and jalapeños over the top. Serve with sour cream on the side.
Cooking Tips & Techniques
Over the years, I’ve made this casserole more times than I can count, and I’ve picked up a few tricks along the way. Here are the ones that matter most.
Don’t skip the par-bake. The biggest mistake people make with chili cheese fries casserole is adding raw chili to raw fries. The bottom layer turns into a soggy, sad mess. Par-baking the fries for 15 minutes creates a crispy barrier that holds up against the chili. Trust me on this one.
Grate your own cheese. I know it’s tempting to buy the bagged shredded cheese. It’s convenient, and it’s right there. But bagged cheese has a coating of cellulose or starch that prevents clumping—and also prevents smooth melting. Freshly grated cheese melts into a creamy, cohesive layer. The difference is night and day. I learned this after a particularly disappointing batch that turned into a greasy, separated mess.
Make the chili ahead of time. The chili actually tastes better the next day. Make it a day ahead, refrigerate it, and reheat it gently before assembling the casserole. The flavors meld and deepen overnight. This also makes game day prep a breeze.
Watch your chili thickness. If your chili is too thin, it will soak into the fries and make them soggy. Let it simmer uncovered until it thickens to a consistency that coats the back of a spoon. If it’s too thick, add a splash of broth. The perfect chili for this casserole should be thick enough to hold its shape when spooned.
Don’t overcrowd the pan. If you’re doubling the recipe, use two separate baking dishes instead of one giant one. Overcrowding leads to uneven cooking and soggy fries. Two 9×13-inch dishes bake perfectly side by side.
Use a thermometer for the oven. Oven temperatures vary wildly. An oven thermometer costs five dollars and saves you from undercooked or burnt casseroles. I keep one on my middle rack at all times.
Variations & Adaptations
This recipe is incredibly flexible. Here are a few ways to make it your own.
Vegetarian Version: Swap the ground beef for a plant-based crumble or two cans of black beans. Use vegetable broth instead of beef broth. The rest of the recipe stays the same. I made this for a vegetarian friend, and she said it was better than the meat version. I’m not sure I agree, but it was definitely delicious.
Spicy Buffalo Version: Stir ¼ cup of buffalo sauce into the chili before assembling. Use Pepper Jack cheese instead of Monterey Jack. Top with crumbled blue cheese and extra hot sauce. This version is a crowd favorite at my house during the Super Bowl.
Loaded Baked Potato Version: Use frozen potato wedges instead of fries. Add cooked, crumbled bacon to the chili. Top with extra sour cream and chives. It tastes exactly like a loaded baked potato, but in casserole form.
Low-Carb Version: Replace the frozen fries with roasted cauliflower florets. Toss the cauliflower in olive oil and salt, then roast at 425°F (220°C) for 20 minutes before adding the chili and cheese. It’s not the same as fries, but it scratches the itch without the carbs.
Breakfast Version: Yes, really. Make the casserole as directed, but top it with a fried egg or two before serving. The runny yolk mixes with the chili and cheese, and it’s one of the best breakfasts I’ve ever had. I discovered this by accident when I had leftover casserole and an egg craving.
Serving & Storage Suggestions
This casserole is best served hot, straight from the oven. Let it rest for 5 minutes before scooping to allow the layers to set. Serve it in bowls or on plates with a generous dollop of sour cream, a sprinkle of green onions, and a few slices of fresh jalapeño if you like heat.
What to serve with it: A simple side salad with a tangy vinaigrette cuts through the richness. Cornbread is also a classic pairing—I like to serve it with a side of honey butter. For drinks, cold beer is the obvious choice, but a crisp sparkling water with lime works just as well.
Storage: Leftovers keep well in the refrigerator for up to 4 days. Store them in an airtight container. The fries will soften over time, but the flavor remains excellent. I actually prefer the leftovers the next day because the flavors meld together even more.
Reheating: The best way to reheat this casserole is in the oven. Place it in a 350°F (175°C) oven for 10-15 minutes until warmed through. The microwave works in a pinch, but the fries will be soft. If you’re using the microwave, reheat in 30-second increments and stop as soon as it’s hot.
Freezing: You can freeze the assembled but unbaked casserole. Assemble it in a freezer-safe baking dish, cover tightly with foil, and freeze for up to 3 months. To bake, thaw overnight in the refrigerator, then bake as directed. You may need to add 10-15 minutes to the baking time since it starts cold.
One note: the flavors actually improve after a day in the fridge. The chili deepens, the spices meld, and the whole thing becomes even more satisfying. So don’t be afraid to make it a day ahead.
Nutritional Information & Benefits
Let’s be honest—this is not a health food. It’s indulgent, rich, and meant to be enjoyed in moderation. But it does have some redeeming qualities.
Per serving (based on 8 servings): Approximately 520 calories, 28g protein, 35g carbohydrates, 32g fat, 15g saturated fat, 85mg cholesterol, 980mg sodium, 4g fiber, 5g sugar.
Protein: The ground beef and cheese provide a solid protein punch, which helps keep you full and satisfied. This is one reason why this casserole works so well as a main dish.
Fiber: The kidney beans add 4 grams of fiber per serving. Fiber aids digestion and helps stabilize blood sugar. If you want more fiber, use sweet potato fries instead of regular fries.
Calcium: The cheese contributes a significant amount of calcium, which is essential for bone health. Using freshly grated cheese also means you’re getting real dairy without the anti-caking agents found in pre-shredded blends.
Dietary Considerations: This recipe is gluten-free as written (check your frozen fries and broth to be sure). For a lower-sodium version, use low-sodium broth, no-salt-added beans, and reduce the added salt. For a lower-fat version, use ground turkey and reduced-fat cheese, but be aware that the texture and flavor will change.
I’m not a nutritionist, and I don’t pretend to be. But I do believe that food should be enjoyed, and that a dish like this—made from scratch with real ingredients—is far better than anything from a box or a fast-food bag. Balance is key.
Conclusion
This Ultimate Chili Cheese Fries Casserole is the kind of recipe that becomes a tradition. It’s the dish people request for game days, for parties, for those nights when you just need something warm and cheesy and deeply satisfying. It’s forgiving enough for beginners, flexible enough for experimentation, and impressive enough to win over even the most skeptical casserole critics.
I love this recipe because it reminds me that sometimes the best dishes come from breaking the rules. Mike’s rule about no casseroles? It’s officially retired. Now he asks me to bring this to every gathering. He even asked for the recipe, which he never does. That’s the power of a truly great dish—it changes minds, creates memories, and brings people together around a table (or a coffee table).
So go ahead and make this your own. Add extra jalapeños. Swap in sweet potato fries. Top it with a fried egg. Whatever you do, don’t skip the par-bake, don’t use bagged cheese, and don’t be afraid to double the batch. You’re going to need it.
I’d love to hear how yours turns out. Drop a comment below and tell me about your game day traditions, your favorite toppings, or any creative twists you tried. And if you loved this recipe, share it with a friend who needs a new go-to dish. Happy cooking!
Frequently Asked Questions
Can I make this casserole ahead of time?
Yes! You can assemble the entire casserole (without baking) up to 24 hours in advance. Cover it tightly with foil and refrigerate. When you’re ready to bake, add about 10-15 minutes to the baking time since it starts cold. The chili actually tastes better when made a day ahead.
What kind of frozen fries work best?
Thicker cuts like steak fries, crinkle cuts, or wedge fries work best. Shoestring fries are too thin and will burn or become overly crispy. I recommend Ore-ida Golden Crinkles or any extra-crispy brand. Avoid sweet potato fries for this recipe—they release too much moisture and make the casserole soggy.
Can I use homemade chili instead of canned?
Absolutely! Homemade chili is actually better because you can control the thickness and seasoning. Just make sure your chili is thick enough to hold its shape when spooned over the fries. If it’s too thin, simmer it uncovered for 10-15 minutes to reduce it. Leftover chili from a previous meal works perfectly here.
How do I prevent the casserole from getting soggy?
Three things: par-bake the fries before adding the chili, make sure your chili is thick (not watery), and let the casserole rest for 5 minutes after baking before serving. The resting time allows the layers to set so the chili doesn’t pool at the bottom.
Can I freeze the leftovers?
Yes, but the texture of the fries will change. Freeze leftovers in an airtight container for up to 3 months. To reheat, thaw overnight in the refrigerator, then warm in a 350°F (175°C) oven for 15-20 minutes. The fries will be softer than fresh, but the flavor will still be excellent.
Pin This Recipe!
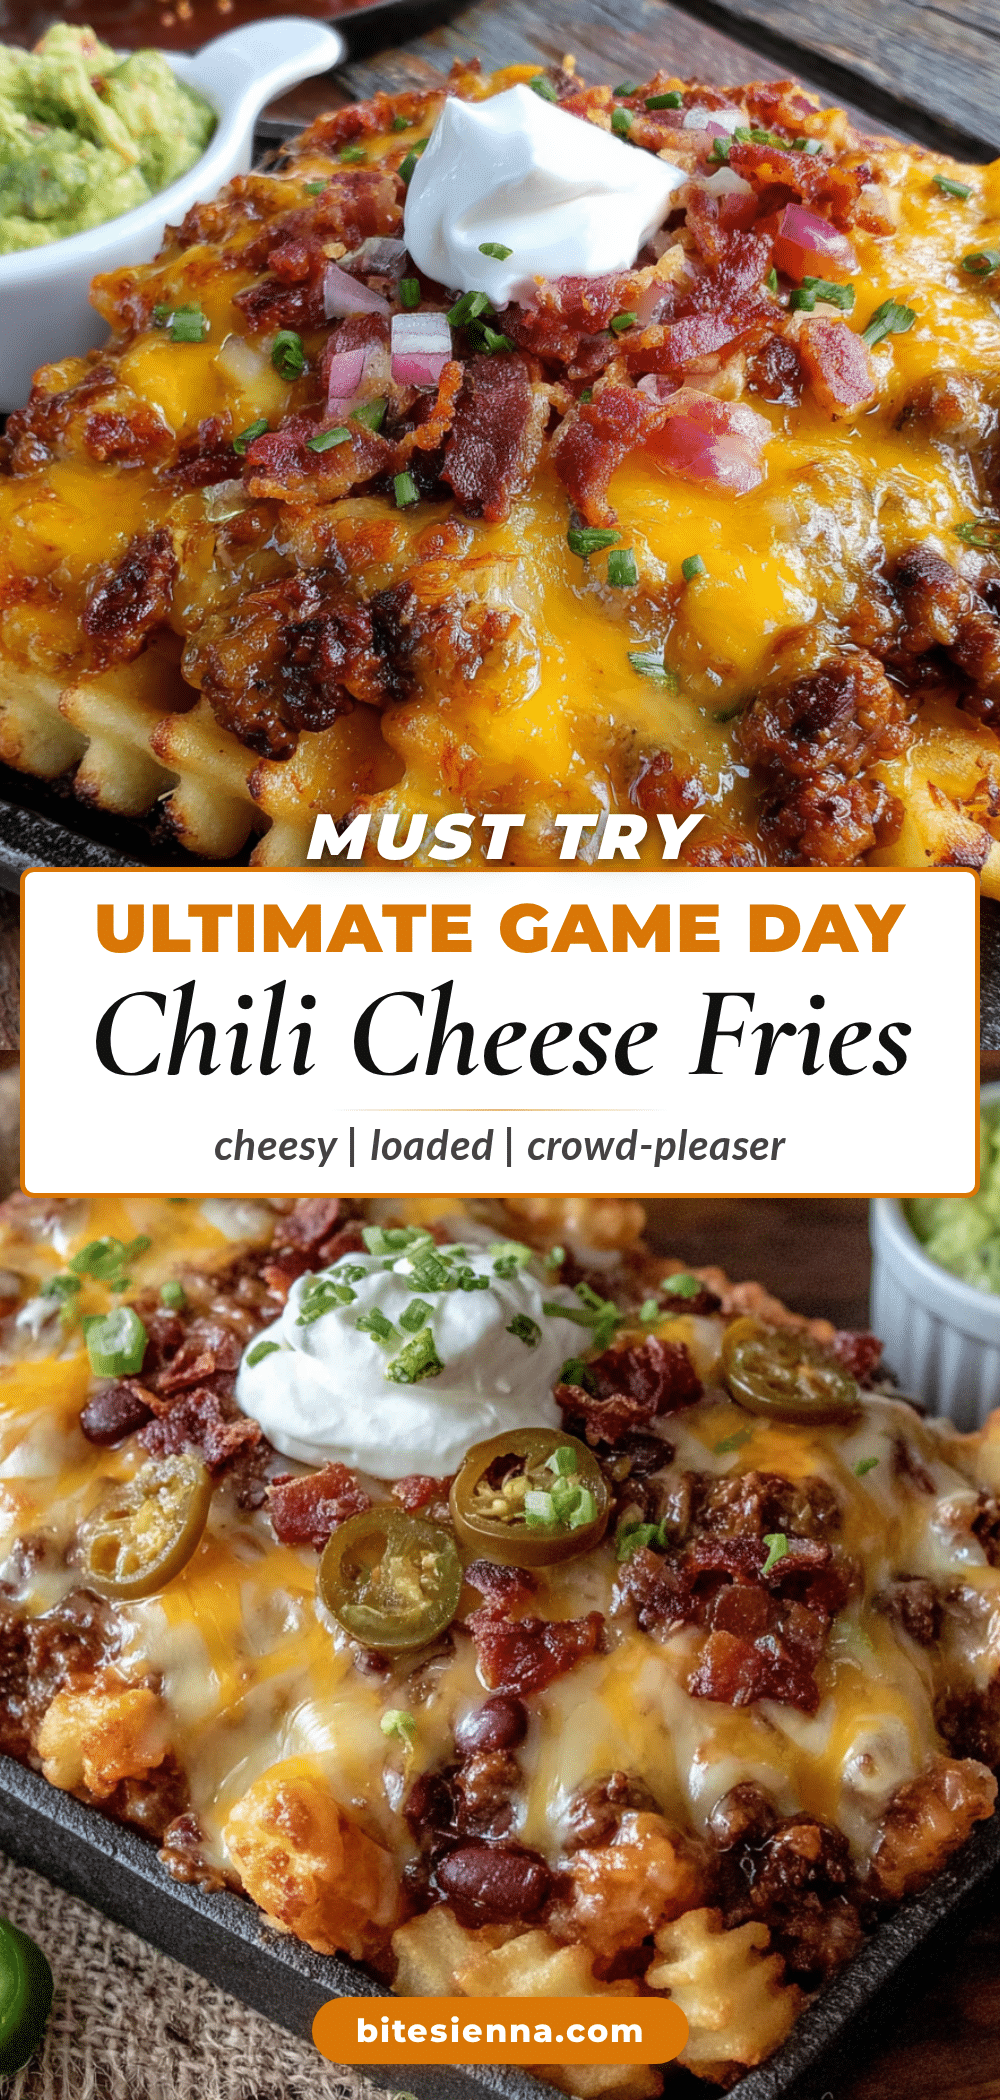
Best Ultimate Chili Cheese Fries Casserole for Game Day
This Ultimate Chili Cheese Fries Casserole layers crispy frozen fries with a rich, homemade chili, a blanket of melted cheddar and Monterey Jack, and all the fixings. It’s a fork-required, crowd-pleasing dish that stays crunchy on the bottom, gooey in the middle, and perfectly scoopable from start to finish.
- Prep Time: 20 minutes
- Cook Time: 40 minutes
- Total Time: 1 hour
- Yield: 8 servings 1x
- Category: Main Course
- Cuisine: American
Ingredients
- 1 ½ pounds ground beef (80/20 blend)
- 1 large yellow onion, diced
- 4 cloves garlic, minced
- 3 tablespoons chili powder
- 2 teaspoons ground cumin
- 1 teaspoon smoked paprika
- 1 teaspoon dried oregano
- 1 can (15 ounces) crushed tomatoes (fire-roasted preferred)
- 2 tablespoons tomato paste
- ½ cup low-sodium beef broth
- 1 can (15 ounces) kidney beans, drained and rinsed
- 1 bag (28 ounces) frozen french fries (thicker cut, like steak or crinkle)
- 8 ounces sharp cheddar cheese, freshly grated
- 8 ounces Monterey Jack cheese, freshly grated
- 4–5 green onions, sliced
- ½ cup sour cream (for serving)
- 2–3 jalapeños, sliced (optional)
Instructions
- Preheat oven to 425°F (220°C). Place a 9×13-inch baking dish on a baking sheet to catch drips.
- Make the chili: Heat a large skillet or Dutch oven over medium-high heat. Add ground beef and cook, breaking it apart, until browned (6-8 minutes). Leave about 1 tablespoon of fat in the pan.
- Add diced onion and cook 3-4 minutes until softened. Add minced garlic and cook 30 seconds until fragrant.
- Reduce heat to medium. Add chili powder, cumin, smoked paprika, and oregano. Stir constantly for 1 minute to toast spices. Add tomato paste and stir for another minute.
- Pour in crushed tomatoes and beef broth. Stir, scraping up browned bits. Bring to a simmer, then reduce heat to low. Simmer uncovered for 10 minutes, stirring occasionally, until chili thickens. Stir in kidney beans and remove from heat. Season with salt and pepper to taste.
- Par-bake the fries: Spread frozen fries in an even layer in the baking dish. Bake for 15 minutes at 425°F (220°C) until edges start to crisp.
- Reduce oven temperature to 375°F (190°C). Spoon chili evenly over par-baked fries. Sprinkle grated cheddar and Monterey Jack cheese evenly over the top.
- Bake for 15-18 minutes at 375°F (190°C) until cheese is melted, bubbly, and starting to brown. For a deeper golden crust, broil for the last 2 minutes, watching closely.
- Remove from oven and let rest for 5 minutes. Sprinkle with sliced green onions and jalapeños. Serve with sour cream on the side.
Notes
Don’t skip the par-bake of the fries to keep them crispy. Grate your own cheese for best melting. Make chili ahead of time for deeper flavor. Let casserole rest 5 minutes before serving to set layers.
Nutrition
- Serving Size: 1 serving (based on
- Calories: 520
- Sugar: 5
- Sodium: 980
- Fat: 32
- Saturated Fat: 15
- Carbohydrates: 35
- Fiber: 4
- Protein: 28
Keywords: chili cheese fries casserole, game day recipe, loaded fries, comfort food, party food, Super Bowl recipe


