It was 11:47 PM on a quiet Tuesday, and I was hit with a craving for Thanksgiving in September. I didn’t have a can of pumpkin puree or any of the usual suspects for a pie, but I had a sugar pumpkin sitting on my counter from a farmer’s market trip two weeks prior, and the wild idea to just roast it right then and there. Honestly, I was half-asleep and running on fumes, but the thought of that warm, spiced filling was too strong to ignore.
I stumbled into the kitchen, still in my work clothes, and started hacking into that pumpkin with a very dull knife. Let me tell you, it was not my finest moment. There was pumpkin guts on the counter, a near-miss with my thumb, and a very confused cat watching me from the doorway. But once that pumpkin was in the oven, the whole apartment filled with this incredible, earthy sweetness that was way better than any candle. It reminded me why I love this season so much.
The next morning, I turned that roasted pumpkin into a pie that was, no exaggeration, the best I’d ever made. The texture was silkier, the flavor deeper, and it had this rustic charm that a can just can’t replicate. That late-night experiment turned into my go-to recipe, and now I’m sharing it with you. Maybe you’ve been there, standing in your kitchen at a ridiculous hour, just needing to make something good. This is that recipe—a classic homemade pumpkin pie with a cloud of maple whipped cream that makes it feel like a special occasion, even on a regular weeknight.
Why You’ll Love This Recipe
This isn’t just another pumpkin pie recipe you find online. I’ve tested this version more times than I can count, tweaking the spice blend and the baking time until it was absolutely perfect. It’s the kind of recipe that builds your confidence in the kitchen, because it works every single time.
- Quick & Easy: While roasting a fresh pumpkin takes a bit of time, the actual pie assembly is a breeze. You can even use a good-quality canned pumpkin to cut that time in half, making it perfect for a busy weeknight when you want a taste of the holidays.
- Simple Ingredients: You likely have most of the spices in your pantry right now. No hunting down obscure ingredients at a specialty store. It’s honest, straightforward baking.
- Perfect for Weeknights or Holidays: This pie is just as at home on a Tuesday night in October as it is on your Thanksgiving table. It’s versatile like that.
- Crowd-Pleaser: I’ve brought this to potlucks and family dinners, and the pie plate always comes back empty. The maple whipped cream is what seals the deal for everyone.
- Unbelievably Delicious: The secret is in the spice blend. It’s not just “pumpkin pie spice.” There’s a little extra warmth from fresh ginger and a hint of black pepper that makes the flavor pop.
What makes this recipe different? It’s the balance. The filling is creamy without being heavy, sweet without being cloying, and the crust stays flaky even after a day in the fridge. This is the pumpkin pie you will want to make every year.
What Ingredients You Will Need
This recipe uses simple, wholesome ingredients to deliver bold flavor and satisfying texture without the fuss. Most of these are pantry staples, especially if you keep a well-stocked spice drawer.
For the Pie Filling
- Pumpkin Puree (15 oz / 425g): You can use one can of Libby’s or your favorite brand. For a deeper flavor, roast a sugar pumpkin (about 2 lbs) and puree the flesh yourself. Just make sure to drain any excess water from fresh puree on paper towels.
- Evaporated Milk (12 oz / 354 ml): This is key for a creamy, not watery, filling. Don’t substitute with regular milk or cream, as the consistency will change.
- Large Eggs (2): They bind the filling and give it structure. Make sure they are at room temperature so they mix in smoothly.
- Granulated Sugar (3/4 cup / 150g): Provides the necessary sweetness. You can reduce this slightly if you are using a very sweet pumpkin variety.
- Brown Sugar (1/4 cup / 50g): Packed. This adds a touch of molasses flavor and moisture that granulated sugar alone can’t provide.
- Spice Blend:
- 1 1/2 tsp ground cinnamon
- 1/2 tsp ground ginger (or 1 tsp freshly grated ginger for a kick)
- 1/2 tsp ground nutmeg
- 1/4 tsp ground cloves
- 1/4 tsp salt
- Pinch of black pepper (trust me on this)
For the Maple Whipped Cream
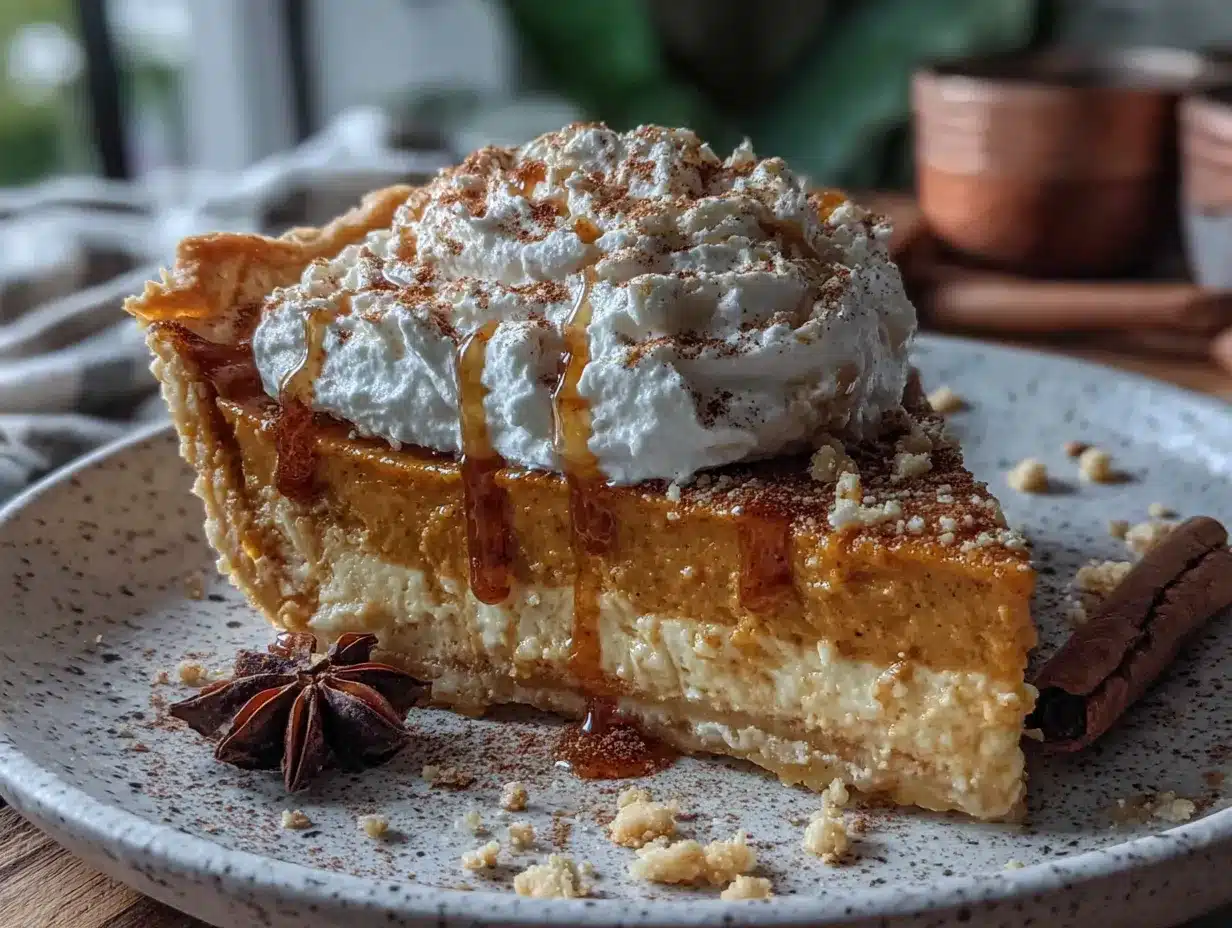
- Heavy Cream (1 cup / 240 ml): Must be cold for the best volume.
- Pure Maple Syrup (2-3 tbsp): Use the real stuff, not pancake syrup. It makes a huge difference in flavor.
- Vanilla Extract (1/2 tsp): Enhances the maple and spice notes.
For the Pie Crust
- All-Purpose Flour (1 1/4 cups / 156g): For a flaky crust, I prefer King Arthur Flour.
- Salt (1/2 tsp): Balances the sweetness and strengthens the gluten.
- Unsalted Butter (1/2 cup / 113g): Very cold, cut into small cubes. This is the secret to a flaky crust.
- Ice Water (4-6 tbsp): Just enough to bring the dough together.
Equipment Needed
You don’t need a fancy kitchen to pull this off. Here is what you will need:
- 9-inch Pie Plate: A glass or ceramic dish works best for even baking. I have a Pyrex one that has never let me down.
- Large Mixing Bowls: You will need one for the filling and one for the crust.
- Whisk: A good whisk is better than an electric mixer for the filling—it prevents over-mixing.
- Rolling Pin: If you don’t have one, a clean wine bottle works in a pinch. I’ve been there.
- Food Processor (optional): Makes cutting the butter into the flour for the crust incredibly fast. A pastry cutter or two forks will also work.
- Parchment Paper & Pie Weights: For blind baking the crust. Dried beans or rice work perfectly as weights.
- Electric Mixer or Whisk: For the whipped cream. A hand mixer is easiest, but a balloon whisk and some elbow grease will get you there.
Preparation Method
Let’s break this down step-by-step. Take your time, and you will be rewarded with a stunning pie.
Step 1: Make the Pie Crust (or cheat a little)
- In a food processor, pulse the flour and salt together. Add the cold butter cubes and pulse until the mixture looks like coarse meal with some pea-sized butter pieces remaining.
- Drizzle in 4 tablespoons of ice water and pulse again. Squeeze a bit of dough—if it holds together, it’s ready. If not, add another tablespoon of water. Do not over-process.
- Turn the dough out onto a piece of plastic wrap, shape it into a disc, and wrap it tightly. Refrigerate for at least 1 hour. This rest is non-negotiable; it relaxes the gluten and keeps the crust tender.
- On a lightly floured surface, roll the dough to a 12-inch circle. Carefully transfer it to your pie plate, crimp the edges, and place it back in the fridge for 20 minutes. This prevents shrinkage.
- Preheat your oven to 375°F (190°C). Line the chilled crust with parchment paper and fill with pie weights. Bake for 15 minutes, then remove the weights and parchment and bake for another 5-7 minutes until the bottom looks dry and lightly golden. Set aside to cool slightly.
Step 2: Make the Filling
- Reduce the oven temperature to 350°F (175°C).
- In a large bowl, whisk together the pumpkin puree, granulated sugar, and brown sugar until smooth.
- Add the eggs one at a time, whisking well after each addition.
- Whisk in the evaporated milk, then all the spices, salt, and the pinch of black pepper. The mixture should be smooth and aromatic. If you see any lumps, strain it through a fine-mesh sieve.
- Pour the filling into the pre-baked crust. It will be very full—that’s okay.
Step 3: Bake the Pie
- Carefully transfer the pie to the oven. To prevent the edges from burning, you can use a pie shield or a strip of foil around the crust.
- Bake for 45-55 minutes. The edges of the filling should be set, but the center will still have a slight jiggle, like a firm Jell-O. A knife inserted 1 inch from the center should come out mostly clean.
- Let the pie cool completely on a wire rack. This takes about 2 hours. Do not rush this—a warm pie will be runny. For the best texture, refrigerate it for at least 4 hours, or overnight.
Step 4: Make the Maple Whipped Cream
- Just before serving, pour the cold heavy cream into a chilled bowl. Add the maple syrup and vanilla extract.
- Whip with an electric mixer on medium-high speed until soft peaks form. Be careful not to overwhip, or you will end up with butter.
- Serve a generous dollop on each slice of pie.
Cooking Tips & Techniques
I have made a lot of pumpkin pies, and I have learned a few things the hard way. Here is what I wish I knew from the start.
- Don’t Overmix the Filling: Whisking too much air into the filling can cause it to puff up and crack in the oven. Mix until just combined.
- Blind Bake is a Must: A soggy bottom is the enemy of a good pie. Blind baking the crust ensures it stays flaky and crisp, even under the wet filling.
- The Jiggle Test is Everything: Overbaking is the most common mistake. The center should wobble slightly when you shake the pan. It will continue to set as it cools.
- Chill the Pie Completely: I know it’s tempting to cut into it while it’s still warm, but you will be disappointed. A fully chilled pie slices cleanly and holds its shape beautifully.
- Make-Ahead Magic: You can make the pie crust up to 3 days in advance and keep it in the fridge. The fully baked pie can be made 1-2 days ahead. The whipped cream, however, should be made fresh on the day you serve it.
Variations & Adaptations
This classic recipe is a great base for experimentation. Here are a few ways I have adapted it over the years.
- Gluten-Free Version: Use your favorite 1:1 gluten-free flour blend for the crust. I’ve used Bob’s Red Mill with great results. The rest of the recipe is naturally gluten-free.
- Dairy-Free Option: Substitute the butter in the crust with a solid vegan butter (like Miyoko’s) and use full-fat coconut cream instead of evaporated milk. The texture will be slightly different, but still delicious.
- Spice It Up: For a more savory twist, add a teaspoon of fresh, finely chopped rosemary to the crust. The herbs pair surprisingly well with the sweet pumpkin filling.
- Bourbon Maple Cream: Replace one tablespoon of the maple syrup in the whipped cream with a good bourbon. It adds a grown-up warmth that is perfect for a fall dinner party.
Serving & Storage Suggestions
This pie is best served cold, straight from the fridge. The texture is firm and the flavors are more pronounced.
- Serving: Slice the pie with a sharp, wet knife for clean cuts. Wipe the knife between slices. Serve with a generous cloud of maple whipped cream and a light dusting of cinnamon.
- Storage: Cover the pie tightly with plastic wrap or foil and store it in the refrigerator for up to 4 days. The flavors actually get better after a day or two.
- Freezing: You can freeze the baked, cooled pie for up to 2 months. Wrap it tightly in a layer of plastic wrap and then a layer of foil. Thaw it overnight in the refrigerator before serving.
- Reheating: I actually prefer this pie cold, but if you want a warm slice, place it in a 300°F (150°C) oven for 10-15 minutes. Do not microwave it, as the crust will become soggy.
Nutritional Information & Benefits
While pumpkin pie is a treat, it does have some redeeming qualities. Pumpkin itself is packed with vitamin A and fiber.
- Estimated per slice (1/8 of pie with cream): Calories: 420, Fat: 24g, Carbs: 48g, Protein: 6g.
- Vitamin A Powerhouse: Pumpkin is incredibly rich in beta-carotene, which your body converts to vitamin A for eye health and immune function.
- Dietary Considerations: As mentioned, this recipe can be adapted to be gluten-free and dairy-free. It is not suitable for a low-carb or keto diet due to the sugar and crust.
- Allergens: Contains wheat (crust), dairy (butter, milk, cream), and eggs.
Conclusion
Look, there are a million pumpkin pie recipes out there, but this one is mine. It’s the one I make for my family, the one I bring to Friendsgiving, and the one I crave on a chilly October night. It’s honest, it’s delicious, and it’s surprisingly simple once you get the hang of it. The maple whipped cream is non-negotiable in my book—it’s the little touch that makes you feel like a pro.
I want to hear from you! Did you try this recipe? Did you add your own twist? I love reading about your kitchen adventures. Drop a comment below and let me know how it turned out. And if you loved it, share this post with a friend who needs a little more pie in their life. Happy baking!
Frequently Asked Questions
Can I use canned pumpkin puree instead of fresh?
Absolutely. Canned pumpkin is consistent and reliable. If you use fresh, just make sure to drain it well so your filling isn’t watery.
Why did my pie crust shrink?
This usually happens if the dough is overworked or not chilled enough. Make sure to refrigerate the crust for at least 30 minutes before baking, and don’t stretch the dough when you place it in the pie plate.
Can I make this pie a day ahead?
Yes, and I actually recommend it. The pie needs to chill for at least 4 hours to set perfectly, so making it the day before is ideal. Just add the whipped cream right before serving.
My pie cracked on top. What went wrong?
A cracked top often means the pie was overbaked or the oven temperature was too high. The filling expands too much and then breaks. Next time, try the jiggle test and pull it out when the center is still slightly wobbly.
Can I use a store-bought crust to save time?
You sure can. A high-quality refrigerated crust from the grocery store works wonderfully. Just blind bake it according to the package instructions first. It’s a great shortcut for a busy weeknight.
Pin This Recipe!
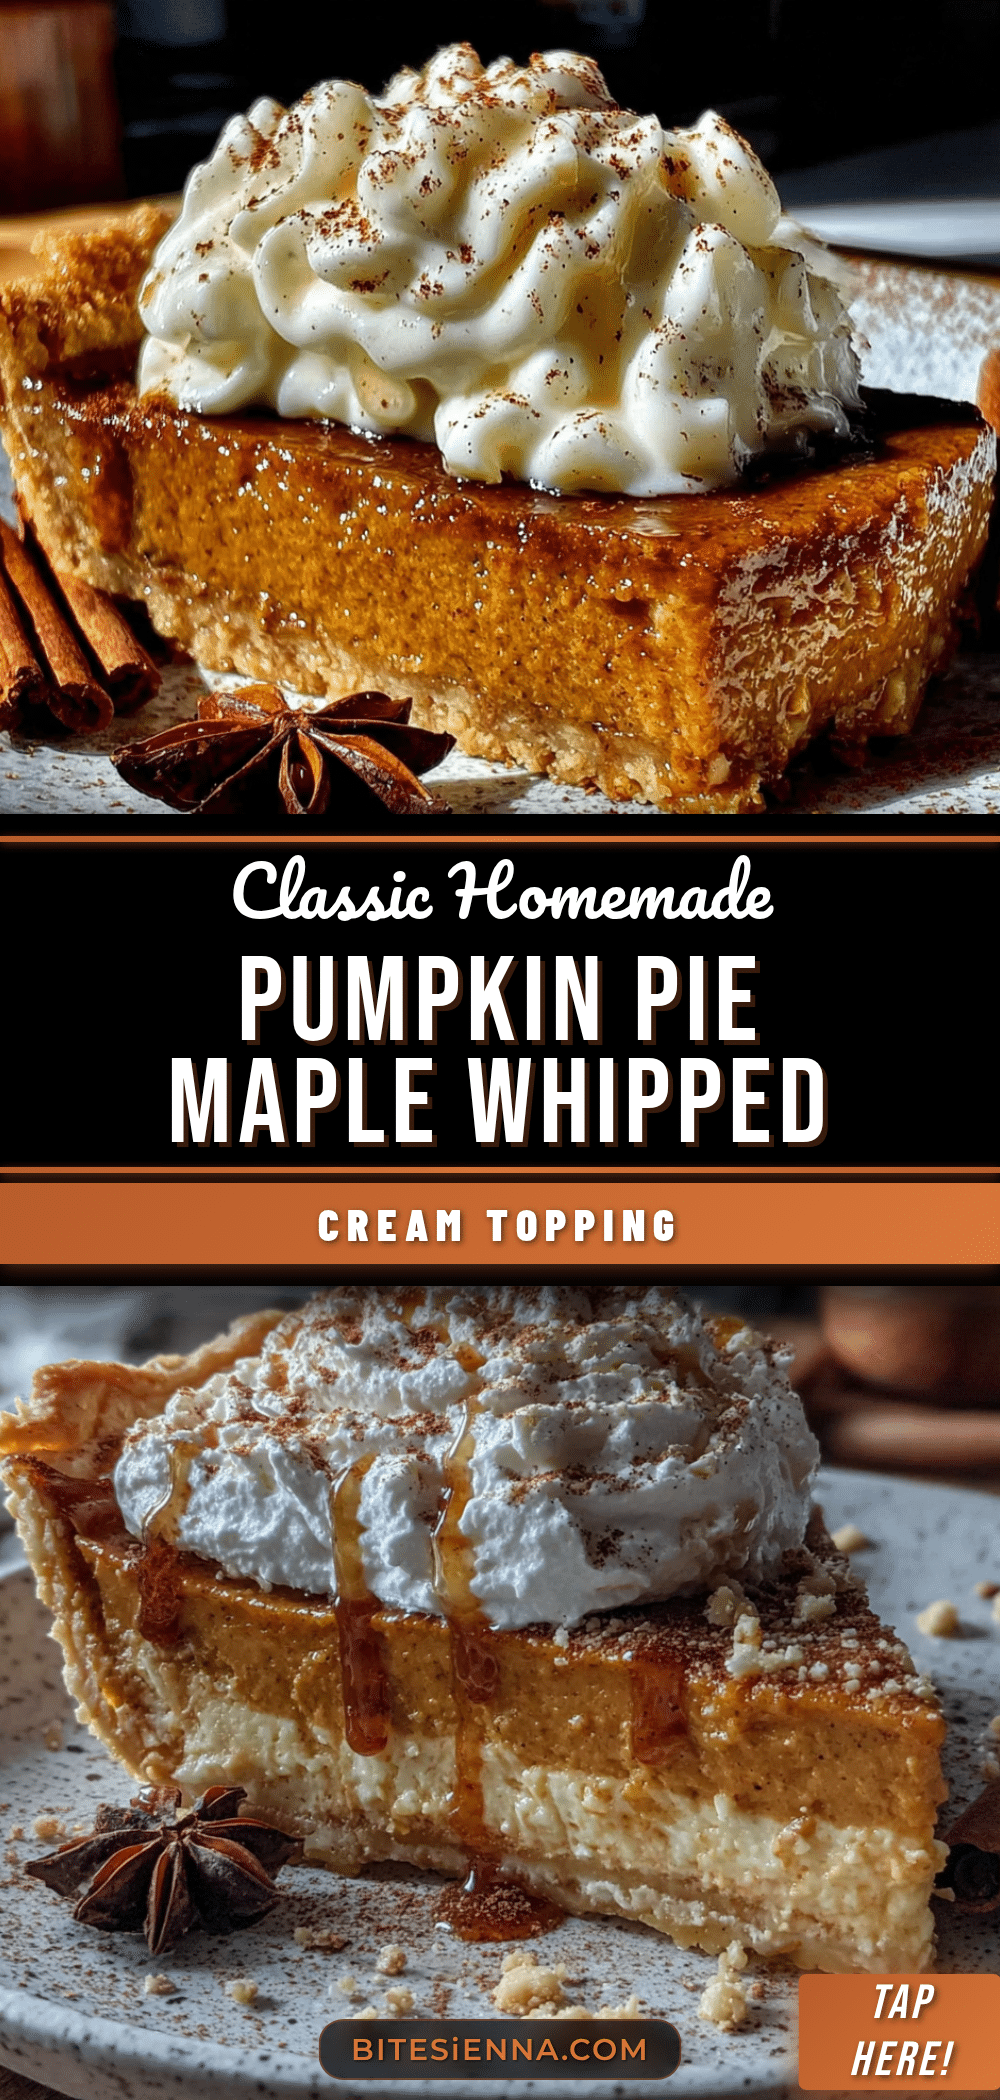
Classic Homemade Pumpkin Pie with Maple Whipped Cream
A classic homemade pumpkin pie with a silky, deeply flavored filling and a flaky crust, topped with a cloud of maple whipped cream. This recipe is perfect for weeknights or holidays and is sure to be a crowd-pleaser.
- Prep Time: 30 minutes
- Cook Time: 55 minutes
- Total Time: 2 hours 25 minutes (plus chilling time)
- Yield: 8 servings
- Category: Dessert
- Cuisine: American
Ingredients
- For the Pie Crust: 1 1/4 cups (156g) all-purpose flour
- For the Pie Crust: 1/2 tsp salt
- For the Pie Crust: 1/2 cup (113g) unsalted butter, very cold and cut into small cubes
- For the Pie Crust: 4-6 tbsp ice water
- For the Pie Filling: 15 oz (425g) pumpkin puree (1 can or fresh roasted)
- For the Pie Filling: 12 oz (354 ml) evaporated milk
- For the Pie Filling: 2 large eggs, at room temperature
- For the Pie Filling: 3/4 cup (150g) granulated sugar
- For the Pie Filling: 1/4 cup (50g) packed brown sugar
- For the Pie Filling: 1 1/2 tsp ground cinnamon
- For the Pie Filling: 1/2 tsp ground ginger (or 1 tsp freshly grated ginger)
- For the Pie Filling: 1/2 tsp ground nutmeg
- For the Pie Filling: 1/4 tsp ground cloves
- For the Pie Filling: 1/4 tsp salt
- For the Pie Filling: Pinch of black pepper
- For the Maple Whipped Cream: 1 cup (240 ml) heavy cream, cold
- For the Maple Whipped Cream: 2-3 tbsp pure maple syrup
- For the Maple Whipped Cream: 1/2 tsp vanilla extract
Instructions
- Make the Pie Crust: In a food processor, pulse flour and salt together. Add cold butter cubes and pulse until mixture resembles coarse meal with some pea-sized butter pieces.
- Drizzle in 4 tablespoons of ice water and pulse again. Squeeze a bit of dough; if it holds together, it’s ready. If not, add another tablespoon of water. Do not over-process.
- Turn dough out onto plastic wrap, shape into a disc, and wrap tightly. Refrigerate for at least 1 hour.
- On a lightly floured surface, roll dough to a 12-inch circle. Transfer to a 9-inch pie plate, crimp edges, and refrigerate for 20 minutes.
- Preheat oven to 375°F (190°C). Line chilled crust with parchment paper and fill with pie weights. Bake for 15 minutes, then remove weights and parchment and bake for another 5-7 minutes until bottom is dry and lightly golden. Set aside to cool slightly.
- Make the Filling: Reduce oven temperature to 350°F (175°C).
- In a large bowl, whisk together pumpkin puree, granulated sugar, and brown sugar until smooth.
- Add eggs one at a time, whisking well after each addition.
- Whisk in evaporated milk, then all spices, salt, and pinch of black pepper until smooth. Strain through a fine-mesh sieve if lumpy.
- Pour filling into pre-baked crust.
- Bake the Pie: Carefully transfer pie to oven. Use a pie shield or foil around crust edges to prevent burning.
- Bake for 45-55 minutes. Edges should be set, but center should have a slight jiggle. A knife inserted 1 inch from center should come out mostly clean.
- Let pie cool completely on a wire rack (about 2 hours). For best texture, refrigerate for at least 4 hours or overnight.
- Make the Maple Whipped Cream: Just before serving, pour cold heavy cream into a chilled bowl. Add maple syrup and vanilla extract.
- Whip with an electric mixer on medium-high speed until soft peaks form. Do not overwhip.
- Serve a generous dollop on each slice of pie.
Notes
Blind baking the crust is essential to prevent a soggy bottom. Do not overmix the filling to avoid cracks. The pie must be fully chilled for clean slices. The maple whipped cream should be made fresh just before serving. For a dairy-free option, use vegan butter and full-fat coconut cream. For a gluten-free version, use a 1:1 gluten-free flour blend for the crust.
Nutrition
- Serving Size: 1 slice (1/8 of pie
- Calories: 420
- Sugar: 32
- Sodium: 320
- Fat: 24
- Saturated Fat: 14
- Carbohydrates: 48
- Fiber: 3
- Protein: 6
Keywords: pumpkin pie, maple whipped cream, homemade pie, Thanksgiving dessert, fall dessert, classic pumpkin pie


