My office holiday cookie swap was in forty-eight hours and I had completely forgotten about it. I mean, I’d seen the email, skimmed it, and immediately filed it away in the “deal with later” part of my brain. Later had arrived, and I was staring into my pantry like it held the answers to the universe. Everyone else would be bringing elaborate layered bars, perfectly piped meringues, and those fancy chocolate-dipped things that look like they belong in a bakery window. I had a half-empty bag of flour, some butter that was technically still good, and a vague memory of my grandmother making something called “Russian Tea Cakes” that she’d roll in powdered sugar until they looked like little snowballs. Honestly? I was panicking.
I grabbed the butter and started creaming it before I’d even fully decided on the recipe. There’s something about the pressure of a deadline that makes my hands move faster than my brain. I was convinced these cookies would be a total disaster—too dry, too crumbly, a pale imitation of what my grandma used to make. I was so flustered I accidentally used the small end of the cookie scoop for the first batch, making them look like sad, bite-sized pebbles. But I didn’t have time to re-roll them. I just baked them, dusted them with a mountain of powdered sugar, and shoved them into a tin. Maybe you’ve been there, showing up to an event with something you’re almost embarrassed to put on the table.
But here’s the thing about these Classic Russian Tea Cookies with Powdered Sugar: they’re the ultimate underdog. They don’t look fancy. They don’t have a dramatic backstory. But that first bite—the way the tender, buttery cookie practically melts on your tongue, followed by that little crunch from the finely chopped pecans, all wrapped in a cloud of sweet powdered sugar—it stops you mid-conversation. At the swap, my little tin of imperfect, pebble-sized cookies was the first one emptied. People kept coming back, asking for the recipe. I just smiled, feeling a little sheepish and a whole lot amused. That’s the thing about this recipe. It wins without even trying. And honestly? That’s the best kind of recipe to have in your back pocket.
Why You’ll Love This Recipe
I’ve made these cookies more times than I can count—for Christmas parties, for afternoon tea with friends, and honestly, just for a quiet Tuesday night when I needed something sweet. I’ve tested them with different nuts, different butters, and even a few gluten-free flours, so I can tell you with confidence: this version is the one. It’s the one that works every single time, without any fuss or fancy equipment. It’s the kind of recipe that makes you look like a hero with almost zero effort.
- Quick & Easy: From start to finish, these cookies come together in about 30 minutes. The dough mixes up in one bowl, and there’s no chilling time required. That’s right—no waiting around for the dough to firm up. You can have warm, powdered-sugar-dusted cookies in under half an hour.
- Simple Ingredients: You probably have most of these ingredients in your kitchen right now. Butter, flour, sugar, vanilla, and nuts. No weird extracts, no specialty flours, no trips to three different grocery stores. It’s pantry baking at its finest.
- Perfect for Any Occasion: These cookies are the ultimate crowd-pleaser. They’re elegant enough for a holiday cookie platter, but simple enough for a casual weekend bake. They’re great for potlucks, cookie swaps, afternoon coffee breaks, or just because.
- Crowd-Pleaser: I have never, and I mean never, met anyone who didn’t love these cookies. Kids love the snowy powdered sugar coating. Adults love the rich, buttery, nutty flavor. They’re universally adored.
- Unbelievably Delicious: The texture is what makes these cookies so special. They’re not crisp, and they’re not chewy. They’re tender and crumbly, with a melt-in-your-mouth quality that feels almost luxurious. The powdered sugar adds a sweet, snowy finish that’s just perfect.
What makes this recipe different from all the others? It’s the ratio. I’ve played around with the butter-to-flour ratio for years, and I’ve landed on the perfect balance that gives you a cookie that holds its shape but still has that delicate, shortbread-like crumb. Plus, I’ve included a few tricks—like toasting the pecans before you chop them—that take the flavor from good to “I-can’t-stop-eating-these” great. This isn’t just another version of Russian Tea Cakes. It’s the best version.
This recipe is the kind that makes you close your eyes after the first bite. It’s comfort food in its purest form—warm, buttery, sweet, and nostalgic. It’s the cookie you make when you need a hug, or when you want to give one. And the best part? It’s so easy, you can whip up a batch even on your busiest day.
What Ingredients You Will Need
This recipe uses simple, wholesome ingredients to deliver a cookie that’s rich, tender, and absolutely irresistible. Most of these are pantry staples, and the few that aren’t are easy to find and easy to substitute. Let’s break down each ingredient and why it matters.
- 1 cup (2 sticks / 226g) unsalted butter, softened: Butter is the heart of this cookie. It provides richness, flavor, and that tender, melt-in-your-mouth texture. I always use unsalted butter so I can control the salt level. Make sure it’s truly softened—left out on the counter for about an hour—but not melted. Softened butter should give slightly when you press it with your finger. (I prefer Kerrygold or Plugrà for their higher butterfat content, which makes the cookies even more tender.)
- ½ cup (60g) powdered sugar, plus more for coating: This is the only sugar in the cookie dough itself. Powdered sugar contains a little cornstarch, which helps keep the cookies tender and prevents them from spreading too much. You’ll also need about ½ cup more for rolling the warm cookies. (Pro tip: sift the powdered sugar for coating to avoid any clumps.)
- 1 teaspoon vanilla extract: Vanilla adds warmth and depth. I use pure vanilla extract, not imitation. It makes a noticeable difference in the flavor. (I’m partial to Nielsen-Massey, but any good quality pure vanilla will work.)
- 2 cups (250g) all-purpose flour: Flour gives the cookies structure. I use standard all-purpose flour for the best texture. Spoon and level your flour—don’t scoop directly from the bag, or you’ll end up with too much flour and dry cookies. (For a gluten-free version, use a 1:1 gluten-free baking flour blend that contains xanthan gum.)
- ¼ teaspoon salt: Salt balances the sweetness and enhances the buttery flavor. Don’t skip it! Even a tiny pinch makes a difference. I use fine sea salt.
- 1 cup (120g) finely chopped pecans or walnuts: Nuts add a wonderful crunch and a toasty flavor. I prefer pecans for their sweetness, but walnuts are a classic choice too. The key is to chop them finely—you want little bits of nut in every bite, not big chunks that make the cookies fall apart. (I always toast my nuts in a dry skillet over medium heat for 3-4 minutes before chopping. It brings out their oils and makes them taste so much richer.)
Substitution Guidance:
- No nuts? You can leave them out entirely for a plain butter cookie, or substitute with an equal amount of finely chopped toasted coconut or even mini chocolate chips (though that’s a different cookie entirely).
- Dairy-free? Use a high-quality vegan butter stick (like Miyoko’s or Country Crock Plant Butter) in place of the regular butter. The texture will be slightly different, but still delicious.
- Gluten-free? As mentioned, a 1:1 gluten-free flour blend works beautifully. I’ve tested this with Bob’s Red Mill 1:1 Baking Flour and it was perfect.
- Vanilla variations: Try using ½ teaspoon almond extract in place of ½ teaspoon of the vanilla for a lovely, nutty twist. Or add a pinch of cinnamon or nutmeg for a warm spice note.
Equipment Needed
You don’t need a lot of fancy equipment to make these cookies, which is one of the reasons I love them. Here’s what you’ll need:
- Mixing bowls: One large bowl for the dough, and maybe a small one for the powdered sugar coating. Any size will do.
- Electric mixer (handheld or stand): While you can cream the butter by hand with a wooden spoon, an electric mixer makes it much easier and faster. A hand mixer works perfectly. I’ve used my trusty KitchenAid for years, but honestly, a $20 hand mixer will get the job done.
- Cookie scoop or tablespoon: For uniform cookies. I use a 1-tablespoon scoop. If you don’t have one, just use a regular tablespoon and try to make the balls the same size.
- Baking sheets: One or two standard baking sheets. I prefer light-colored aluminum sheets for even baking. Dark sheets can cause the bottoms to brown too quickly.
- Parchment paper or silicone baking mat: This prevents sticking and makes cleanup a breeze. I always use parchment paper.
- Cooling rack: Essential for cooling the cookies before you coat them in powdered sugar. A wire rack allows air to circulate so the cookies cool evenly.
- Small fine-mesh sieve or sifter: For dusting the baked cookies with powdered sugar. It gives you a nice, even, clump-free coating. (I learned this the hard way—trying to shake powdered sugar from a spoon just makes a mess.)
Budget-friendly tip: If you don’t have a cookie scoop, use two spoons to portion the dough, or just roll it into balls with your hands (lightly greased hands work best). And if you don’t have a cooling rack, you can cool the cookies on a clean kitchen towel on the counter—just flip them once to let the air hit both sides.
Preparation Method
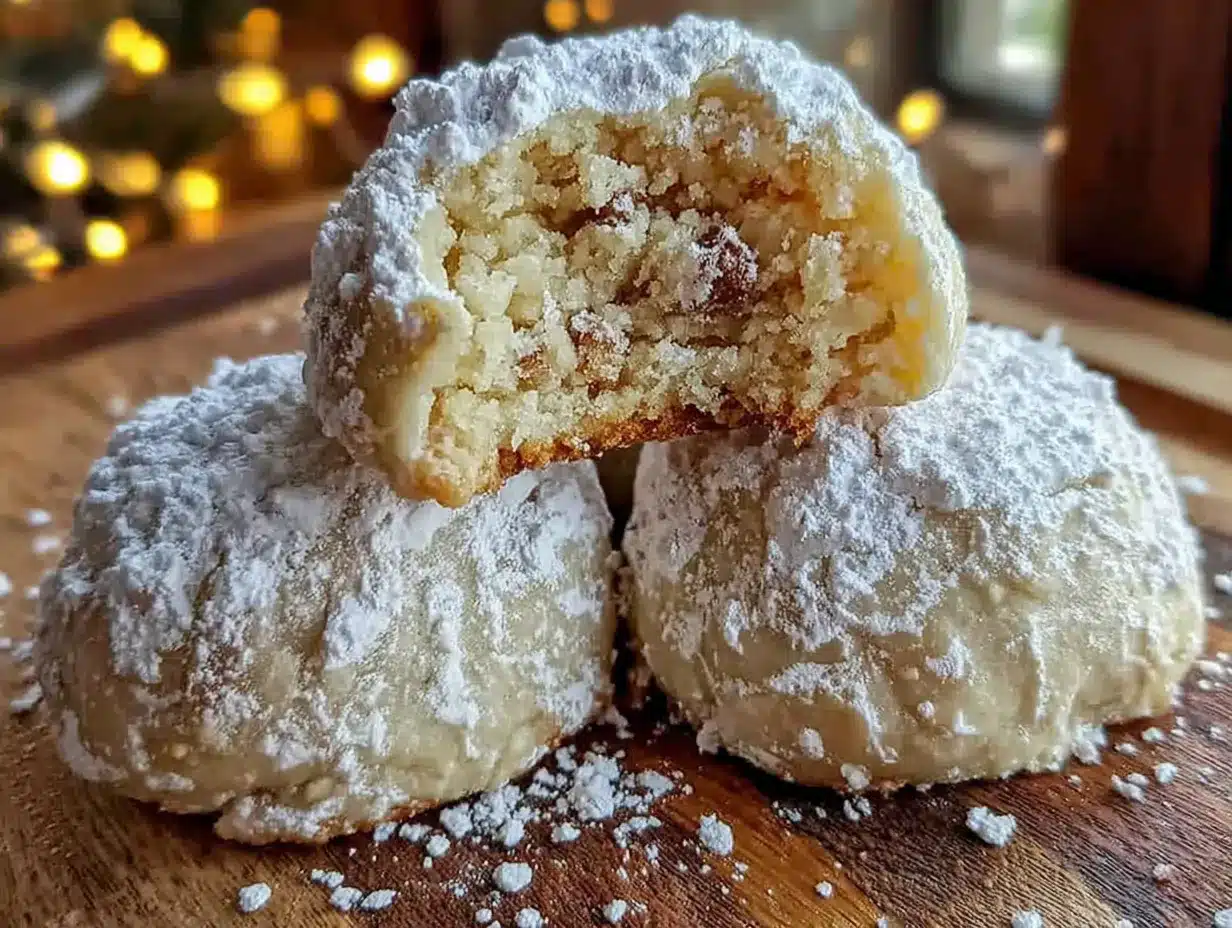
Okay, let’s get baking. This recipe is simple, but there are a few little tricks that make a big difference. Follow these steps, and you’ll have perfect Russian Tea Cakes every time.
- Preheat and prep: Preheat your oven to 350°F (175°C). Line two baking sheets with parchment paper or silicone baking mats. This step is important—it prevents the cookies from sticking and helps them bake evenly.
- Toast the nuts (optional but highly recommended): Spread the pecans or walnuts on a small baking sheet and toast them in the preheating oven for 3-4 minutes, until they’re fragrant. Keep an eye on them—nuts burn quickly! Let them cool completely, then chop them very finely. I use a chef’s knife and just go at it until the pieces are about the size of small peas. You can also pulse them in a food processor, but be careful not to over-process them into nut butter.
- Cream the butter and sugar: In a large mixing bowl, beat the softened butter with an electric mixer on medium speed until it’s smooth and creamy, about 1 minute. Add the ½ cup of powdered sugar and beat until the mixture is light and fluffy, another 2-3 minutes. Scrape down the sides of the bowl with a rubber spatula. This step is crucial—properly creamed butter and sugar create the tender texture we’re after.
- Add the vanilla: Beat in the vanilla extract until it’s fully incorporated. The mixture will look smooth and slightly glossy.
- Combine the dry ingredients: In a separate small bowl, whisk together the flour and salt. This ensures the salt is evenly distributed. Gradually add the flour mixture to the butter mixture, beating on low speed until just combined. Don’t overmix! Overmixing develops gluten and will make the cookies tough. You want to stop as soon as you no longer see streaks of flour.
- Fold in the nuts: Gently fold the finely chopped nuts into the dough with a rubber spatula. Make sure they’re evenly distributed. The dough will be soft and a little crumbly—that’s normal. If it feels too dry to come together, you can add a teaspoon of milk, but you probably won’t need to.
- Shape the cookies: Using a 1-tablespoon cookie scoop or your hands, roll the dough into 1-inch balls. Place them on the prepared baking sheets, spacing them about 2 inches apart. They don’t spread much, but a little space is good for even baking. (At this point, I usually have a moment of panic because the dough seems too soft. But trust the process.)
- Bake: Bake for 10-12 minutes, or until the cookies are set and the bottoms are just barely golden. The tops should still be pale—they shouldn’t brown. My trick is to check at 10 minutes: the cookies should look dry on top and feel firm when you gently touch the edge. If they’re still soft and puffy, give them another minute or two. Every oven is different, so start checking early.
- Cool slightly: Let the cookies cool on the baking sheet for about 5 minutes. They’ll be very fragile when they’re hot, so this short rest helps them firm up enough to handle. Transfer them to a wire cooling rack and let them cool for another 5 minutes. They should still be warm, but not hot.
- The crucial rolling step: Place about ½ cup of powdered sugar in a shallow bowl. While the cookies are still warm (this is key!), gently roll each one in the powdered sugar until it’s completely coated. The warm cookie will absorb some of the sugar, creating that perfect, melt-in-your-mouth coating. Place the coated cookies back on the cooling rack.
- Second coating (the secret to perfection): Once the cookies have cooled completely, roll them in powdered sugar again. This second coating gives them that beautiful, snowy, bakery-style look. It also adds another layer of sweetness. I know it seems like extra work, but it makes a huge difference. (I once skipped this step when I was in a hurry, and the cookies looked sad and patchy. Never again.)
- Final dusting (optional but beautiful): For that picture-perfect finish, give the cookies a final light dusting of powdered sugar through a fine-mesh sieve just before serving. This catches any spots you missed and makes them look like little snowballs.
Cooking Tips & Techniques
I’ve made these cookies more times than I can count, and I’ve learned a thing or two along the way. Here are my best tips for getting perfect results every time.
- Don’t overbake. This is the number one mistake people make. These cookies should not be brown. They should be pale on top and just barely golden on the bottom. Overbaked cookies will be dry and crumbly instead of tender and melt-in-your-mouth. When in doubt, take them out a minute early. They’ll continue to set on the hot baking sheet.
- Roll while warm. The first coating of powdered sugar must be applied while the cookies are still warm. This is non-negotiable. The warmth helps the sugar stick and creates that signature texture. If you wait until they’re completely cool, the sugar won’t adhere properly and you’ll end up with patchy cookies.
- Chop the nuts finely. Big chunks of nuts will make the cookies fall apart. You want the nuts to be almost like coarse sand. A food processor works great for this, but pulse carefully—you want finely chopped, not ground into nut flour.
- Use room temperature ingredients. Cold butter won’t cream properly, and cold eggs (if you were using them) would seize the dough. Make sure your butter is truly softened—leave it out on the counter for at least an hour before you start.
- Measure flour correctly. The spoon-and-level method is your friend. Fluff the flour with a spoon, spoon it into your measuring cup, and level it off with a flat edge. Scooping directly from the bag compacts the flour and can add up to 25% more flour to your recipe, resulting in dry cookies.
- My biggest failure: The first time I made these, I forgot the salt. The cookies were flat and bland—a total waste of good butter. Salt isn’t just for seasoning; it strengthens the gluten structure and balances the sweetness. Don’t skip it!
- Multitasking tip: While your first batch is baking, roll the second batch of dough into balls. This way, you can pop them in the oven as soon as the first batch comes out. And while the second batch bakes, you can coat the first batch in powdered sugar. It’s a beautiful, efficient rhythm.
Variations & Adaptations
One of the best things about this recipe is how versatile it is. Here are some of my favorite ways to change it up.
- Chocolate Lover’s Version: Replace ¼ cup of the all-purpose flour with ¼ cup of unsweetened cocoa powder. Add ½ cup of mini chocolate chips along with the nuts. The chocolate version is rich, decadent, and absolutely divine. (I made these for a Valentine’s Day party once, and they disappeared in minutes.)
- Spiced Winter Version: Add 1 teaspoon of ground cinnamon, ½ teaspoon of ground nutmeg, and ¼ teaspoon of ground cloves to the flour mixture. The warm spices make these cookies perfect for the holidays. I love serving them with a cup of spiced chai tea.
- Citrus Twist: Add 1 tablespoon of finely grated lemon or orange zest to the butter-sugar mixture. The bright citrus flavor cuts through the richness beautifully. You can also add a teaspoon of lemon or orange extract for an even stronger flavor. These are lovely for spring or summer gatherings.
- Gluten-Free Adaptation: As I mentioned, a 1:1 gluten-free baking flour blend works perfectly. I’ve tested this with Bob’s Red Mill 1:1 and King Arthur Measure for Measure, and both worked great. No other adjustments needed. (Just make sure your blend contains xanthan gum for structure.)
- Vegan Version: Use a high-quality vegan butter stick (not the spreadable kind in a tub) and a flax egg (1 tablespoon ground flaxseed mixed with 3 tablespoons water, left to sit for 5 minutes). The texture will be slightly less tender, but still delicious. I’ve made these for vegan friends and they were a hit.
- Different Nuts: Pecans and walnuts are classic, but you can use any nut you like. Almonds, hazelnuts, or even pistachios (for a beautiful green color) all work wonderfully. Toast them first for the best flavor.
- My personal favorite variation: I love adding ½ teaspoon of almond extract along with the vanilla and using toasted slivered almonds instead of pecans. The almond flavor is subtle but so elegant. I call them “Almond Snowballs” and they’re my go-to for holiday parties.
Serving & Storage Suggestions
These cookies are wonderful on their own, but here are a few ideas for serving and storing them.
Serving: Serve these cookies at room temperature. The powdered sugar coating will be perfectly set, and the cookies will have their signature tender crumb. They’re beautiful arranged on a platter with other cookies or pastries. I love serving them alongside a cup of hot tea, coffee, or even a glass of cold milk. For a festive touch, you can arrange them on a cake stand and dust them with a little extra powdered sugar just before serving.
Complementary dishes: These cookies pair beautifully with fresh berries, a dollop of whipped cream, or a scoop of vanilla ice cream. They’re also lovely with a cup of hot chocolate or a glass of dessert wine like Moscato or Port. For a tea party, serve them alongside cucumber sandwiches and scones.
Storage: Store the cookies in an airtight container at room temperature for up to 1 week. They actually get better after a day or two—the flavors meld and the texture becomes even more tender. (I once kept a batch for a week and they were still delicious on day seven.) If you live in a humid climate, you might want to add a silica gel packet to the container to keep the powdered sugar from getting sticky.
Freezing: These cookies freeze beautifully. You can freeze the baked, fully-coated cookies in an airtight container for up to 3 months. Thaw them at room temperature for about 30 minutes before serving. You can also freeze the unbaked dough balls. Place them on a baking sheet and freeze until solid, then transfer them to a freezer bag. When you’re ready to bake, just pop them on a baking sheet and add 1-2 minutes to the baking time. No need to thaw. (This is my secret for last-minute holiday visitors.)
Reheating: These cookies are best at room temperature, so no reheating is necessary. If you want to refresh the powdered sugar coating after storage, just give them a light dusting through a sieve before serving.
Flavor development: The flavors in these cookies actually deepen and improve over time. The vanilla and nut flavors meld together, and the texture becomes even more tender. I honestly think they’re better on day two than they are on day one. So don’t be afraid to make them a day or two ahead of your event.
Nutritional Information & Benefits
Let’s be honest—these are a treat. But they’re made with real, wholesome ingredients, and they offer a few surprising nutritional benefits.
Estimated nutritional values per cookie (based on 24 cookies):
- Calories: 145
- Fat: 10g
- Saturated Fat: 5g
- Carbohydrates: 13g
- Sugar: 6g
- Fiber: 0.5g
- Protein: 1.5g
- Sodium: 35mg
Health benefits of key ingredients:
- Pecans and walnuts are packed with healthy fats, fiber, and antioxidants. They’re great for heart health and can help reduce inflammation. A little bit goes a long way.
- Butter, in moderation, provides fat-soluble vitamins like A, D, E, and K. It also contains butyrate, a fatty acid that supports gut health.
- Flour provides carbohydrates for energy. If you use a whole wheat pastry flour, you’ll get a little extra fiber.
Dietary considerations:
- Vegetarian: Yes, these cookies are vegetarian-friendly.
- Gluten-free: As noted, you can easily make these gluten-free with a 1:1 flour blend.
- Low-carb/Keto: These are not low-carb, but you could experiment with a low-carb flour blend and a sugar substitute. I haven’t tested that version, so proceed with caution.
- Potential allergens: These cookies contain dairy (butter), gluten (flour), and tree nuts (pecans or walnuts). They are egg-free and soy-free.
My personal wellness perspective: I believe in balance. These cookies are a treat, and there’s nothing wrong with that. They’re made with real ingredients, and they bring joy to the people who eat them. That’s a good thing. So go ahead, enjoy a couple (or three) with your afternoon tea. Life is too short to skip the powdered sugar.
Conclusion
So there you have it—my go-to recipe for Classic Russian Tea Cookies with Powdered Sugar. They’re simple, they’re elegant, and they’re absolutely delicious. Whether you’re baking for a holiday cookie swap, a tea party, or just because you need a little something sweet, these cookies never disappoint. They’re the kind of recipe that makes you look like you spent hours in the kitchen, when really, you just threw a few ingredients together and let the oven do the work.
I hope you’ll give them a try. And don’t be afraid to make them your own—swap in your favorite nuts, add some spices, or try the chocolate version. The beauty of this recipe is that it’s a perfect canvas for your creativity. I’d love to hear how they turn out for you. Did you make any changes? Did your family love them as much as mine does? Drop a comment below and let me know. And if you’re feeling generous, share a photo of your snowy little cookies—I always love seeing your creations.
Happy baking, friend. May your cookies be tender, your powdered sugar be plentiful, and your heart be full.
Frequently Asked Questions
Why are my Russian Tea Cakes falling apart?
This is usually caused by overbaking or not enough butter. If the cookies are too dry, they’ll crumble. Make sure you’re measuring your flour correctly (spoon and level) and that you’re not overbaking them. Also, make sure your nuts are finely chopped—big chunks can weaken the structure.
Can I use salted butter instead of unsalted?
You can, but I recommend reducing or omitting the added salt in the recipe. Salted butter typically contains about ¼ teaspoon of salt per stick, so if you use two sticks, you’ll have about ½ teaspoon of salt already in the butter. You might not need the extra ¼ teaspoon called for in the recipe.
Why do I need to roll the cookies in powdered sugar twice?
The first coating, applied while the cookies are warm, creates a base layer that partially melts into the cookie, giving it that melt-in-your-mouth texture. The second coating, applied after the cookies have cooled, gives them that beautiful, snowy, bakery-style finish. Skipping the second coating will result in cookies that look less appealing and have less sweetness.
Can I make these cookies ahead of time?
Absolutely! In fact, they taste even better the next day. You can bake them up to a week in advance and store them in an airtight container. You can also freeze the baked cookies for up to 3 months, or freeze the unbaked dough balls for last-minute baking.
My cookies spread too much. What went wrong?
This usually happens when the butter is too soft or the dough is too warm. Make sure your butter is softened, not melted. If your kitchen is very warm, you can chill the shaped dough balls for 15-20 minutes before baking. Also, make sure your oven is properly preheated—if it’s not hot enough, the cookies will spread before they set.
Pin This Recipe!
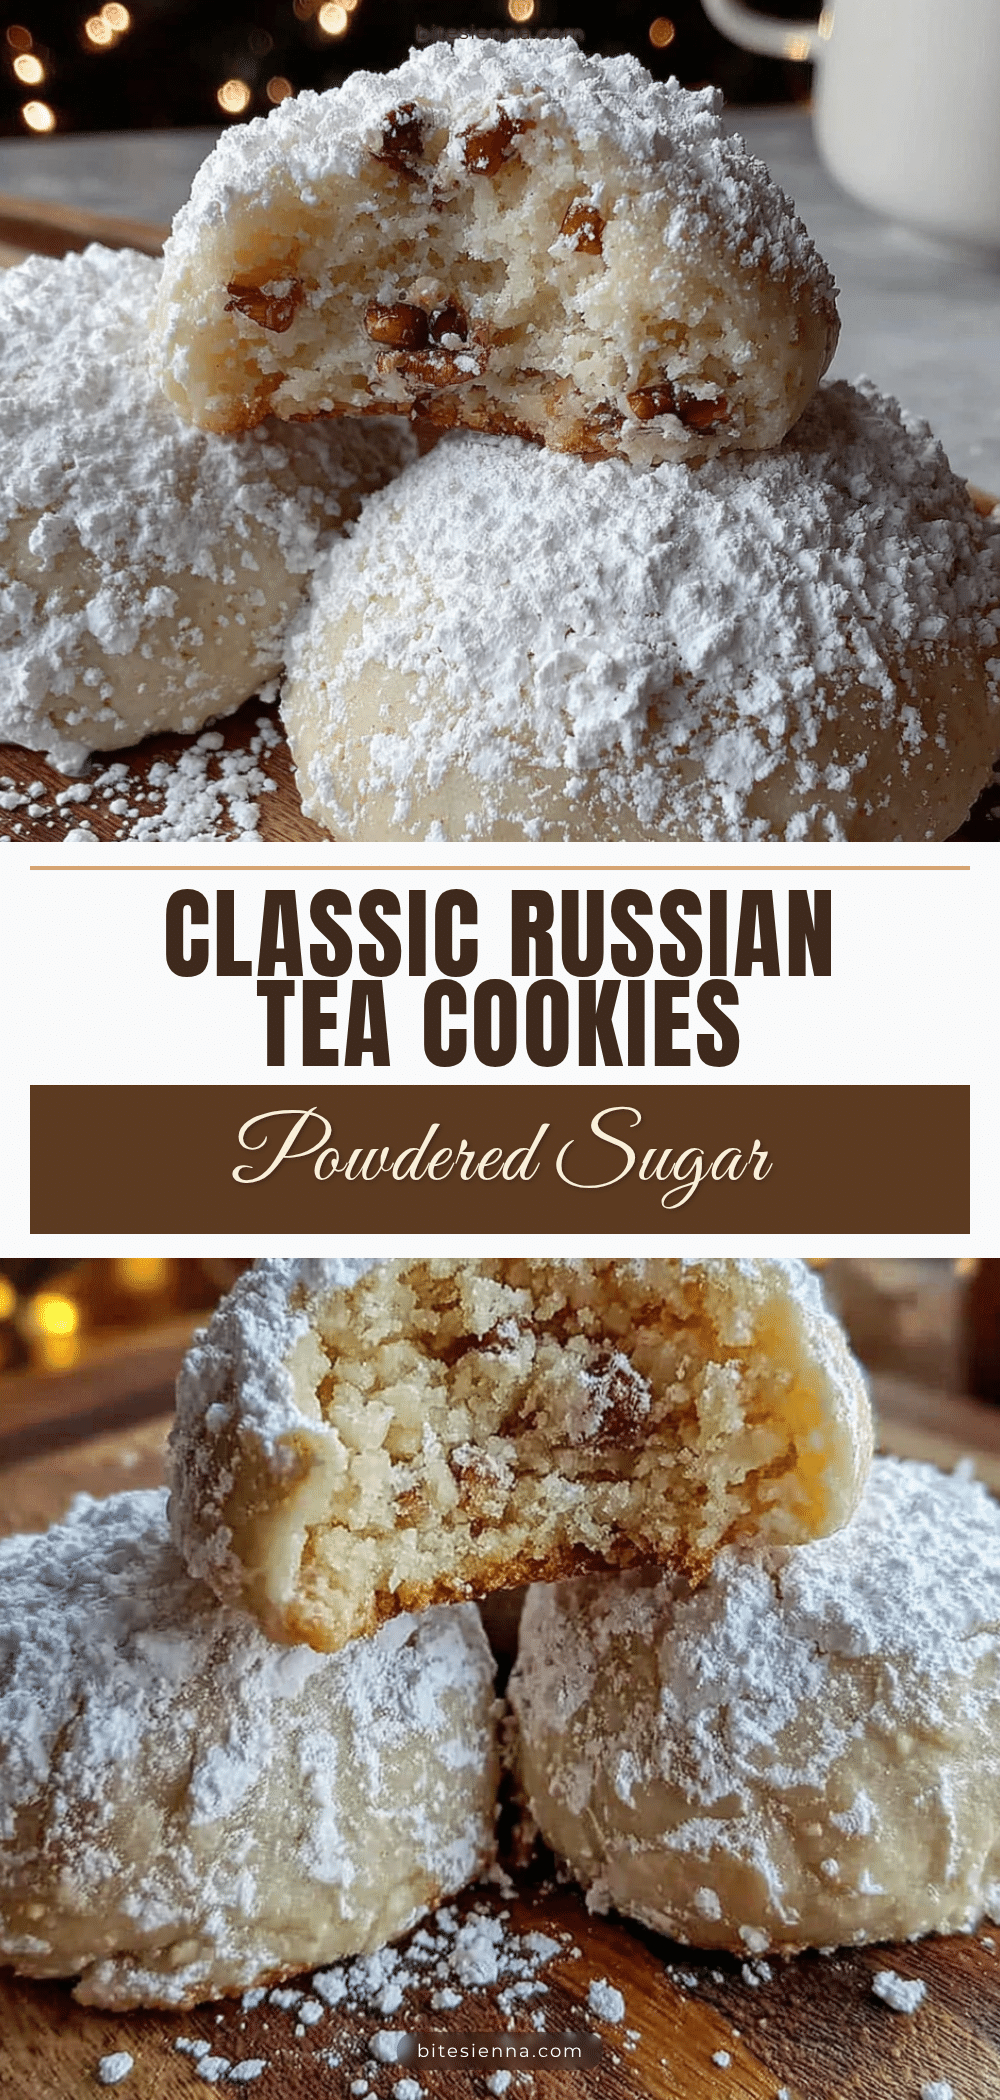
Classic Russian Tea Cookies: Easy Powdered Sugar Recipe

These Classic Russian Tea Cookies with Powdered Sugar are tender, buttery, and melt-in-your-mouth delicious. Made with simple pantry ingredients, they come together in about 30 minutes and are perfect for holiday cookie swaps, tea parties, or any occasion.
- Prep Time: 15 minutes
- Cook Time: 12 minutes
- Total Time: 27 minutes
- Yield: 24 cookies 1x
- Category: Dessert
- Cuisine: Russian
Ingredients
- 1 cup (2 sticks / 226g) unsalted butter, softened
- ½ cup (60g) powdered sugar, plus more for coating
- 1 teaspoon vanilla extract
- 2 cups (250g) all-purpose flour
- ¼ teaspoon salt
- 1 cup (120g) finely chopped pecans or walnuts
Instructions
- Preheat your oven to 350°F (175°C). Line two baking sheets with parchment paper or silicone baking mats.
- Toast the nuts (optional but highly recommended): Spread the pecans or walnuts on a small baking sheet and toast them in the preheating oven for 3-4 minutes, until fragrant. Let cool completely, then chop very finely.
- In a large mixing bowl, beat the softened butter with an electric mixer on medium speed until smooth and creamy, about 1 minute. Add the ½ cup of powdered sugar and beat until light and fluffy, another 2-3 minutes. Scrape down the sides of the bowl.
- Beat in the vanilla extract until fully incorporated.
- In a separate small bowl, whisk together the flour and salt. Gradually add the flour mixture to the butter mixture, beating on low speed until just combined. Do not overmix.
- Gently fold the finely chopped nuts into the dough with a rubber spatula until evenly distributed.
- Using a 1-tablespoon cookie scoop or your hands, roll the dough into 1-inch balls. Place them on the prepared baking sheets, spacing them about 2 inches apart.
- Bake for 10-12 minutes, or until the cookies are set and the bottoms are just barely golden. The tops should still be pale.
- Let the cookies cool on the baking sheet for about 5 minutes, then transfer to a wire cooling rack and let cool for another 5 minutes. They should still be warm, but not hot.
- Place about ½ cup of powdered sugar in a shallow bowl. While the cookies are still warm, gently roll each one in the powdered sugar until completely coated. Place the coated cookies back on the cooling rack.
- Once the cookies have cooled completely, roll them in powdered sugar again for a second coating.
- For a final dusting, give the cookies a light dusting of powdered sugar through a fine-mesh sieve just before serving.
Notes
Don’t overbake; cookies should be pale on top. Roll in powdered sugar while warm for best coating. Chop nuts finely to prevent cookies from falling apart. Use room temperature ingredients. Measure flour correctly using spoon-and-level method.
Nutrition
- Serving Size: 1 cookie
- Calories: 145
- Sugar: 6
- Sodium: 35
- Fat: 10
- Saturated Fat: 5
- Carbohydrates: 13
- Fiber: 0.5
- Protein: 1.5
Keywords: Russian tea cookies, powdered sugar cookies, butter cookies, holiday cookies, easy cookie recipe, nut cookies


