I was at the hardware store last Tuesday, hunting for a specific size of drawer pull, when the woman behind me in line—she was holding a single, slightly bent spatula and a bag of birdseed—started talking about butter. Not just any butter, but the exact, precise moment butter turns brown. “You have to watch it like a hawk,” she said, her voice low and serious, “the second it smells like hazelnuts, you pull it. That’s the whole secret.” I wasn’t expecting cooking advice from a stranger in the hardware aisle, but there I was, clutching my drawer pull, listening to her describe exactly how to make the best chocolate chip cookie of your life. I mean, who walks into a hardware store and leaves with a cookie epiphany? Honestly, it felt like the universe just decided I needed a new recipe. She told me it was her grandmother’s trick, scribbled on a card that was now too stained to read. And let me tell you, I practically sprinted home to test it out. That first batch was a little messy—I got distracted and let the butter go a shade too dark, and the smoke alarm made a brief, dramatic appearance—but even those slightly burnt ones were incredible. It’s the kind of cookie that feels like a warm hug on a chilly afternoon, and I keep making it because it turns a regular Tuesday into something a little bit special. Maybe you’ve been there, looking for that one recipe that just feels right. This is it.
Why You’ll Love This Recipe
After years of testing cookie recipes—and honestly, eating a lot of disappointing ones—I can tell you this version is different. I’ve tested this with my neighbor’s picky kids, brought a batch to a book club meeting, and even mailed some to my sister across the country. The verdict is always the same: these are the cookies people ask for again and again.
- Quick & Easy : From start to finish, these come together in about 30 minutes. Perfect for when a cookie craving hits out of nowhere on a busy weeknight.
- Simple Ingredients : No weird flours or hard-to-find extracts. You probably have everything except maybe the good chocolate in your pantry right now.
- Perfect for Cozy Nights : These are made for chilly evenings, rainy afternoons, or any time you need a little comfort. They pair perfectly with a cup of tea or a glass of cold milk.
- Crowd-Pleaser : I’ve yet to meet someone who doesn’t love these. The brown butter gives them a nutty, almost toffee-like flavor that even people who say they don’t like cookies change their minds about.
- Unbelievably Delicious : The texture is what gets me every time—crispy edges, soft and chewy centers, and pockets of melted chocolate in every bite. It’s next-level comfort food.
What makes this recipe different from the rest is the brown butter. It’s not just a gimmick. It adds a deep, complex flavor that regular butter just can’t touch. This isn’t another basic cookie recipe—it’s your new favorite, the one you’ll memorize and make for every potluck and holiday party.
This recipe is the kind that makes you close your eyes after the first bite. It’s comfort food reimagined—a little bit fancy, but still simple and soul-satisfying. Perfect for impressing guests without any stress, or turning a regular evening into something memorable.
What Ingredients You Will Need
This recipe uses simple, wholesome ingredients to deliver that bold, nutty flavor and perfect chewy texture. Most of these are pantry staples, which makes it even easier to whip up a batch whenever the mood strikes.
For the Cookie Dough
- Unsalted butter, 1 cup (2 sticks, 226g) – The star of the show. You’ll be browning this, so unsalted is best so you can control the salt level. I prefer using a good quality European-style butter like Plugrà for a richer flavor.
- All-purpose flour, 2 ¼ cups (280g) – Spoon and level it into your measuring cup for the most accurate measurement. Too much flour makes for a dry, cakey cookie.
- Baking soda, 1 teaspoon – This helps the cookies spread just the right amount and gives them that chewy texture.
- Salt, 1 teaspoon – Use flaky sea salt if you have it. It balances the sweetness and enhances the nutty flavor of the brown butter.
- Granulated sugar, ½ cup (100g) – Adds sweetness and helps with browning and crisp edges.
- Light brown sugar, 1 cup (200g), packed – This is key for moisture and that soft, chewy center. The molasses in brown sugar also adds a lovely depth of flavor.
- Large egg, 1 – At room temperature, so it mixes in smoothly. If you forget to set it out, place the egg in a bowl of warm water for 5 minutes.
- Egg yolk, 1 – This extra yolk is my secret weapon for extra chewiness. It adds richness without making the dough too wet.
- Vanilla extract, 2 teaspoons – Pure vanilla extract makes a difference here. It complements the toasty notes of the brown butter beautifully.
- Semi-sweet chocolate chips, 2 cups (340g) – I love using a mix of chips and roughly chopped chocolate bars for varied puddles of chocolate. Ghirardelli or Guittard are my go-to brands. (Use dairy-free chocolate chips if needed).
Ingredient Selection Tips
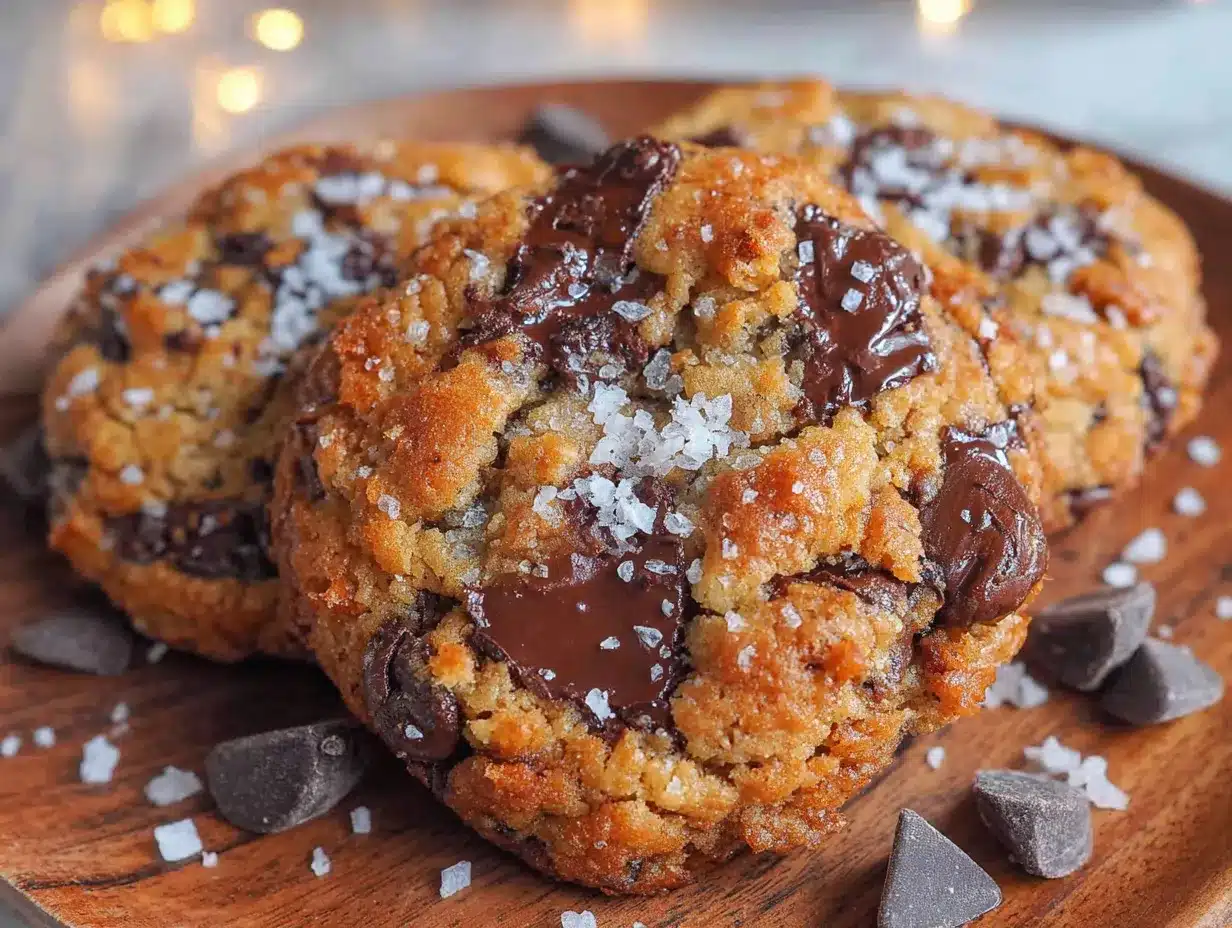
For the best brown butter, use a light-colored pan so you can see the color change clearly. Look for butter that’s fresh—older butter can have off-flavors when browned. If you’re using a dark non-stick pan, it’s harder to see the browning process, so I recommend a stainless steel or light-colored skillet.
If you’re in a pinch, you can use salted butter, just reduce the added salt to ½ teaspoon. And for a fun twist, try swapping ½ cup of the chocolate chips for white chocolate or butterscotch chips.
Equipment Needed
You don’t need a fancy kitchen for these cookies, but a few specific tools make the process much smoother.
- Light-colored skillet or saucepan – Essential for browning the butter. A dark pan makes it nearly impossible to see when the butter solids turn golden.
- Large mixing bowl – For the dough. Any bowl will do, but a wide one makes mixing easier.
- Whisk – For combining the dry ingredients and for whisking the brown butter and sugars.
- Rubber spatula – For folding in the chocolate chips without overmixing.
- Baking sheets (2) – Rimmed baking sheets are best to prevent any butter from dripping off.
- Parchment paper or silicone baking mat – Non-negotiable for easy cleanup and even baking. I prefer parchment for the crispiest bottoms.
- Cookie scoop (about 1.5 tablespoons) – For evenly sized cookies. A 1.5-tablespoon scoop is my favorite for this recipe. If you don’t have one, use two spoons.
- Cooling rack – Lets air circulate so the cookies cool evenly and don’t get soggy on the bottom.
If you don’t have a cookie scoop, that’s fine—just make sure your dough balls are roughly the same size so they bake evenly. A kitchen scale is also a great investment for the most consistent results, but measuring cups work perfectly well.
Preparation Method
Let’s get baking! The key here is to take your time with the brown butter—it’s the heart of this recipe.
- Brown the butter: Place the 1 cup of butter in your light-colored skillet over medium heat. Let it melt completely, then continue cooking, swirling the pan occasionally. The butter will start to foam and crackle. After a few minutes, the foam will subside and you’ll see little golden specks forming at the bottom of the pan. The moment it smells nutty and toasty, like hazelnuts, remove it from the heat immediately. This takes about 5-7 minutes total. (If you see black specks, you’ve gone too far—start over!) Pour the browned butter into a large mixing bowl, making sure to scrape all those delicious brown bits from the bottom of the pan. Let it cool for 10 minutes.
- Mix the sugars and butter: Add the granulated sugar and packed brown sugar to the warm (not hot) browned butter. Whisk vigorously until the mixture looks like wet sand and is smooth. It will be slightly grainy—that’s perfect. Let it sit for 2 minutes to cool a bit more.
- Add the eggs and vanilla: Whisk in the whole egg, the extra egg yolk, and the vanilla extract. Whisk until the mixture is glossy and smooth, about 30 seconds. The mixture will look a little lighter in color.
- Combine dry ingredients: In a separate medium bowl, whisk together the flour, baking soda, and salt. Make sure there are no lumps.
- Make the dough: Pour the dry ingredients into the wet ingredients. Use your rubber spatula to fold everything together gently. Stop mixing as soon as you no longer see streaks of flour. Overmixing at this stage will make the cookies tough.
- Fold in the chocolate: Add the chocolate chips and fold them in with your spatula. Make sure they are evenly distributed throughout the dough.
- Chill the dough (optional but highly recommended): For the best texture, cover the bowl with plastic wrap and refrigerate the dough for at least 30 minutes, or up to 72 hours. This allows the flavors to meld and prevents the cookies from spreading too much. If you’re in a rush, you can bake them right away, but they will be flatter.
- Preheat and prepare: When you’re ready to bake, preheat your oven to 375°F (190°C). Line your baking sheets with parchment paper.
- Scoop and bake: Scoop rounded tablespoons of dough (about 1.5 tablespoons each) and place them 2 inches apart on the prepared baking sheets. Bake for 9-11 minutes, or until the edges are golden brown and the centers look just set and slightly puffy. They will look a little underdone in the middle—that’s exactly what you want.
- Cool and enjoy: Let the cookies cool on the baking sheet for 5 minutes. This is crucial! They will continue to set as they cool. Then, transfer them to a wire rack to cool completely, or serve them warm for maximum gooeyness.
Pro-tip: If you want picture-perfect cookies, right when they come out of the oven, gently press a few extra chocolate chips into the tops of the warm cookies. It makes them look bakery-style!
Cooking Tips & Techniques
I’ve made these cookies more times than I can count, and I’ve learned a few things the hard way. Here’s how to avoid my mistakes.
Don’t rush the brown butter. The first time I made these, I tried to speed things up by turning the heat to high. The butter went from melted to burnt in about 15 seconds. The smell was awful, and I had to start over. Low and slow is the way to go. Medium heat is perfect, and stay close to the stove the whole time.
Use a room temperature egg. Cold eggs can seize the brown butter, making the dough lumpy. I forgot to take my egg out once and ended up with a greasy, separated mess. A quick trick is to place the egg in a cup of warm water for a few minutes before you start.
Measure your flour correctly. This is the most common mistake in cookie baking. Don’t scoop your measuring cup into the flour bag—you’ll pack in too much. Instead, fluff the flour with a spoon, then spoon it into your measuring cup and level it off with a knife. This one change made my cookies go from cakey to perfectly chewy.
Chill the dough if you can. I know it’s tempting to skip this step, but the 30-minute chill makes a big difference. The cookies spread less, the flavor is deeper, and the texture is chewier. If you’re in a real hurry, you can bake right away, just flatten the dough balls slightly with your palm before baking.
Watch your bake time. Every oven is different. Start checking at 9 minutes. The cookies should be golden brown around the edges but still pale and puffy in the center. They will continue to cook on the hot baking sheet after you take them out. If you wait until they look fully done in the oven, they’ll be overbaked and crunchy.
Variations & Adaptations
One of the best things about this recipe is how easy it is to adapt. Here are a few of my favorite twists.
- Gluten-Free Option: Swap the all-purpose flour for a 1:1 gluten-free baking flour blend that contains xanthan gum. I’ve used Bob’s Red Mill with great results. The texture will be slightly more tender, but still delicious.
- Add Some Crunch: Fold in ½ cup of toasted, chopped pecans or walnuts along with the chocolate chips. The nuts get even more toasty from the brown butter flavor. I love this version for fall baking.
- Dark Chocolate Lovers: Use dark chocolate chips or a chopped dark chocolate bar (70% cacao is my sweet spot). The bitterness pairs perfectly with the sweet, nutty brown butter.
- Sea Salt Finish: Just before baking, sprinkle a tiny pinch of flaky sea salt (like Maldon) on top of each dough ball. The salty-sweet combination is absolutely irresistible. This is my go-to for impressing guests.
- Milk Chocolate Version: If you prefer a sweeter cookie, swap the semi-sweet chips for milk chocolate chips. The flavor will be less complex but still very cozy and comforting.
I once tried a version with white chocolate chips and dried cranberries for a holiday party, and it was a huge hit. The tartness of the cranberries cuts through the richness of the brown butter beautifully.
Serving & Storage Suggestions
These cookies are best served warm, when the chocolate is still melty and the edges are perfectly crisp. I like to let them cool on the baking sheet for just 5 minutes, then serve them immediately with a tall glass of cold milk. They’re also fantastic with a scoop of vanilla ice cream for an indulgent dessert.
For a cozy presentation, arrange them on a rustic wooden board or a pretty plate. They’re perfect for cookie swaps, holiday platters, or just as an after-school snack.
Storing: Store baked cookies in an airtight container at room temperature for up to 5 days. They will stay soft and chewy. To keep them extra soft, add a slice of bread to the container—the cookies will absorb the moisture from the bread.
Freezing the Dough: This dough freezes beautifully. Scoop the dough into balls and place them on a parchment-lined baking sheet. Freeze until solid, about 1 hour, then transfer the frozen dough balls to a freezer-safe bag. You can bake them straight from frozen—just add 2-3 minutes to the bake time.
Reheating: To revive leftover cookies, pop them in a 300°F (150°C) oven for 3-5 minutes, or microwave for about 10 seconds. They’ll taste almost as good as fresh-baked.
The flavors actually develop more over time. I think day-old cookies are even better than fresh—the brown butter flavor becomes more pronounced and the texture is perfectly balanced.
Nutritional Information & Benefits
Let’s be honest—these are a treat, not a health food. But they do have a few redeeming qualities!
Estimated per cookie (based on 24 cookies):
- Calories: 220
- Fat: 12g
- Saturated Fat: 7g
- Carbohydrates: 28g
- Sugar: 18g
- Protein: 3g
- Fiber: 1g
Health Highlights: Dark chocolate (if you use it) is a source of antioxidants. The brown butter provides a small amount of vitamin A, and the eggs add protein. Plus, the simple act of baking can be a wonderful form of stress relief—and that’s good for your mental health!
Dietary Considerations: This recipe contains gluten, dairy, and eggs. For a gluten-free version, see the variations section above. For a dairy-free version, you can try using a vegan butter substitute, but the brown butter flavor will be different.
I believe in enjoying treats in moderation. One or two of these cookies with a cup of tea is a perfect way to end the day without any guilt.
Conclusion
These Cozy Brown Butter Chocolate Chip Cookies are more than just a recipe—they’re an experience. The nutty, toasty flavor of the brown butter takes a classic cookie and makes it feel special, like something you’d find at a fancy bakery. But the best part is how simple they are to make at home.
I encourage you to make them your own. Add your favorite nuts, try a different kind of chocolate, or sprinkle on some sea salt. The possibilities are endless, and every batch is a chance to create something delicious.
I’d love to hear how yours turn out! Did you try a fun variation? Did the brown butter give you any trouble? Drop a comment below and share your experience. And if you loved them as much as I do, please share this recipe with a friend who needs a little coziness in their life.
Happy baking, and remember—the best cookies are the ones made with a little patience and a lot of love.
Frequently Asked Questions
Can I use salted butter for this recipe?
Yes, you can. If using salted butter, just reduce the added salt in the recipe to ½ teaspoon. The brown butter flavor will still be fantastic.
Why did my cookies spread too much?
This usually happens for a few reasons: the dough wasn’t chilled, the butter was too warm when you mixed in the dry ingredients, or the flour was measured incorrectly. Make sure to chill the dough for at least 30 minutes and measure your flour by spooning it into the cup.
Can I make the dough ahead of time?
Absolutely! The dough can be refrigerated for up to 72 hours. In fact, the flavor gets even better as it rests. You can also freeze the dough balls for up to 3 months.
How do I know when the brown butter is done?
Watch for the color change. The butter will go from yellow to a deep golden amber, and you’ll see little brown specks forming at the bottom of the pan. The smell is the best indicator—it should smell nutty and toasty, like hazelnuts. As soon as you smell it, pull it off the heat.
Can I make these cookies vegan?
I haven’t tested a vegan version of this specific recipe, but you can try using a high-quality vegan butter and a flax egg (1 tablespoon ground flaxseed mixed with 3 tablespoons water). The texture will be different, but the flavor from the brown butter substitute should still be good.
Pin This Recipe!
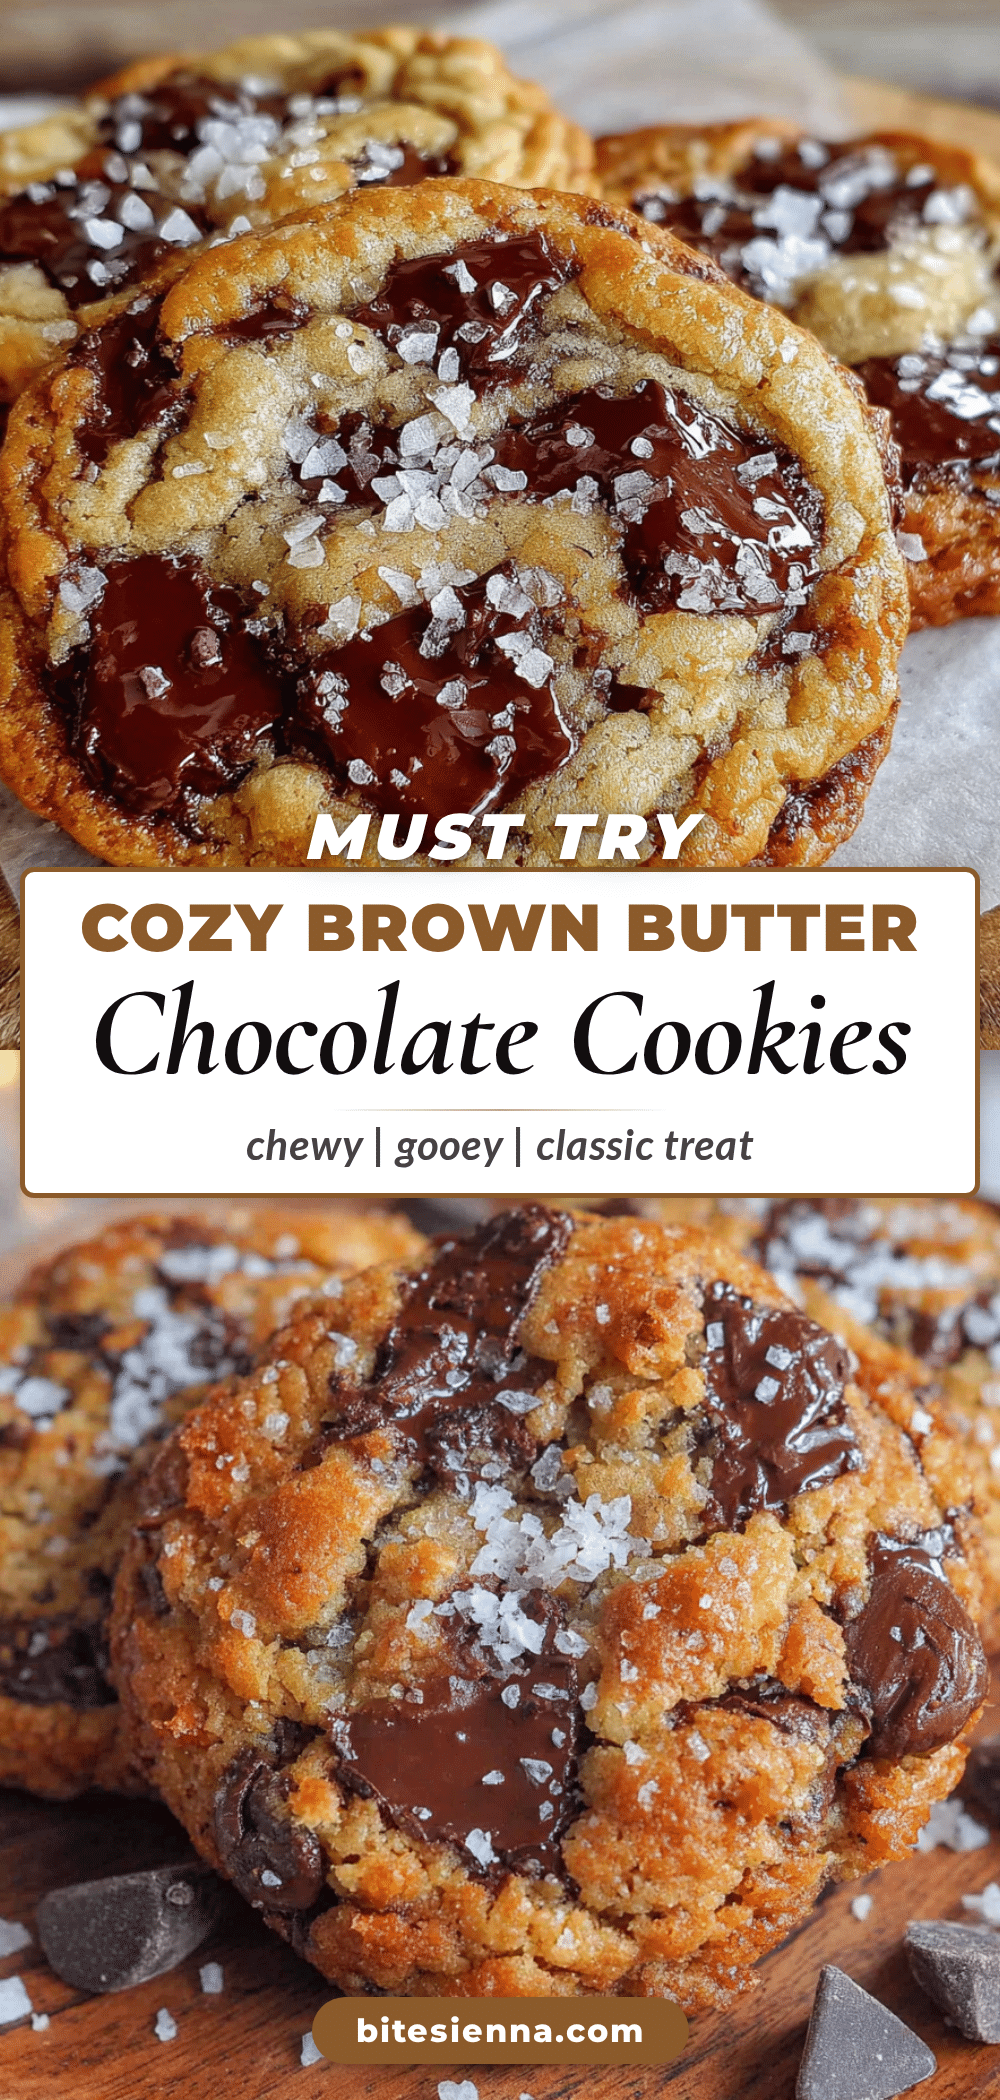
Cozy Brown Butter Chocolate Chip Cookies: Easy, Best Homemade Recipe
These brown butter chocolate chip cookies are the ultimate comfort food, with crispy edges, soft and chewy centers, and a nutty, toffee-like flavor from perfectly browned butter. Quick and easy to make, they’re a crowd-pleaser that turns any day into something special.
- Prep Time: 15 minutes
- Cook Time: 10 minutes
- Total Time: 25 minutes (plus optional 30 minutes chilling)
- Yield: 24 cookies 1x
- Category: Dessert
- Cuisine: American
Ingredients
- 1 cup (2 sticks, 226g) unsalted butter
- 2 ¼ cups (280g) all-purpose flour
- 1 teaspoon baking soda
- 1 teaspoon salt (preferably flaky sea salt)
- ½ cup (100g) granulated sugar
- 1 cup (200g) packed light brown sugar
- 1 large egg, at room temperature
- 1 egg yolk
- 2 teaspoons pure vanilla extract
- 2 cups (340g) semi-sweet chocolate chips (or mix of chips and chopped chocolate)
Instructions
- Brown the butter: Place 1 cup butter in a light-colored skillet over medium heat. Melt completely, then continue cooking, swirling occasionally, until it foams, crackles, and turns golden with brown specks at the bottom and smells nutty (about 5-7 minutes). Remove from heat immediately. Pour into a large mixing bowl, scraping all brown bits. Let cool for 10 minutes.
- Mix the sugars and butter: Add granulated sugar and packed brown sugar to the warm browned butter. Whisk vigorously until smooth and looks like wet sand. Let sit for 2 minutes.
- Add the eggs and vanilla: Whisk in the whole egg, egg yolk, and vanilla extract until glossy and smooth, about 30 seconds.
- Combine dry ingredients: In a separate medium bowl, whisk together flour, baking soda, and salt until no lumps remain.
- Make the dough: Pour dry ingredients into wet ingredients. Fold gently with a rubber spatula until just combined—do not overmix.
- Fold in the chocolate: Add chocolate chips and fold until evenly distributed.
- Chill the dough (optional but highly recommended): Cover bowl with plastic wrap and refrigerate for at least 30 minutes, up to 72 hours.
- Preheat and prepare: When ready to bake, preheat oven to 375°F (190°C). Line baking sheets with parchment paper.
- Scoop and bake: Scoop rounded tablespoons of dough (about 1.5 tablespoons each) and place 2 inches apart on prepared sheets. Bake for 9-11 minutes, until edges are golden brown and centers are just set and slightly puffy.
- Cool and enjoy: Let cookies cool on baking sheet for 5 minutes, then transfer to a wire rack to cool completely or serve warm.
Notes
For best results, chill the dough for at least 30 minutes. Use a light-colored pan to monitor browning. For bakery-style cookies, press extra chocolate chips into warm cookies after baking. Store in an airtight container at room temperature for up to 5 days; add a slice of bread to keep them soft. Dough freezes well for up to 3 months.
Nutrition
- Serving Size: 1 cookie
- Calories: 220
- Sugar: 18
- Sodium: 150
- Fat: 12
- Saturated Fat: 7
- Carbohydrates: 28
- Fiber: 1
- Protein: 3
Keywords: brown butter chocolate chip cookies, easy cookie recipe, homemade cookies, chewy cookies, comfort food


