The neighborhood Halloween block party was in six hours and I’d completely forgotten. Everyone else would be bringing elaborate things — a cauldron of bubbling chili that had been simmering since dawn, a graveyard cake with actual tombstone cookies, cupcakes frosted to look like eyeballs. I had a half-empty bag of chocolate chips and some egg whites leftover from breakfast. Honestly, I almost didn’t go. But my neighbor, Mrs. Patterson, had already texted asking if I was bringing my “famous something,” and I couldn’t admit I had nothing.
So I did what any slightly panicked person would do — I stared into my fridge and pantry for way too long. Egg whites. Sugar. Vanilla. Chocolate chips. It wasn’t a plan, it was a prayer. I remembered making meringue cookies once, years ago, and how they looked like little clouds. Ghost clouds, I thought. Ghost clouds with chocolate chip eyes. I mean, it was either genius or a total disaster waiting to happen. I whipped those egg whites like my life depended on it, folded in the sugar, and piped little ghost shapes onto a baking sheet. They looked ridiculous — lopsided, some with tails, some without.
You know that feeling when you’re pretty sure something is going to flop, but you’ve already committed? That was me, sliding the tray into the oven. But when they came out — light, airy, with those dark chocolate chip eyes staring back at me — I actually laughed out loud. They were adorable. Not in a polished, bakery-window way. In a “my kid made these and I’m secretly proud” way. I packed them on a plate and walked over to the party, fully expecting to be outshone.
The chili was amazing. The cake was a masterpiece. But you know what disappeared first? The ghost cookies. Kids grabbed them by the handful. Adults kept sneaking back for “just one more.” Someone asked if I could make them for their kid’s birthday. And I just stood there, sheepish, thinking about how this cozy little accident — this recipe born from panic and a half-empty pantry — was the one that won the night. That’s why I keep making them. Not because they’re fancy. But because they’re proof that sometimes the best things come together when you least expect them.
Why You’ll Love This Recipe
These Cozy Ghost Meringue Cookies with Chocolate Chip Eyes aren’t just another Halloween treat. They’re the kind of recipe that makes you look like you planned something brilliant when really, you just needed a quick win. I’ve tested this recipe more times than I can count, tweaking the sugar ratios and baking times until every batch comes out perfectly crisp on the outside and melt-in-your-mouth soft inside. Trust me, I’ve had my share of flat, sticky meringue disasters so you don’t have to.
- Quick & Easy: From start to finish, you’re looking at about 45 minutes. Most of that is hands-off baking time, so you can tidy up the kitchen or — let’s be real — scroll through your phone.
- Simple Ingredients: You probably have everything already. Egg whites, sugar, vanilla extract, cream of tartar, and chocolate chips. No special trip to the store required.
- Perfect for Halloween: These little ghosts are the star of any spooky spread. They’re cute without being creepy, which means even the littlest goblins will love them.
- Crowd-Pleaser: I’ve brought these to parties, school events, and family gatherings. Kids think they’re fun, adults appreciate they’re not loaded with butter and flour. Everyone wins.
- Unbelievably Delicious: The texture is what gets people. That light, airy crunch that dissolves on your tongue, with a tiny burst of chocolate from the eyes. It’s comfort food in its purest, simplest form.
What makes these different from every other meringue cookie recipe out there? It’s the technique. I whip my egg whites to stiff peaks so stable you could practically stand a spoon in them. And I add just a pinch of salt — a trick I learned from a pastry chef friend — to balance the sweetness without making them taste savory. The result is a ghost cookie that’s not just cute, but genuinely delicious. These aren’t just cookies. They’re the kind that makes you close your eyes after the first bite, remembering why simple things are often the best.
What Ingredients You Will Need
This recipe uses simple, wholesome ingredients to deliver that light-as-air texture and cozy chocolate hit. Most of these are pantry staples, which is exactly what you want when a last-minute Halloween craving strikes. Here’s what you’ll need and why each one matters.
- 3 large egg whites, room temperature (cold eggs won’t whip as high; let them sit out for 30 minutes)
- ¾ cup (150g) granulated sugar (use fine sugar if you can — it dissolves faster and gives a smoother meringue)
- ½ teaspoon cream of tartar (this stabilizes the egg whites and helps them hold their shape; don’t skip it)
- 1 teaspoon vanilla extract (pure vanilla, not imitation, for the best cozy flavor)
- Pinch of salt (just a tiny one — it balances sweetness without making the cookies salty)
- ⅓ cup (60g) mini chocolate chips (mini chips work best for the eyes; regular chips are too heavy and might sink)
For the chocolate chip eyes, I really recommend mini chocolate chips. I’ve tried using regular-sized chips and they just look a bit googly-eyed — cute, but not quite right. The minis create that perfect little dot that makes each ghost look like it’s blinking at you. I personally like Ghirardelli mini chips for their smooth melt and consistent size, but any brand will work.
If you’re dairy-free, check your chocolate chip label — many mini chips are accidentally dairy-free. For a sugar-free version, you can use a granulated monk fruit sweetener, but note that the texture will be slightly less crisp. I’ve tested this with coconut sugar too, and while the color comes out more tan than white, the taste is still lovely — like a caramel ghost, if that’s a thing.
One more thing about the egg whites: save your yolks for another recipe. You can make lemon curd, custard, or even add them to scrambled eggs for extra richness. Nothing goes to waste around here.
Equipment Needed
You don’t need a fancy pastry kitchen to make these ghost cookies. I’ve made them in a tiny apartment with hand-me-down tools and they turned out just fine. Here’s what you’ll actually use:
- Electric mixer (handheld or stand mixer — both work; I’ve used a hand mixer for years and it’s totally fine)
- Large mixing bowl (glass or metal is best; plastic can hold onto grease which prevents egg whites from whipping properly)
- Baking sheet (a standard half-sheet pan works perfectly)
- Parchment paper (non-negotiable — meringue will stick to everything else)
- Piping bag with round tip (or a zip-top bag with the corner snipped off; I’ve done both and the zip-top bag is surprisingly easy to control)
- Rubber spatula (for folding in the chocolate chips gently)
- Cooling rack (optional but helpful — lets the cookies cool completely without trapping steam)
If you don’t have a piping bag, don’t stress. A sturdy zip-top bag works like a charm. Just fill it, squeeze out the air, snip about half an inch off one corner, and pipe away. I’ve done this more times than I can count and the ghosts come out looking just as cute. The only tool I’d really recommend investing in is a good hand mixer — the $15 ones can struggle with stiff peaks, and you’ll end up with tired arms.
Preparation Method
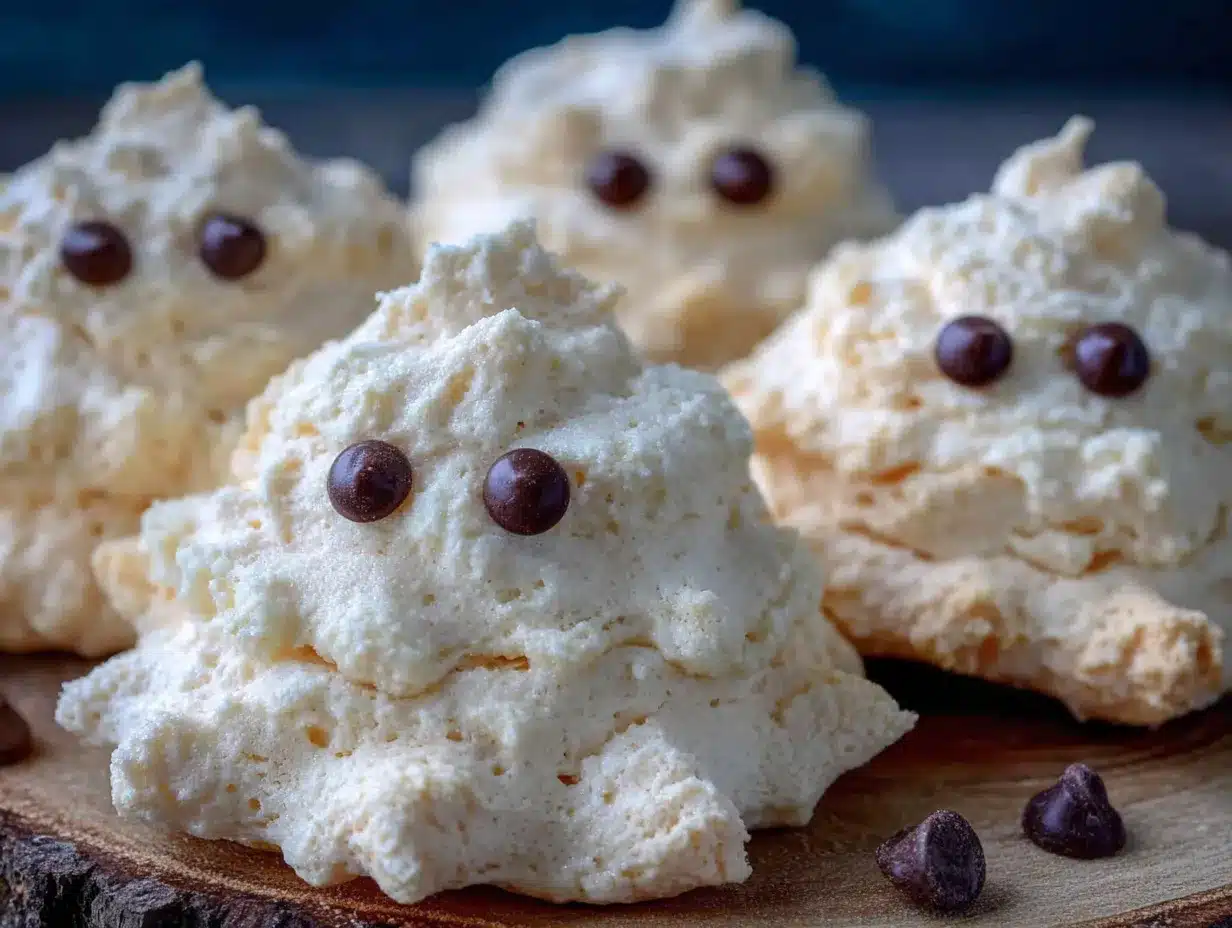
Let’s get those ghosts made. I’ll walk you through every step with the little tricks I’ve picked up from making these dozens of times. Take your time with the whipping — it’s the most important part.
- Preheat your oven to 200°F (95°C). Yes, that low. We’re drying the meringue, not baking it. Line a baking sheet with parchment paper and set it aside.
- Clean your bowl and beaters thoroughly. Any trace of grease will ruin your meringue. Wipe them down with a little lemon juice or white vinegar on a paper towel, then dry completely. I learned this the hard way after three failed batches.
- Add the egg whites and cream of tartar to your bowl. Start beating on medium speed until the mixture becomes frothy and bubbly — about 1 to 2 minutes. You’ll see it go from clear liquid to white foam.
- Gradually add the sugar, about 1 tablespoon at a time. Keep the mixer running on medium-high. This slow addition is key — dumping all the sugar in at once can deflate your egg whites. I usually add a spoonful, let it mix for 15 seconds, then add the next.
- Continue beating until stiff peaks form. This takes about 5 to 7 minutes total with a hand mixer. You’ll know it’s ready when you lift the beaters and the meringue stands up in a sharp peak that doesn’t flop over. The mixture should also look glossy and thick — like marshmallow fluff. Rub a tiny bit between your fingers; if it feels smooth and not grainy, the sugar is fully dissolved.
- Add the vanilla extract and pinch of salt. Beat on low just until combined — about 10 seconds. Don’t overmix here or you’ll deflate all that beautiful air you just whipped in.
- Gently fold in the mini chocolate chips using a rubber spatula. Use a slow, sweeping motion — fold the meringue over the chips, turn the bowl, repeat. Stop as soon as the chips are distributed. Overmixing will make the meringue weep and your ghosts will spread out flat instead of staying puffy.
- Transfer the meringue to your piping bag. If using a zip-top bag, stand it up in a tall glass and fold the edges over the rim — this makes filling it so much easier. Trust me, trying to hold a bag open with one hand while scooping with the other is a mess waiting to happen.
- Pipe ghost shapes onto the prepared baking sheet. Hold the bag straight up and down, about half an inch above the parchment. Squeeze gently to create a round blob about 1.5 inches wide, then pull straight up to form a little peak on top. Leave about an inch between each ghost — they won’t spread much, but they need airflow. If your ghosts look a bit wonky, that’s part of their charm. Some of my best batches looked like they’d been drawn by a toddler.
- Add the chocolate chip eyes. Gently press two mini chocolate chips into each ghost while the meringue is still wet. Place them close together near the top of the ghost body. Don’t push too hard or you’ll deflate the meringue. If the chips fall off during baking, just press them back on when the cookies come out of the oven — the residual heat will soften them enough to stick.
- Bake for 45 minutes. Rotate the baking sheet halfway through for even drying. The cookies should be firm to the touch and easily peel off the parchment when done. They shouldn’t be brown at all — just pale and dry.
- Turn off the oven and let the cookies cool inside for 30 minutes. This is my secret trick — it prevents cracking from sudden temperature changes. After 30 minutes, transfer them to a cooling rack and let them cool completely.
And there you have it — a tray of cozy little ghosts ready to haunt your dessert table. They should lift right off the parchment. If they stick, they need a few more minutes in the oven.
Cooking Tips & Techniques
I’ve made enough meringue cookies to fill a small bakery, and I’ve definitely learned a few things the hard way. Here are the tips that actually make a difference.
Room temperature eggs are non-negotiable. Cold egg whites won’t whip to their full volume, no matter how long you beat them. I set my eggs out on the counter about 30 minutes before I start. If I forget, I place them in a bowl of warm water for 5 minutes — not hot, just warm to the touch.
Humidity is your enemy. Meringue is basically sugar and air, and sugar loves to absorb moisture from the air. If it’s a rainy or humid day, your cookies might come out chewy and sticky instead of crisp. I only make these on dry days, or I run my oven for a few minutes to dry out the kitchen air before I start.
Don’t rush the sugar. I know it’s tempting to dump it all in at once, but that grainy feeling when you test the meringue between your fingers? That means the sugar hasn’t dissolved, and your cookies will “weep” — little droplets of sugar syrup will form on the surface during baking. Adding sugar slowly gives it time to dissolve completely.
My biggest failure? The time I forgot the cream of tartar. I was in a rush, thought I could skip it, and ended up with flat, sad puddles of meringue that wouldn’t hold a shape. I tried to salvage them by adding more sugar mid-whip, which made everything worse. That batch went straight in the trash. Now I always double-check my ingredients before I start.
Multitasking tip: While your ghosts are baking, prep your storage container. Line it with parchment paper so the cookies don’t stick. You’ll thank yourself later when you’re not trying to pry fragile meringue off a plastic lid.
Variations & Adaptations
One of the best things about these ghost cookies is how easy they are to customize. Here are a few variations I’ve tried and loved.
Pumpkin Spice Ghosts: Add ½ teaspoon pumpkin pie spice and ¼ teaspoon cinnamon along with the vanilla. The warm spices make these perfect for a cozy fall evening. I made these for a Thanksgiving potluck once and they disappeared faster than the actual pie.
Vegan Version: Use aquafaba (the liquid from a can of chickpeas) instead of egg whites. 3 tablespoons of aquafaba replaces 1 egg white. Whip it the same way with cream of tartar — it takes a bit longer to reach stiff peaks, but it works. The taste is slightly different — less eggy, more neutral — but the texture is spot on. Just make sure your chocolate chips are dairy-free too.
Colorful Ghosts: Add a drop of food coloring after the stiff peaks form. Gel food coloring works best because it doesn’t add extra liquid. I’ve made pastel pink ghosts for a baby shower and they were a huge hit. For Halloween, try a tiny drop of orange gel — it gives them a warm, cozy glow without looking too bright.
Different Eye Options: Not a fan of chocolate chips? Use small candy eyes (the kind you find at baking stores) or press in a tiny piece of dark chocolate. I’ve even used freeze-dried raspberry pieces for a tart, pink-eyed ghost — it sounds weird but tastes amazing.
Mint Chocolate Ghosts: Swap the vanilla extract for peppermint extract. The cool mint flavor pairs beautifully with the chocolate eyes. I made these for a Christmas party and called them “Frosty Ghosts” — the kids loved it.
Serving & Storage Suggestions
These ghosts are best served at room temperature, straight off the baking sheet or arranged on a platter. They’re perfect for Halloween parties, but honestly? I’ve served them at random Tuesday dinners because sometimes you just need a ghost cookie.
Presentation ideas: Arrange them on a dark-colored platter so the white ghosts pop. Sprinkle a few extra chocolate chips around the plate for a “dirt” effect. If you’re feeling fancy, dust them with a tiny bit of powdered sugar — it makes them look like they’ve been caught in a snow flurry, which is especially fun if you’re making these for a winter-themed party.
What to serve with them: A warm mug of hot chocolate or spiced apple cider is the perfect companion. The cozy drink balances the light, airy sweetness of the cookies. For a grown-up twist, serve them with a glass of dessert wine like Moscato or a creamy eggnog.
Storage: These cookies are fragile, so handle them gently. Store them in an airtight container at room temperature for up to 5 days. I layer them between sheets of parchment paper to prevent them from breaking. Do not refrigerate — the moisture in the fridge will make them sticky and soft.
Freezing: You can freeze these for up to 3 months. Place them in a single layer in a freezer-safe container with parchment between layers. Thaw at room temperature for about 15 minutes before serving. They won’t be quite as crisp as fresh, but they’re still delicious.
Flavor development: Honestly, these are best eaten within the first day or two. The chocolate chips stay nice and firm, and the meringue is at its crispiest. After day three, they start to soften slightly — still tasty, but not as perfect.
Nutritional Information & Benefits
Per serving (about 3 ghosts): approximately 90 calories, 1g fat, 20g carbohydrates, 1g protein. These are a lighter alternative to traditional cookies — no butter, no flour, just pure airy sweetness.
The main ingredient — egg whites — is a great source of protein without the fat of the yolk. They’re also rich in selenium and riboflavin. The chocolate chips add a small amount of antioxidants, but let’s be real — we’re eating these for joy, not health. That said, they’re naturally gluten-free and can be made dairy-free with the right chocolate chips.
If you’re watching your sugar intake, these are definitely a treat, not an everyday snack. But compared to a standard sugar cookie with butter and frosting, these are lighter and less calorie-dense. I like to think of them as the “fun size” candy bar of homemade cookies — satisfying without being heavy.
Potential allergens: eggs (from the whites), dairy (from the chocolate chips — check labels for dairy-free options). Always check your ingredients if serving to someone with allergies.
Conclusion
These Cozy Ghost Meringue Cookies with Chocolate Chip Eyes are proof that you don’t need a complicated recipe or a fully stocked pantry to create something magical. They came from a moment of panic and a half-empty kitchen, and now they’re one of my most-requested treats. That’s the thing about cooking — sometimes the best recipes are the ones you stumble into.
I hope you give these a try, whether it’s for a Halloween party, a cozy night in, or just because you need a little whimsy in your day. Don’t be afraid to make them your own — add your favorite spices, change up the eyes, or experiment with different colors. The ghosts might not look perfect, but that’s what makes them special. Each one has its own little personality.
If you make these, I’d love to hear about it. Leave a comment below and tell me how your ghosts turned out — wonky tails and all. Share a photo if you’re feeling brave. And if you have a variation that blew your mind, I’m all ears. Until then, happy baking, and may your kitchen be full of cozy little ghosts.
Frequently Asked Questions
Can I make these ghost cookies without a piping bag?
Absolutely. A zip-top bag with the corner snipped off works perfectly. You can even use a small spoon to drop dollops of meringue onto the baking sheet and shape them gently with the back of the spoon. They won’t look as uniform, but they’ll still be delicious and cute.
Why did my meringue turn out flat and runny?
This usually happens for one of three reasons: your bowl or beaters had a trace of grease, your egg whites were cold, or you added the sugar too quickly. Make sure everything is spotlessly clean, use room temperature eggs, and add the sugar gradually. If your meringue is still runny after whipping for 10 minutes, start over with fresh ingredients.
Can I use liquid egg whites from a carton?
I don’t recommend it. Carton egg whites are pasteurized at high temperatures, which changes the protein structure and makes them harder to whip into stiff peaks. They also tend to contain stabilizers that can affect the texture. Fresh egg whites from whole eggs give the best results.
How do I know when the meringue is fully baked?
The cookies should be firm to the touch and lift easily off the parchment paper. If they feel soft or stick to the paper, they need more time. The baking time can vary depending on your oven and the size of your ghosts. If in doubt, turn off the oven and let them sit inside for another 15 minutes — the residual heat will continue drying them without risk of burning.
Can I double this recipe?
Yes, but I recommend making two separate batches rather than doubling everything in one bowl. Meringue is finicky, and a larger volume can be harder to whip evenly. Plus, you’ll need a bigger bowl than you think — the meringue expands a lot during whipping. If you have a stand mixer with a 5-quart bowl, you can safely double the recipe. Otherwise, make two batches back to back.
Pin This Recipe!
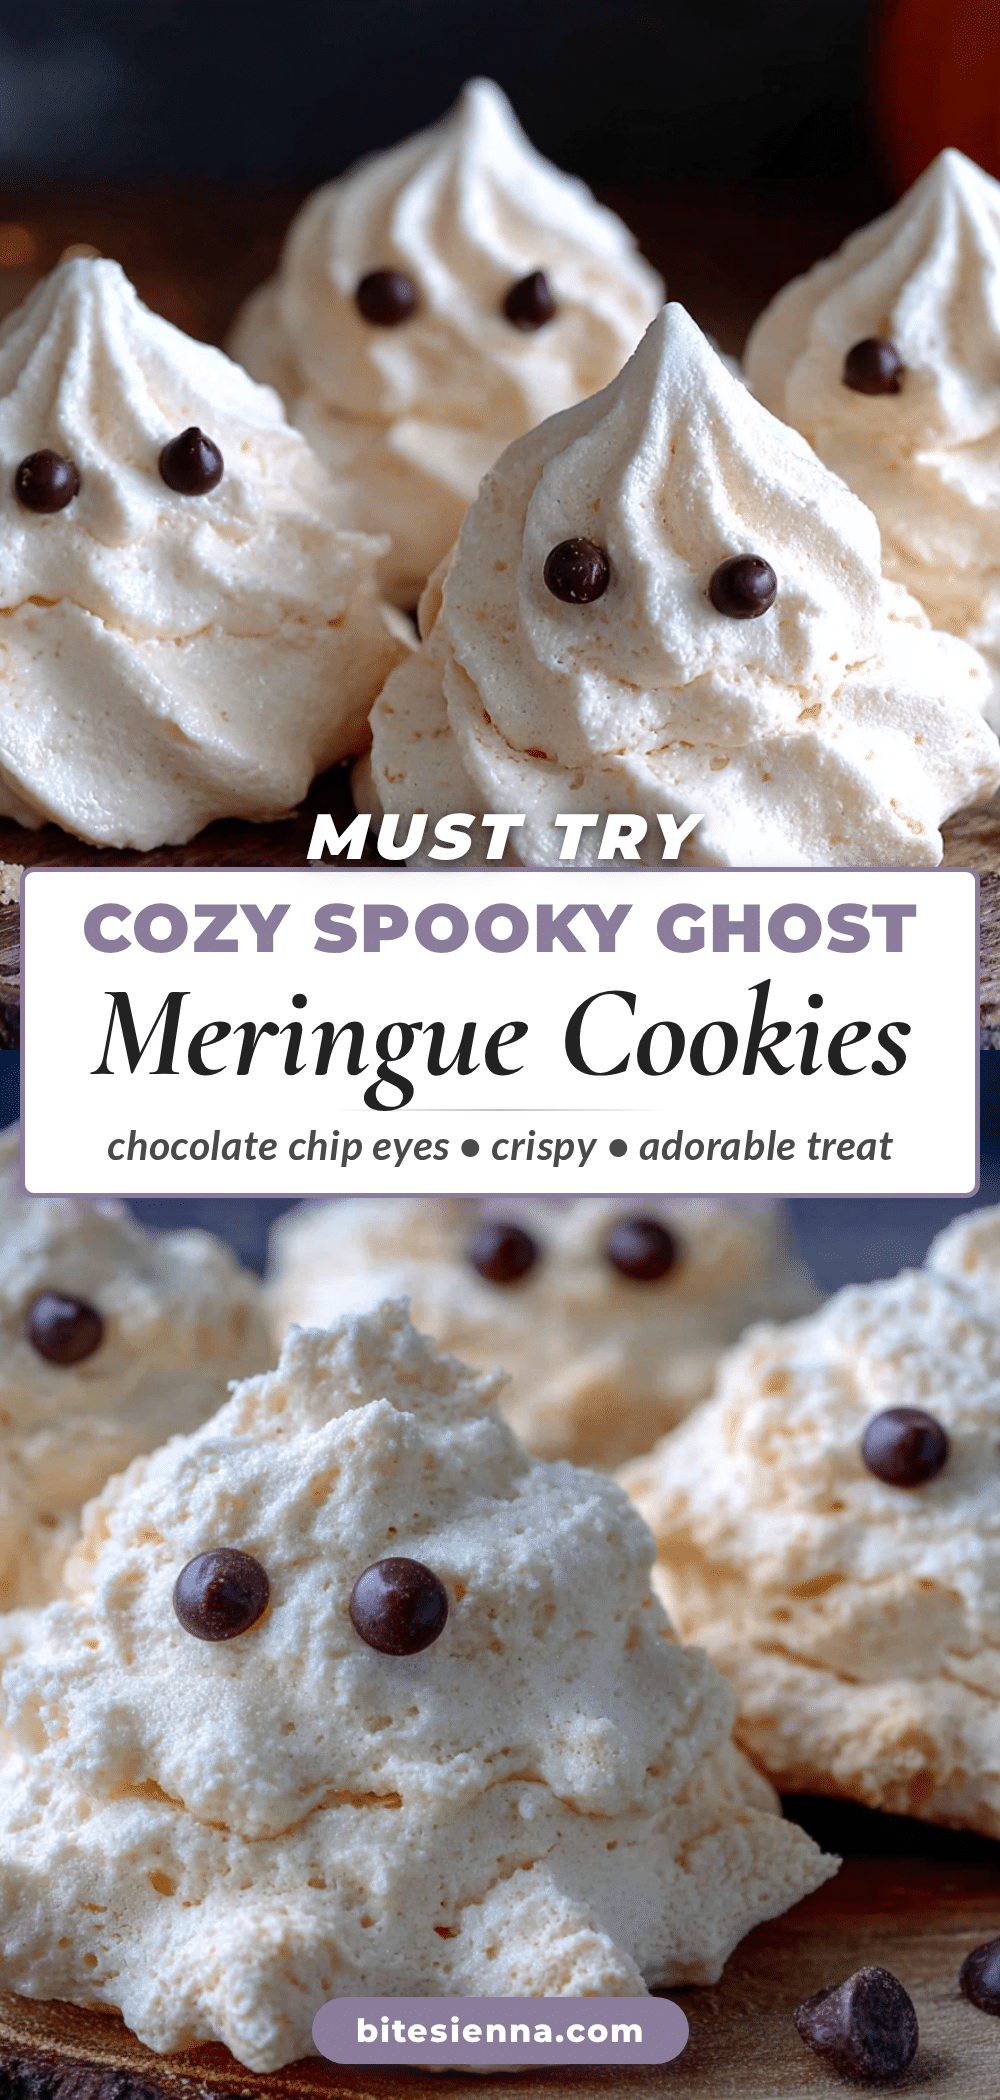
Cozy Ghost Meringue Cookies with Chocolate Chip Eyes
Light, airy meringue cookies shaped like ghosts with chocolate chip eyes. A quick and easy Halloween treat that’s perfect for parties and cozy nights in.
- Prep Time: 15 minutes
- Cook Time: 45 minutes
- Total Time: 1 hour 30 minutes
- Yield: 4 servings 1x
- Category: Dessert
- Cuisine: American
Ingredients
- 3 large egg whites, room temperature
- ¾ cup (150g) granulated sugar
- ½ teaspoon cream of tartar
- 1 teaspoon vanilla extract
- Pinch of salt
- ⅓ cup (60g) mini chocolate chips
Instructions
- Preheat your oven to 200°F (95°C). Line a baking sheet with parchment paper.
- Clean your bowl and beaters thoroughly with lemon juice or white vinegar to remove any grease, then dry completely.
- Add the egg whites and cream of tartar to your bowl. Beat on medium speed until frothy and bubbly, about 1 to 2 minutes.
- Gradually add the sugar, about 1 tablespoon at a time, while beating on medium-high. Continue beating until stiff peaks form, about 5 to 7 minutes total. The meringue should be glossy and thick.
- Add the vanilla extract and pinch of salt. Beat on low just until combined, about 10 seconds.
- Gently fold in the mini chocolate chips using a rubber spatula with a slow, sweeping motion until just distributed.
- Transfer the meringue to a piping bag (or a zip-top bag with the corner snipped off).
- Pipe ghost shapes onto the prepared baking sheet: hold the bag straight up, squeeze to create a round blob about 1.5 inches wide, then pull straight up to form a peak. Leave about 1 inch between ghosts.
- Gently press two mini chocolate chips into each ghost for eyes while the meringue is still wet.
- Bake for 45 minutes, rotating the baking sheet halfway through. The cookies should be firm to the touch and easily peel off the parchment.
- Turn off the oven and let the cookies cool inside for 30 minutes to prevent cracking.
- Transfer to a cooling rack and let cool completely.
Notes
For best results, use room temperature egg whites and ensure all equipment is grease-free. Avoid making on humid days. If chocolate chips fall off during baking, press them back on while cookies are still warm.
Nutrition
- Serving Size: 3 ghosts
- Calories: 90
- Sugar: 19
- Sodium: 25
- Fat: 1
- Saturated Fat: 0.5
- Carbohydrates: 20
- Protein: 1
Keywords: ghost cookies, meringue cookies, Halloween cookies, chocolate chip meringue, easy Halloween treat


