I was standing in the grocery store parking lot last October, fumbling for my keys, when the smell hit me. It wasn’t the usual mix of exhaust and damp asphalt. Someone was unloading bags of apples from their trunk, and that sweet-tart scent—sharp and green and faintly of autumn—cut right through the cold air. And just like that, I was eight years old, standing in my Aunt Clara’s tiny kitchen, watching her peel apples into a perfect, unbroken spiral.
Aunt Clara wasn’t one for fussy desserts. She believed in butter, brown sugar, and a good crumble topping. Her apple crisp was the stuff of legend in our family, but the salted caramel part? That was her secret weapon. She’d pour it over the apples in a slow, steady ribbon, and I’d watch it pool and bubble, turning into something golden and dangerous. I never got her recipe written down. She passed a few years back, and I’ve been chasing that taste ever since.
Honestly, my first few attempts were disasters. Too watery, too sweet, the crumble was either a brick or dust. I mean, I nearly gave up. But last week, something clicked. Maybe it was the right apples. Maybe I finally learned to trust my nose over the timer. Whatever it was, I pulled this salted caramel apple crisp out of the oven, and the whole house went quiet. That first bite? I closed my eyes, and for a second, I was eight again. Maybe you’ve been there—trying to recreate a taste that feels like a hug from someone you miss.
Why You’ll Love This Recipe
This isn’t just another apple crisp. This is the one you’ll make when you want to impress without the stress, feed a crowd without breaking the bank, and get that “oh, wow” reaction every single time.
Let’s be real—I’ve tested this recipe more times than I care to admit. I’ve burned the caramel, I’ve used the wrong oats, I’ve even forgotten the salt entirely (that was a sad, flat crisp). But after all those trials, I can tell you with confidence: this version is bulletproof. It’s the kind of recipe you can hand to a nervous beginner and watch them shine.
- Simple Ingredients: You probably have most of this in your pantry right now. Oats, flour, butter, brown sugar, apples. No fancy trips to a specialty store.
- Budget-Friendly: We’re using everyday apples here—no need for expensive heirloom varieties. This is a recipe that feeds a family on a Tuesday night, not a dinner party on a Saturday.
- Crowd-Pleaser: My kids, who normally pick at desserts, actually fought over the last spoonful. The salted caramel cuts the sweetness just enough to keep adults coming back for more, too.
- Make-Ahead Magic: You can assemble the whole thing the night before and just pop it in the oven when you’re ready. The leftovers? They reheat like a dream. Seriously, day-two apple crisp might be even better.
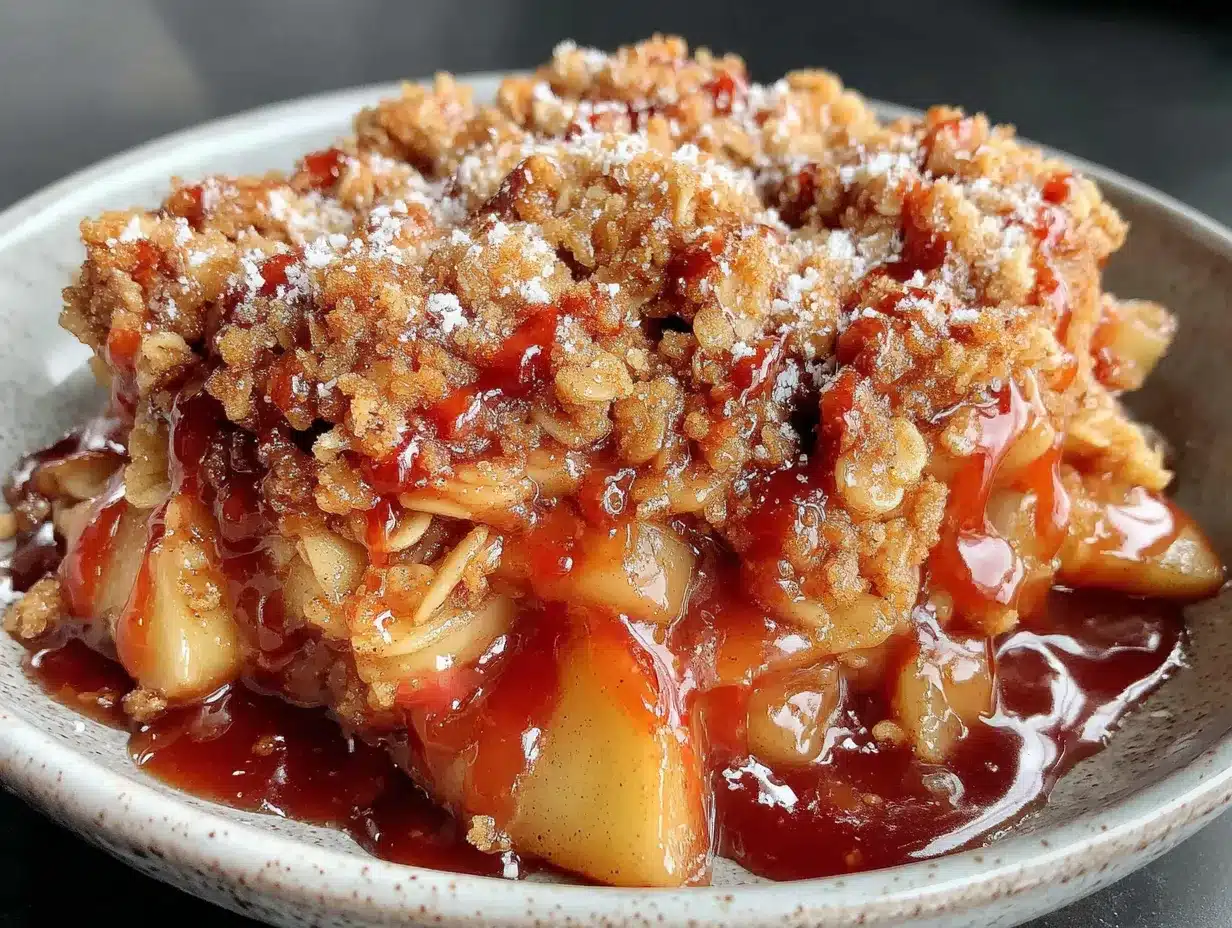
- Unbelievably Delicious: The texture here is everything. Soft, jammy apples under a crunchy, buttery oat crumble, all tied together with that salty-sweet caramel that seeps into every layer. It’s comfort food that actually comforts.
This isn’t just a recipe—it’s the one I reach for when I need a win in the kitchen. It’s the one that makes you look like a hero with very little effort. And honestly? That’s the best kind of recipe to have in your back pocket.
What Ingredients You Will Need
This recipe uses simple, honest ingredients to build layers of flavor. No weird stuff, no obscure spices you’ll never use again. Just good, basic things that work together beautifully.
For the Apple Filling
- 6 medium apples (about 2 lbs or 900g), peeled, cored, and sliced into ¼-inch thick pieces (I like a mix of Granny Smith and Honeycrisp for tart and sweet balance)
- 2 tablespoons (30ml) lemon juice (fresh is best, but bottled works in a pinch)
- ¼ cup (50g) granulated sugar (helps break down the apples and thicken the juices)
- 2 tablespoons (16g) all-purpose flour (this thickens the filling so it’s not watery)
- 1 teaspoon ground cinnamon (the backbone of any good apple dessert)
- ¼ teaspoon ground nutmeg (freshly grated if you have it—it makes a difference)
- ¼ teaspoon salt (don’t skip this—it balances the sweetness)
For the Salted Caramel Sauce
- ½ cup (100g) granulated sugar (for the caramel base)
- 3 tablespoons (42g) unsalted butter, cut into small pieces (use salted butter and reduce the added salt by half, if that’s all you have)
- ¼ cup (60ml) heavy cream (room temperature is key to prevent splattering)
- ½ teaspoon flaky sea salt (plus more for finishing—I love Maldon for this)
- 1 teaspoon vanilla extract (pure, not imitation, if you can swing it)
For the Oat Crumble Topping
- 1 cup (90g) old-fashioned rolled oats (not quick oats—they get mushy)
- ¾ cup (95g) all-purpose flour
- ½ cup (100g) packed light brown sugar
- ¼ cup (50g) granulated sugar
- ½ teaspoon ground cinnamon
- ¼ teaspoon salt
- ½ cup (113g) cold unsalted butter, cut into small cubes (cold is crucial for a crumbly texture)
Ingredient Tips from My Kitchen
For the apples, don’t overthink it. Granny Smith is my go-to because they hold their shape and bring that necessary tartness. If you want a sweeter crisp, go with Honeycrisp or Fuji. I’ve used Gala in a pinch, and they work fine, but they do get a bit softer.
For the oats, I really recommend old-fashioned rolled oats. They give you that nice, chewy texture in the crumble. Quick oats turn into paste, and steel-cut oats are too tough. Trust me on this one—I learned the hard way.
And the butter? Use unsalted so you control the salt level. If all you have is salted, just cut the added salt in the crumble and caramel by half. You’ll be fine.
Equipment Needed
You don’t need a fancy kitchen to pull this off. Here’s what you’ll actually use:
- 9×13-inch baking dish (or a 2-quart casserole dish—anything that holds about 3 quarts)
- Large mixing bowl (for the apples)
- Medium mixing bowl (for the crumble)
- Small saucepan (for the caramel—a heavy-bottomed one is best to prevent scorching)
- Chef’s knife and cutting board (for prepping apples)
- Vegetable peeler (or a paring knife if you’re brave)
- Measuring cups and spoons
- Wooden spoon or silicone spatula
- Pastry cutter or two forks (for cutting butter into the crumble—you can also use your fingers)
- Whisk (for the caramel)
If you don’t have a pastry cutter, honestly, your hands work just fine. Just work quickly so the butter doesn’t warm up too much. I’ve also used a food processor in a pinch—just pulse a few times until it looks like coarse meal. Don’t overdo it, or you’ll get a paste instead of a crumble.
Preparation Method
Let’s get to it. This looks like a lot of steps, but I promise it flows. Read through everything once before you start, and you’ll be fine.
- Preheat your oven to 375°F (190°C). Place a rack in the center. While it’s heating, you can get everything else ready.
- Make the salted caramel sauce first. In a small, heavy-bottomed saucepan over medium heat, add the ½ cup of granulated sugar. Watch it carefully—don’t stir it yet. Just let it melt, swirling the pan occasionally when you see the edges starting to turn liquid. This takes about 5-7 minutes. It should turn a deep amber color, like a new penny. Don’t walk away, I mean it. Burnt caramel is bitter and sad.
- Once the sugar is fully melted and amber, add the 3 tablespoons of butter. It will bubble up and steam—that’s normal. Whisk it in until it’s fully melted and combined. The mixture will look a bit separated, but keep whisking.
- Slowly drizzle in the heavy cream while whisking constantly. It will bubble up again, so go slow. Keep whisking until the sauce is smooth and glossy. Remove from heat, then stir in the ½ teaspoon of flaky sea salt and the vanilla. Set it aside to cool slightly while you prep the rest.
- Prep the apples. Peel, core, and slice your apples into ¼-inch thick pieces. I like to cut them in half, then slice each half into 3-4 wedges, then cut those wedges crosswise into bite-sized pieces. Toss them in a large bowl with the lemon juice right away to prevent browning.
- Add the filling ingredients to the apples. Sprinkle the ¼ cup granulated sugar, 2 tablespoons flour, 1 teaspoon cinnamon, ¼ teaspoon nutmeg, and ¼ teaspoon salt over the apples. Toss everything together until the apples are evenly coated. Let them sit while you make the crumble—this gives the sugar time to start drawing out the juices.
- Make the oat crumble topping. In a medium bowl, whisk together the rolled oats, flour, both sugars, cinnamon, and salt. Add the cold butter cubes. Use a pastry cutter or your fingers to work the butter into the dry ingredients until the mixture looks like coarse meal with some pea-sized butter pieces still visible. Don’t overwork it—those little butter chunks are what make the topping crispy.
- Assemble the crisp. Pour the apple mixture into your greased 9×13-inch baking dish and spread it into an even layer. Drizzle about ¾ of the salted caramel sauce over the apples—reserve the rest for serving. Don’t drown them, just give them a nice, even coating. Sprinkle the oat crumble evenly over the top, covering all the apples.
- Bake for 35-40 minutes, or until the topping is golden brown and the filling is bubbly around the edges. If the topping is browning too fast, tent the dish loosely with foil for the last 10 minutes. The apples should be tender when pierced with a fork.
- Let it cool on a wire rack for at least 15 minutes. This is the hardest part, I know. But if you dig in right away, the filling will be runny. Give it time to set up. Drizzle the remaining caramel sauce over the top just before serving, and sprinkle with a little extra flaky sea salt.
Cooking Tips & Techniques
I’ve made this recipe enough times to know exactly where things can go wrong. Here’s what I’ve learned the hard way so you don’t have to.
Don’t skip the lemon juice. I know it seems like a small thing, but it does two jobs: it keeps the apples from turning brown and it adds a little brightness that balances all that sweetness. I once forgot it, and the crisp tasted flat. Never again.
Watch your caramel like a hawk. Sugar goes from melted to burnt in about 30 seconds. The first time I made this, I got distracted by a phone call, and my caramel turned into a black, acrid mess. Start over if that happens—don’t try to salvage it. The good news is, sugar is cheap.
Cold butter is non-negotiable for the crumble. If your butter is even slightly soft, you’ll end up with a dense, greasy topping instead of a light, crunchy one. I pop my butter in the freezer for 10 minutes before I start. It makes a real difference.
Let it rest. I know you want to eat it right out of the oven. I get it. But if you let it sit for at least 15 minutes, the juices thicken up and the crumble stays crisp. If you serve it too soon, you’ll have a soupy mess. Patience pays off here.
Multitask smartly. While the caramel is cooling, prep the apples. While the apples are sitting with the sugar, make the crumble. You can have everything assembled in about 20 minutes if you keep moving.
Variations & Adaptations
One of the best things about this recipe is how flexible it is. Here are some ways to make it your own.
Gluten-Free Version: Swap the all-purpose flour in the filling and crumble with a good 1-to-1 gluten-free flour blend. Use certified gluten-free oats. I’ve tested this with Bob’s Red Mill 1-to-1, and it works beautifully. The texture is slightly more delicate, but the flavor is spot on.
Dairy-Free Version: Use a high-quality vegan butter (I like Miyoko’s) in the crumble and caramel. Swap the heavy cream with full-fat coconut cream. The caramel will be a little thinner, but it still tastes amazing. Just make sure your vegan butter is cold for the crumble.
Add Some Pears: Replace half the apples with ripe but firm pears. Bosc or Anjou work great. They add a lovely floral sweetness that pairs beautifully with the caramel. Just don’t use overly ripe pears, or they’ll turn to mush.
Spice It Up: Add a pinch of cardamom or ginger to the apple mixture. I sometimes add ¼ teaspoon of cardamom when I want something a little more warming. It’s subtle, but it adds a lovely depth.
Make It a Crisp for Two: Halve all the ingredients and bake in an 8×8-inch dish. Reduce the baking time to about 25-30 minutes. Perfect for a quiet weeknight treat.
I once tried adding chopped pecans to the crumble, and honestly? It was incredible. If you’re not feeding anyone with nut allergies, throw in a handful of chopped pecans or walnuts. They toast up in the oven and add a lovely crunch.
Serving & Storage Suggestions
This crisp is best served warm, with the juices still a little saucy and the crumble nice and crunchy. Here’s how to make the most of it.
Serving Temperature: Let it cool for 15-20 minutes after baking. It should be warm, not piping hot. A scoop of vanilla ice cream on top is the classic move, and for good reason—the cold creaminess against the warm, spiced apples is pure magic. A dollop of whipped cream works too, or even a drizzle of heavy cream if you’re feeling old-school.
What to Serve With It: A big mug of hot coffee or a glass of cold milk. If you’re feeling fancy, a scoop of salted caramel ice cream takes it over the top. For a fall brunch, serve it alongside a simple yogurt parfait or a slice of crusty bread.
Storage: Cover the baking dish tightly with foil or transfer leftovers to an airtight container. It will keep in the refrigerator for up to 4 days. The crumble will soften over time, but it’s still delicious.
Reheating: The best way to reheat is in the oven at 350°F (175°C) for about 10-15 minutes. This helps re-crisp the topping. The microwave works in a pinch, but the crumble will be soft. If you’re microwaving, do it in 30-second bursts and eat it right away.
Freezing: You can freeze the assembled, unbaked crisp for up to 3 months. Wrap the dish tightly in plastic wrap, then foil. Bake straight from frozen, adding about 15-20 minutes to the baking time. Or you can bake it first, let it cool completely, then freeze. Thaw overnight in the fridge and reheat in the oven.
One thing I love about this crisp is that the flavors actually get better after a day in the fridge. The caramel seeps deeper into the apples, and everything melds together. Don’t be afraid to make it a day ahead.
Nutritional Information & Benefits
Let’s be honest—this is a dessert, not a health food. But that doesn’t mean it’s without its merits. Here’s the breakdown per serving (about 1/8 of the recipe).
| Nutrient | Amount Per Serving |
|---|---|
| Calories | 420 |
| Total Fat | 18g |
| Saturated Fat | 11g |
| Cholesterol | 45mg |
| Sodium | 280mg |
| Total Carbohydrates | 64g |
| Dietary Fiber | 5g |
| Sugars | 42g |
| Protein | 4g |
The apples are the real star here nutrition-wise. They’re a good source of fiber and vitamin C, and they contain antioxidants called flavonoids that are good for heart health. Oats are a whole grain that provides soluble fiber, which can help lower cholesterol. And while the butter and sugar aren’t exactly health foods, a little bit of what you love is good for the soul, right?
If you’re watching your sugar intake, you can reduce the sugar in the apple filling by a tablespoon or two without ruining the recipe. The caramel is harder to adjust, but you can use a sugar-free caramel sauce in a pinch.
This recipe contains gluten, dairy, and oats (which are often processed with wheat). For a gluten-free version, see the variations section above.
Conclusion
This salted caramel apple crisp is more than just a dessert. It’s the smell of autumn in your kitchen, the sound of laughter around the table, the taste of something made with love and a little bit of butter. It’s the recipe I turn to when I need to feel connected to my Aunt Clara, when I want to make my family feel special without spending all day in the kitchen, and when I just need a little bit of comfort on a chilly evening.
I hope you make it your own. Maybe you’ll add a little extra cinnamon, or swap the apples for pears, or double the caramel because, let’s face it, you can never have too much. That’s the beauty of a good recipe—it’s a starting point, not a rulebook.
I’d love to hear how it turns out for you. Did you make any changes? Did your kids love it? Did you burn the caramel like I did the first time? (If so, you’re in good company.) Drop a comment below and let me know. And if you share a photo on Pinterest, tag me—I want to see your beautiful, bubbly, golden-brown creation.
Now go preheat that oven. Your cozy fall dessert is waiting.
Frequently Asked Questions
Can I use quick oats instead of rolled oats?
I wouldn’t recommend it. Quick oats are cut finer and will absorb more moisture, turning your crumble into a dense, pasty mess. Rolled oats give you that nice, chewy texture that makes a crisp so satisfying. If you only have quick oats, you can use them, but the texture won’t be the same.
Can I make this ahead of time?
Absolutely. You can assemble the entire crisp (without baking) up to 24 hours in advance. Just cover it and keep it in the fridge. When you’re ready to bake, add about 10 minutes to the baking time since you’re starting from cold. You can also bake it fully, let it cool, and reheat it the next day—the flavors actually get better.
How do I prevent the crumble from getting soggy?
Two things: make sure your butter is really cold, and don’t overmix the crumble. Those little pea-sized butter pieces are what create steam pockets in the oven, which makes the topping crispy. Also, let the crisp rest after baking so the juices have time to thicken before they soak into the crumble.
Can I use a different type of apple?
Yes, but stick with firm, tart-sweet apples. Granny Smith is my top pick because they hold their shape and balance the sweetness of the caramel. Honeycrisp, Braeburn, and Fuji are also great. Avoid Red Delicious or McIntosh—they turn into applesauce when baked.
Can I freeze the leftovers?
You can! Let the crisp cool completely, then transfer it to an airtight container or wrap the dish tightly in plastic wrap and foil. It will keep in the freezer for up to 3 months. To reheat, thaw overnight in the fridge, then warm in a 350°F oven for about 15 minutes. The crumble won’t be as crispy as fresh, but it’s still delicious.
Pin This Recipe!
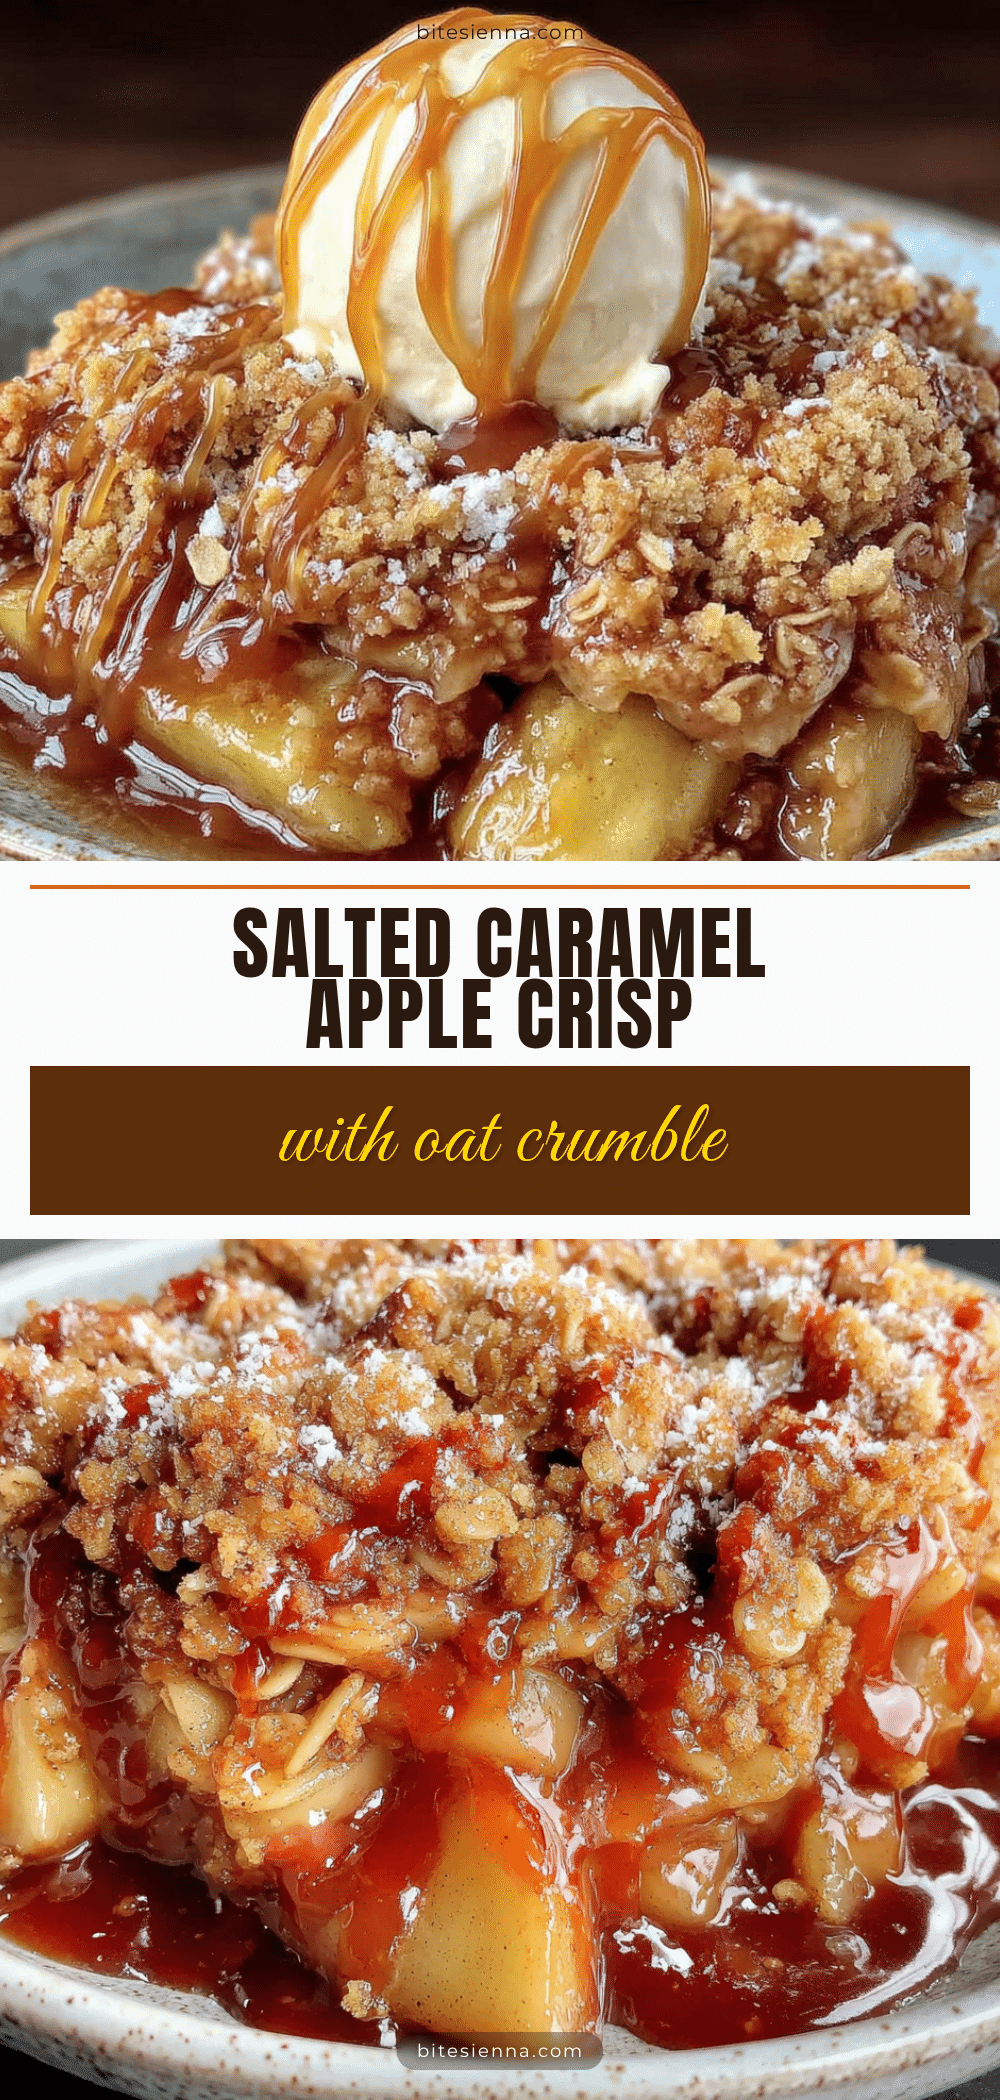
Cozy Salted Caramel Apple Crisp – Easy Fall Dessert Recipe

This salted caramel apple crisp features soft, jammy apples under a crunchy, buttery oat crumble, all tied together with a salty-sweet caramel that seeps into every layer. It’s comfort food that actually comforts.
- Prep Time: 20 minutes
- Cook Time: 35-40 minutes
- Total Time: 55-60 minutes
- Yield: 8 servings 1x
- Category: Dessert
- Cuisine: American
Ingredients
- 6 medium apples (about 2 lbs or 900g), peeled, cored, and sliced into ¼-inch thick pieces (mix of Granny Smith and Honeycrisp)
- 2 tablespoons (30ml) lemon juice
- ¼ cup (50g) granulated sugar
- 2 tablespoons (16g) all-purpose flour
- 1 teaspoon ground cinnamon
- ¼ teaspoon ground nutmeg
- ¼ teaspoon salt
- ½ cup (100g) granulated sugar (for caramel)
- 3 tablespoons (42g) unsalted butter, cut into small pieces
- ¼ cup (60ml) heavy cream, room temperature
- ½ teaspoon flaky sea salt (plus more for finishing)
- 1 teaspoon vanilla extract
- 1 cup (90g) old-fashioned rolled oats
- ¾ cup (95g) all-purpose flour
- ½ cup (100g) packed light brown sugar
- ¼ cup (50g) granulated sugar
- ½ teaspoon ground cinnamon
- ¼ teaspoon salt
- ½ cup (113g) cold unsalted butter, cut into small cubes
Instructions
- Preheat your oven to 375°F (190°C). Place a rack in the center.
- Make the salted caramel sauce first. In a small, heavy-bottomed saucepan over medium heat, add the ½ cup of granulated sugar. Watch it carefully—don’t stir it yet. Just let it melt, swirling the pan occasionally when you see the edges starting to turn liquid. This takes about 5-7 minutes. It should turn a deep amber color, like a new penny.
- Once the sugar is fully melted and amber, add the 3 tablespoons of butter. It will bubble up and steam—that’s normal. Whisk it in until it’s fully melted and combined. The mixture will look a bit separated, but keep whisking.
- Slowly drizzle in the heavy cream while whisking constantly. It will bubble up again, so go slow. Keep whisking until the sauce is smooth and glossy. Remove from heat, then stir in the ½ teaspoon of flaky sea salt and the vanilla. Set it aside to cool slightly while you prep the rest.
- Prep the apples. Peel, core, and slice your apples into ¼-inch thick pieces. Toss them in a large bowl with the lemon juice right away to prevent browning.
- Add the filling ingredients to the apples. Sprinkle the ¼ cup granulated sugar, 2 tablespoons flour, 1 teaspoon cinnamon, ¼ teaspoon nutmeg, and ¼ teaspoon salt over the apples. Toss everything together until the apples are evenly coated. Let them sit while you make the crumble.
- Make the oat crumble topping. In a medium bowl, whisk together the rolled oats, flour, both sugars, cinnamon, and salt. Add the cold butter cubes. Use a pastry cutter or your fingers to work the butter into the dry ingredients until the mixture looks like coarse meal with some pea-sized butter pieces still visible.
- Assemble the crisp. Pour the apple mixture into your greased 9×13-inch baking dish and spread it into an even layer. Drizzle about ¾ of the salted caramel sauce over the apples—reserve the rest for serving. Sprinkle the oat crumble evenly over the top, covering all the apples.
- Bake for 35-40 minutes, or until the topping is golden brown and the filling is bubbly around the edges. If the topping is browning too fast, tent the dish loosely with foil for the last 10 minutes. The apples should be tender when pierced with a fork.
- Let it cool on a wire rack for at least 15 minutes. Drizzle the remaining caramel sauce over the top just before serving, and sprinkle with a little extra flaky sea salt.
Notes
Don’t skip the lemon juice—it prevents browning and adds brightness. Watch the caramel carefully; sugar burns quickly. Cold butter is crucial for the crumble. Let the crisp rest for at least 15 minutes after baking to allow the juices to thicken. For a gluten-free version, use a 1-to-1 gluten-free flour blend and certified gluten-free oats. For a dairy-free version, use vegan butter and full-fat coconut cream.
Nutrition
- Serving Size: 1/8 of recipe
- Calories: 420
- Sugar: 42
- Sodium: 280
- Fat: 18
- Saturated Fat: 11
- Carbohydrates: 64
- Fiber: 5
- Protein: 4
Keywords: apple crisp, salted caramel, fall dessert, easy dessert, apple dessert, oat crumble, comfort food


