My daughter’s classroom Halloween party was in four hours and I’d completely forgotten. Every other parent was probably showing up with those elaborate themed cupcakes from the fancy bakery downtown, or those perfectly decorated sugar cookies that look like they belong in a magazine. I had a box of chocolate chips, some butter that was finally softening on the counter, and a vague memory of a cookie bar recipe I’d been meaning to try. Honestly, I was already mentally preparing my apology for showing up with store-bought cookies.
The thing is, I didn’t even have time to panic properly. My three-year-old was “helping” by dumping sprinkles on the floor, and I was pretty sure I’d used the last of our vanilla extract for something else. But then I spotted that bag of white chocolate chips in the back of the pantry, and the idea just hit me — what if I made something that looked like it took forever, but actually came together in one bowl? I mean, spider webs are supposed to look a little messy, right? That’s when these Cozy Spider Web Chocolate Chip Cookie Bars were born.
I grabbed my favorite 9×13 pan, threw everything together in what felt like a blur of flour and chocolate, and somehow managed to pipe a web pattern that actually looked intentional. The whole thing took maybe 35 minutes from start to finish, and let me tell you, when I walked into that classroom with these bars, the kids went absolutely silent for a second. Then they just dove in. One of the moms actually asked me what bakery I’d ordered from, and I just laughed. Maybe you’ve been there — that moment when your kitchen disaster turns into something kind of magical. These bars became my secret weapon for every Halloween event after that, and honestly, they’re too good to keep to myself.
Why You’ll Love This Recipe
These Cozy Spider Web Chocolate Chip Cookie Bars are the kind of recipe that makes you look like a kitchen rockstar with almost zero effort. I’ve tested this about six times now, tweaking the ratios and the baking time, and I can tell you with confidence — this is the version that works every single time.
- Quick & Easy: From mixing bowl to oven in under 15 minutes. No chilling dough, no rolling out cookies, no fuss.
- Simple Ingredients: You probably have everything in your pantry right now. Butter, sugar, flour, eggs, chocolate chips — the usual suspects.
- Perfect for Halloween Parties: The spider web design looks impressive but requires zero artistic skill. I promise, if I can do it, you can do it.
- Crowd-Pleaser: These bars disappear faster than anything at any gathering. Kids love the fun design, adults love the chewy, buttery texture.
- Unbelievably Delicious: The combination of rich chocolate chips against the sweet white chocolate web is honestly next-level. The edges get slightly crispy while the center stays soft and gooey.
What makes these different from every other cookie bar out there is the texture. I use a slightly higher ratio of brown sugar to white sugar, which gives them that deep, almost caramel-like flavor and a chewiness that lasts for days. Plus, the spider web design isn’t just for show — those white chocolate swirls add little pockets of sweetness that make every bite slightly different. This is comfort food with a Halloween twist, perfect for curling up on the couch with a warm bar and a cup of hot cocoa after a long day.
What Ingredients You Will Need
This recipe uses simple, everyday ingredients to create something that feels special. I’ve tested these exact measurements multiple times, so trust me on the specifics.
- 1 cup (226g) unsalted butter, melted — I use Kerrygold for the best flavor, but any good unsalted butter works. Melting the butter gives these bars a denser, chewier texture than creaming cold butter.
- 1 cup (200g) packed light brown sugar — This is the secret to the chewiness. Don’t skip it or try to substitute all white sugar.
- 1/2 cup (100g) granulated sugar — Adds just enough sweetness and helps with the crispy edges.
- 2 large eggs, room temperature — Cold eggs will seize up the melted butter. Leave them out for 30 minutes or pop them in warm water for 5 minutes.
- 2 teaspoons vanilla extract — Pure vanilla, not imitation. It makes a real difference here.
- 2 cups (250g) all-purpose flour — Spoon and level it. Scooping directly from the bag packs in too much flour and makes dry bars.
- 1 teaspoon baking soda — Make sure it’s fresh. Test it by dropping a bit in vinegar — it should fizz.
- 1/2 teaspoon salt — I use fine sea salt. It balances the sweetness perfectly.
- 1 1/2 cups (270g) semi-sweet chocolate chips — I prefer Ghirardelli for their size and melt quality. Reserve 1/4 cup to press on top.
- 1/2 cup (90g) white chocolate chips, for the spider web — Ghirardelli white chips melt the smoothest. Avoid white morsels with waxy coatings.
- 1 teaspoon coconut oil or vegetable shortening — This thins the white chocolate just enough for piping. Don’t use butter — it can seize.
For the spider web design, you’ll also need a small piping bag or a zip-top bag. If you want to get fancy, you can add some orange sprinkles or candy eyes, but honestly, the web pattern is enough to impress.
Equipment Needed
You don’t need much for these bars, which is part of their charm. Here’s what I use every time:
- 9×13-inch baking pan — Light-colored metal pans give the most even browning. Glass pans work too, but you’ll need to add 3-5 minutes to the bake time.
- Parchment paper — Non-negotiable for easy removal. Leave overhang on two sides for handles.
- Large mixing bowl — Any bowl works, but a wide one makes mixing easier.
- Whisk and rubber spatula — Whisk the wet ingredients, then switch to the spatula for folding in dry ingredients.
- Small microwave-safe bowl — For melting the white chocolate.
- Piping bag or small zip-top bag — For the spider web design. If you have a piping tip with a small round opening, great. If not, just snip a tiny corner off the bag.
- Cooling rack — Lets air circulate so the bars cool evenly. I once skipped this and ended up with soggy bottoms.
If you don’t have a piping bag, don’t stress. A zip-top bag works exactly the same. Just make sure the hole you cut is very small — you can always make it bigger, but you can’t undo a too-big cut.
Preparation Method
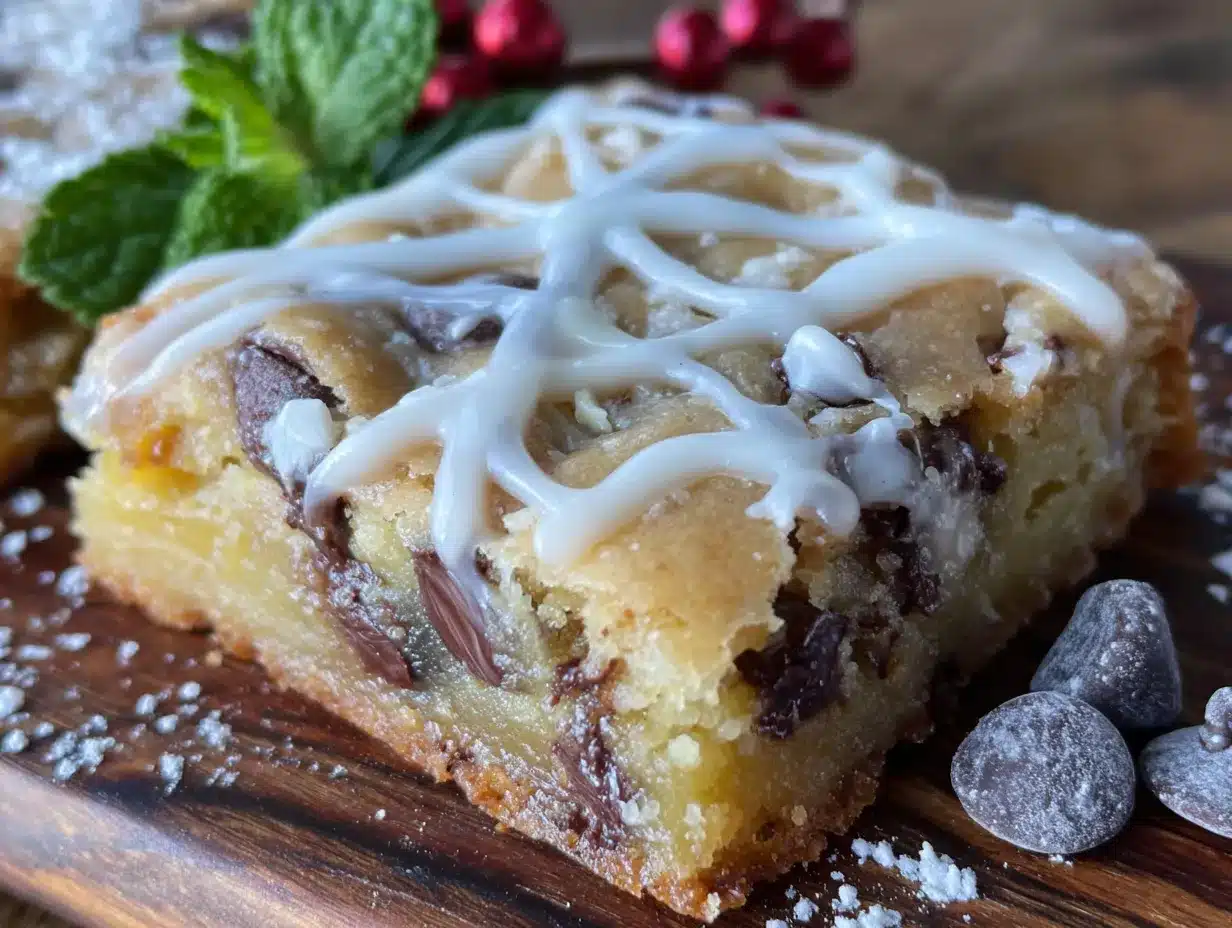
Let me walk you through this step by step. I’ve included all the little details I wish someone had told me the first time.
Step 1: Preheat and Prep
Preheat your oven to 350°F (175°C). Line your 9×13 pan with parchment paper, leaving a couple inches hanging over the long sides. This creates handles that make lifting the bars out so much easier. Lightly spray the parchment with non-stick spray.
Step 2: Mix the Wet Ingredients
In your large bowl, whisk together the melted butter and both sugars until smooth. It should look like wet sand — about 1 minute of whisking. Add the eggs one at a time, whisking well after each. The mixture will get lighter and slightly thicker. Stir in the vanilla extract. Don’t overmix at this stage; you just want everything combined.
Step 3: Add the Dry Ingredients
Sprinkle the flour, baking soda, and salt evenly over the wet mixture. Use your rubber spatula to fold everything together gently. Stop as soon as you don’t see any more white streaks of flour. Overmixing develops gluten and makes tough bars. The dough will be thick and slightly sticky — that’s perfect.
Step 4: Add the Chocolate Chips
Fold in 1 1/4 cups of the semi-sweet chocolate chips, saving that 1/4 cup for the top. The dough will be stiff, so use a firm hand. I like to press the reserved chips into the top of the dough once it’s in the pan — it makes the bars look more generous.
Step 5: Press Into the Pan
Transfer the dough to your prepared pan. This is the trickiest part because the dough is thick. I use a piece of parchment paper on top and press down evenly with my hands. The dough should be in an even layer, about 1/2-inch thick. Press those reserved chocolate chips into the surface.
Step 6: Bake
Bake for 20-22 minutes. At 20 minutes, the edges should be golden brown and the center should look set but still soft. A toothpick inserted in the center should come out with a few moist crumbs — not wet batter. If it comes out clean, you’ve overbaked them. Let the bars cool in the pan for exactly 10 minutes on a wire rack.
Step 7: Make the Spider Web
While the bars cool, melt your white chocolate chips with the coconut oil. Microwave in 20-second bursts, stirring between each, until smooth. It should be fluid enough to pipe but not watery. Transfer to your piping bag or zip-top bag and snip a tiny corner.
Step 8: Pipe the Web
Pipe a spiral starting from the center of the bars, working outward. Then, use a toothpick or skewer to drag lines from the center to the edges, creating the web effect. Wipe the toothpick clean between each line for crisp results. Let the white chocolate set for about 20 minutes before cutting.
Step 9: Cut and Serve
Lift the bars out using the parchment handles. Use a sharp knife to cut into squares. For clean cuts, wipe the blade between each slice. Serve slightly warm or at room temperature.
Cooking Tips & Techniques
I’ve made these bars more times than I can count, and I’ve definitely learned a few things the hard way. Here’s what I wish I’d known from the start.
Don’t overbake. This is the number one mistake. These bars continue cooking from residual heat after they come out of the oven. Pull them when the center still looks slightly underdone. They’ll set up perfectly as they cool. The first time I made these, I waited until the center was fully firm, and they came out dry. Learn from my mistake.
Let them cool completely before piping. I know it’s tempting to rush, but hot bars will melt your white chocolate into a puddle. Ten minutes of cooling is the minimum. I usually let them sit for 20 minutes while I clean up the kitchen.
Use a light hand with the spider web. You don’t need a thick layer of white chocolate. A thin, even line is more elegant and easier to eat. If you mess up a line, just swirl it into the rest of the chocolate — it’ll look like a design choice.
Room temperature eggs matter. I learned this the hard way when my cold eggs caused the melted butter to clump up. If you forget to take them out ahead of time, place them in a bowl of warm water for 5 minutes. Problem solved.
Multitask wisely. While the bars are baking, melt your white chocolate and get your piping bag ready. This way, you can pipe the web as soon as the bars are cool enough. It saves a lot of waiting around.
Variations & Adaptations
One of the best things about these bars is how easy they are to customize. Here are some variations I’ve tried and loved.
Gluten-Free Version: Substitute the all-purpose flour with a 1:1 gluten-free baking flour. I’ve used Bob’s Red Mill with great results. Add an extra tablespoon of flour to compensate for the lack of gluten structure.
Peanut Butter Twist: Swap 1/4 cup of the melted butter for 1/4 cup of creamy peanut butter. It adds a nutty depth that pairs beautifully with the chocolate. Just make sure to whisk it in thoroughly.
Mint Chocolate Version: Add 1/2 teaspoon of peppermint extract along with the vanilla. Use dark chocolate chips instead of semi-sweet for a more intense flavor. The white chocolate web looks especially striking against the darker dough.
Vegan Adaptation: Use melted coconut oil or vegan butter instead of dairy butter. Replace the eggs with flax eggs (2 tablespoons ground flaxseed mixed with 6 tablespoons water, let sit for 5 minutes). Use dairy-free chocolate chips. The texture will be slightly more cake-like, but still delicious.
Spooky Sprinkle Edition: After piping the spider web, sprinkle orange and black jimmies over the top while the white chocolate is still wet. Press in some candy eyes for extra Halloween fun. My kids love this version.
I once tried adding a layer of caramel in the middle, and while it was delicious, it made the bars a bit too sweet for my taste. Stick with the original if you want that perfect balance.
Serving & Storage Suggestions
These bars are best served slightly warm, when the chocolate chips are still a little melty and the edges have that perfect crispness. I like to cut them into 24 small squares for parties, but you can go bigger if you’re feeling generous.
For presentation, arrange them on a rustic wooden board or a white platter to make the spider web design pop. A dusting of powdered sugar around the edges adds a “spider web” effect on the plate itself. Pair them with cold milk, hot apple cider, or a pumpkin spice latte for the ultimate cozy fall treat.
Storage: Keep leftover bars in an airtight container at room temperature for up to 4 days. Layer them with parchment paper to prevent sticking. Do not refrigerate — it dries them out and makes the white chocolate sweat.
Freezing: These freeze beautifully. Wrap individual bars tightly in plastic wrap, then place them in a freezer-safe bag. They’ll keep for up to 3 months. To thaw, leave them at room temperature for about 30 minutes. You can also pop them in a 300°F oven for 5 minutes to re-crisp the edges.
The flavors actually develop overnight. I honestly think these taste even better on day two, when the brown sugar has had time to deepen and the textures have settled. If you can resist eating them all on day one, you’re in for a treat.
Nutritional Information & Benefits
Let’s be real — these are a treat, not a health food. But here’s the estimated breakdown for one bar (based on 24 servings):
- Calories: 210
- Fat: 11g
- Carbohydrates: 28g
- Protein: 3g
- Sugar: 18g
- Fiber: 1g
On the bright side, dark chocolate contains antioxidants, and the eggs provide a good dose of protein. The brown sugar offers a small amount of molasses, which contains iron and calcium. I like to think of these as a “everything in moderation” kind of dessert — perfect for special occasions when you want something indulgent and fun.
For those with dietary concerns, the gluten-free and vegan variations above work beautifully. The recipe contains dairy, eggs, and gluten in its original form, so keep that in mind for allergy-friendly gatherings.
My personal philosophy? Food is about joy and connection. These bars bring both, and sometimes that’s the most nutritious thing of all.
Conclusion
These Cozy Spider Web Chocolate Chip Cookie Bars are everything I want in a Halloween treat — impressive enough to wow a crowd, simple enough to throw together on a busy afternoon, and delicious enough to become a yearly tradition. The chewy, buttery base with those pockets of melted chocolate, topped with that whimsical white chocolate web… honestly, it’s hard to stop at just one.
What I love most about this recipe is how forgiving it is. You can mess up the web pattern and it still looks intentional. You can swap ingredients and it still works. It’s the kind of recipe that builds confidence in the kitchen, whether you’re a seasoned baker or someone who’s never made anything from scratch before.
I’d love to hear how yours turn out! Leave a comment below and let me know if you added your own twist, or tag me in your photos on social media. Did your kids help with the spider web? Did you bring them to a party? Tell me everything. And if you’re looking for more cozy fall desserts, don’t miss my pumpkin crumb cake or these chewy apple cider cookies — they’re both perfect for this time of year.
Happy baking, and may your spider webs always be perfectly imperfect!
Frequently Asked Questions
Can I use dark chocolate chips instead of semi-sweet?
Absolutely! Dark chocolate chips (60-70% cacao) work wonderfully and give the bars a richer, less sweet flavor. Just keep in mind that darker chocolate can sometimes seize if overheated, so fold them in gently.
Why did my white chocolate seize when I melted it?
White chocolate is finicky — it seizes when exposed to even a drop of water. Make sure your bowl is completely dry, and never use a wet spoon. If it does seize, stir in a teaspoon of coconut oil or shortening to smooth it out.
Can I make these bars ahead of time for a party?
Yes! Bake the bars up to two days in advance, but wait to pipe the spider web until the day of your event. The white chocolate web stays prettiest when it’s fresh. Store the baked (un-piped) bars in an airtight container at room temperature.
How do I get clean cuts without the white chocolate cracking?
Use a sharp, thin-bladed knife and score the surface gently before cutting all the way through. For the cleanest cuts, let the bars cool completely (about 2 hours) and wipe the knife clean between each slice with a damp paper towel.
Can I use chocolate chips other than semi-sweet?
Definitely! Milk chocolate chips make sweeter bars, while white chocolate chips in the base (instead of semi-sweet) create a completely different cookie. For the spider web, you can even use melted dark chocolate for a striking contrast. Just adjust the sweetness to your preference.
Pin This Recipe!
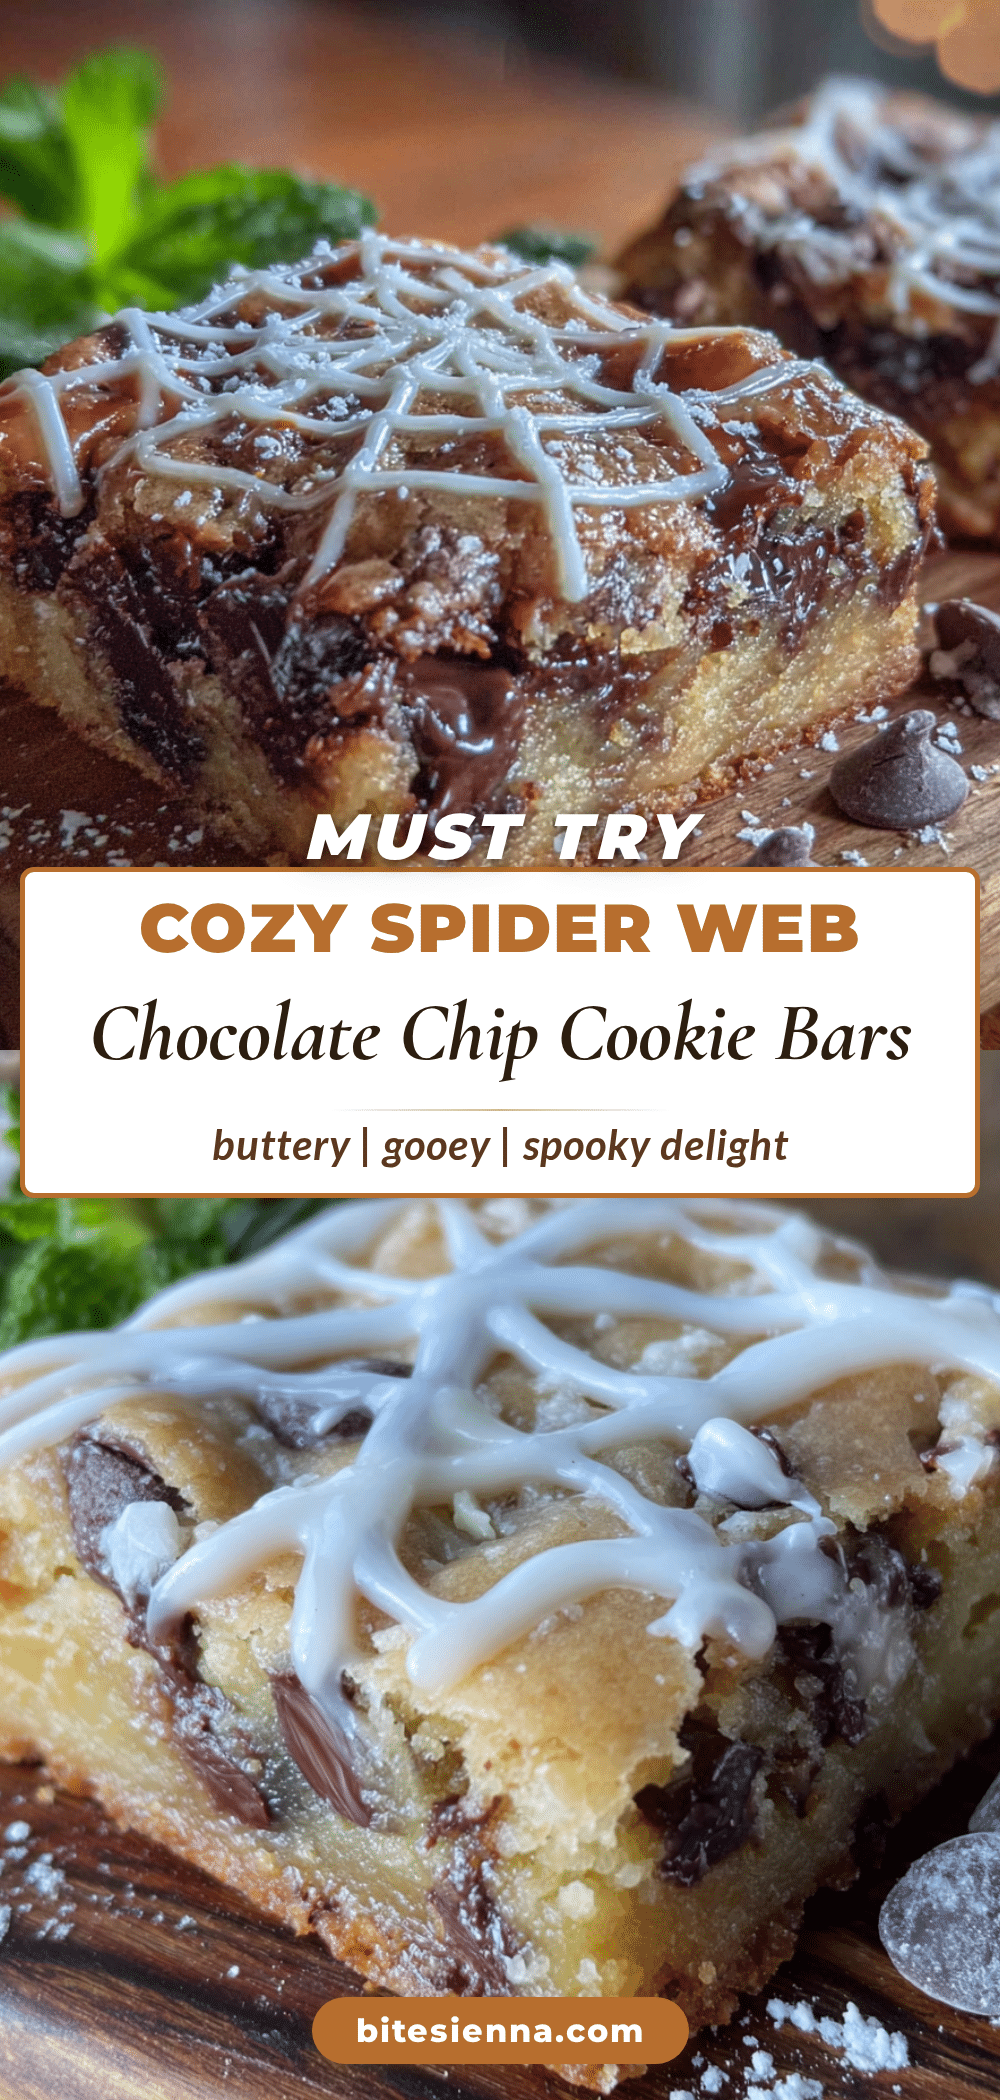
Cozy Spider Web Chocolate Chip Cookie Bars: Easy Halloween Treat
These Cozy Spider Web Chocolate Chip Cookie Bars are the perfect Halloween treat—chewy, buttery cookie bars with semi-sweet chocolate chips and a white chocolate spider web design. Quick to make in one bowl, they look impressive with minimal effort, making them ideal for parties and busy bakers.
- Prep Time: 15 minutes
- Cook Time: 22 minutes
- Total Time: 35 minutes
- Yield: 24 servings 1x
- Category: Dessert
- Cuisine: American
Ingredients
- 1 cup (226g) unsalted butter, melted
- 1 cup (200g) packed light brown sugar
- 1/2 cup (100g) granulated sugar
- 2 large eggs, room temperature
- 2 teaspoons vanilla extract
- 2 cups (250g) all-purpose flour
- 1 teaspoon baking soda
- 1/2 teaspoon salt
- 1 1/2 cups (270g) semi-sweet chocolate chips, divided (reserve 1/4 cup for top)
- 1/2 cup (90g) white chocolate chips, for the spider web
- 1 teaspoon coconut oil or vegetable shortening
Instructions
- Preheat oven to 350°F (175°C). Line a 9×13-inch baking pan with parchment paper, leaving overhang on two sides. Lightly spray with non-stick spray.
- In a large bowl, whisk together melted butter, brown sugar, and granulated sugar until smooth (about 1 minute). Add eggs one at a time, whisking well after each. Stir in vanilla extract.
- Sprinkle flour, baking soda, and salt over the wet mixture. Fold gently with a rubber spatula until just combined—do not overmix.
- Fold in 1 1/4 cups of semi-sweet chocolate chips. Reserve 1/4 cup for the top.
- Transfer dough to prepared pan. Use a piece of parchment paper on top to press evenly into a 1/2-inch thick layer. Press reserved chocolate chips into the surface.
- Bake for 20-22 minutes, until edges are golden and center is set but still soft. A toothpick inserted in center should come out with moist crumbs, not wet batter. Cool in pan on a wire rack for exactly 10 minutes.
- While bars cool, melt white chocolate chips with coconut oil in a microwave-safe bowl in 20-second bursts, stirring between each, until smooth. Transfer to a piping bag or zip-top bag and snip a tiny corner.
- Pipe a spiral of white chocolate starting from the center of the bars, working outward. Use a toothpick or skewer to drag lines from center to edges, creating a web effect. Wipe toothpick clean between each line.
- Let white chocolate set for about 20 minutes. Lift bars out using parchment handles. Cut into squares with a sharp knife, wiping blade between slices. Serve slightly warm or at room temperature.
Notes
Don’t overbake—bars continue cooking from residual heat. Let bars cool completely before piping white chocolate to prevent melting. Use room temperature eggs to avoid butter clumping. For clean cuts, let bars cool fully and wipe knife between slices. Bars can be stored at room temperature for up to 4 days or frozen for up to 3 months.
Nutrition
- Serving Size: 1 bar
- Calories: 210
- Sugar: 18
- Fat: 11
- Carbohydrates: 28
- Fiber: 1
- Protein: 3
Keywords: Halloween cookie bars, spider web dessert, chocolate chip cookie bars, easy Halloween treat, one bowl cookie bars, chewy cookie bars, white chocolate spider web


