Introduction
Last Saturday afternoon, my neighbor watched me wrestle with a jar of pickles that just wouldn’t crack open. She didn’t say anything at first, just smiled from her porch swing. Then, without missing a beat, she shuffled over and quietly handed me a glass jar filled with these crisp, vibrant dill pickles she’d whipped up just the day before. No boiling water baths, no fuss—just simple, tangy goodness ready in 24 hours. Honestly, I was skeptical at first, but the crunch and flavor were immediate game changers.
That moment was less about a recipe and more about the warmth of shared kitchen wisdom. She talked casually about how this no-canning dill refrigerator pickle recipe fits right into her busy life, yet brings that satisfying snap and zing you’d expect from something homemade. I mean, you know that feeling when you bite into a pickle that tastes like it’s been soaking for weeks, but you made it yesterday? That’s the magic here. It’s a recipe that somehow bridges the gap between old-fashioned preserving and modern-day convenience.
I ended up making my own batch the next day, slightly tweaking it to suit my taste, but keeping the heart of what she shared. Now, this crispy no-canning dill refrigerator pickles recipe sticks with me because it’s like a friendly kitchen conversation you want to have over and over—easy, fresh, and full of life. Maybe you’ve been there too, hunting for that perfect pickle recipe that respects tradition but doesn’t eat up your whole weekend. Well, let me tell you, this one’s worth a try.
Why You’ll Love This Recipe
After testing countless pickle recipes and trying everything from quick brines to slow fermentations, this crispy no-canning dill refrigerator pickles recipe stands out because it balances speed, simplicity, and that delightful crunch you crave. It’s been family-approved and friend-tested, and I’ve learned a few tricks to get it just right.
- Quick & Easy: Ready to eat in just 24 hours, perfect when you want fresh pickles without the long wait.
- Simple Ingredients: Uses everyday pantry staples—no special trips to obscure stores needed.
- Perfect for Summer Gatherings: Ideal for BBQs, potlucks, or just a crunchy snack on a hot day.
- Crowd-Pleaser: Kids and adults alike love these pickles for their crisp texture and balanced tang.
- Unbelievably Delicious: The dill and garlic infuse just enough flavor without overpowering the bright cucumber snap.
What makes this recipe different? The no-canning approach means you avoid the fuss and risk of traditional preservation but still get that satisfying pickle crunch. The brine is perfectly balanced—not too salty, not too sour. Plus, the use of fresh dill and garlic gives it a vibrant, fresh taste that you just don’t get from store-bought jars. Honestly, after the first bite, you might find yourself closing your eyes and savoring the crisp snap, knowing you made this from scratch.
This recipe is comfort food reimagined for the modern cook—fast, fresh, and full of personality. It’s great for impressing guests without stress or simply upgrading your sandwich game with a homemade touch.
What Ingredients You Will Need
This recipe relies on fresh, wholesome ingredients to create a brine that’s flavorful yet gentle enough to preserve the crispness of the cucumbers without canning. Most ingredients are pantry staples or easy to find at your local market.
- Fresh cucumbers: About 2 pounds (900 g) of small to medium pickling cucumbers, washed and sliced into spears or rounds (I prefer spears for that satisfying crunch).
- Fresh dill: 4-5 sprigs of fresh dill or 2 tablespoons of dill seeds (fresh sprigs add brightness; dill seeds bring a more intense flavor).
- Garlic cloves: 3-4 cloves, peeled and slightly crushed (adds robust aroma).
- White vinegar: 1 cup (240 ml) — I recommend Heinz for its clean acidity.
- Water: 1 cup (240 ml) — Use filtered or distilled water to keep the brine clear.
- Pickling salt: 1 tablespoon — essential for the right flavor and crispness (Morton’s Kosher salt works well).
- Granulated sugar: 1 teaspoon — balances the acidity without sweetness overpowering the dill.
- Black peppercorns: 1 teaspoon — whole, for a subtle peppery note.
- Red pepper flakes: Optional, ¼ teaspoon for a mild kick (skip if you want classic dill).
Substitutions: If you want a gluten-free or paleo-friendly version, just double-check your vinegar and salt labels to avoid additives. For a dairy-free twist, this recipe is naturally free of dairy.
Seasonal tip: In late summer, I sometimes swap fresh dill for tarragon or add fresh sliced jalapeños for a spicy edge. It’s fun to experiment.
Equipment Needed
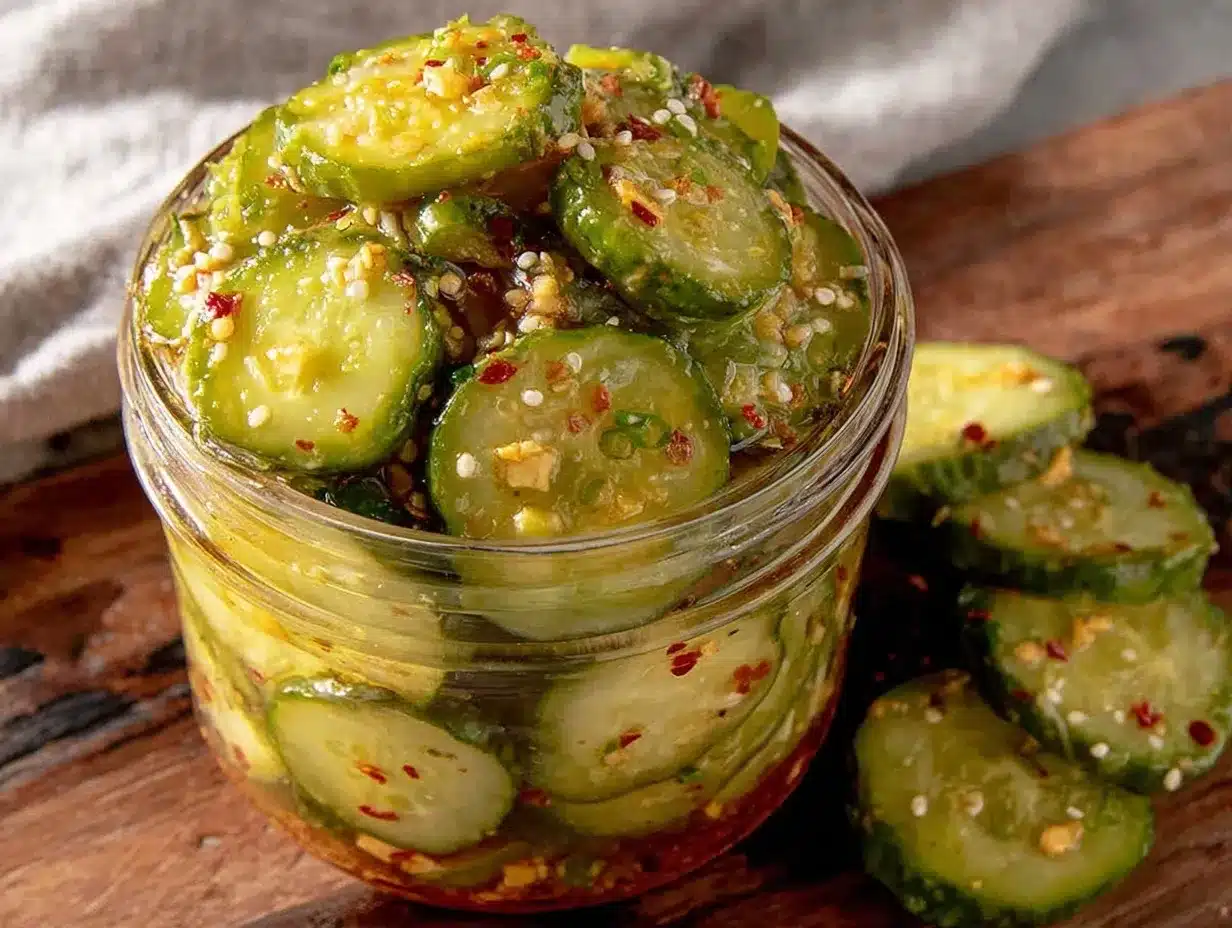
- Glass jars with lids: Quart-sized (or 1-liter) mason jars work perfectly for storing your pickles in the fridge.
- Measuring cups and spoons: For precise vinegar, water, salt, and sugar measurements.
- Sharp knife and cutting board: To slice cucumbers into even spears or rounds.
- Mixing bowl: To combine the brine ingredients before pouring.
- Small saucepan: For warming the brine (helps dissolve salt and sugar faster, but don’t boil it).
- Jar lifter or tongs: Handy when handling cold jars and lids, though optional since this is no-canning.
If you don’t have mason jars, any clean, sealable glass container will do. I once used a repurposed pasta sauce jar with great results—just make sure it seals tightly for fridge storage.
Preparation Method
- Prepare the cucumbers: Rinse 2 pounds (900 g) of pickling cucumbers thoroughly under cold water. Trim off the blossom ends (this helps keep them crisp), then slice them into spears about 3-4 inches (7-10 cm) long or into ¼ inch (6 mm) thick rounds. Pat dry with a clean towel. (Time: 10 minutes)
- Make the brine: In a small saucepan, combine 1 cup (240 ml) white vinegar, 1 cup (240 ml) filtered water, 1 tablespoon pickling salt, and 1 teaspoon granulated sugar. Warm over medium heat, stirring occasionally until salt and sugar dissolve completely. Remove from heat and let cool to room temperature. (Time: 10 minutes)
- Pack the jars: Place 4-5 sprigs of fresh dill, 3-4 crushed garlic cloves, 1 teaspoon black peppercorns, and optional ¼ teaspoon red pepper flakes into each quart-sized jar. Pack the cucumber slices tightly but without crushing them. (Time: 10 minutes)
- Pour the brine: Carefully pour the cooled brine over the cucumbers, covering them completely. Leave about ½ inch (1.25 cm) of space at the top. Seal the jars with lids. (Time: 5 minutes)
- Refrigerate: Place the sealed jars in your refrigerator. Let the pickles marinate for at least 24 hours before eating. The flavor and crunch will improve over the next 2-3 days. (Time: 24 hours minimum)
- Taste test: After 24 hours, open a jar and try a spear. If it’s tangy and crisp, it’s ready! If you want more zing, leave it in the fridge up to 3 days. (Time: ongoing)
Tip: If your cucumbers lose their crunch, try adding a few grape leaves or a pinch of calcium chloride (pickle crisp) to the jar next time—you can find it online or at specialty stores.
Warning: Keep your pickles refrigerated and consume within 3-4 weeks for the best texture and flavor.
Cooking Tips & Techniques
Getting that perfect crunch in refrigerator pickles can be a bit of a dance, but nothing too intimidating. First, always use fresh, firm cucumbers without soft spots. I’ve learned the hard way that soggy cucumbers make soggy pickles—no surprise there!
Trimming the blossom ends is a classic trick to minimize softening enzymes. Also, warming the brine helps salt and sugar dissolve faster, ensuring an even flavor throughout. But be careful not to boil the vinegar—it can alter the taste.
When packing the jars, don’t cram cucumbers too tightly; they should be snug but not smashed. This gives the brine room to circulate and flavor every bite.
Another tip: I always keep the jars refrigerated right after sealing to prevent any unwanted fermentation. Since this recipe skips canning, refrigeration is essential for safety and quality.
Learned through trial: Don’t rush eating them too soon. While 24 hours is the minimum, letting the pickles sit 48-72 hours really deepens the flavor and brightens the crunch. Patience is a virtue in pickling, but honestly, I get it if you can’t wait!
Variations & Adaptations
- Spicy Dill Pickles: Add sliced jalapeños or increase red pepper flakes to ½ teaspoon for a fiery kick.
- Garlic Lover’s Pickles: Double the garlic cloves for a bold, savory punch.
- Low-Sodium Version: Reduce salt to ½ tablespoon and compensate with a splash of lemon juice for brightness.
- Vegan-Friendly: All ingredients are naturally vegan, but avoid honey if you add sweeteners; use sugar or maple syrup instead.
- Quick Fermented Pickles: Skip the vinegar and use a salt-water brine with a pinch of starter culture for a tangier, probiotic-rich result, but expect a longer wait.
Personally, I once tried swapping fresh dill for fresh tarragon during late summer when dill was scarce. It gave a slightly anise-like flavor that was surprisingly fresh and paired well with grilled chicken. Feel free to experiment to find your favorite twist.
Serving & Storage Suggestions
These pickles shine cold right from the fridge. Serve them as a crunchy side with sandwiches, burgers, or charcuterie boards. They’re fantastic paired with smoky barbecue or alongside something creamy like potato salad.
Store pickles in their brine in the refrigerator for up to 3-4 weeks. Over time, flavors meld and intensify, but the crunch might soften after the first couple of weeks. If you notice any off smells or cloudiness beyond natural clouding, it’s best to discard.
To re-crisp softer pickles, soak them briefly in ice water for 10-15 minutes before serving—it’s a neat trick I picked up that really works.
Nutritional Information & Benefits
These crispy no-canning dill refrigerator pickles are low in calories (about 10-15 per spear) and fat-free, making them a guilt-free, flavorful snack. Cucumbers bring hydration and small amounts of vitamins K and C, while the garlic and dill add antioxidants.
The vinegar in the brine may help with digestion and blood sugar regulation, though more research is needed. Plus, since this recipe skips added sugars or preservatives, it’s a cleaner, healthier alternative to many store-bought options.
Note: The recipe contains garlic and vinegar, which some might find sensitive to in larger amounts. Also, pickling salt is used, so watch your sodium intake accordingly.
Conclusion
This crispy no-canning dill refrigerator pickles recipe is a game-changer for anyone who loves fresh, punchy pickles without the hassle of traditional canning. It’s fast, approachable, and delivers that satisfying crunch and classic dill flavor you crave.
Feel free to tweak the garlic, spice, or salt levels to suit your taste. Honestly, this recipe has become a staple in my kitchen because it respects the old ways but fits right into modern life. I hope it brings you the same joy and simplicity it’s brought me.
If you give it a try, I’d love to hear how you customize it or any tips you discover along the way. Happy pickling!
FAQs
How long do refrigerator pickles last?
Stored properly in the fridge, these pickles last about 3-4 weeks. After that, they may lose crunch and flavor.
Can I use regular table salt instead of pickling salt?
Table salt often contains additives that can cloud the brine or affect flavor. Pickling or kosher salt is preferred for best results.
Why do my pickles sometimes turn out soft?
Softness can come from overripe cucumbers, leaving blossom ends on, or not using enough salt. Also, skipping refrigeration can cause unwanted fermentation that softens pickles.
Can I make this recipe using sliced cucumbers instead of spears?
Absolutely! Slices work well and make great sandwich toppings. Just keep the slices around ¼ inch (6 mm) thick for optimal texture.
Is it necessary to heat the brine?
Warming the brine helps dissolve salt and sugar faster but do not boil it. You can pour it cold, but stirring until dissolved is key for flavor balance.
Pin This Recipe!
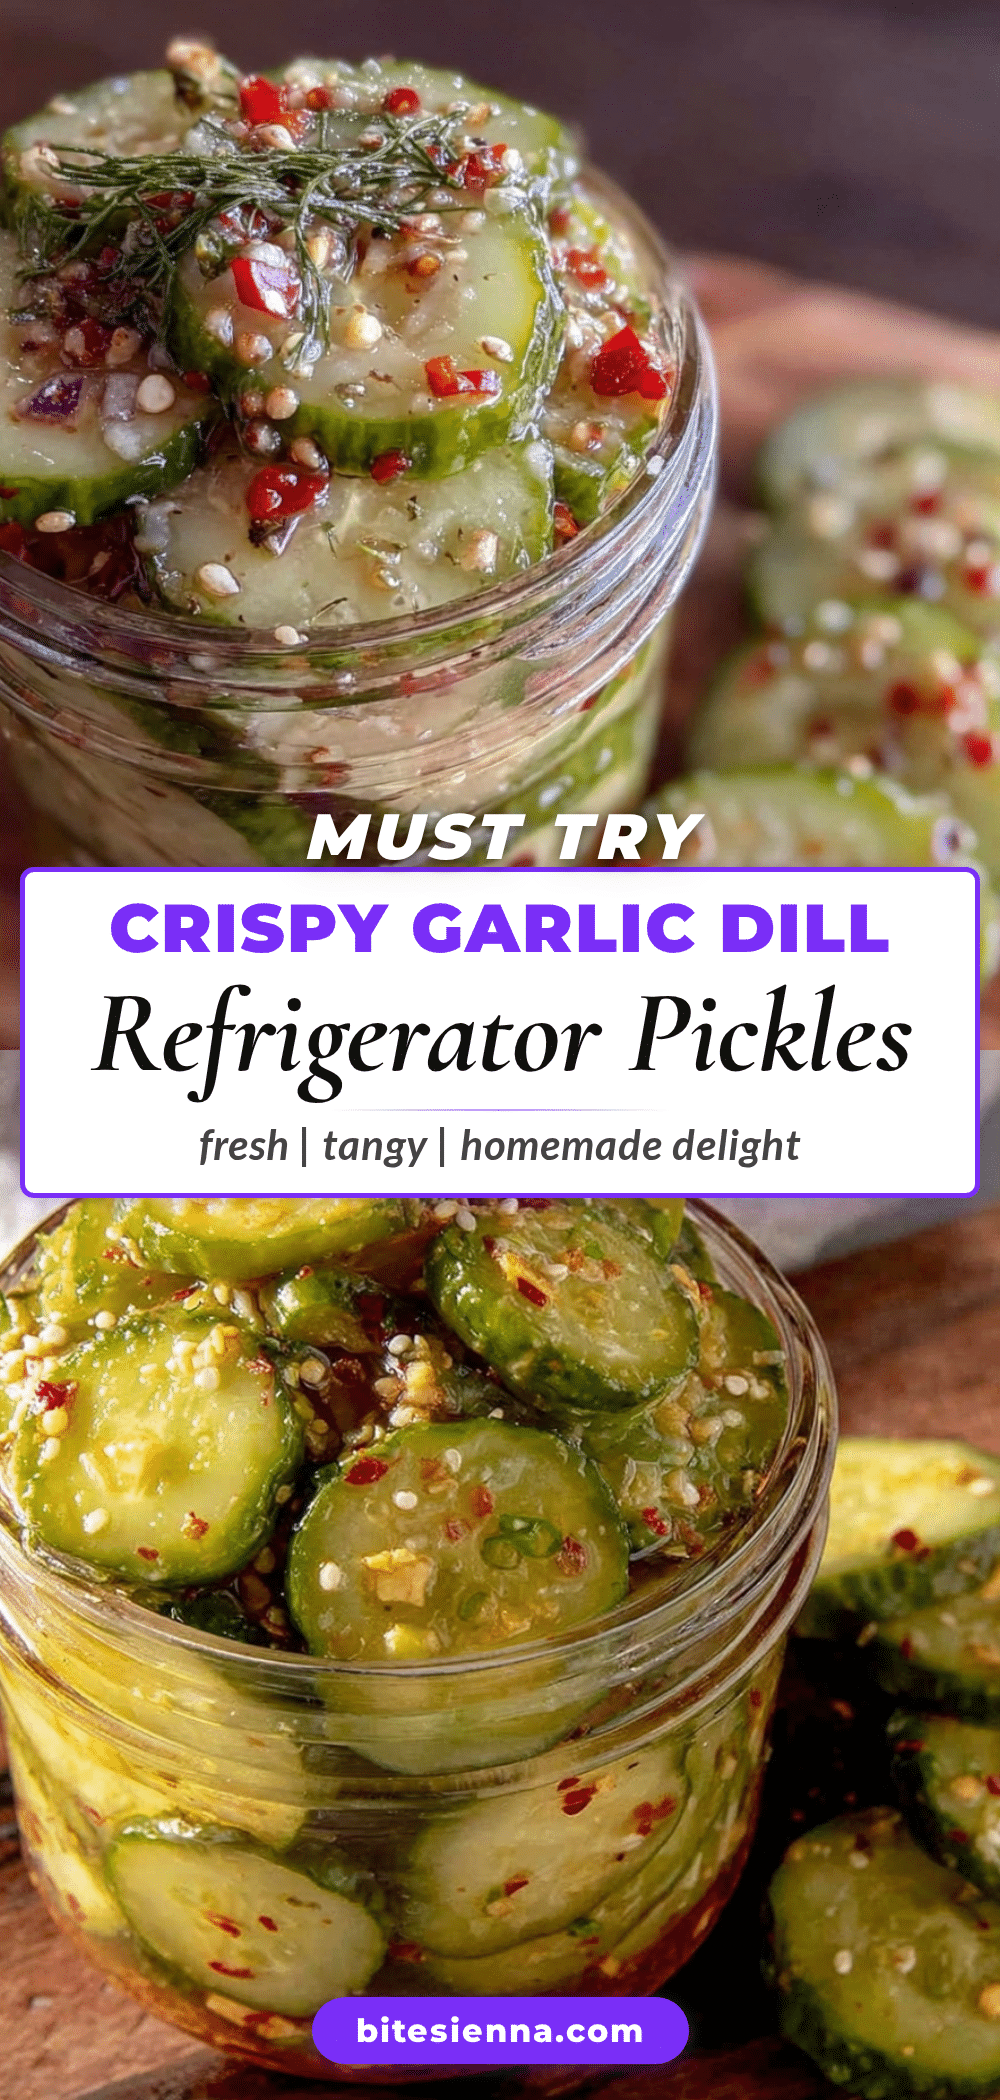
Crispy No-Canning Dill Refrigerator Pickles
A quick and easy refrigerator pickle recipe that delivers crisp, tangy dill pickles ready in just 24 hours without the need for canning.
- Prep Time: 10 minutes
- Cook Time: 10 minutes
- Total Time: 24 hours 20 minutes
- Yield: 4-5 quart-sized jars 1x
- Category: Side Dish
- Cuisine: American
Ingredients
- 2 pounds (900 g) small to medium pickling cucumbers, washed and sliced into spears or rounds
- 4–5 sprigs fresh dill or 2 tablespoons dill seeds
- 3–4 garlic cloves, peeled and slightly crushed
- 1 cup (240 ml) white vinegar
- 1 cup (240 ml) filtered or distilled water
- 1 tablespoon pickling salt
- 1 teaspoon granulated sugar
- 1 teaspoon whole black peppercorns
- ¼ teaspoon red pepper flakes (optional)
Instructions
- Rinse 2 pounds (900 g) of pickling cucumbers thoroughly under cold water. Trim off the blossom ends, then slice into spears about 3-4 inches (7-10 cm) long or into ¼ inch (6 mm) thick rounds. Pat dry with a clean towel.
- In a small saucepan, combine 1 cup (240 ml) white vinegar, 1 cup (240 ml) filtered water, 1 tablespoon pickling salt, and 1 teaspoon granulated sugar. Warm over medium heat, stirring occasionally until salt and sugar dissolve completely. Remove from heat and let cool to room temperature.
- Place 4-5 sprigs of fresh dill, 3-4 crushed garlic cloves, 1 teaspoon black peppercorns, and optional ¼ teaspoon red pepper flakes into each quart-sized jar. Pack the cucumber slices tightly but without crushing them.
- Carefully pour the cooled brine over the cucumbers, covering them completely. Leave about ½ inch (1.25 cm) of space at the top. Seal the jars with lids.
- Place the sealed jars in your refrigerator. Let the pickles marinate for at least 24 hours before eating. The flavor and crunch will improve over the next 2-3 days.
- After 24 hours, open a jar and try a spear. If it’s tangy and crisp, it’s ready! If you want more zing, leave it in the fridge up to 3 days.
Notes
Use fresh, firm cucumbers without soft spots and trim blossom ends to keep pickles crisp. Warm the brine to dissolve salt and sugar but do not boil. Pack cucumbers snugly but not crushed. Keep pickles refrigerated and consume within 3-4 weeks. To re-crisp softer pickles, soak briefly in ice water for 10-15 minutes before serving. Optional additions include sliced jalapeños for spice or doubling garlic for more flavor.
Nutrition
- Serving Size: 1 spear or 1-2 slice
- Calories: 1015
- Sugar: 1
- Sodium: 400
- Carbohydrates: 2
- Fiber: 0.5
Keywords: dill pickles, refrigerator pickles, no canning, quick pickles, easy pickles, crunchy pickles, homemade pickles, dill, garlic


