My friend Jen asked why I couldn’t just use a cookie sheet and call it a day. We were planning our annual Halloween movie night — just the two of us, a stack of horror flicks, and what I assumed would be an elaborate spread. I had already sketched out a plan involving actual slate tiles, tiny gravestones carved from cheese, and a level of effort that bordered on ridiculous. I started to explain why a cookie sheet wouldn’t work — then stopped. She was right. Why was I overcomplicating this?
Honestly, I felt a little embarrassed. Here I was, the person who writes about food for a living, getting schooled by a friend who just wanted to snack and watch The Conjuring. But you know that feeling when someone suggests something so simple it almost hurts? That was this moment. I put down my sketchpad, grabbed a standard half-sheet pan from my cabinet, and decided to let her idea lead the way. The result was this easy Halloween charcuterie graveyard board for two — a spread that looked like it took hours but came together in under twenty minutes.
The whole thing started with a bag of black olives I had forgotten to buy. I sent Jen a panicked text from the store, and she replied with a photo of her own pantry — a bag of pretzel sticks, some string cheese, and a jar of pickles. “We’ll make it work,” she said. And we did. That night, sitting on my couch with a board between us, I realized the best recipes aren’t always the ones you plan. Sometimes they’re the ones you stumble into, guided by a friend who just wants to dip a pretzel in something spooky. This board has become our tradition now, and I think you’ll love how easy it is to make your own.
Why You’ll Love This Recipe
Let me tell you why this easy Halloween charcuterie graveyard board for two has become my go-to for every spooky season gathering.
- Quick & Easy: This board comes together in under 20 minutes. No cooking, no baking, just assembly. Perfect for last-minute plans or when you’d rather spend time picking out a costume.
- Simple Ingredients: You likely have most of these items in your fridge and pantry right now. No fancy cheese shops or specialty stores required.
- Perfect for Hosting: This is the ultimate crowd-pleaser for movie nights, Halloween parties, or a cozy date night in. It scales beautifully for more guests too.
- Crowd-Pleaser: Every time I set this board out, people stop and stare. Then they start grabbing. It disappears faster than any bowl of chips ever could.
- Unbelievably Delicious: The combination of salty, creamy, crunchy, and sweet is pure comfort food magic. Plus, the presentation makes everyone smile.
What makes this board different from every other charcuterie board out there is the graveyard theme. Instead of just arranging meats and cheeses, you’re building a scene. The “dirt” is crushed chocolate cookies. The “gravestones” are cheese cubes with spooky messages. The “bones” are pretzel sticks. It’s a conversation starter, a photo op, and a snack all in one.
This recipe isn’t just good — it’s the kind that makes you close your eyes after the first bite. It’s comfort food reimagined for a spooky night in, with the same soul-soothing satisfaction of a classic snack board but with a Halloween twist that feels special. Perfect for impressing your date or your friends without any stress.
What Ingredients You Will Need
This recipe uses simple, mostly pantry-stable ingredients to deliver big flavor and a seriously fun presentation. Here’s what you’ll need to build your own easy Halloween charcuterie graveyard board for two.
For the “Graveyard Dirt” Base
- 1 cup chocolate cookie crumbs (about 8-10 Oreo cookies, crushed) — (creates the dark, earthy base)
- 2 tablespoons melted butter — (helps the crumbs stick together slightly)
For the “Gravestones” & Tombstones
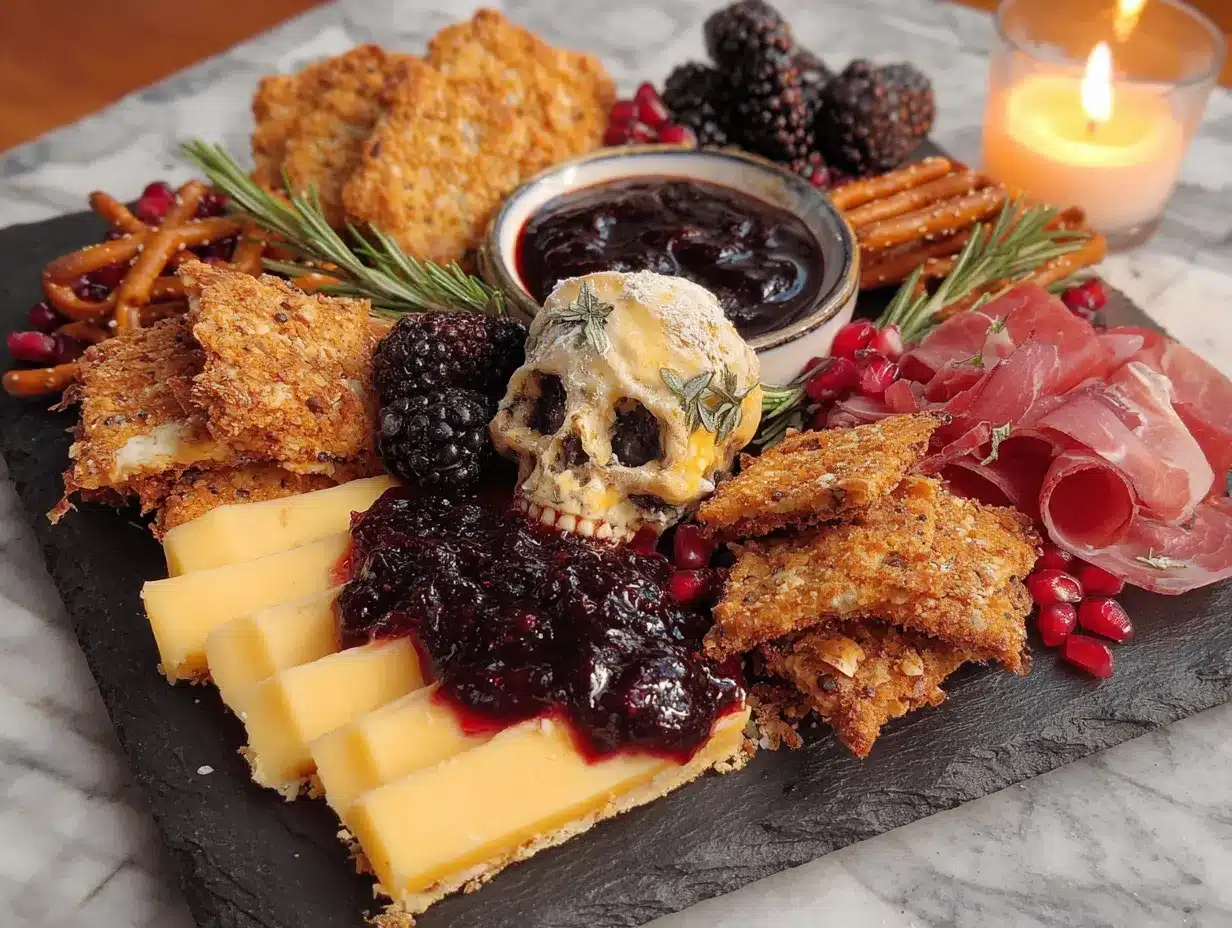
- 4 ounces cheddar cheese, cut into small rectangles — (I prefer sharp cheddar for flavor, but any firm cheese works)
- 4 ounces Gouda or smoked cheese, cut similarly — (adds a rich, smoky depth)
- Food-safe marker or edible ink pen — (for writing “RIP” or funny messages on the cheese)
For the “Bones” & Fingers
- 1/2 cup pretzel sticks — (these become the bones sticking out of the ground)
- 1/2 cup string cheese, cut into 2-inch pieces — (for making “mummy fingers” or ghost shapes)
- 1/4 cup sliced almonds — (for “fingernails” on the mummy fingers)
For the Spooky “Critters” & Decorations
- 1/4 cup black olives — (look like creepy eyeballs or spiders)
- 1/4 cup pimiento-stuffed green olives — (add a pop of color and look like little aliens)
- 1/4 cup grape tomatoes — (resemble tiny pumpkins or ghoul heads)
- 1/4 cup baby carrots — (can be cut into tiny pumpkin shapes or left as “fingers”)
For the Dip & Spread
- 1/4 cup hummus (or your favorite dip) — (acts as “mud” or a ghostly puddle)
- 1/4 cup ranch dressing or blue cheese dip — (perfect for dipping the veggies and pretzels)
For the Sweet Touch
- 1/4 cup candy corn or candy pumpkins — (adds a sweet, colorful pop)
- 2-3 small Halloween-themed cookies or gummies — (for extra decoration)
Ingredient Selection Tips: For the best texture, use full-fat cheese — it holds its shape better when cutting into shapes. I recommend Tillamook or Cabot for cheddar, and Boar’s Head for Gouda. For the chocolate cookies, any brand works, but Oreos give the darkest, most realistic “dirt” color. If you’re dairy-free, swap the cheese for vegan cheese blocks and use a dairy-free dip.
Substitution Guidance: Don’t have pretzel sticks? Use breadsticks or crispy chow mein noodles. No string cheese? Use mozzarella sticks cut into pieces. You can swap the hummus for guacamole or spinach dip — anything greenish or brownish works for the “mud” effect. For a gluten-free version, use gluten-free pretzels and cookies.
Equipment Needed
You don’t need anything fancy to build this easy Halloween charcuterie graveyard board for two. Here’s what I use:
- A baking sheet or large platter: A standard half-sheet pan (13×18 inches) is perfect. It has edges to keep everything contained. If you don’t have one, a large cutting board or even a rimmed pizza pan works.
- Small bowls or ramekins: For holding the dips. I use two small ramekins — one for hummus, one for ranch.
- A food processor or zip-top bag: For crushing the cookies. A food processor makes quick work of it, but a zip-top bag and a rolling pin work just as well. Honestly, I’ve used a wine bottle in a pinch.
- A small offset spatula or butter knife: For spreading the “dirt” crumbs evenly.
- Cookie cutters (optional): If you want to cut the cheese into ghost or pumpkin shapes, small Halloween-themed cutters are fun. But a sharp knife works fine for rectangles.
- An edible ink marker: For writing on the cheese gravestones. You can find these at baking supply stores or online.
Budget-Friendly Tip: Don’t own a food processor? No problem. Place the cookies in a sturdy zip-top bag, seal it, and let your kids (or your inner child) smash them with a rolling pin. It’s oddly satisfying and saves on dishes.
Preparation Method
Let me walk you through building this spooky board. It’s easier than you think, and the result is seriously impressive.
- Prepare the “dirt” base: Place 8-10 chocolate cookies in a food processor and pulse until you have fine crumbs. If using a bag, crush them with a rolling pin until no large pieces remain. Transfer the crumbs to a bowl and stir in 2 tablespoons melted butter until evenly moistened. Set aside.
- Make the cheese gravestones: Cut your cheddar and Gouda into small rectangles, about 1.5 inches by 1 inch. They should look like tiny tombstones. Using an edible ink marker, write spooky messages on each one — “RIP,” “BOO,” “2024,” or inside jokes. I once wrote “My Sanity” on one and my friend Jen laughed for five minutes. Set the gravestones aside.
- Create the mummy fingers: Cut string cheese pieces into 2-inch lengths. Using a small knife, carve tiny indentations for knuckles. Press a sliced almond onto one end of each piece to look like a fingernail. These look disturbingly realistic, which is exactly what you want.
- Assemble the board base: Spread the cookie crumbs evenly over your baking sheet or platter, leaving a few bare spots for the dip bowls. Use your hands or a spatula to create an even layer about 1/4 inch thick. Pat it down gently so it stays put.
- Position the dip bowls: Place your ramekins of hummus and ranch dressing in the bare spots. Press them down slightly so they sit level with the “dirt.” The hummus can be labeled “mud” and the ranch “ghost slime” if you want to get creative.
- Arrange the gravestones: Press the cheese rectangles into the cookie crumbs at various angles, as if they’re rising out of the ground. Group some together and leave others solitary — real graveyards aren’t perfectly spaced.
- Add the “bones” and fingers: Stick pretzel sticks into the crumbs at random angles to look like bones pushing up from below. Arrange the mummy fingers near the edge of the board, slightly overlapping the dirt.
- Scatter the spooky critters: Place black olives around the board to look like spiders or eyeballs. Add green olives for alien vibes. Tuck grape tomatoes and baby carrots in small clusters. Don’t overthink this part — just scatter them naturally.
- Add the sweet touches: Sprinkle candy corn or candy pumpkins around the edges. Place a few Halloween cookies or gummies near the gravestones for a pop of color and sweetness.
- Final check: Step back and look at your board. Does it look like a tiny graveyard scene? Add a few more pretzel bones or cheese tombstones if needed. The goal is a balanced, visually interesting board that invites grabbing.
Sensory Cue: When you press the gravestones into the crumbs, you should feel slight resistance — the crumbs should hold them upright. If they fall over, press them deeper. The board should look dark and moody, with pops of orange, green, and white from the veggies and cheese.
Time Estimate: This entire process takes about 15-20 minutes. I usually do it while my guest is on their way over, and it’s always ready before they arrive.
Cooking Tips & Techniques
After making this easy Halloween charcuterie graveyard board for two more times than I can count, I’ve picked up a few tricks that make a real difference.
Don’t over-crush the cookies. The first time I made this, I pulverized the cookies into a fine powder. It looked like cocoa powder, not dirt. You want small crumbs with a few slightly larger pieces — it looks more natural. Think garden soil, not baking cocoa.
Let the cheese sit out for 10 minutes. Cold cheese is harder to cut cleanly and harder to write on with the edible marker. Let your cheese blocks sit at room temperature for about 10 minutes before cutting. The marker will glide on smoothly instead of skipping.
Use a light hand with the marker. I learned this the hard way. The first time I wrote “RIP” on a cheese gravestone, I pressed too hard and the marker bled into a messy blob. Light, quick strokes work best. And if you mess up? Just eat that piece and start fresh. No one will know.
Prep everything before you start assembling. This is the biggest time-saver. Crush the cookies, cut the cheese, make the mummy fingers — have everything ready in small bowls before you touch the board. Assembly should take less than five minutes once everything is prepped.
If you’re serving this at a party, set it out 15 minutes before guests arrive. This gives the cheese time to soften slightly and the flavors to meld. Plus, it gives you time to snap a photo before everyone digs in. Trust me, you’ll want a picture.
One mistake I still make: Forgetting that the cookie crumbs will absorb moisture from the cheese and veggies if the board sits out too long. If you’re making this ahead, keep the crumbs separate and assemble just before serving. I learned this after a board turned into a soggy mess at a party. Now I prep everything and assemble in under five minutes.
Variations & Adaptations
This easy Halloween charcuterie graveyard board for two is endlessly customizable. Here are a few ways I’ve adapted it over the years.
Dairy-Free Version: Swap the cheddar and Gouda for dairy-free cheese blocks (I like Violife or Miyoko’s). Use vegan string cheese for the mummy fingers. Replace the ranch with a dairy-free dip or guacamole. The rest of the board is naturally dairy-free.
Gluten-Free Version: Use gluten-free chocolate cookies for the dirt (Kinnikinnick makes great ones). Swap pretzel sticks for gluten-free breadsticks or veggie sticks. Everything else on the board is naturally gluten-free.
Meat-Lover’s Version: Add small piles of salami roses or pepperoni slices to the board. You can cut salami into bat-wing shapes using a small cookie cutter. Arrange them near the gravestones for a bloodthirsty touch.
Sweet Tooth Version: Skip the savory elements and go all-in on sweets. Use crushed graham crackers for the dirt, candy eyeballs for critters, chocolate bars for gravestones, and gummy worms for creepy crawlers. Add marshmallow ghosts and licorice vines.
Seasonal Adaptation: For a fall-themed board, swap the Halloween candies for mini pumpkins and apple slices. Use cinnamon-sugar pretzels and add a small bowl of caramel for dipping. The graveyard theme works beautifully for autumn gatherings.
Personal Variation: Last year, I added a small bowl of warm queso dip labeled “graveyard slime” and it was the first thing to disappear. The contrast of warm, creamy dip against the cold cheese and crunchy pretzels was incredible. I’ve included it in every board since.
Serving & Storage Suggestions
This board is best served at room temperature, which is convenient because it means you can set it out while guests arrive and it’ll be perfect by the time everyone’s ready to eat.
Serving Temperature: Let the board sit at room temperature for about 15 minutes before serving. This softens the cheese slightly and makes the flavors more pronounced. The dips should be served cold or at room temperature — whatever you prefer.
Presentation Tip: Place the board in the center of your table or coffee table. Surround it with small plates, napkins, and cocktail picks. If you’re serving drinks, a dark red wine or a pumpkin beer pairs beautifully with the savory elements.
What to Serve Alongside: This board is a meal in itself for two people, but you can add a bowl of popcorn or a small salad if you’re feeding a crowd. For a full Halloween spread, serve it alongside a batch of spicy pumpkin soup or a bowl of creamy macaroni and cheese.
Storage Instructions: If you have leftovers (which is rare in my house), separate the components. Store the cheese in an airtight container in the fridge for up to 5 days. The cookie crumbs can be saved in a zip-top bag at room temperature for a week. The dips should be refrigerated separately. Do not store the assembled board — the crumbs will get soggy.
Reheating Tips: This board doesn’t need reheating, but if you added warm queso or another heated dip, reheat it separately in the microwave or on the stovetop. Spoon it into a clean ramekin before adding it back to a fresh board.
Flavor Development: The cheese actually tastes better after sitting out for a bit. If you’re prepping ahead, cut the cheese and let it come to room temperature on a plate, then assemble the board just before serving. The flavors are more pronounced and the texture is creamier.
Nutritional Information & Benefits
While this easy Halloween charcuterie graveyard board for two is more about fun than nutrition, it does offer some surprising benefits.
Estimated Nutritional Values (per serving, based on half the board):
- Calories: 450-550
- Protein: 18-22g
- Fat: 28-35g
- Carbohydrates: 35-45g
- Fiber: 4-6g
- Sugar: 15-20g
Health Benefits: The cheese provides calcium and protein, which support bone health and muscle function. Olives are rich in healthy monounsaturated fats and antioxidants. The vegetables (tomatoes, carrots) add vitamins A and C. Even the dark chocolate cookies contain antioxidants from cocoa.
Dietary Considerations: This board can easily be adapted for gluten-free, dairy-free, or vegetarian diets. It’s naturally vegetarian as written. For a lower-carb version, skip the pretzels and cookies and use more vegetables and cheese.
Potential Allergens: This recipe contains dairy (cheese), gluten (pretzels, cookies), and tree nuts (almonds). Check all packaged ingredients for cross-contamination if serving to someone with severe allergies.
Personal Wellness Perspective: I love that this board encourages mindful snacking — you’re not mindlessly eating from a bag. Each piece is something you choose, dip, and enjoy. It’s a social, intentional way to eat that naturally leads to smaller portions. Plus, the fun presentation makes it feel like a treat, even when the ingredients are pretty wholesome.
Conclusion
This easy Halloween charcuterie graveyard board for two has become my favorite way to celebrate spooky season. It’s proof that you don’t need fancy ingredients or hours of prep to create something memorable. Sometimes the best ideas come from a friend who just wants to use a cookie sheet.
I love how customizable this board is — you can make it as savory or sweet as you want, swap in your favorite cheeses and dips, and it always turns out looking like you put in way more effort than you actually did. That’s my kind of recipe.
I’d love to see how your graveyard board turns out! Tag me in your photos, leave a comment below with your favorite Halloween snack, or share your own spooky twist on this board. Did you add something unexpected? Did your kids help with the mummy fingers? Tell me all about it.
Here’s to spooky nights, good snacks, and the friends who remind us to keep it simple. Happy Halloween, and happy snacking!
Frequently Asked Questions
Can I make this board ahead of time?
You can prep all the components ahead of time — crush the cookies, cut the cheese, make the mummy fingers — but assemble the board just before serving. The cookie crumbs will absorb moisture from the other ingredients if left too long, so keep everything separate until you’re ready to serve.
How do I keep the cheese gravestones from falling over?
Press them firmly into the cookie crumbs at a slight angle. The crumbs should hold them upright. If they’re still tipping, make the cheese rectangles slightly thicker or press them deeper into the crumbs. You can also lean them against a dip bowl for support.
What if I can’t find an edible ink marker?
No problem! You can skip the writing altogether and just use the cheese rectangles as plain gravestones. Or use small pieces of black construction paper (food-safe) cut into tiny flags and tape them to toothpicks. Or just use a regular toothpick with a small paper flag — just remove it before eating.
Can I use a different type of cookie for the dirt?
Absolutely. Any dark chocolate cookie works — chocolate wafers, chocolate graham crackers, or even brownie crumbs. For a lighter “dirt,” use vanilla wafers or shortbread cookies. Just make sure they’re crushed into small crumbs, not powder.
How many people does this board serve?
This recipe is written for two people as a main snack or light meal. If you’re serving it as an appetizer for a party, it can easily serve 4-6 people. Just double the ingredients and use a larger board or sheet pan.
Pin This Recipe!
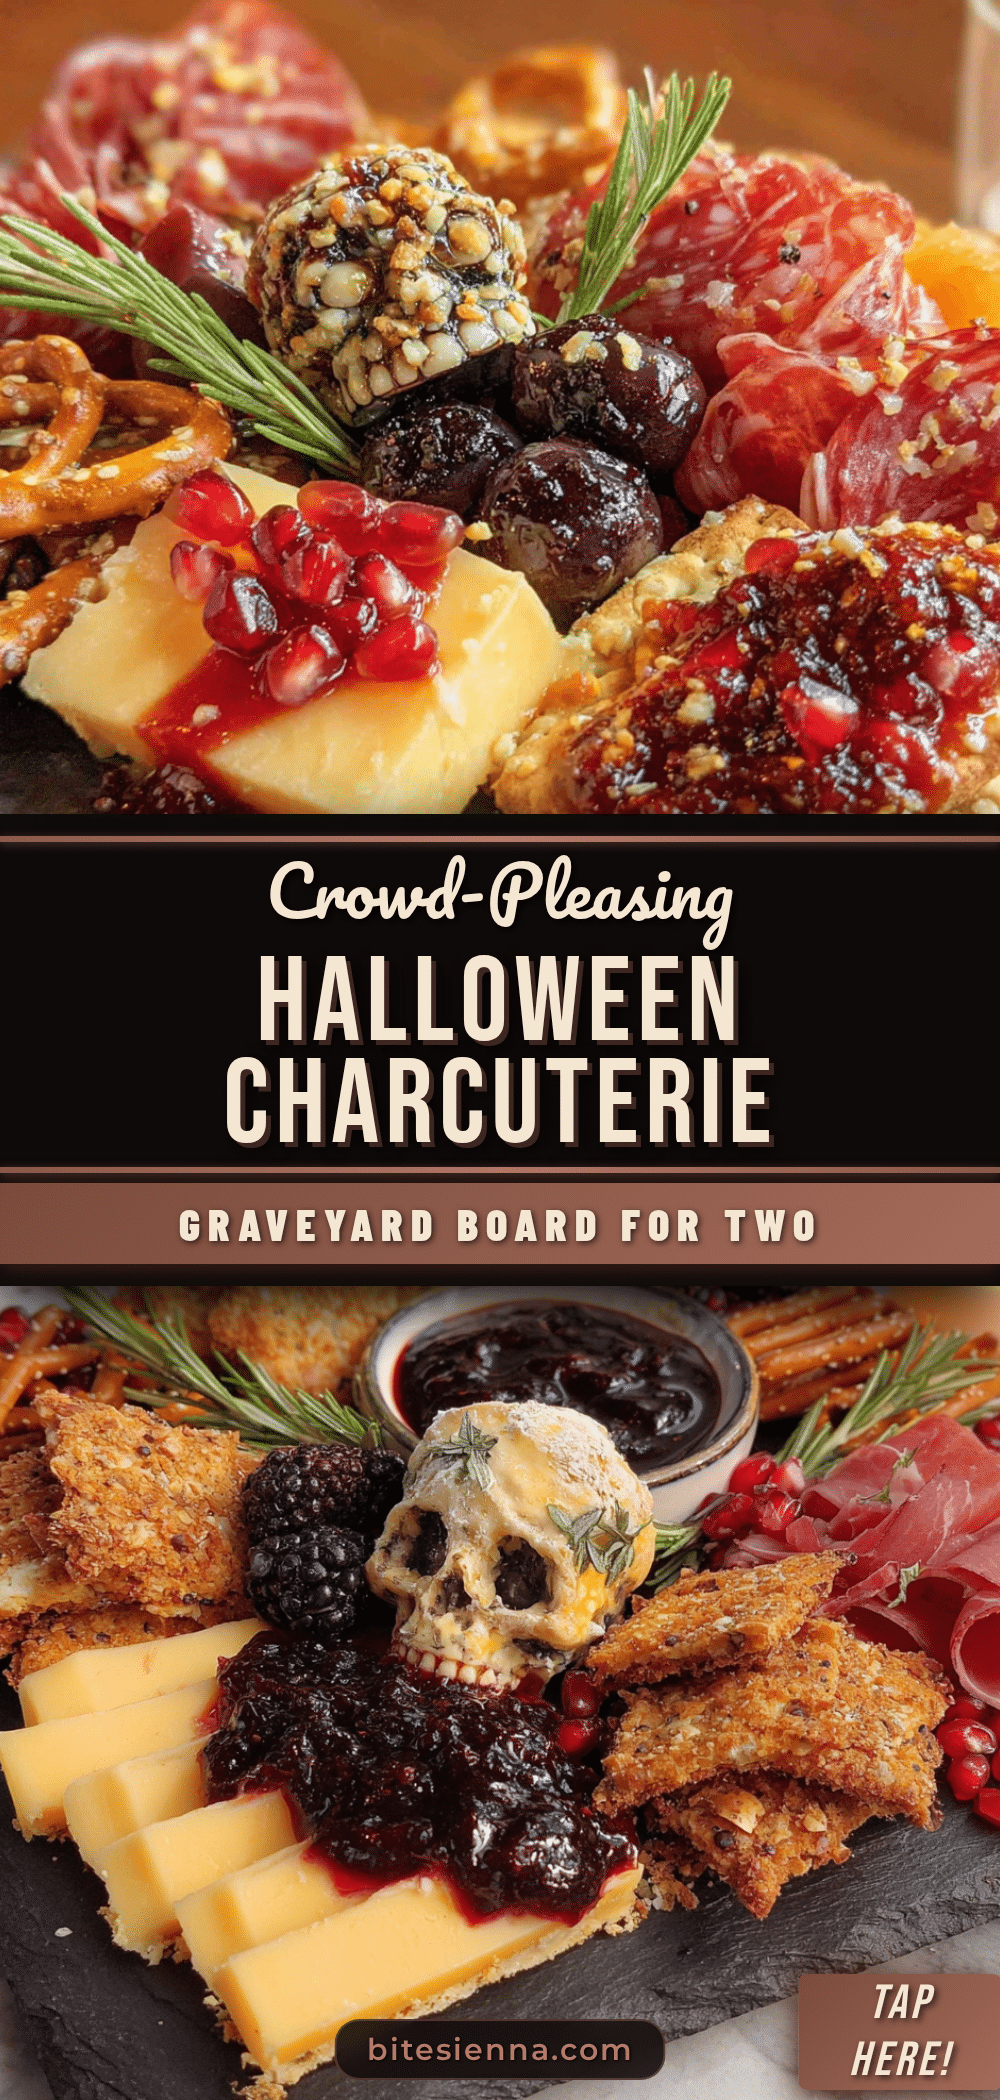
Easy Halloween Charcuterie Graveyard Board for Two
A spooky and fun charcuterie board designed for two, featuring a graveyard scene with chocolate cookie ‘dirt,’ cheese gravestones, pretzel bones, and creepy-crawly snacks. It comes together in under 20 minutes with simple ingredients.
- Prep Time: 15 minutes
- Cook Time: 0 minutes
- Total Time: 15 minutes
- Yield: 2 servings 1x
- Category: Appetizer
- Cuisine: American
Ingredients
- 1 cup chocolate cookie crumbs (about 8–10 Oreo cookies, crushed)
- 2 tablespoons melted butter
- 4 ounces cheddar cheese, cut into small rectangles
- 4 ounces Gouda or smoked cheese, cut into small rectangles
- Food-safe marker or edible ink pen
- 1/2 cup pretzel sticks
- 1/2 cup string cheese, cut into 2-inch pieces
- 1/4 cup sliced almonds
- 1/4 cup black olives
- 1/4 cup pimiento-stuffed green olives
- 1/4 cup grape tomatoes
- 1/4 cup baby carrots
- 1/4 cup hummus (or your favorite dip)
- 1/4 cup ranch dressing or blue cheese dip
- 1/4 cup candy corn or candy pumpkins
- 2–3 small Halloween-themed cookies or gummies
Instructions
- Prepare the ‘dirt’ base: Place 8-10 chocolate cookies in a food processor and pulse until you have fine crumbs. If using a bag, crush them with a rolling pin until no large pieces remain. Transfer the crumbs to a bowl and stir in 2 tablespoons melted butter until evenly moistened. Set aside.
- Make the cheese gravestones: Cut your cheddar and Gouda into small rectangles, about 1.5 inches by 1 inch. They should look like tiny tombstones. Using an edible ink marker, write spooky messages on each one — ‘RIP,’ ‘BOO,’ ‘2024,’ or inside jokes. Set the gravestones aside.
- Create the mummy fingers: Cut string cheese pieces into 2-inch lengths. Using a small knife, carve tiny indentations for knuckles. Press a sliced almond onto one end of each piece to look like a fingernail.
- Assemble the board base: Spread the cookie crumbs evenly over your baking sheet or platter, leaving a few bare spots for the dip bowls. Use your hands or a spatula to create an even layer about 1/4 inch thick. Pat it down gently so it stays put.
- Position the dip bowls: Place your ramekins of hummus and ranch dressing in the bare spots. Press them down slightly so they sit level with the ‘dirt.’
- Arrange the gravestones: Press the cheese rectangles into the cookie crumbs at various angles, as if they’re rising out of the ground. Group some together and leave others solitary.
- Add the ‘bones’ and fingers: Stick pretzel sticks into the crumbs at random angles to look like bones pushing up from below. Arrange the mummy fingers near the edge of the board, slightly overlapping the dirt.
- Scatter the spooky critters: Place black olives around the board to look like spiders or eyeballs. Add green olives for alien vibes. Tuck grape tomatoes and baby carrots in small clusters.
- Add the sweet touches: Sprinkle candy corn or candy pumpkins around the edges. Place a few Halloween cookies or gummies near the gravestones for a pop of color and sweetness.
- Final check: Step back and look at your board. Does it look like a tiny graveyard scene? Add a few more pretzel bones or cheese tombstones if needed.
Notes
Prep all components ahead of time but assemble just before serving to prevent cookie crumbs from getting soggy. Let cheese sit at room temperature for 10 minutes before cutting for easier handling. Use a light hand with the edible marker to avoid bleeding. For a dairy-free version, use vegan cheese and dairy-free dip. For gluten-free, use gluten-free cookies and pretzels.
Nutrition
- Serving Size: Half the board
- Calories: 500
- Sugar: 17.5
- Sodium: 800
- Fat: 31.5
- Saturated Fat: 12
- Carbohydrates: 40
- Fiber: 5
- Protein: 20
Keywords: Halloween charcuterie board, graveyard board, spooky snack, easy appetizer, movie night snack, Halloween party food, charcuterie for two


