I’d insisted for years that pumpkin pie was a holiday obligation, not a dessert I actually wanted. You know the feeling—you see it on the table and think, “Well, I guess I’ll have a sliver out of politeness.” That was me. Every Thanksgiving, every Friendsgiving, every fall gathering where that orange slice sat next to the pecan pie I actually craved. I’d take a tiny piece, push it around my plate, and wonder why we kept making something so… fine.
Then last October, my neighbor Cheryl knocked on my door holding a pie plate with steam still rising from the crust. Her oven had broken mid-bake, and she needed somewhere to finish her pumpkin pie. I handed over my kitchen, grumbling internally about the smell of cinnamon and cloves taking over my apartment. She pulled the pie out, let it cool on my counter, and sliced me a piece before leaving. “Just try it,” she said. “It’s different.”
I ate that slice standing at my kitchen island, still slightly warm, and I honestly felt a little embarrassed. The filling was silky—not that dense, almost rubbery texture I’d always blamed on pumpkin. The spices didn’t shout; they hummed underneath something rich and creamy. And the crust? Flaky enough that I caught crumbs in my palm without meaning to. I finished the slice, then another, then texted Cheryl for her recipe before she even made it home.
That moment cracked something open for me. I realized I’d never actually had a good pumpkin pie—just okay ones made from memory and habit. This one came from scratch, with real pumpkin and a crust that tasted like butter, not shortening. I’ve made it every week since October, and let me tell you, I’ve converted a few skeptics of my own. Maybe you’ve been the person who passes on pumpkin pie. I get it. But this version might just change your mind too.
Why You’ll Love This Recipe
This easy homemade pumpkin pie from scratch isn’t just another recipe to bookmark and forget. It’s the one that makes you close your eyes after the first bite, because the texture is that good. Here’s why it stands out:
- Quick & Easy: From start to table in under two hours, with only 20 minutes of active prep. Perfect for a weeknight when you’re tired but still want something homemade.
- Simple Ingredients: No canned pumpkin purée, no pre-made crust mix, no weird additives. You probably have most of these in your pantry right now.
- Perfect for Weeknights: Make it after work, serve it warm, and have leftovers for breakfast. No judgment here.
- Crowd-Pleaser: I’ve served this to pumpkin pie haters, and every single one asked for seconds. It’s that different.
- Unbelievably Delicious: The filling is silky, not dense. The crust is buttery and flaky, not soggy. It’s comfort food reimagined.
What makes this recipe different from the rest? It’s the method. Roasting the pumpkin yourself gives you control over moisture content, which means no watery filling. Blending the filling until completely smooth—I use an immersion blender right in the bowl—creates that velvety texture you usually only get from bakery pies. And the crust? It’s all butter, no shortening, with a splash of vodka that keeps it tender without making it tough. I learned that trick from a chef friend who swore by it, and honestly, it works every time.
This isn’t just another version of pumpkin pie. It’s the one that makes you rethink everything you thought you knew about this classic dessert. And it comes together fast enough that you can make it on a Tuesday night, just because you want to.
What Ingredients You Will Need
This recipe uses simple, wholesome ingredients to deliver bold flavor and satisfying texture without the fuss. Most of these are pantry staples, and the ones that aren’t are easy to find at any grocery store.
- For the Crust:
- 1 ¼ cups all-purpose flour (160g; use unbleached for best texture)
- ½ teaspoon salt
- 1 tablespoon granulated sugar
- ½ cup cold unsalted butter, cut into small cubes (113g; I prefer Kerrygold for flavor)
- 3 to 4 tablespoons ice water
- 1 tablespoon vodka (optional but recommended; it adds tenderness without making the crust wet)
- For the Filling:
- 2 cups pumpkin purée (from about 1 small sugar pumpkin or 1 can; see note below)
- ¾ cup packed brown sugar (150g; dark or light both work—dark gives deeper flavor)
- 2 large eggs, room temperature
- 1 large egg yolk, room temperature
- 1 ¼ cups heavy cream (300ml; or use half-and-half for a lighter version)
- 1 teaspoon vanilla extract
- 1 ½ teaspoons ground cinnamon
- ½ teaspoon ground ginger
- ¼ teaspoon ground nutmeg (freshly grated is best)
- ¼ teaspoon ground cloves
- ¼ teaspoon salt
A quick note on the pumpkin: If you’re using a fresh sugar pumpkin, roast it at 400°F for about 45 minutes until tender, then scoop out the flesh and purée it in a food processor. You’ll need about 1 small pumpkin for 2 cups of purée. If you’re using canned pumpkin purée, make sure it’s 100% pumpkin, not pumpkin pie filling—those are different things. I recommend Libby’s if you’re going the canned route; it has the right moisture content for this recipe.
For the spices, I like to use fresh-ground nutmeg because it makes a noticeable difference in flavor. But honestly, pre-ground works fine in a pinch. The vodka in the crust is optional but worth trying—it evaporates during baking, leaving you with a tender, flaky crust without the risk of toughness from overworking the dough.
Equipment Needed
You don’t need fancy equipment for this easy homemade pumpkin pie from scratch, but having the right tools makes the process smoother.
- 9-inch pie dish (glass or ceramic works best for even baking; metal can work too but watch the crust edges)
- Rolling pin (a wine bottle works in a pinch—I’ve done it)
- Large mixing bowls (one for the crust, one for the filling)
- Immersion blender or regular blender (for silky-smooth filling; a whisk works but takes more effort)
- Parchment paper and pie weights (or dried beans, for blind baking the crust)
- Measuring cups and spoons
- Pastry cutter or two forks (for cutting butter into flour)
- Plastic wrap
If you don’t have pie weights, line your crust with parchment paper and fill it with dried beans or uncooked rice. I keep a bag of cheap beans just for this purpose. And if you don’t have an immersion blender, a regular blender works—just let the filling cool slightly before blending so you don’t crack the pitcher.
Preparation Method
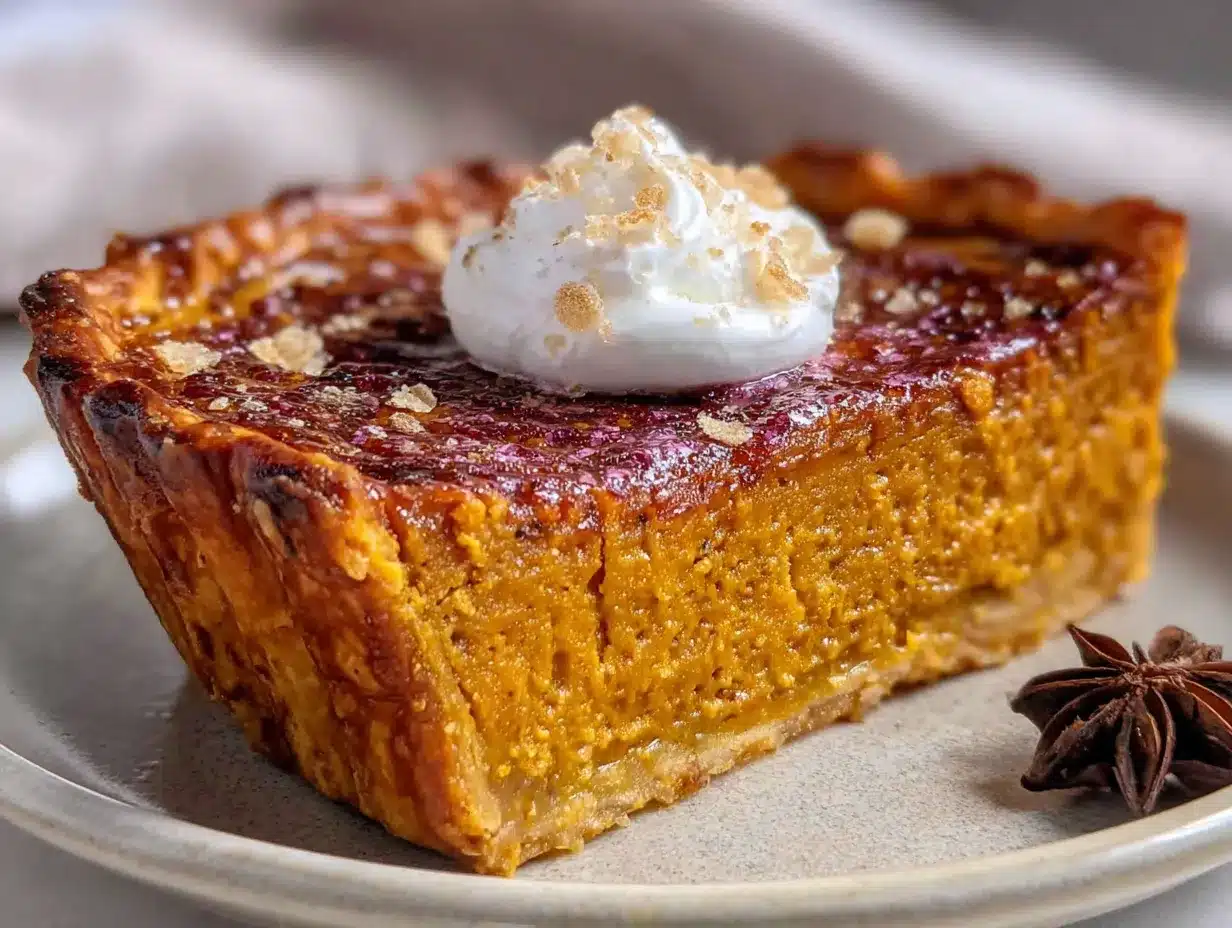
Let me walk you through this step by step. The key to this recipe is taking your time with the crust and not rushing the filling.
- Make the crust dough. In a large bowl, whisk together the flour, salt, and sugar. Add the cold butter cubes and use a pastry cutter or two forks to cut the butter into the flour until it resembles coarse meal with some pea-sized butter pieces remaining. Drizzle in 3 tablespoons of ice water and the vodka, then mix with a fork until the dough just comes together. If it’s too dry, add the remaining tablespoon of water. The dough should hold together when squeezed but not be sticky.
- Chill the dough. Flatten the dough into a disk, wrap it in plastic wrap, and refrigerate for at least 1 hour. This step is non-negotiable—it relaxes the gluten and keeps the crust tender. I usually make the dough the night before and let it chill overnight.
- Roll out the crust. On a lightly floured surface, roll the dough into a 12-inch circle, about ⅛-inch thick. Transfer it to your pie dish by rolling it around the rolling pin, then gently press it into the dish. Trim the edges to about ½-inch overhang, then fold them under and crimp as desired. Place the crust in the freezer for 15 minutes while you preheat the oven.
- Blind bake the crust. Preheat your oven to 375°F. Line the frozen crust with parchment paper and fill with pie weights or dried beans. Bake for 15 minutes, then remove the parchment and weights and bake for another 5 to 7 minutes until the bottom looks dry and lightly golden. This prevents the dreaded soggy bottom.
- Make the filling. While the crust bakes, combine the pumpkin purée, brown sugar, eggs, egg yolk, heavy cream, vanilla, and all the spices in a large bowl. Use your immersion blender to blend until completely smooth, about 30 seconds. If using a regular blender, work in batches. The mixture should be silky with no lumps.
- Bake the pie. Reduce the oven temperature to 350°F. Pour the filling into the warm pre-baked crust. Bake for 45 to 55 minutes, until the edges are set but the center still jiggles slightly when you gently shake the pie. The internal temperature should read 175°F on an instant-read thermometer.
- Cool completely. Let the pie cool on a wire rack for at least 2 hours. The filling will continue to set as it cools. Don’t rush this—slicing too early leads to a runny mess.
A few sensory cues to watch for: The crust should smell toasty and buttery when it comes out of the blind bake. The filling should look glossy and smooth before it goes in the oven. When the pie is done, the edges will be slightly puffed and the center will have a gentle wobble—like Jell-O, not like soup.
Cooking Tips & Techniques
I’ve made this easy homemade pumpkin pie from scratch more times than I can count, and I’ve learned a few things along the way. Here are the tips that make the biggest difference.
Don’t overwork the crust. This is the most common mistake I see. When you’re cutting in the butter, stop while you still see some pea-sized pieces. Those pieces create steam pockets in the oven, which gives you flaky layers. Overworking the dough makes it tough, and nobody wants a tough crust.
Use cold ingredients. Cold butter, cold water, cold cream—everything should be fridge-cold when you start. Warm butter melts into the flour instead of staying in distinct pieces, and that ruins the flakiness. If your kitchen is warm, pop the bowl in the fridge for 10 minutes between steps.
Blend the filling thoroughly. I used to whisk my filling by hand and wondered why it wasn’t as smooth as bakery pies. The answer is blending. An immersion blender breaks down any tiny lumps in the pumpkin and emulsifies the cream and eggs, giving you that silky texture. It takes 30 seconds and makes a huge difference.
Watch the crust edges. If the edges start browning too quickly, cover them with foil or a pie shield. I usually check at the 20-minute mark and add foil if needed. Every oven runs differently, so keep an eye on it.
Let it cool completely. I know it’s tempting to slice into a warm pie, but patience pays off here. The filling needs time to set properly. I’ve made the mistake of cutting into a slightly warm pie, and the filling ran everywhere. Two hours on a wire rack, minimum.
Variations & Adaptations
This recipe is flexible, and I’ve tried several variations over the years. Here are a few that work well.
Dairy-Free Version: Substitute the heavy cream with full-fat coconut cream. It adds a subtle coconut flavor that pairs surprisingly well with the pumpkin and spices. Use cold vegan butter in the crust, or try a coconut oil crust instead.
Gluten-Free Option: Swap the all-purpose flour with a 1:1 gluten-free baking flour blend. I’ve had good results with Bob’s Red Mill. Add an extra tablespoon of ice water since gluten-free flours tend to be more absorbent.
Spice It Up: Add ¼ teaspoon of cayenne pepper or chipotle powder for a smoky, spicy kick. It sounds weird, but the heat balances the sweetness beautifully. I tried this on a whim last fall and now it’s my favorite variation.
Maple Pumpkin Pie: Replace the brown sugar with ¾ cup of pure maple syrup and reduce the heavy cream to 1 cup. The maple flavor is subtle but adds a lovely depth. Just note that the filling will be slightly softer, so bake it an extra 5 minutes.
Mini Pies: Use a muffin tin instead of a pie dish. Roll the crust thinner and cut circles to fit the muffin cups. Bake for 20 to 25 minutes instead of 45 to 55. These are perfect for portion control or for serving at parties.
Serving & Storage Suggestions
This pie is best served at room temperature or slightly warm, with a dollop of lightly sweetened whipped cream. The cream cuts through the richness of the filling and adds a nice contrast in texture. For a fancier presentation, sprinkle a little cinnamon or nutmeg on top of the whipped cream.
It pairs beautifully with a cup of coffee or a glass of cold milk. If you’re serving it for a holiday meal, it goes well alongside a slice of pecan pie or apple crisp—variety is the spice of life, right?
Storage: Cover the pie loosely with plastic wrap or foil and store it in the refrigerator for up to 4 days. The flavors actually deepen after a day or two, so don’t be afraid to make it ahead. I often make this pie on Wednesday for a Thursday dinner.
Freezing: You can freeze the baked pie for up to 3 months. Wrap it tightly in plastic wrap, then foil. Thaw it overnight in the refrigerator before serving. The crust might lose a tiny bit of flakiness, but it’s still delicious.
Reheating: To serve warm, place individual slices in a 300°F oven for 5 to 10 minutes. Don’t use the microwave—it makes the crust soggy and the filling rubbery.
Nutritional Information & Benefits
Here’s the approximate nutritional breakdown for one slice (based on 8 servings):
| Nutrient | Amount per Slice |
|---|---|
| Calories | 385 |
| Total Fat | 24g |
| Saturated Fat | 14g |
| Cholesterol | 125mg |
| Sodium | 310mg |
| Total Carbohydrates | 38g |
| Dietary Fiber | 3g |
| Sugars | 22g |
| Protein | 5g |
Pumpkin is packed with vitamin A (over 200% of your daily needs per serving), which supports eye health and immune function. It’s also a good source of fiber and potassium. The spices—cinnamon, ginger, nutmeg, cloves—are anti-inflammatory and add flavor without extra sugar or salt.
This recipe is vegetarian and can be made gluten-free or dairy-free with the substitutions listed above. It contains wheat, dairy, and eggs, so keep that in mind for guests with allergies.
Conclusion
This easy homemade pumpkin pie from scratch isn’t just a dessert—it’s the one that changed my mind about an entire category of food. It’s silky, spiced just right, and comes together fast enough for a weeknight craving. The crust is flaky, the filling is smooth, and every bite tastes like fall without the fuss.
I hope you give it a try, even if you’re a skeptic like I was. Customize it with your favorite spices, make it dairy-free if you need to, or double the recipe because one pie never lasts long. Let me know how it turns out in the comments—I love hearing about your kitchen wins.
Happy baking, friends. You’ve got this.
Frequently Asked Questions
Can I use canned pumpkin purée instead of fresh?
Absolutely. Canned pumpkin purée works perfectly in this recipe. Just make sure you’re buying 100% pumpkin purée, not pumpkin pie filling, which already has sugar and spices added. Libby’s is my go-to brand because it has the right moisture content.
Why did my crust shrink during baking?
Crust shrinkage usually happens when the dough isn’t chilled enough before baking, or if it’s overworked. Make sure you chill the crust for at least 15 minutes in the freezer before blind baking, and handle the dough as little as possible when rolling it out.
How do I know when the pie is fully baked?
The edges should be set and slightly puffed, while the center should jiggle gently when you shake the pie—like Jell-O, not like liquid. For accuracy, use an instant-read thermometer; the internal temperature should reach 175°F.
Can I make this pie ahead of time?
Yes! This pie actually tastes better after a day or two in the fridge, as the flavors have time to meld. Bake it up to 2 days ahead, cool it completely, and store it covered in the refrigerator. Let it come to room temperature before serving.
Can I freeze leftover pumpkin pie?
Yes, you can freeze baked pumpkin pie for up to 3 months. Wrap it tightly in plastic wrap and then foil. Thaw it overnight in the refrigerator before serving. The crust might lose a little flakiness, but the flavor will still be great.
Pin This Recipe!
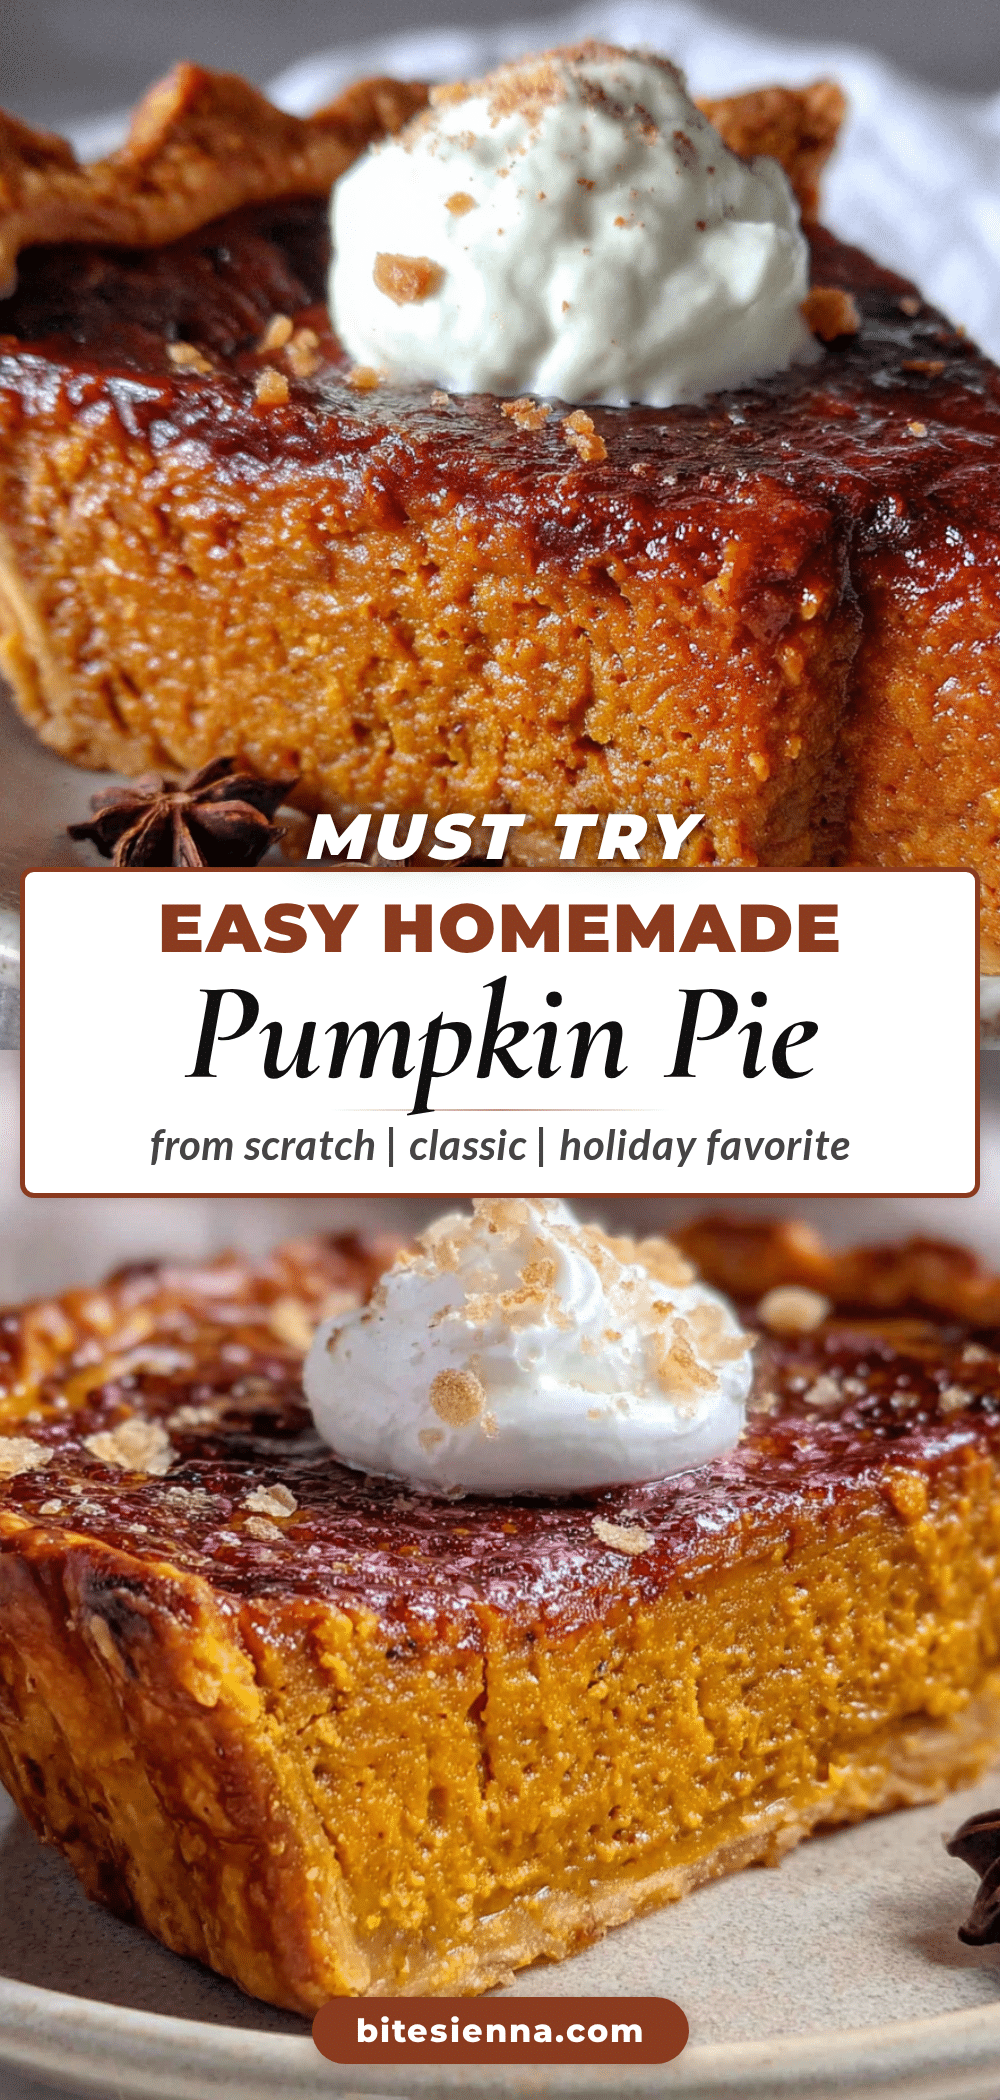
Easy Homemade Pumpkin Pie From Scratch (Best Recipe)
This easy homemade pumpkin pie from scratch is silky, spiced just right, and comes together fast enough for a weeknight craving. The crust is flaky, the filling is smooth, and every bite tastes like fall without the fuss.
- Prep Time: 20 minutes
- Cook Time: 1 hour 10 minutes
- Total Time: 1 hour 30 minutes
- Yield: 8 servings 1x
- Category: Dessert
- Cuisine: American
Ingredients
- 1 ¼ cups all-purpose flour (160g; use unbleached for best texture)
- ½ teaspoon salt
- 1 tablespoon granulated sugar
- ½ cup cold unsalted butter, cut into small cubes (113g; I prefer Kerrygold for flavor)
- 3 to 4 tablespoons ice water
- 1 tablespoon vodka (optional but recommended; it adds tenderness without making the crust wet)
- 2 cups pumpkin purée (from about 1 small sugar pumpkin or 1 can; see note below)
- ¾ cup packed brown sugar (150g; dark or light both work—dark gives deeper flavor)
- 2 large eggs, room temperature
- 1 large egg yolk, room temperature
- 1 ¼ cups heavy cream (300ml; or use half-and-half for a lighter version)
- 1 teaspoon vanilla extract
- 1 ½ teaspoons ground cinnamon
- ½ teaspoon ground ginger
- ¼ teaspoon ground nutmeg (freshly grated is best)
- ¼ teaspoon ground cloves
- ¼ teaspoon salt
Instructions
- Make the crust dough. In a large bowl, whisk together the flour, salt, and sugar. Add the cold butter cubes and use a pastry cutter or two forks to cut the butter into the flour until it resembles coarse meal with some pea-sized butter pieces remaining. Drizzle in 3 tablespoons of ice water and the vodka, then mix with a fork until the dough just comes together. If it’s too dry, add the remaining tablespoon of water. The dough should hold together when squeezed but not be sticky.
- Chill the dough. Flatten the dough into a disk, wrap it in plastic wrap, and refrigerate for at least 1 hour. This step is non-negotiable—it relaxes the gluten and keeps the crust tender. I usually make the dough the night before and let it chill overnight.
- Roll out the crust. On a lightly floured surface, roll the dough into a 12-inch circle, about ⅛-inch thick. Transfer it to your pie dish by rolling it around the rolling pin, then gently press it into the dish. Trim the edges to about ½-inch overhang, then fold them under and crimp as desired. Place the crust in the freezer for 15 minutes while you preheat the oven.
- Blind bake the crust. Preheat your oven to 375°F. Line the frozen crust with parchment paper and fill with pie weights or dried beans. Bake for 15 minutes, then remove the parchment and weights and bake for another 5 to 7 minutes until the bottom looks dry and lightly golden. This prevents the dreaded soggy bottom.
- Make the filling. While the crust bakes, combine the pumpkin purée, brown sugar, eggs, egg yolk, heavy cream, vanilla, and all the spices in a large bowl. Use your immersion blender to blend until completely smooth, about 30 seconds. If using a regular blender, work in batches. The mixture should be silky with no lumps.
- Bake the pie. Reduce the oven temperature to 350°F. Pour the filling into the warm pre-baked crust. Bake for 45 to 55 minutes, until the edges are set but the center still jiggles slightly when you gently shake the pie. The internal temperature should read 175°F on an instant-read thermometer.
- Cool completely. Let the pie cool on a wire rack for at least 2 hours. The filling will continue to set as it cools. Don’t rush this—slicing too early leads to a runny mess.
Notes
Don’t overwork the crust. Use cold ingredients. Blend the filling thoroughly. Watch the crust edges and cover with foil if browning too quickly. Let the pie cool completely before slicing. The pie actually tastes better after a day or two in the fridge as flavors meld.
Nutrition
- Serving Size: 1 slice
- Calories: 385
- Sugar: 22
- Sodium: 310
- Fat: 24
- Saturated Fat: 14
- Carbohydrates: 38
- Fiber: 3
- Protein: 5
Keywords: pumpkin pie, homemade pumpkin pie, easy pumpkin pie, from scratch, fall dessert, Thanksgiving pie


